Learn how to attach a photo to your invoices on Bookipi Invoice Web V2
How to attach a photo to an invoice
Learn how to attach a photo to your invoices on Bookipi Invoice Web v2 with these simple steps:
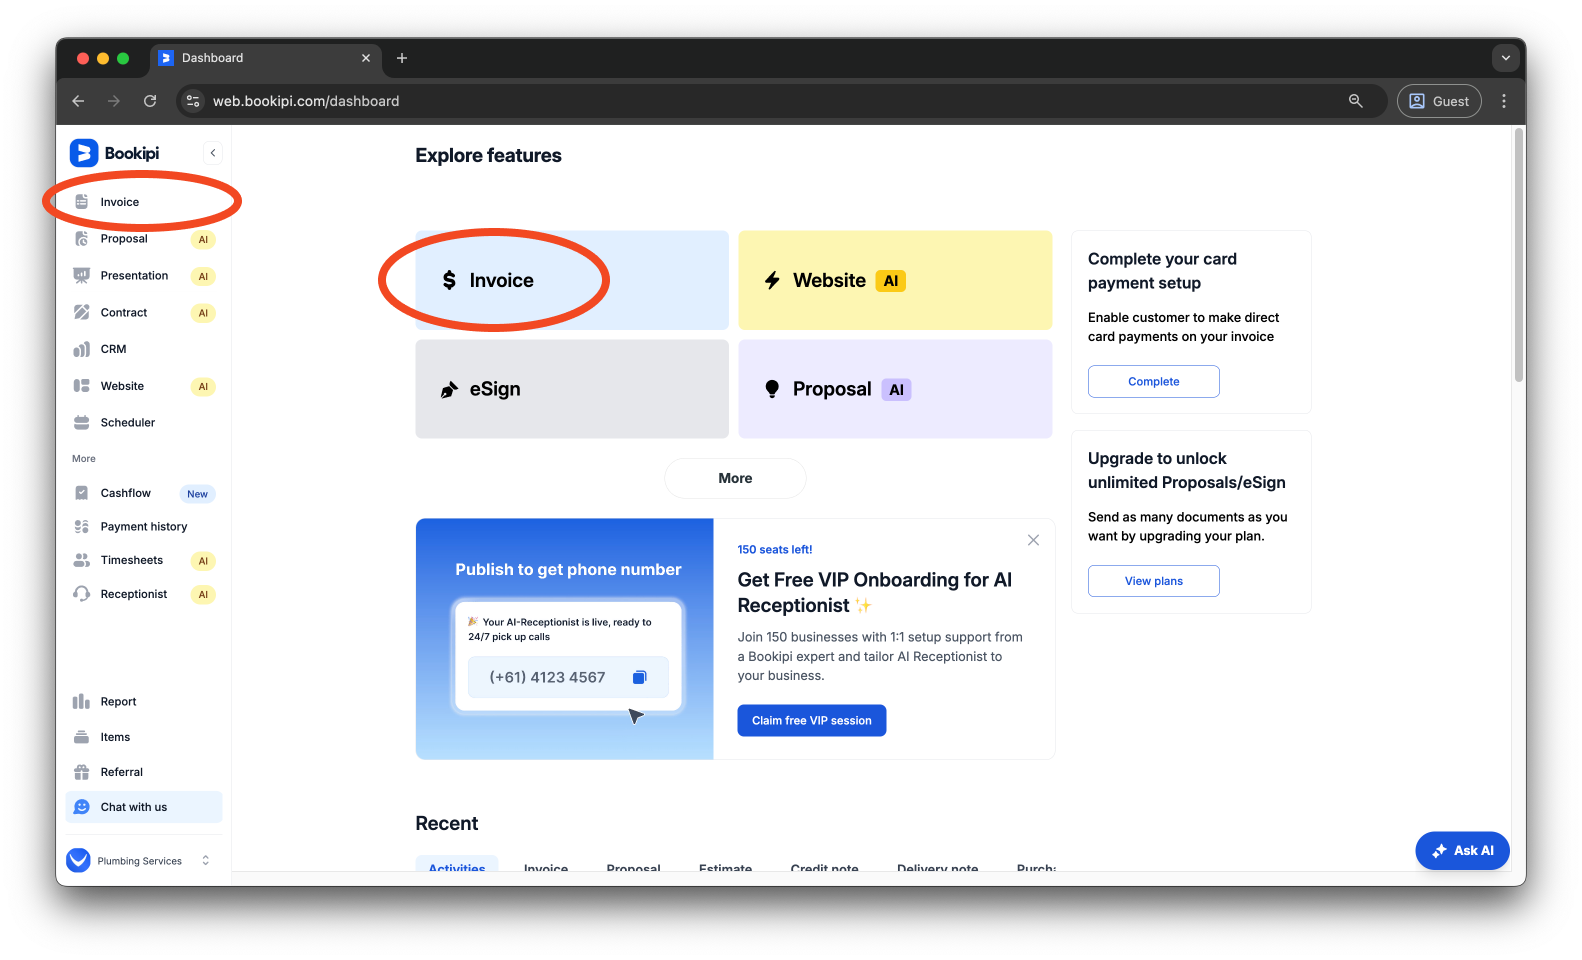
Step 1: Select ‘Invoice’.
From the Dashboard, click the ‘Invoice’ category in the left panel or select the ‘Invoice’ button under the Explore Features menu to open your Invoice category.
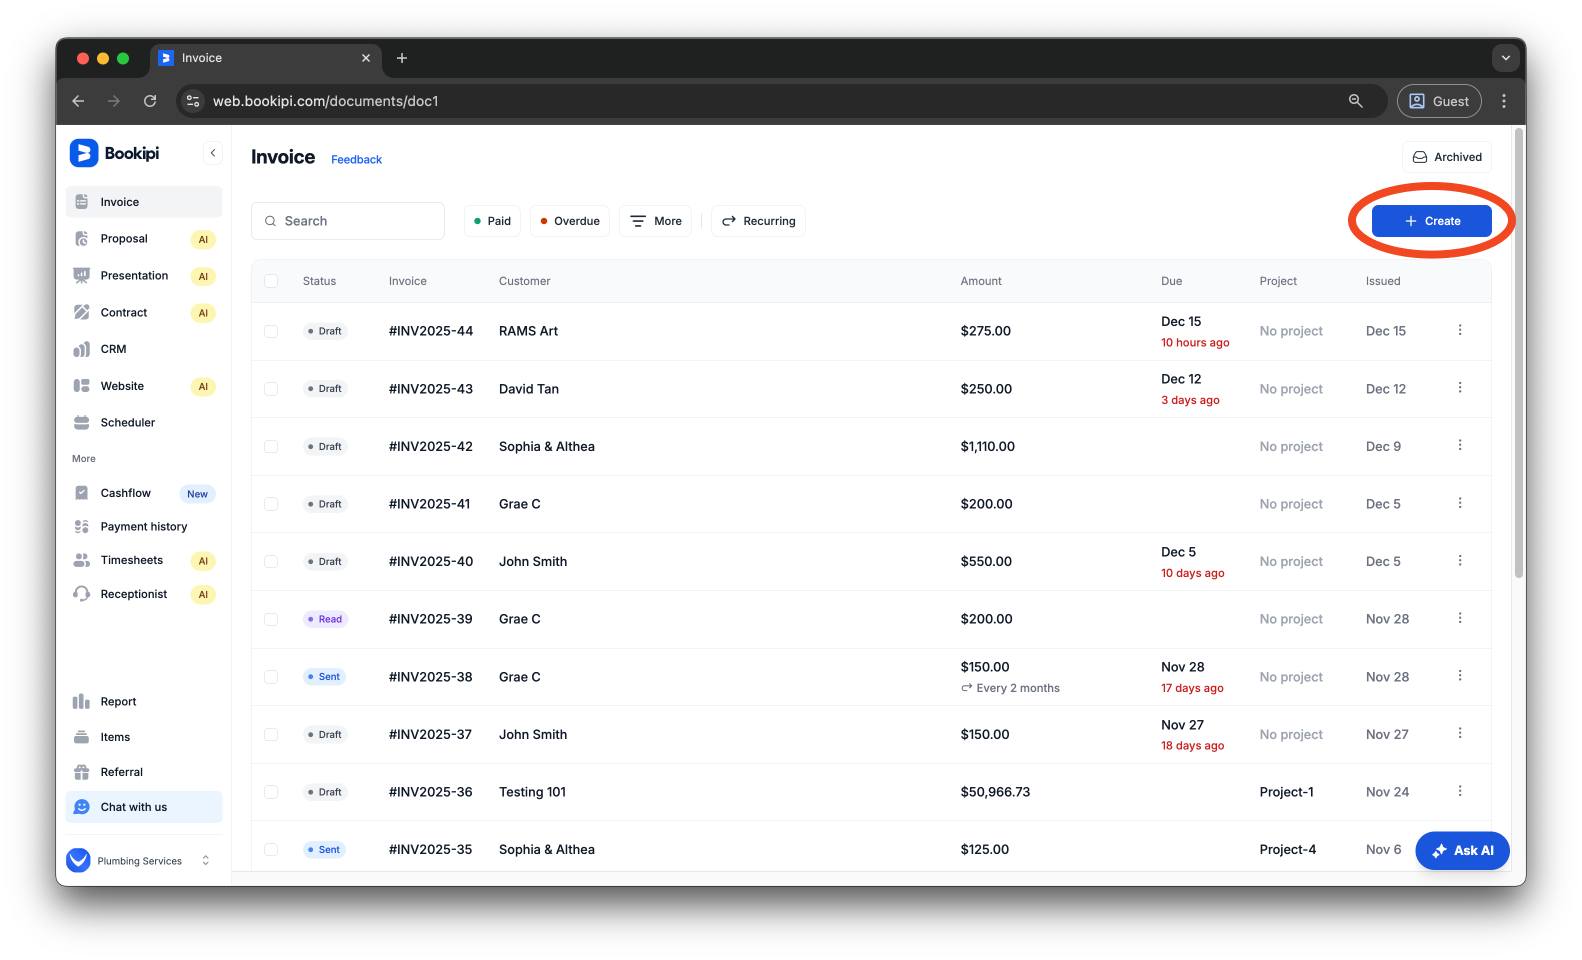
Step 2: Select ‘+Create‘.
To start your invoice, choose ‘+Create’ below the ‘Archived’ button.
Step 3: Enter the invoice details.
Fill out the necessary information for your invoice, including customer details, items or services, amounts, and any other relevant details.

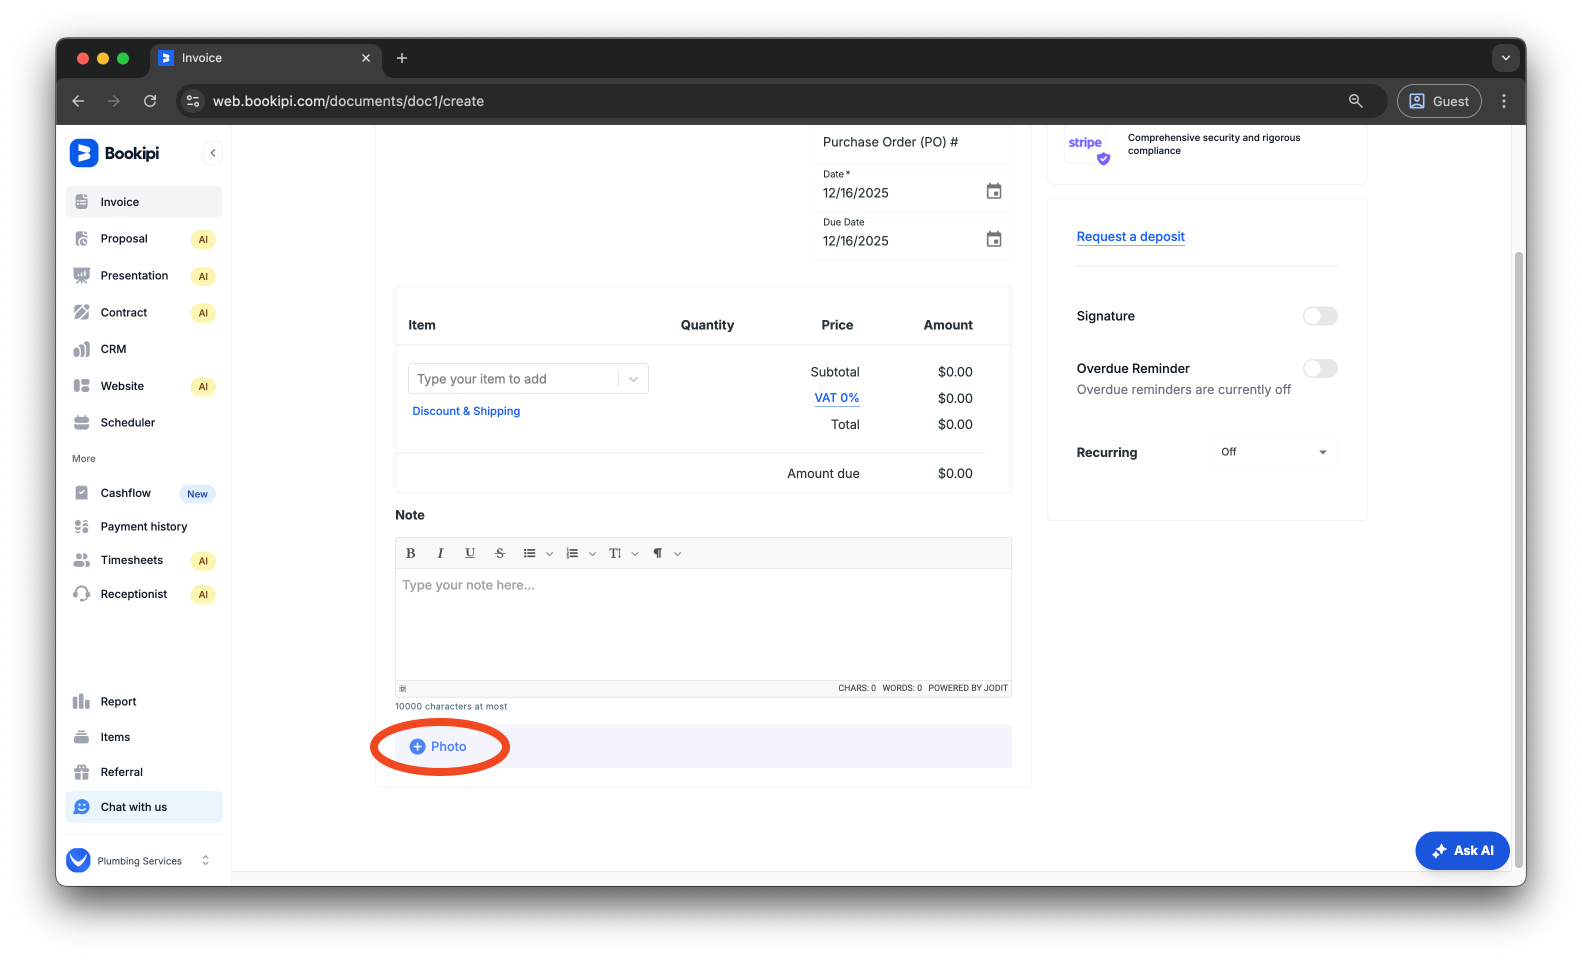
Step 4: Select ‘+Photo’.
Scroll down to the bottom and select ‘+Photo’ to add pictures to the invoice.
Step 5: Add a Photo.
Drag and drop the file into the box to add the photo, or click the box to select a photo from your files.
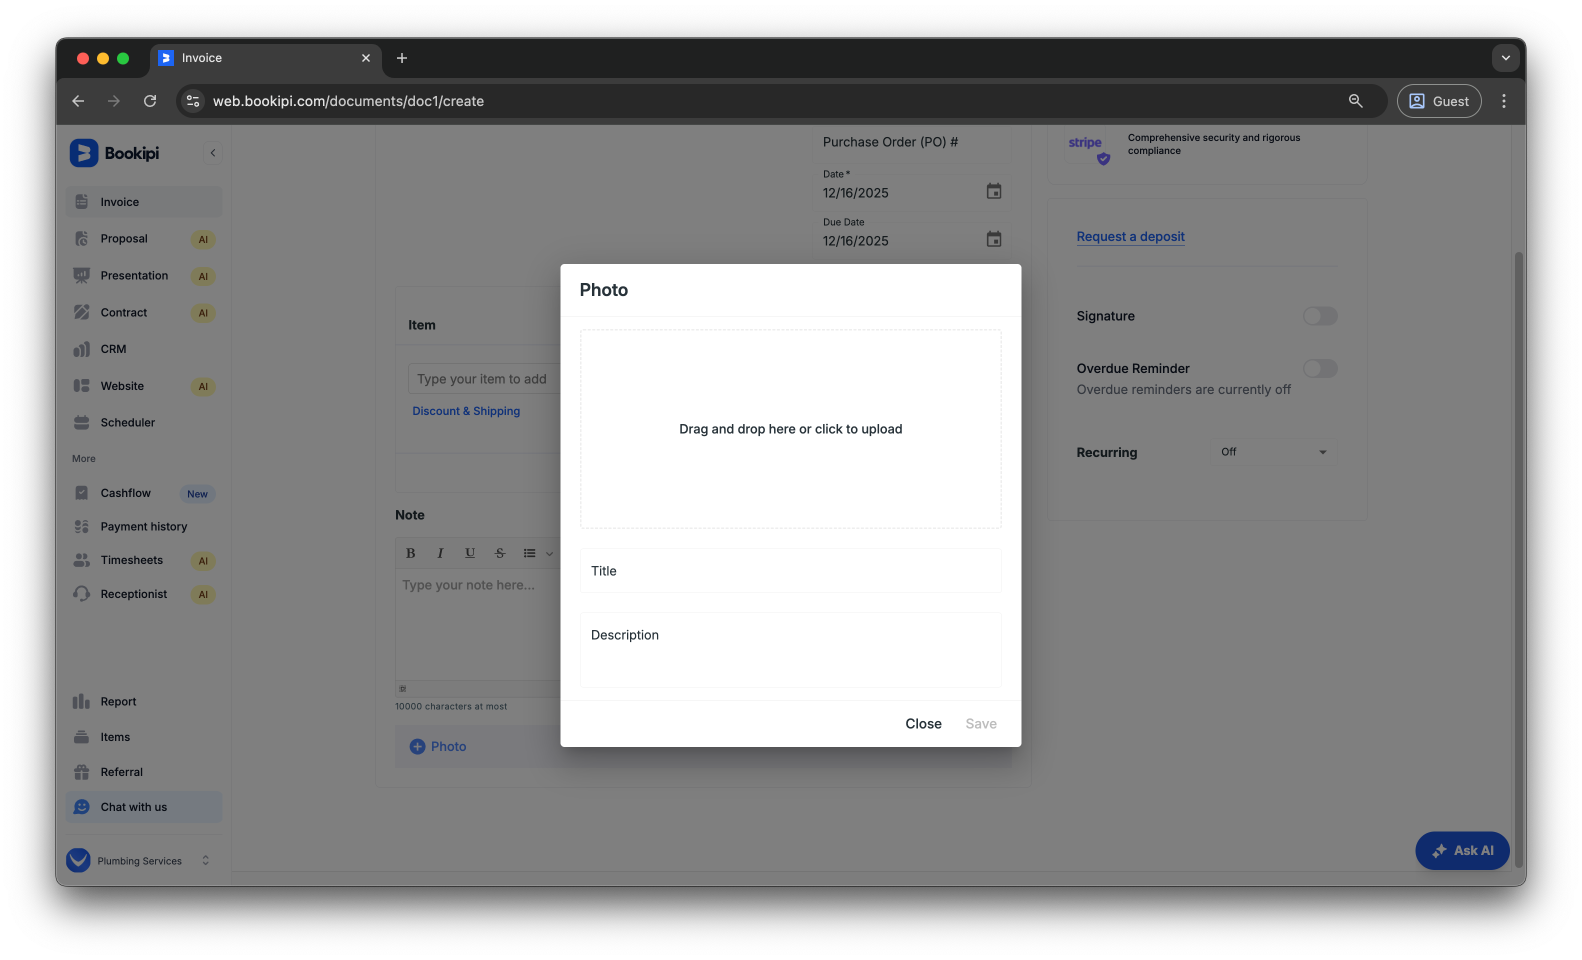
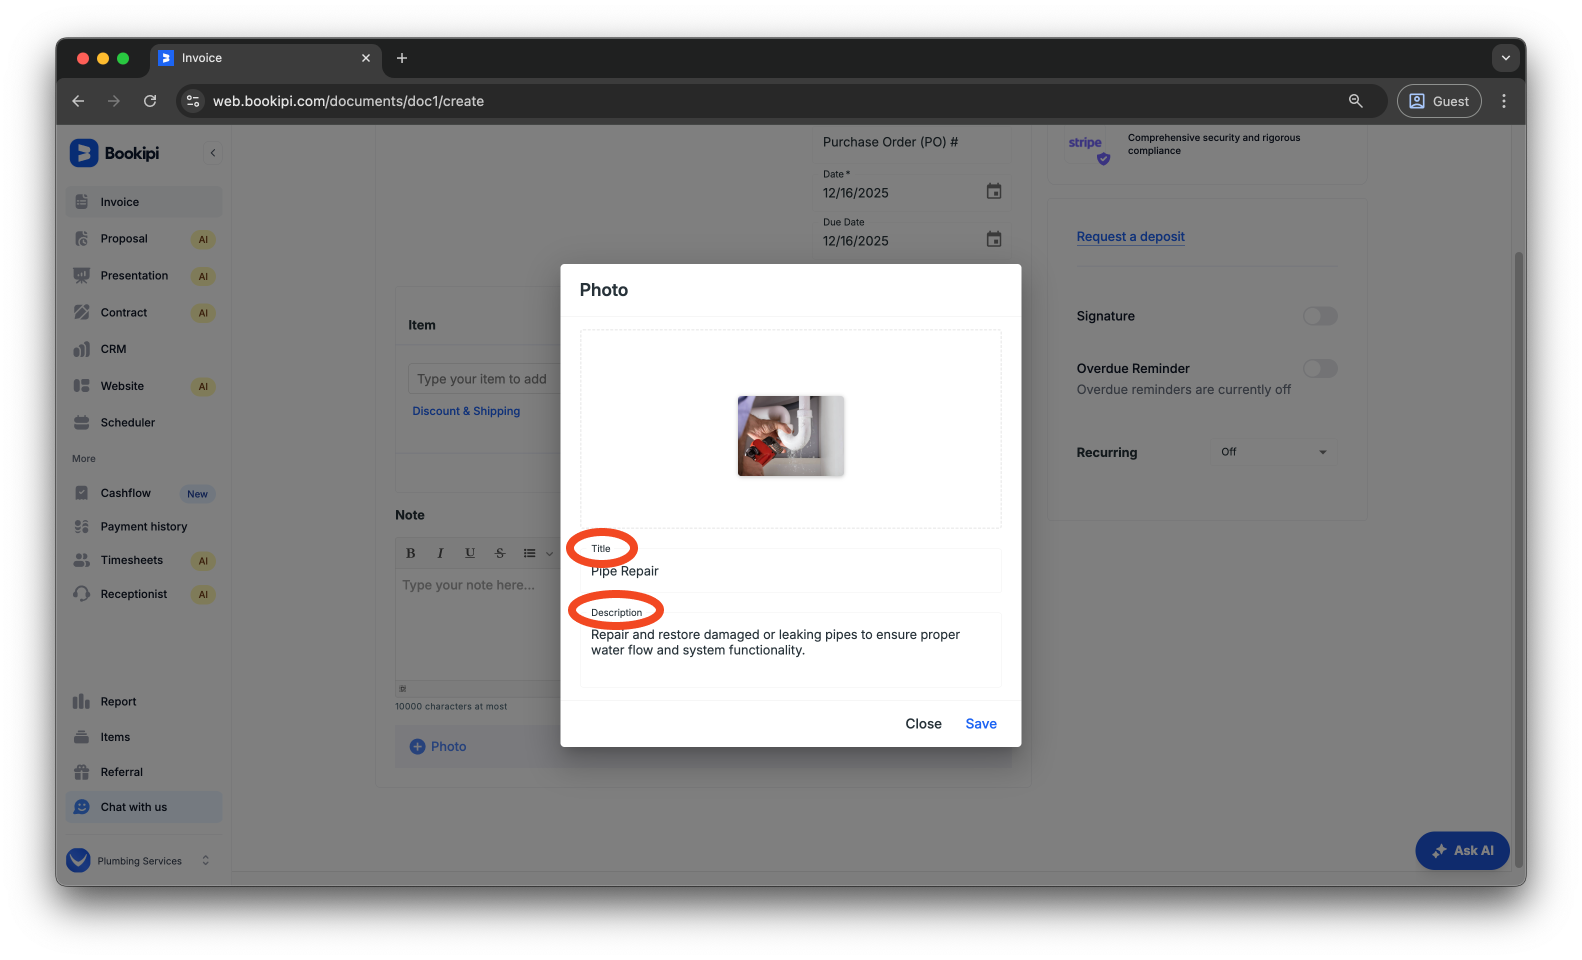
Step 6: Add a Title or Description.
You can add a Title or Description for the photo if needed, but this is totally optional.
Step 7: Select ‘Save’
Click ‘Save’ to attach the photo to your invoice.
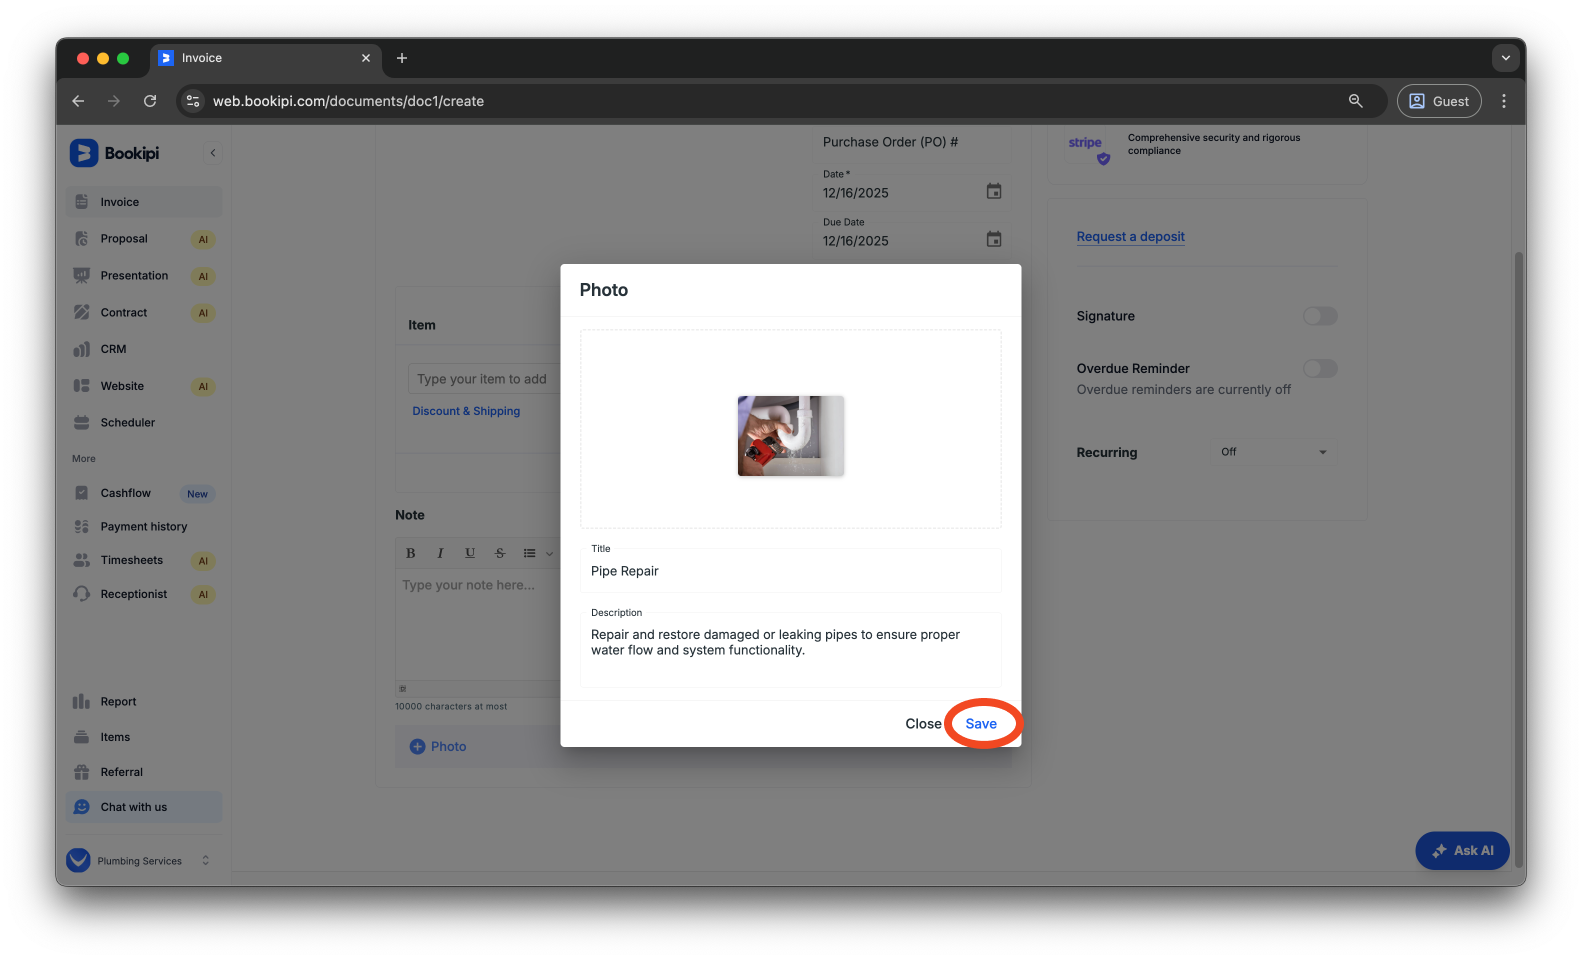
Please note that you can choose to add more photos by selecting ‘+Photo’ again on the invoice.
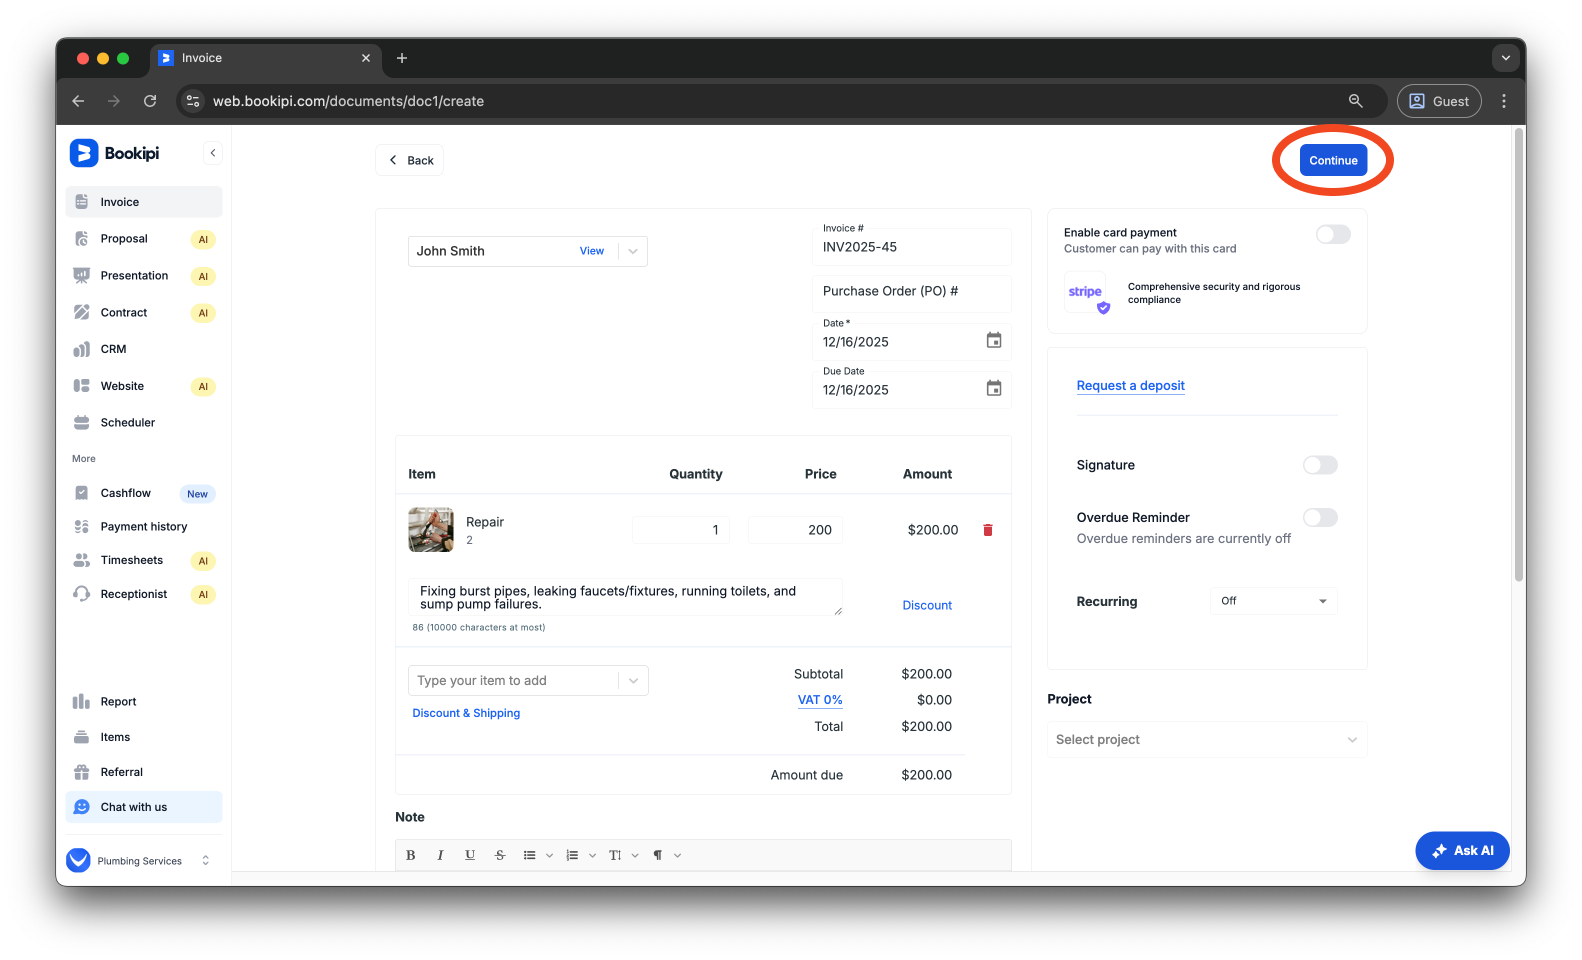
Step 8: Select ‘Continue’.
Select ‘Continue’ on the invoice in the top right corner of the screen to save your work.
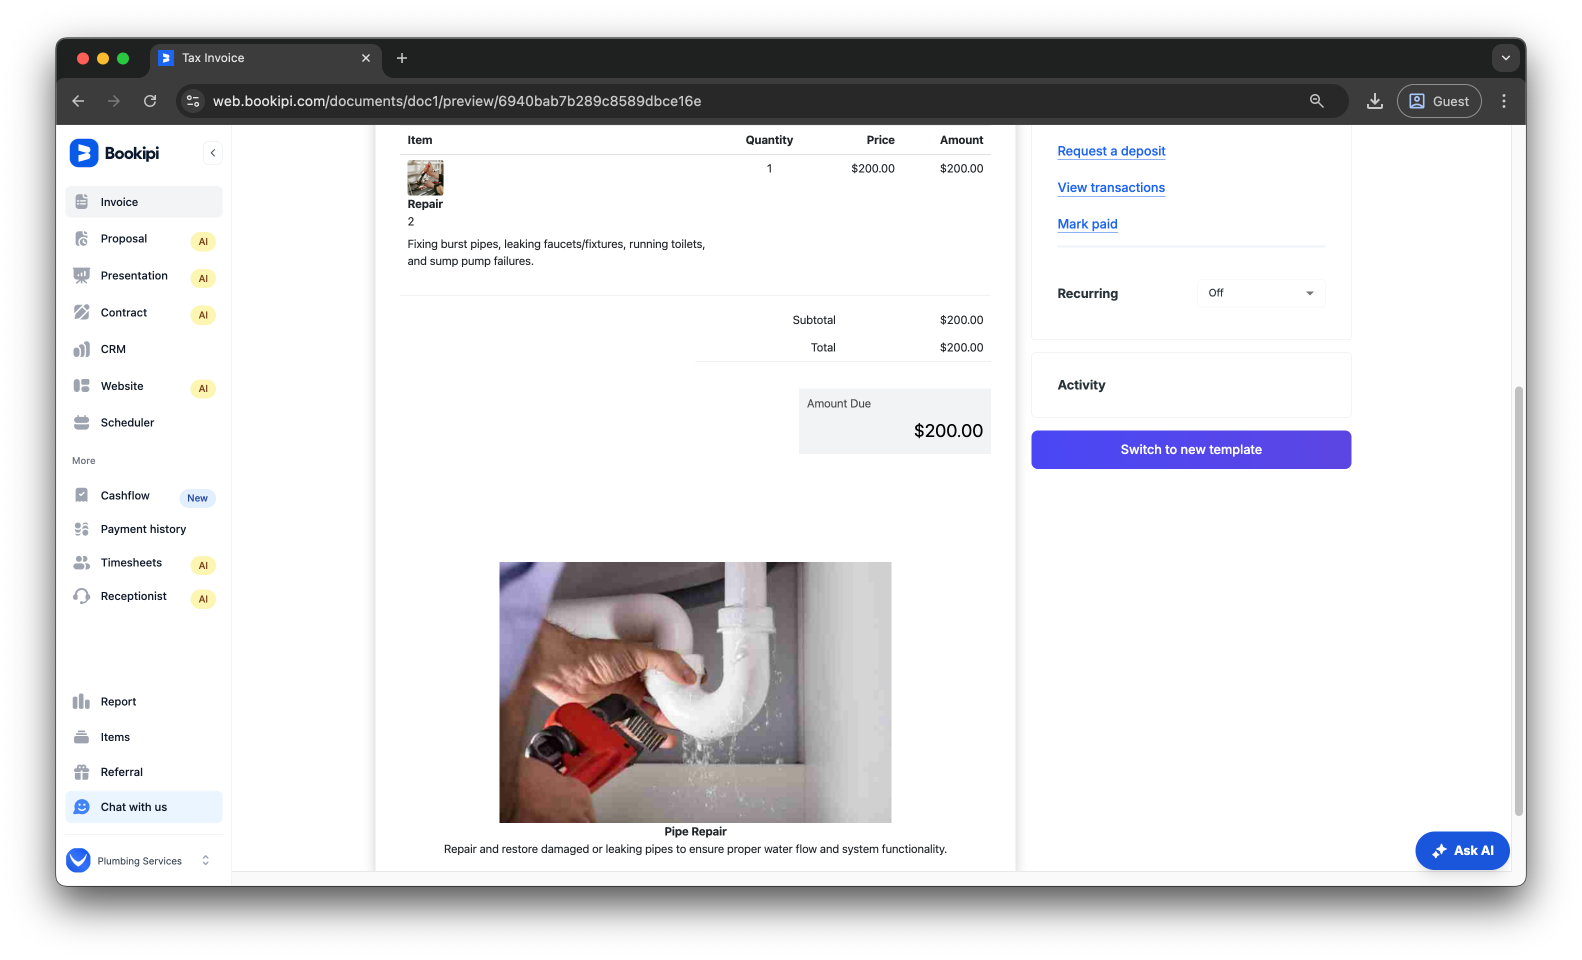
Your invoice will now include the attached image and description at the bottom of the invoice.
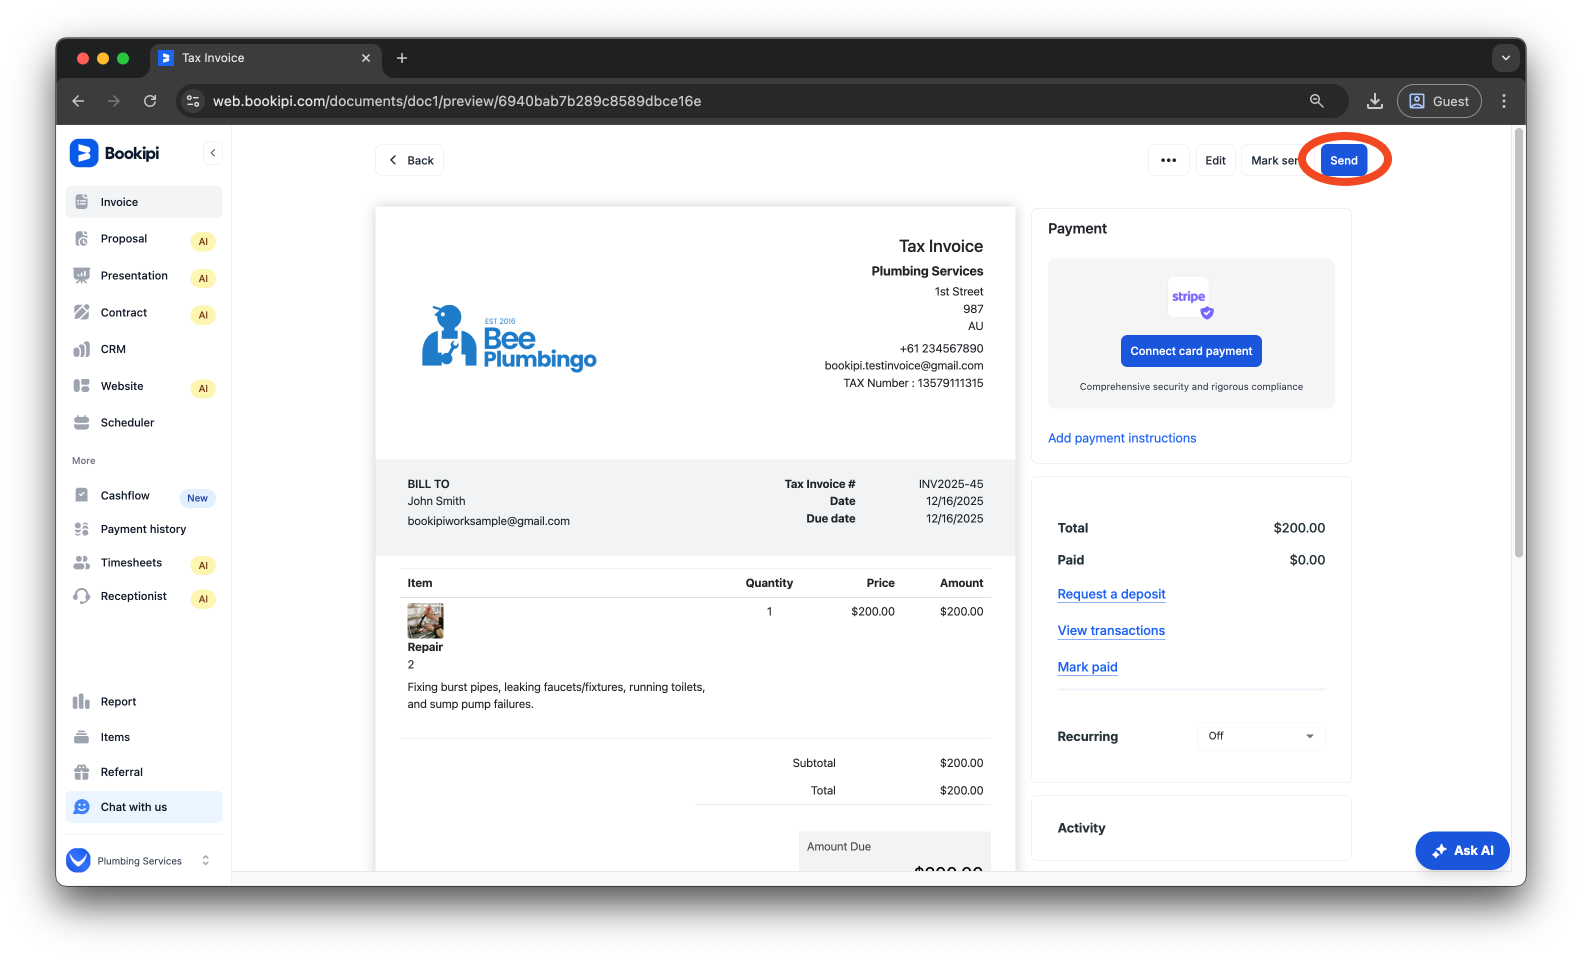
Step 9: Click ‘Send’.
Click ‘Send’ in the upper-right corner of the page to submit the invoice to your customer.
Common FAQs about how to attach a photo to an invoice on the web app
Q: What file formats are supported for photo attachments?
A: Most common image formats such as JPG, PNG, and JPEG are supported.
Q: Why can’t I upload a photo to my invoice?
A: This may be due to an unsupported file format, large file size, or a temporary connection issue. Try refreshing the page or using a different image.
Q: Can I attach photos in bulk?
A: No. While you can add multiple photos, they must be attached one at a time.
Discover more tutorials for Bookipi Invoice on Web v2
Discover more tips on how to get the most out of Bookipi Invoice on Web v2 with our Web v2 guides.
Make sending invoices anytime and anywhere even easier by downloading Bookipi Invoice mobile app and check out our mobile app guides.


