Learn how to add expense using the Web app
How to manually add expense on the Web app
Here are the simple steps to manually add an expense using the web app.
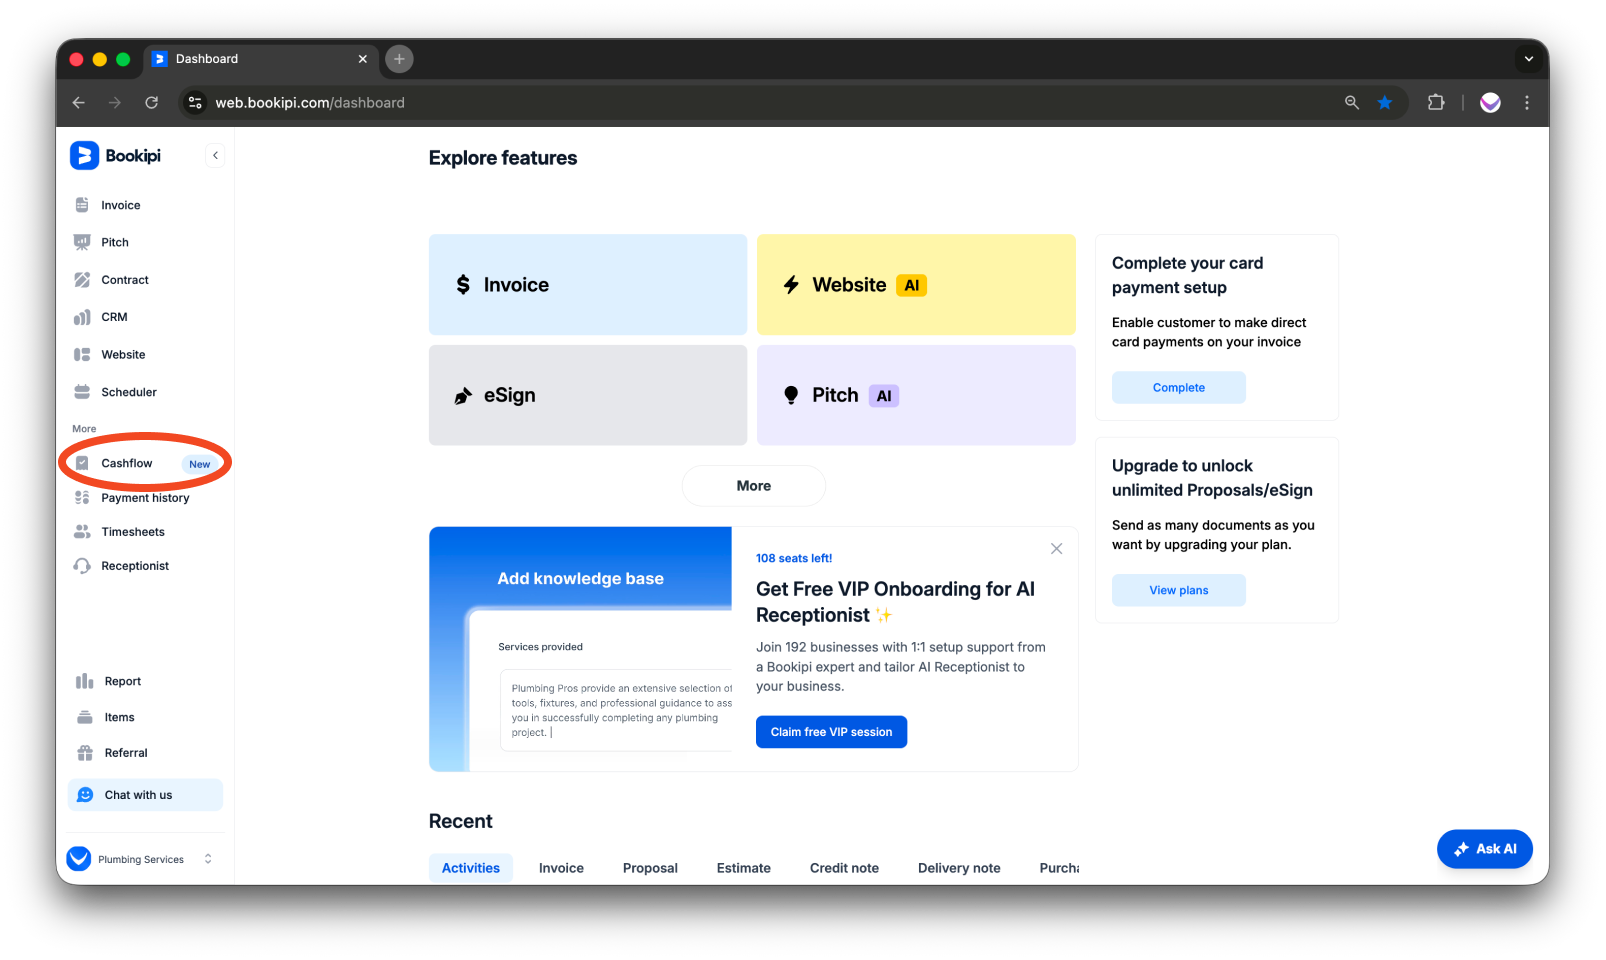
Step 1: Select ‘Cashflow’
From the left-hand sidebar menu, click on ‘Cashflow’ to open the Cashflow section.
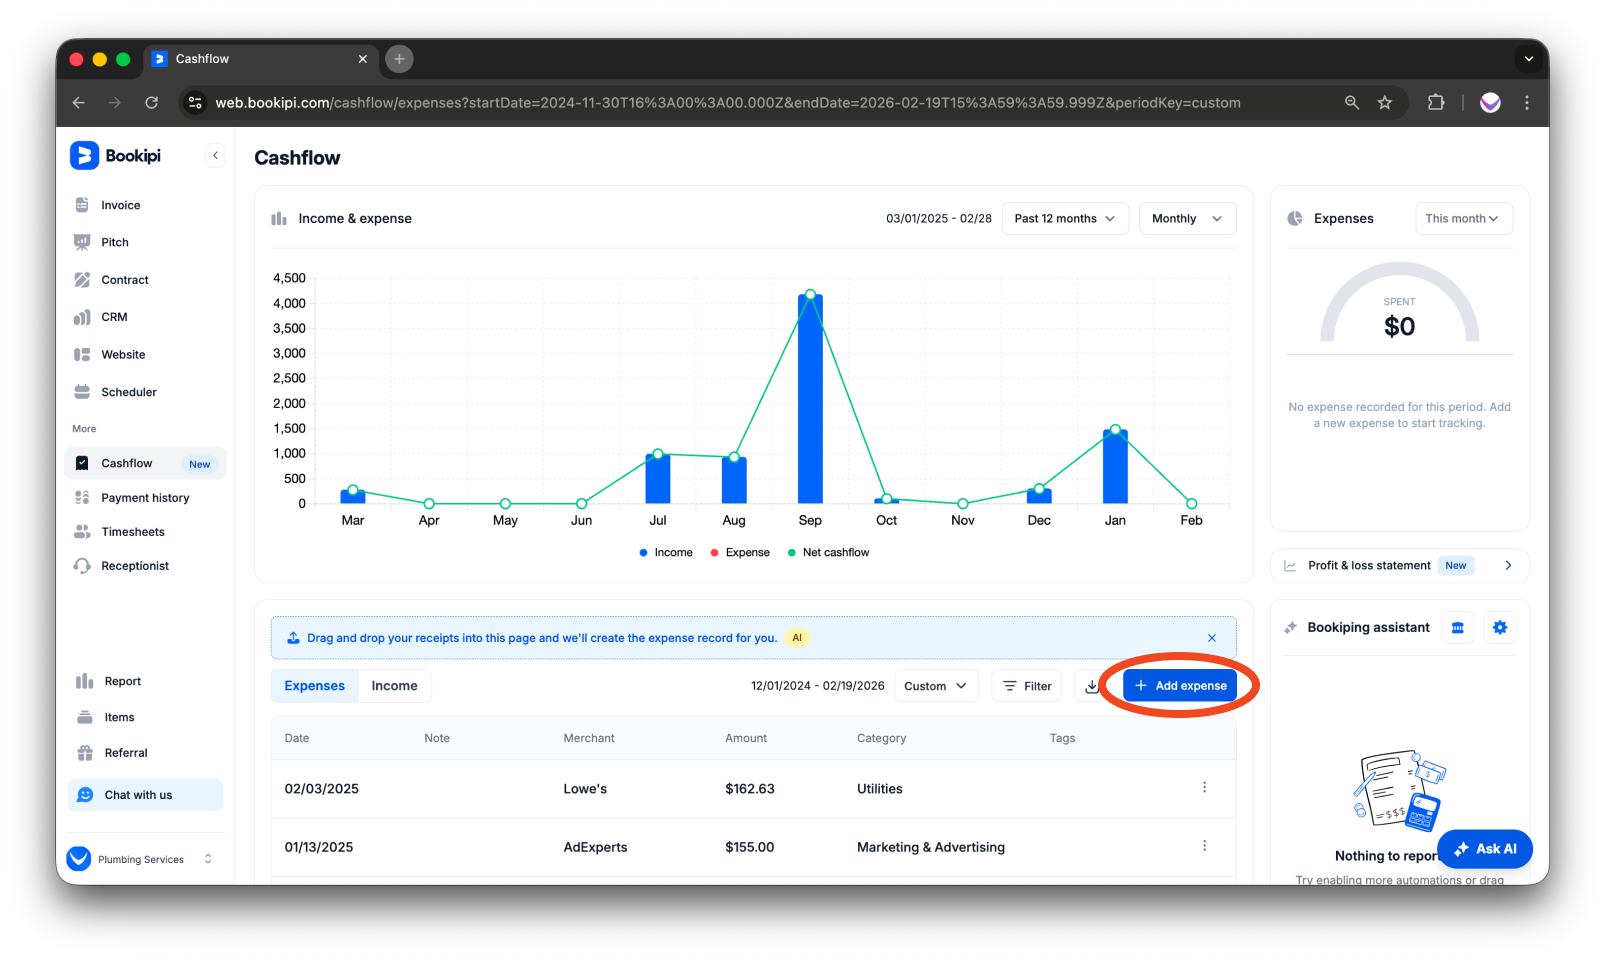
Step 2: Click the ‘+ Add expense’ button
Click the ‘+ Add expense’ button to begin adding a new expense.
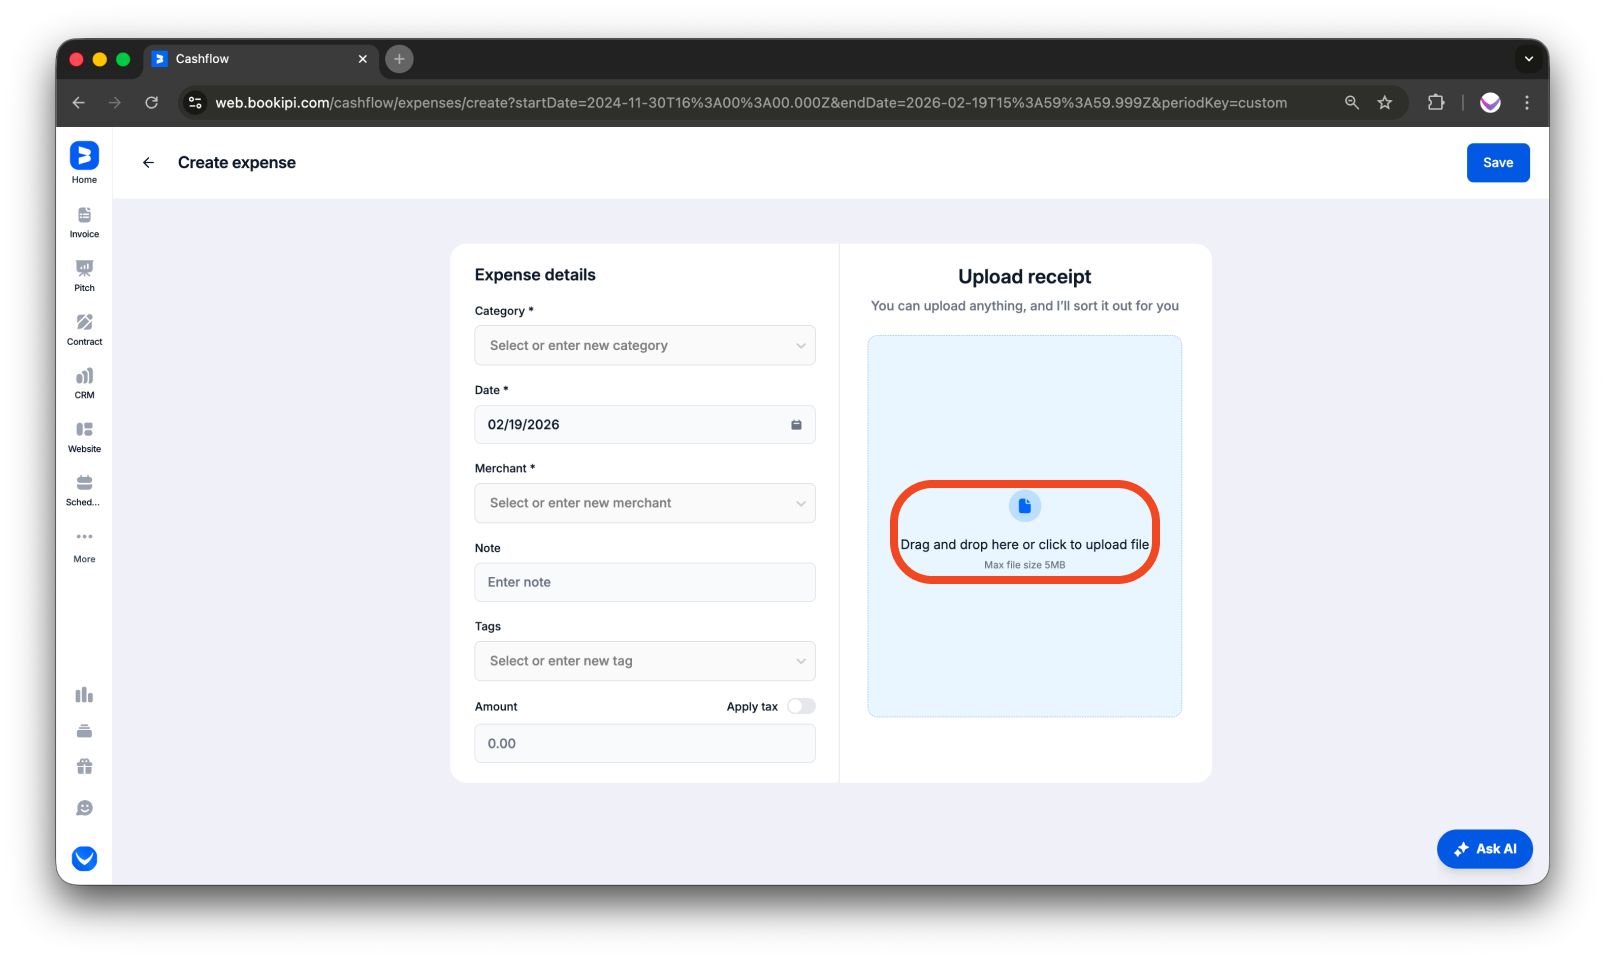
Step 3: Upload Your Receipt
Drag and drop your receipt file or click the upload area to select a receipt from your device.
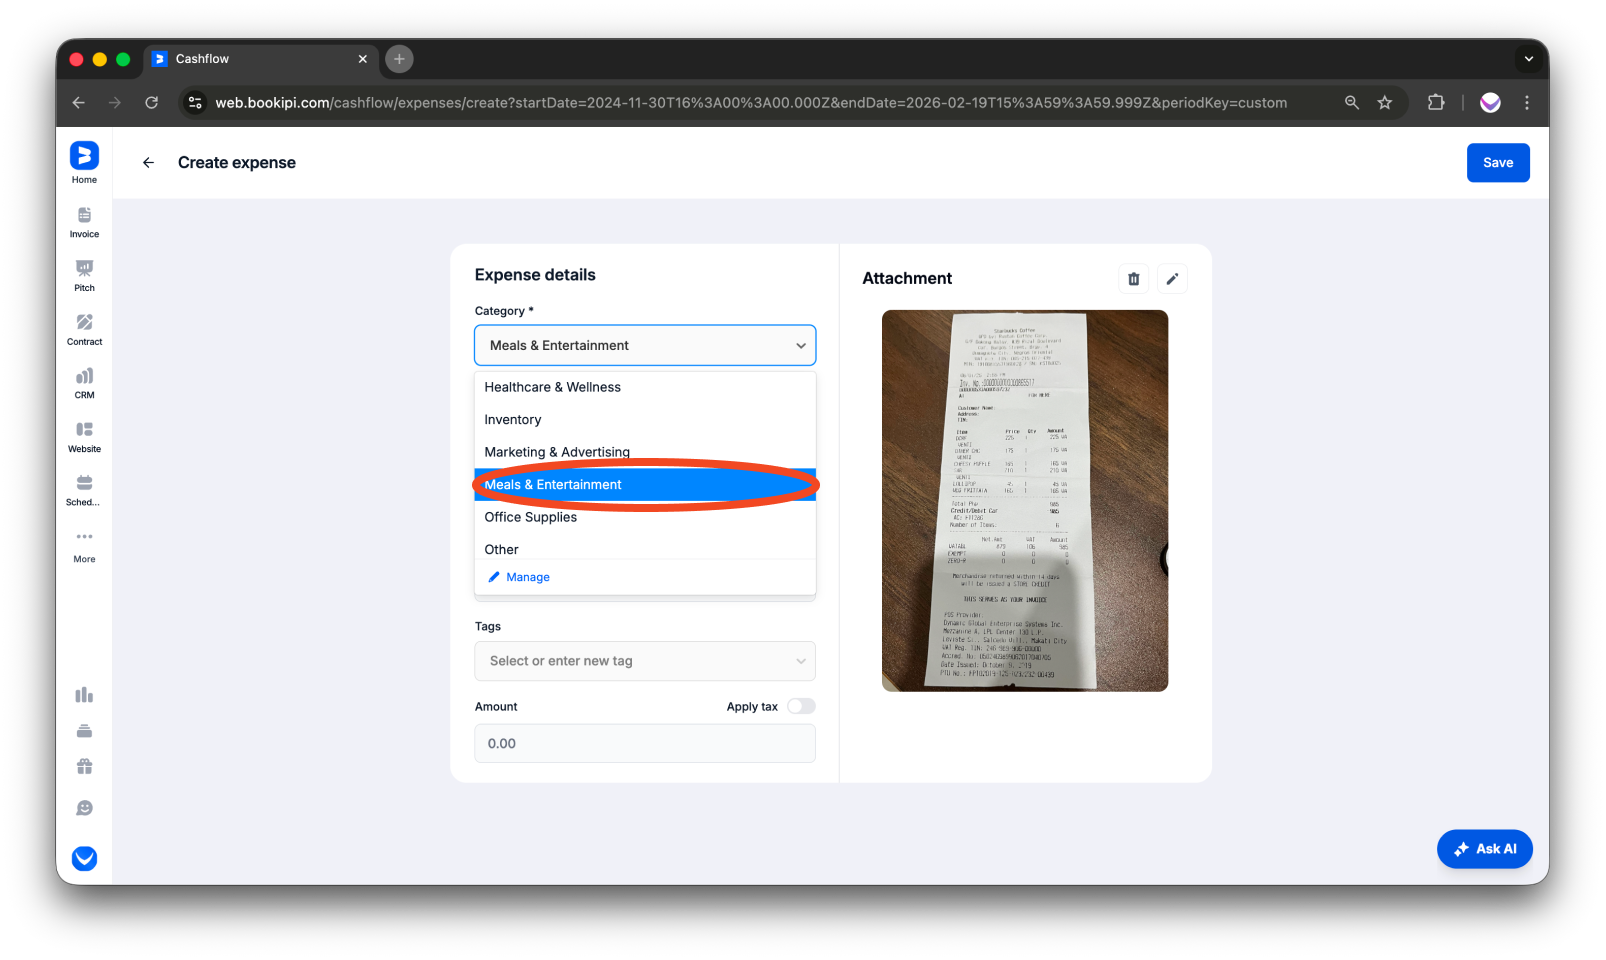
Step 4: Select a Category
Choose the relevant ‘Category’ for the expense (e.g., Utilities, Travel, etc.).
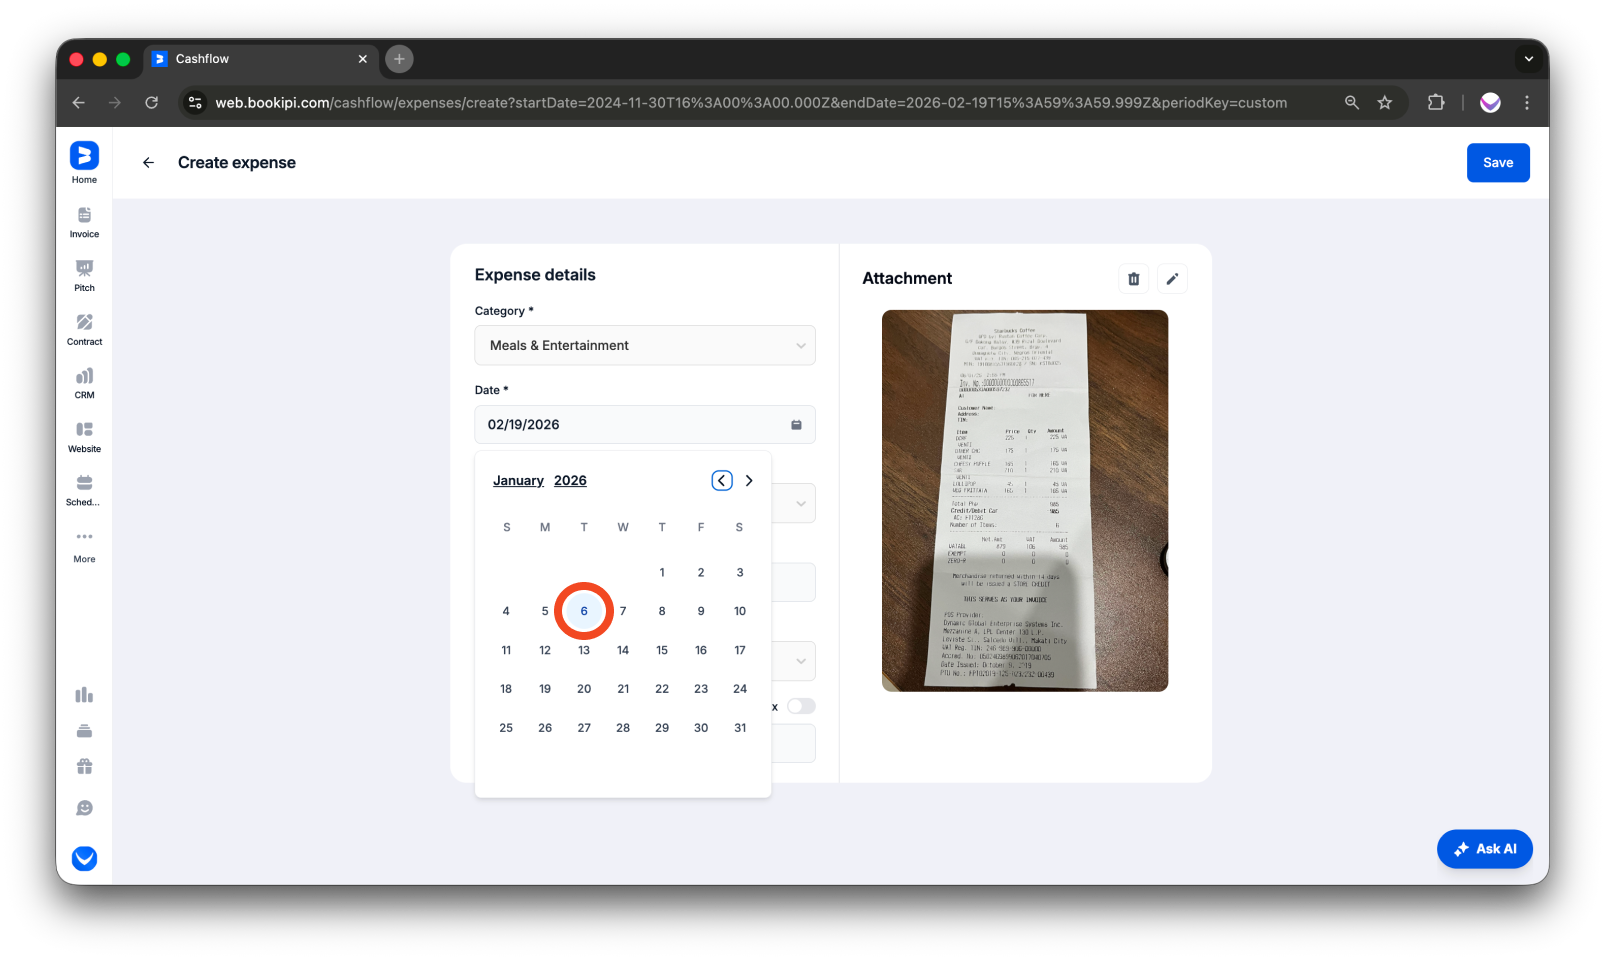
Step 5: Choose the Date
Select the ‘Date’ the expense occurred.
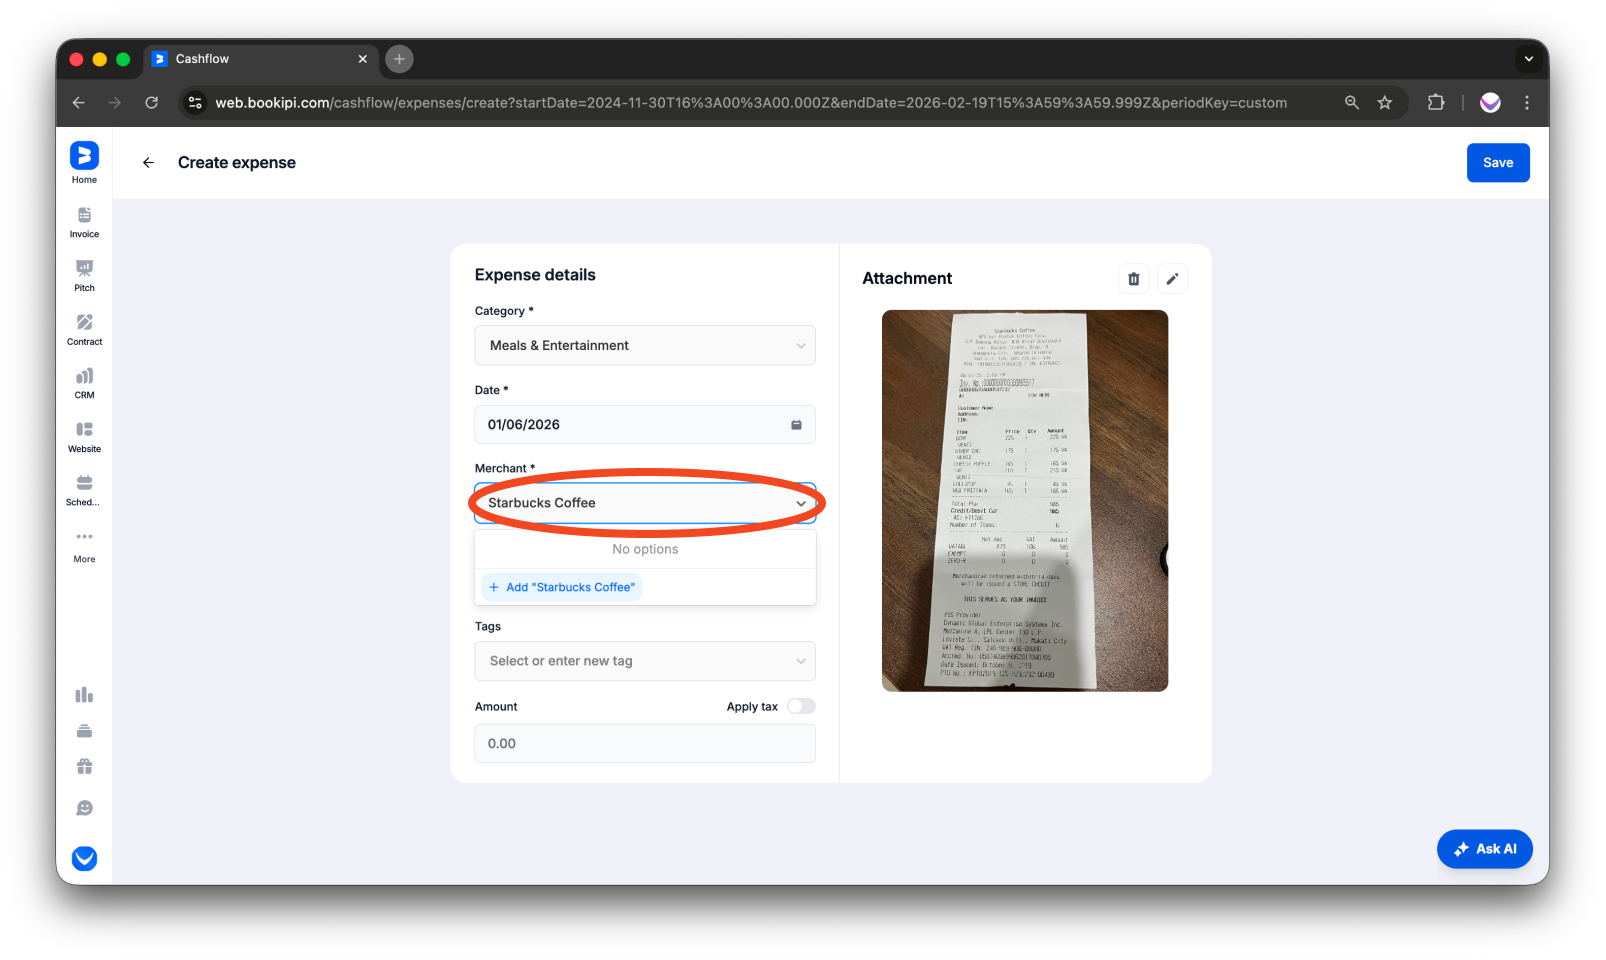
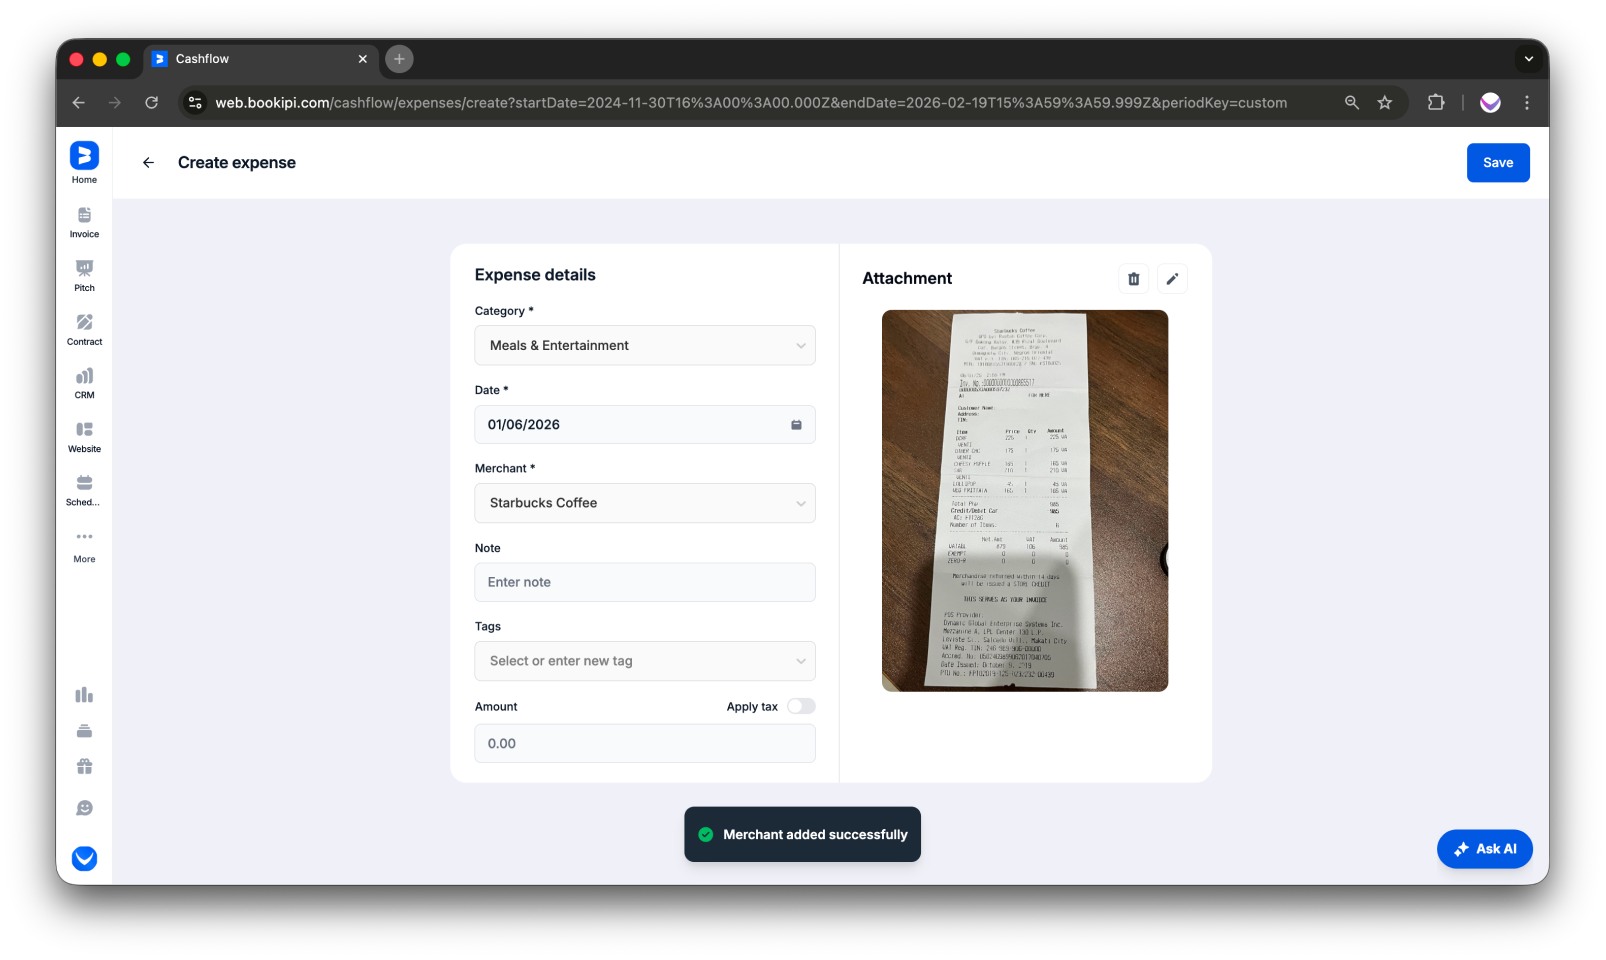
Step 6: Add a Merchant
Enter the name of the merchant for this expense.
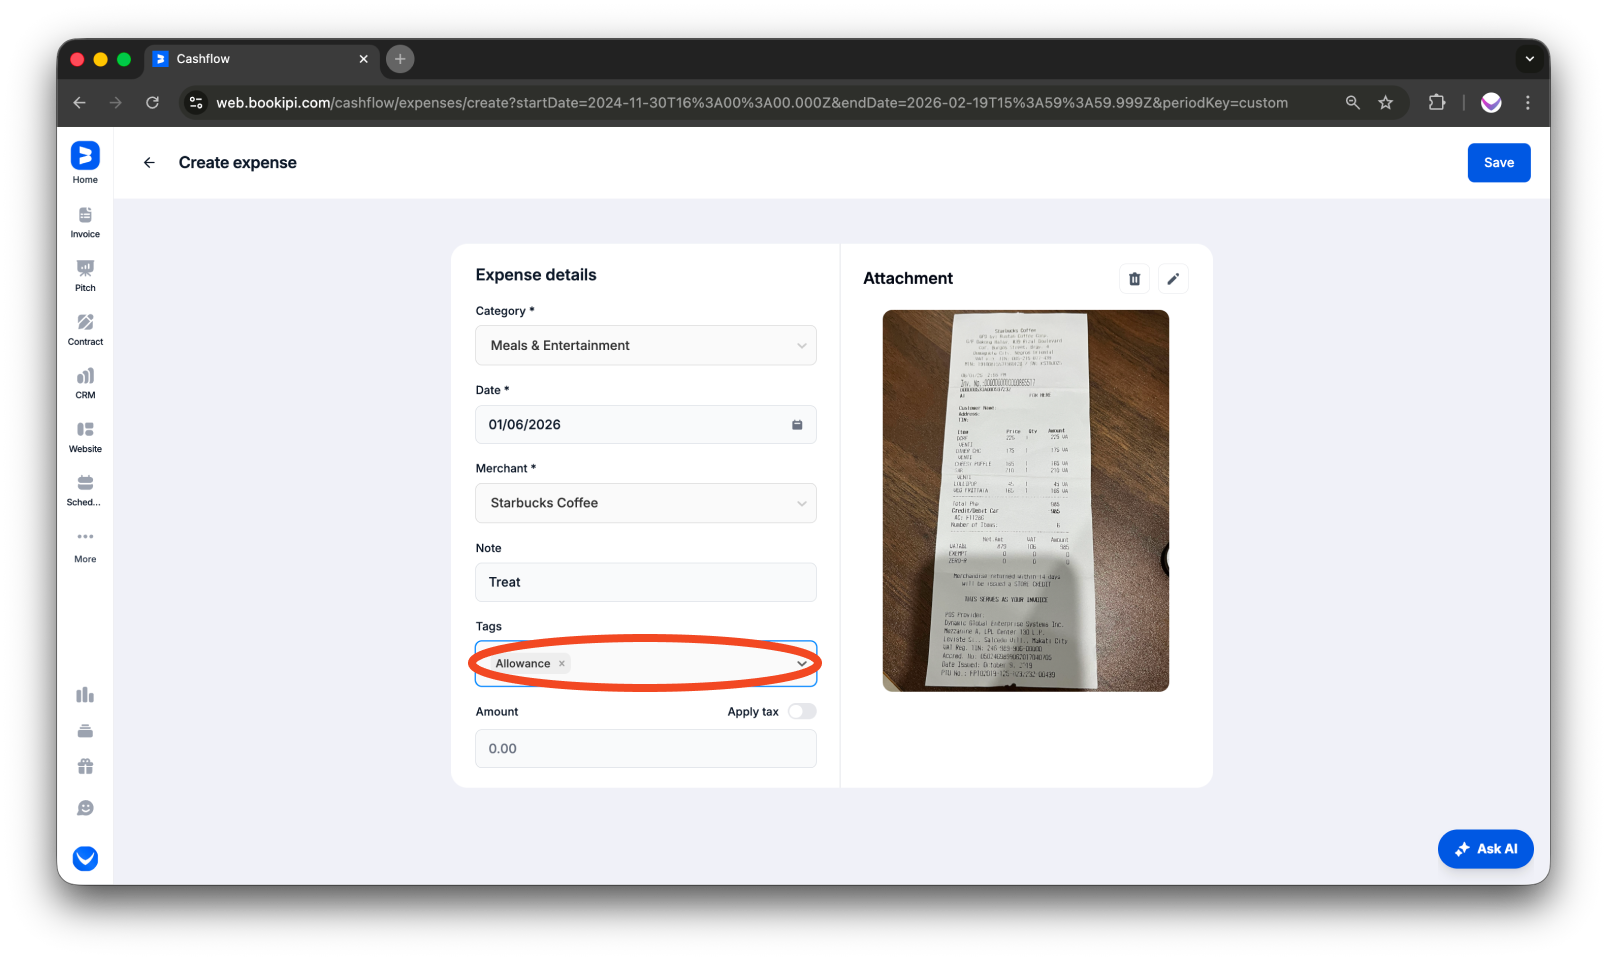
Step 7: Enter Additional Details
Add ‘Notes’ to provide more information about the expense.
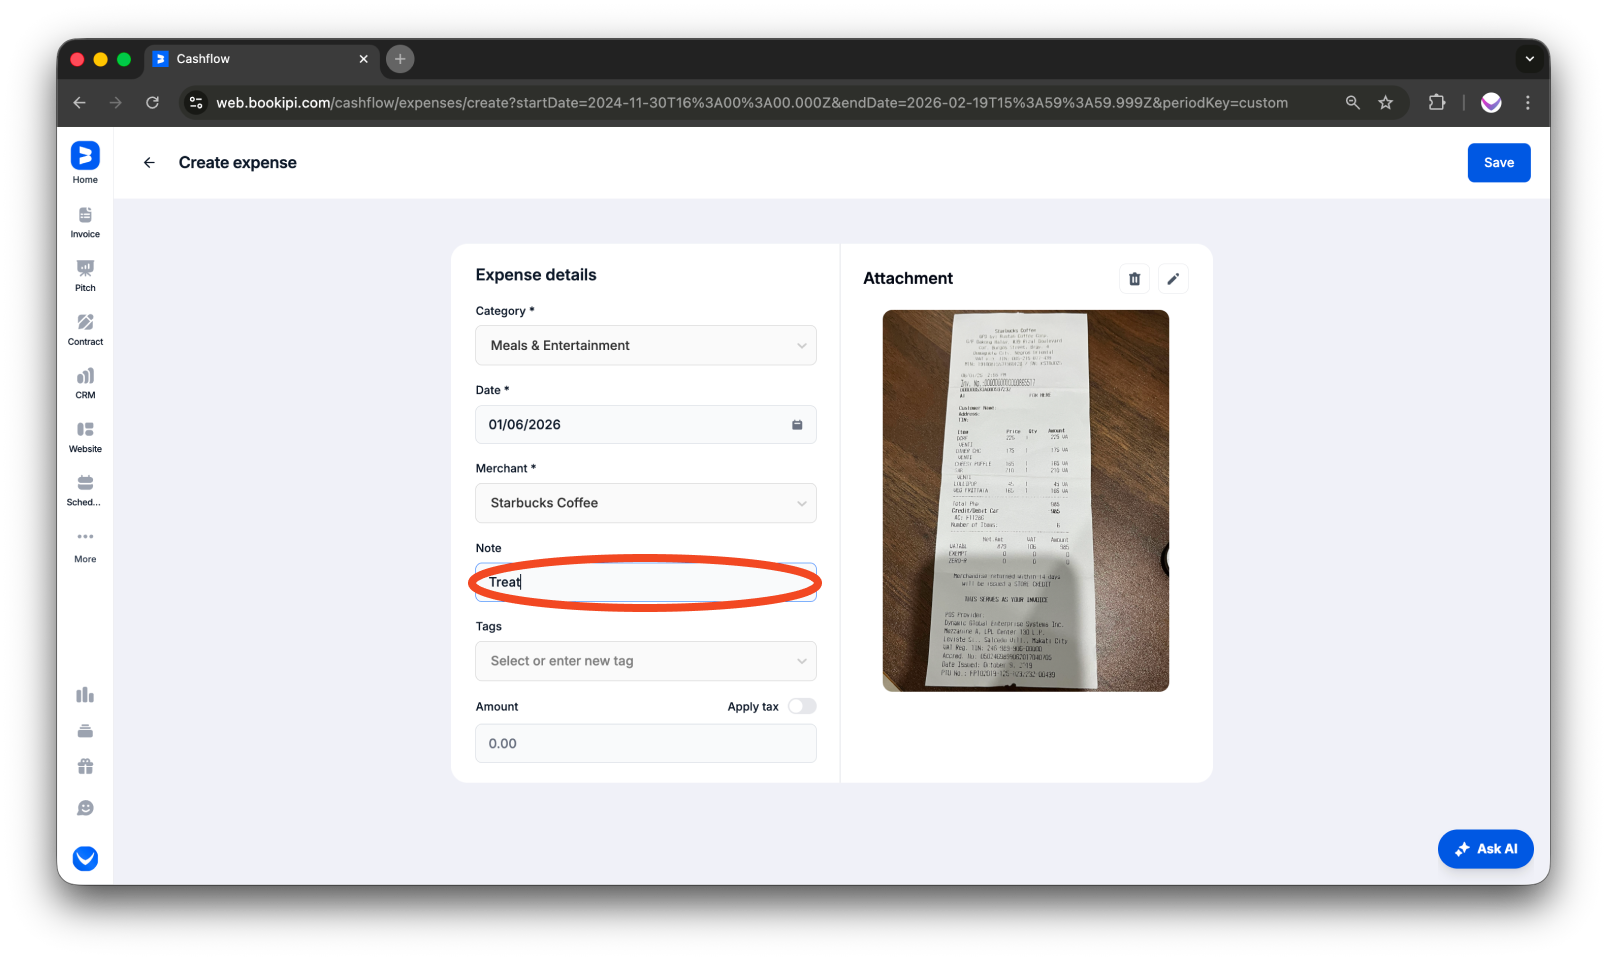
You can also include a ‘Tags’ if applicable.
Step 7: Input the Amount
Enter the ‘Amount’ of the expense.

Step 8: Save the Expense
Click the ‘Save’ button to finalize and add the expense.
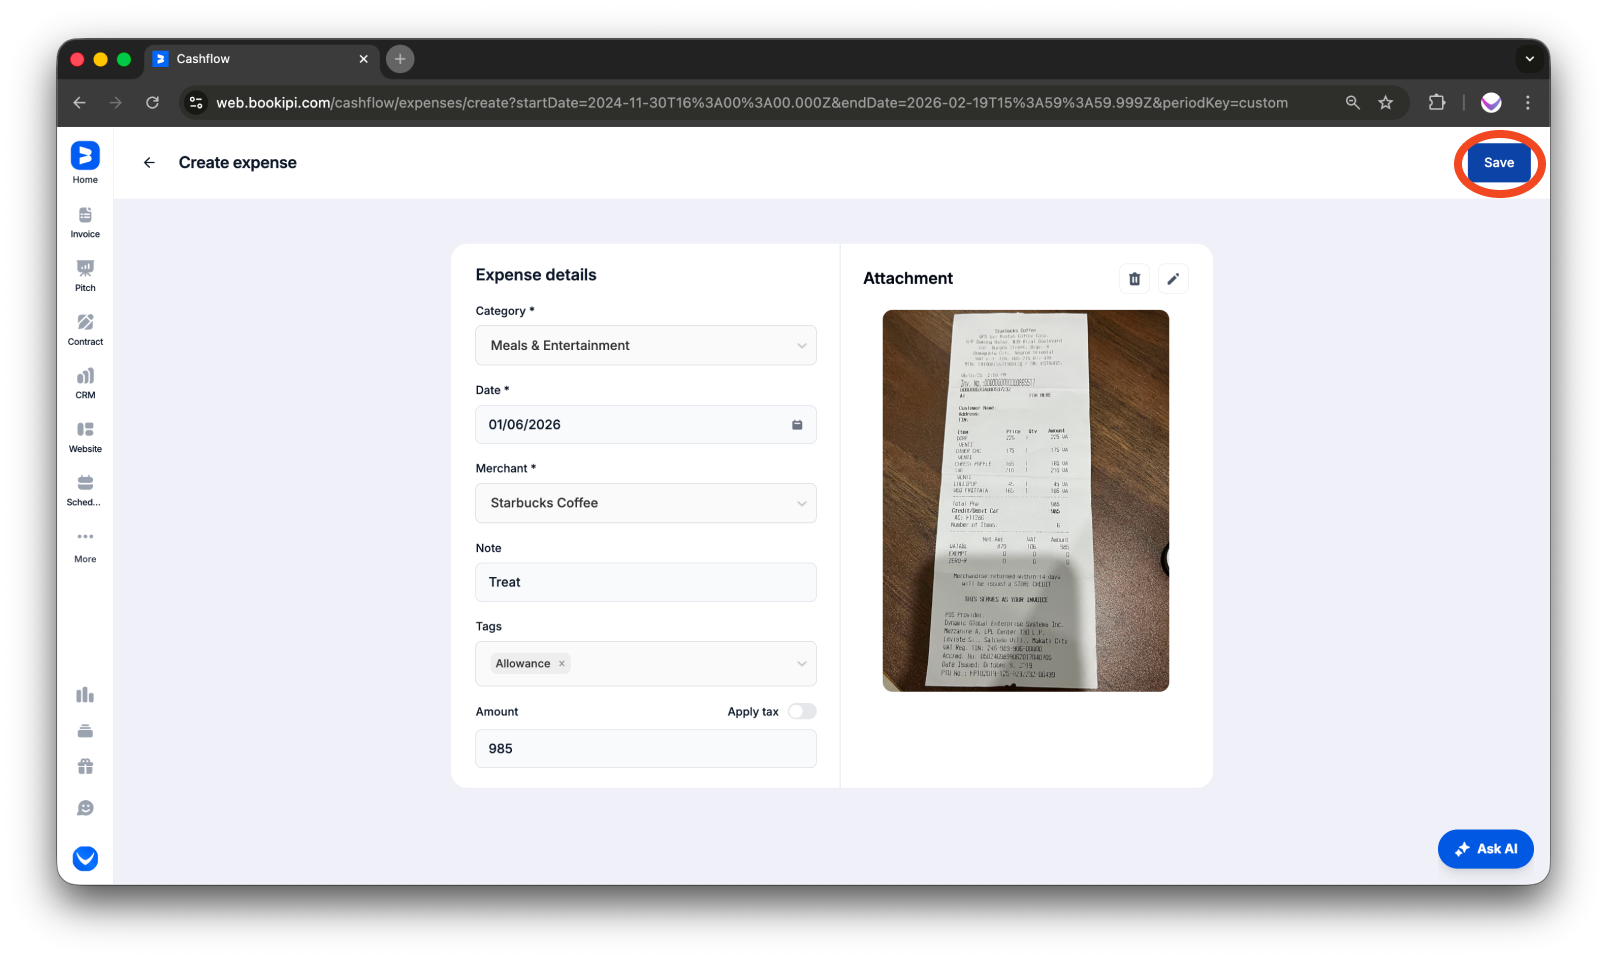
The expense has now been added to your Expense list.
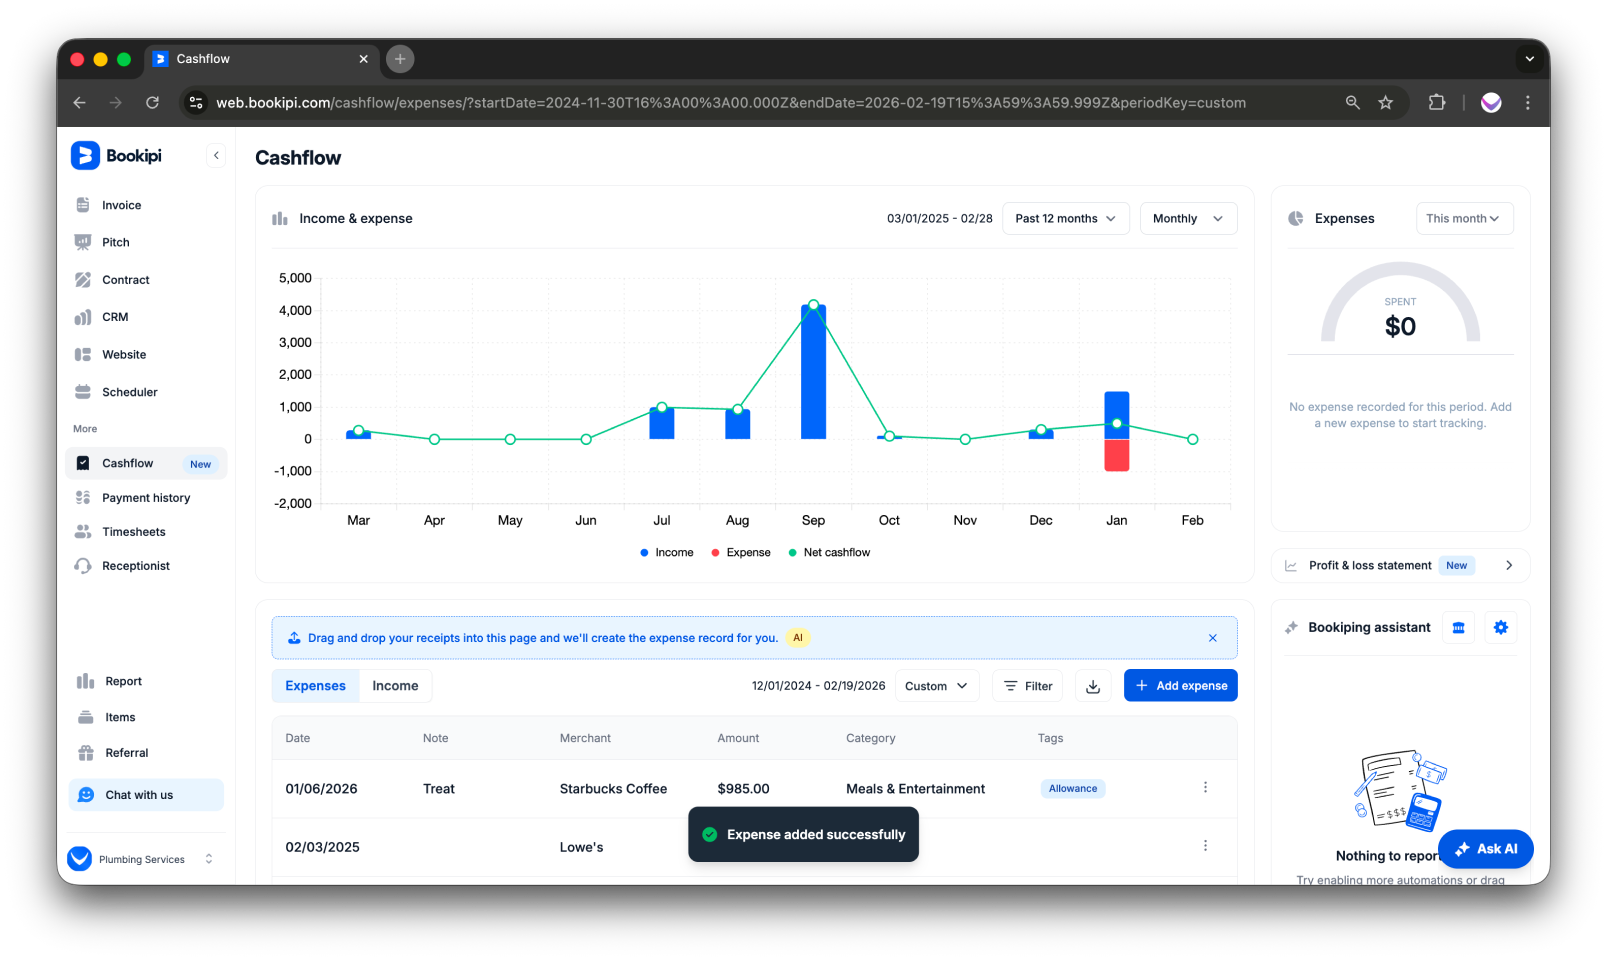
On the Cashflow page, all expenses are listed chronologically, starting with the most recent at the top and moving toward older entries. This organization makes it easy to quickly review and access your latest expenses.
FAQ
Q: Is this feature free?
A: Yes, this feature is currently available free of charge.
Q: Can I sync my bank with the platform?
A: Yes, you can sync your bank using the Cashflow web version. To get started, follow the steps below:
-
On the right-hand side of the Cashflow page, click ‘Booking assistant’.
-
Select ‘Add bank account’.
-
Choose your bank from the list. If you don’t see your institution, use the search bar at the bottom to find it.
-
Enter your bank details and other information as prompted.
-
Once completed, click ‘SUBMIT’.
Q: Will expenses added on the web app sync to the mobile app?
A: No, expenses added via the web app will not sync with the mobile app’s Cash Flow feature.
Q: Can I add expenses for individual companies to my account?
A: Yes, each company in your account includes a Cashflow feature, allowing you to add and manage expenses specific to that company.
Discover more tutorials for Bookipi Invoice on Web v2
Discover more tips on how to get the most out of Bookipi Invoice on Web v2 with our Web v2 guides.
Download the Bookipi Invoice mobile app and check out our mobile app guides to make sending invoices anytime and anywhere even easier.


