Learn how to edit the AI-generated “Why Us” section of your proposal.
How to edit your Why Us section on Proposal AI
Follow the simple steps below to learn how to edit the AI-generated “Why Us” content in your proposal.
Step 1: Click ‘Proposal AI’.
Click on ‘Proposal AI’ either from the dashboard or the left panel of the screen.

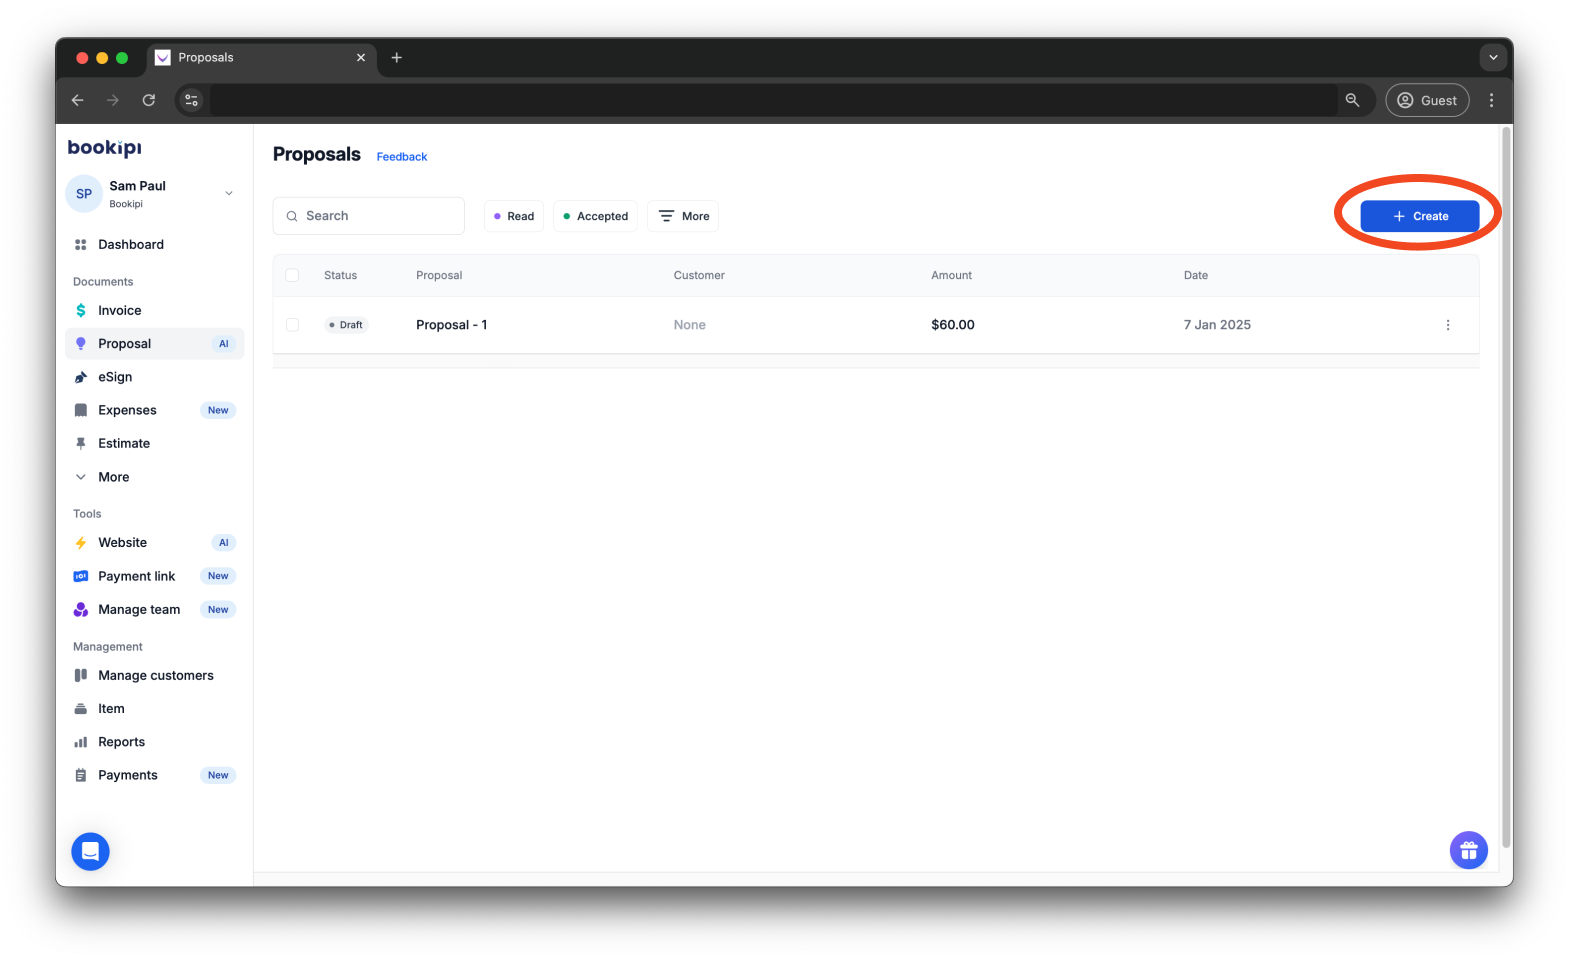
Step 2: Click ‘+ Create’ or open a draft proposal.
Click ‘+ Create’ to start a new proposal, or choose a draft from your list.
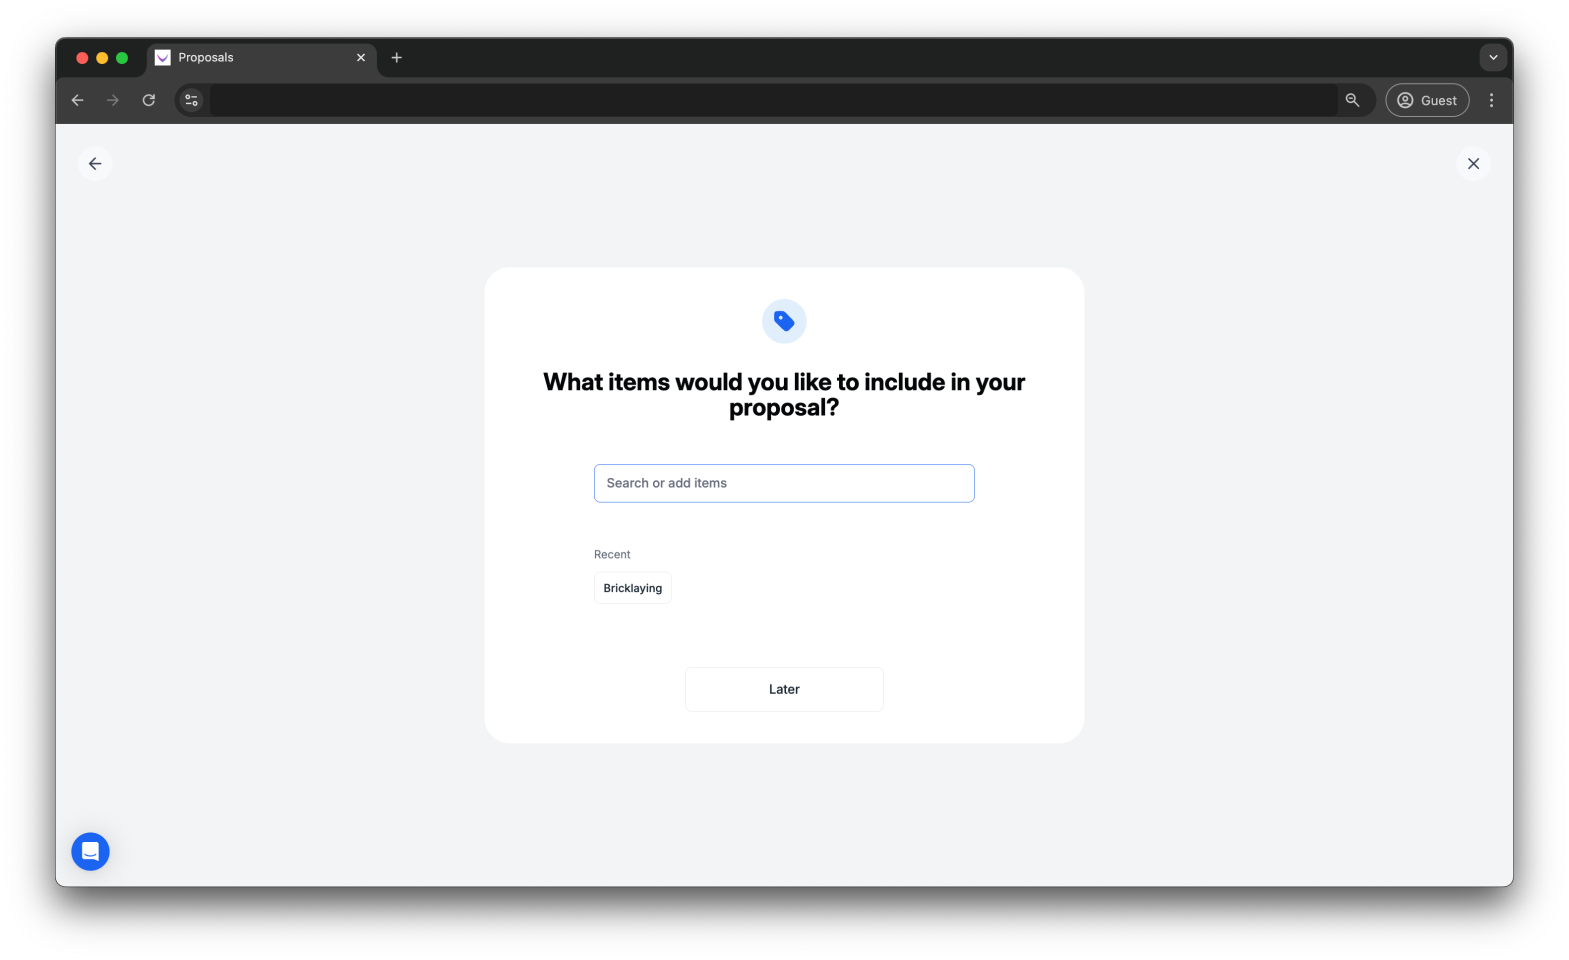
Step 3: Add items.
When creating a new proposal, you will first be asked to add your items. You can either choose from your existing list, create a new one, or add them later.
Next, select either ‘Use my website’ to pull information from the website you have already created with our website builder, or ‘Create new’ to add new details for your proposal.

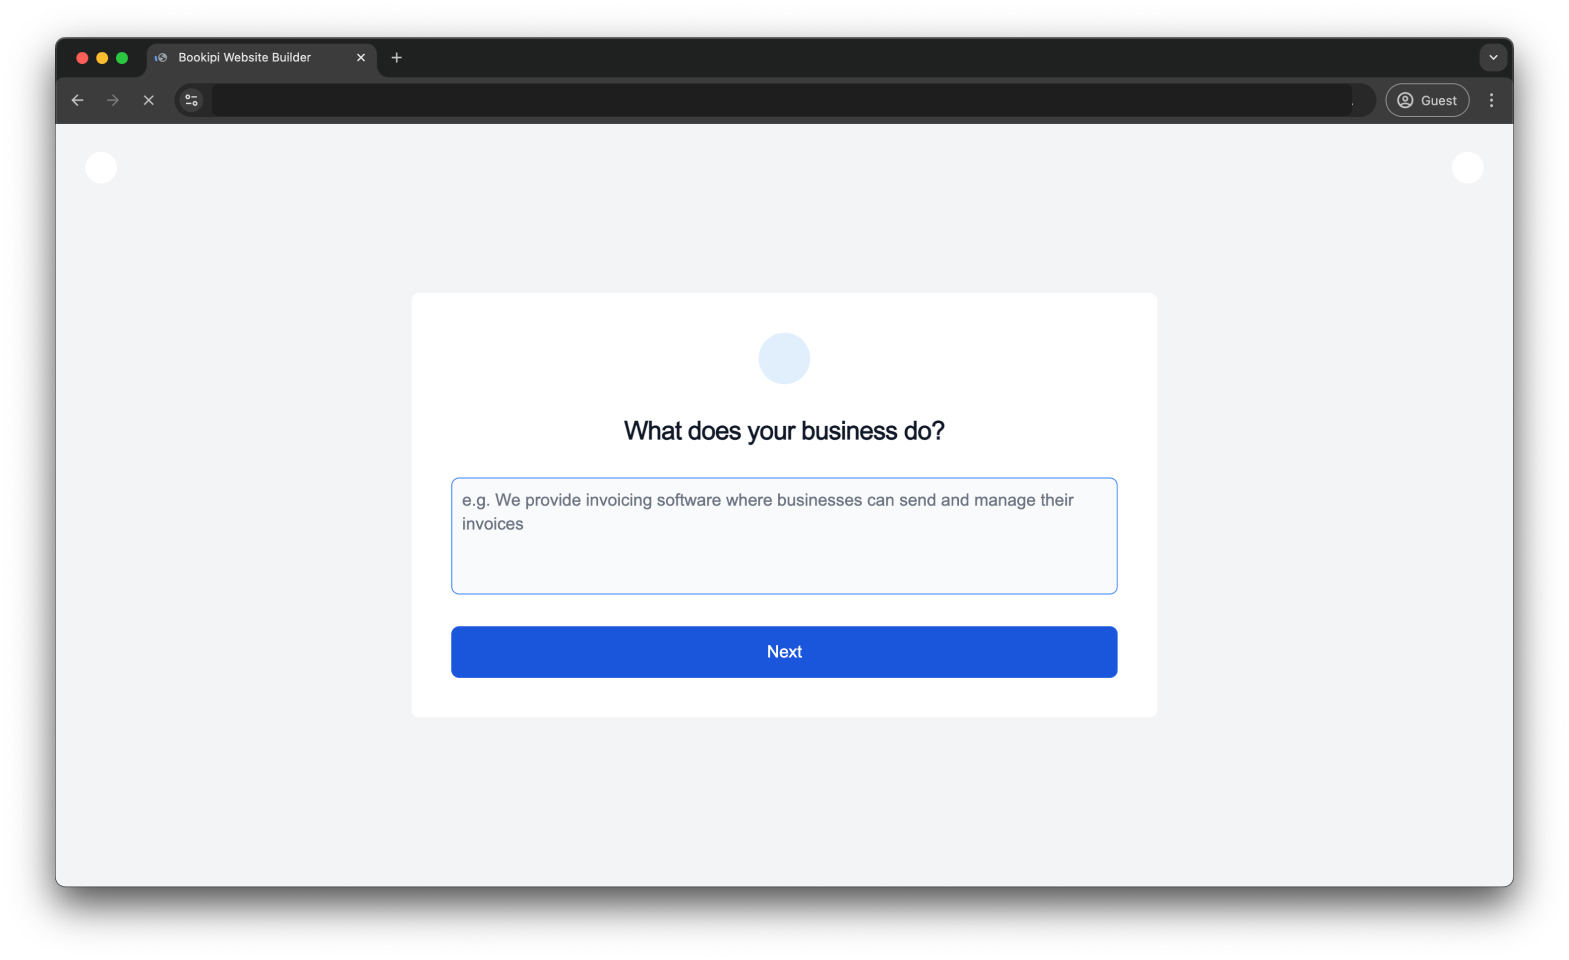
Step 4: Fill in the information.
If your business information is not fully set up, you’ll need to complete the setup so the AI can gather the necessary details to generate your business proposal for your customer.
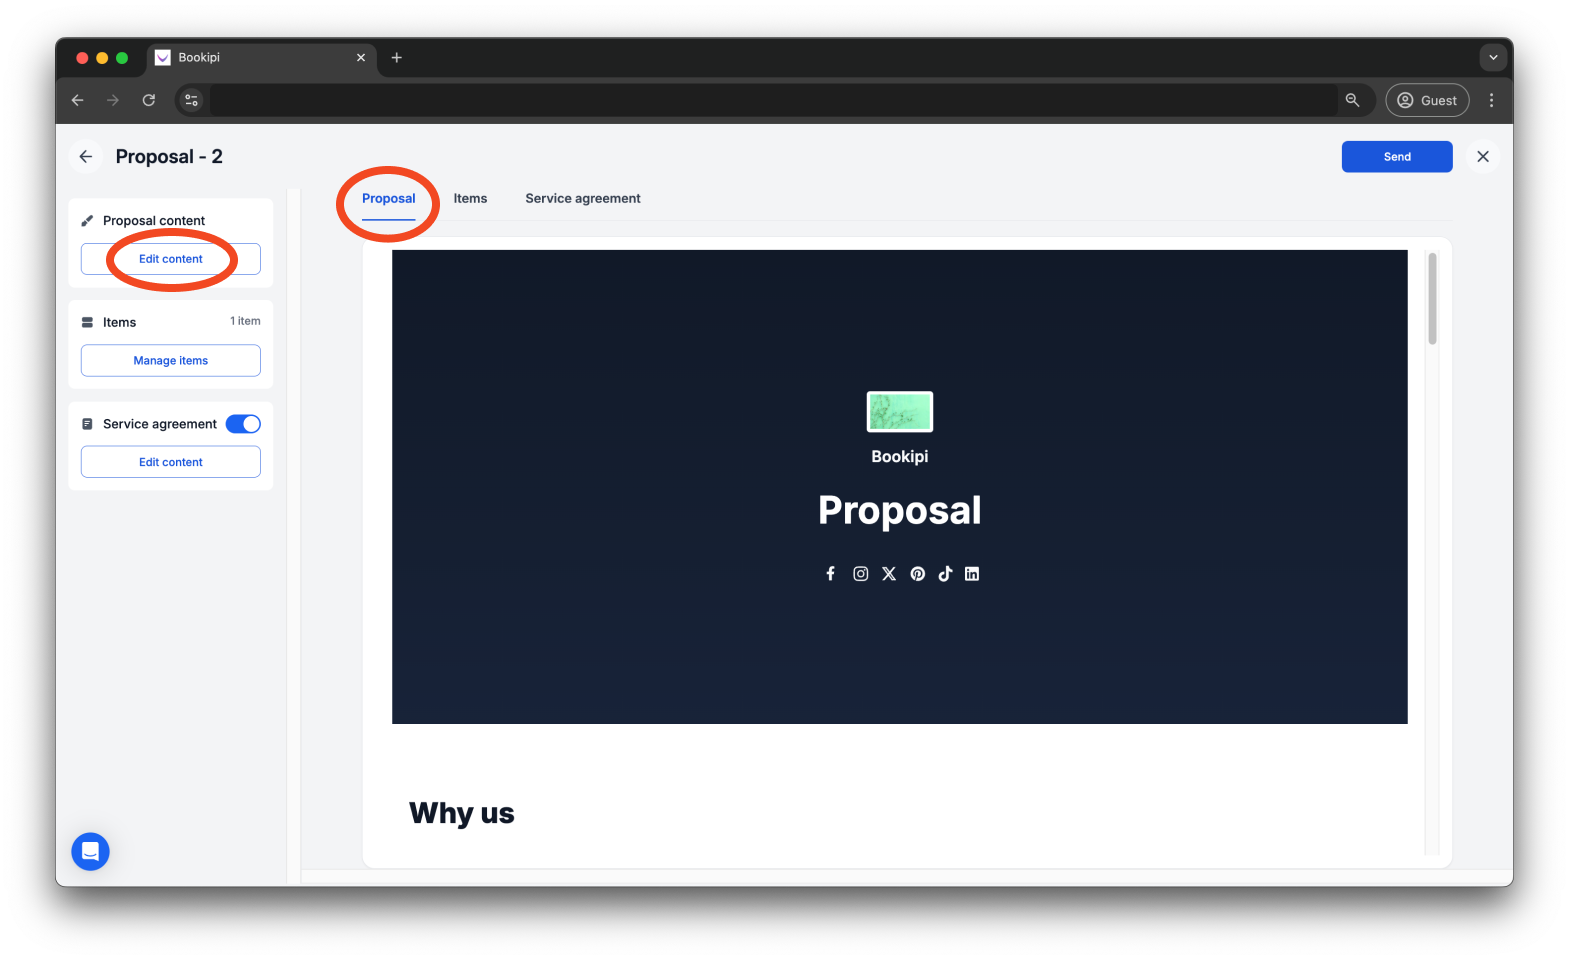
Step 5: Click ‘Edit content’ under the Proposal content section.
In the Proposal tab, click the ‘Edit content’ button located in the Proposal content section on the left panel.
Step 6: Select ‘Why us’.
Select ‘Why us’ from the available drop-down menus.
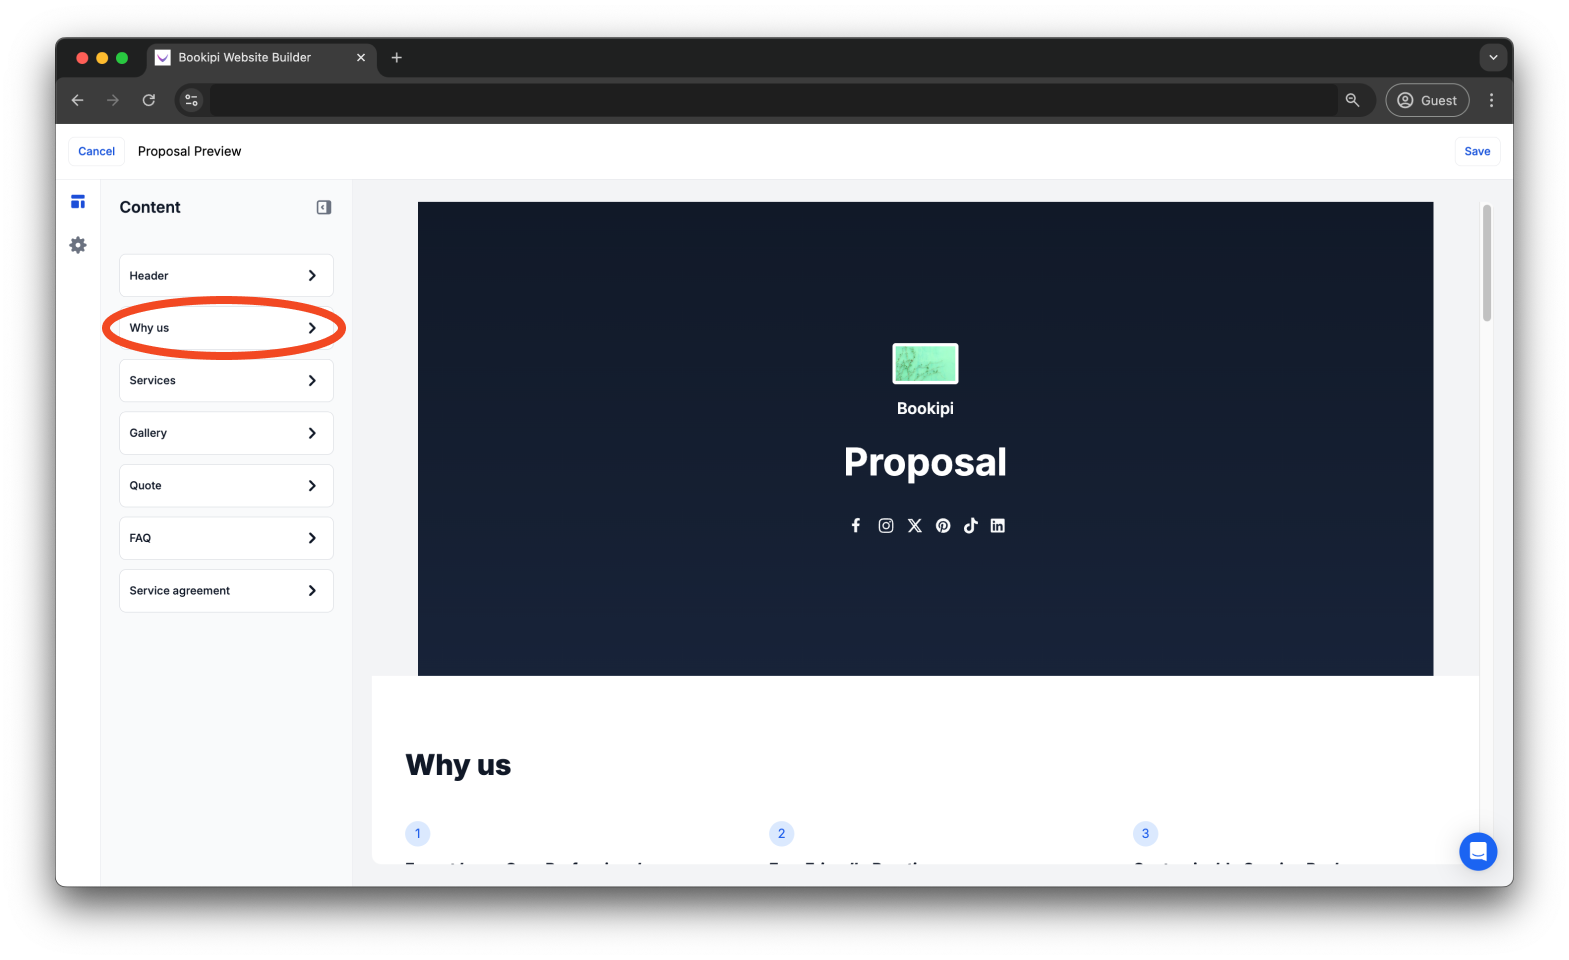
Alternatively, you can click directly on the sections on your proposal, and it will take you to the editing area in the left panel of your screen.
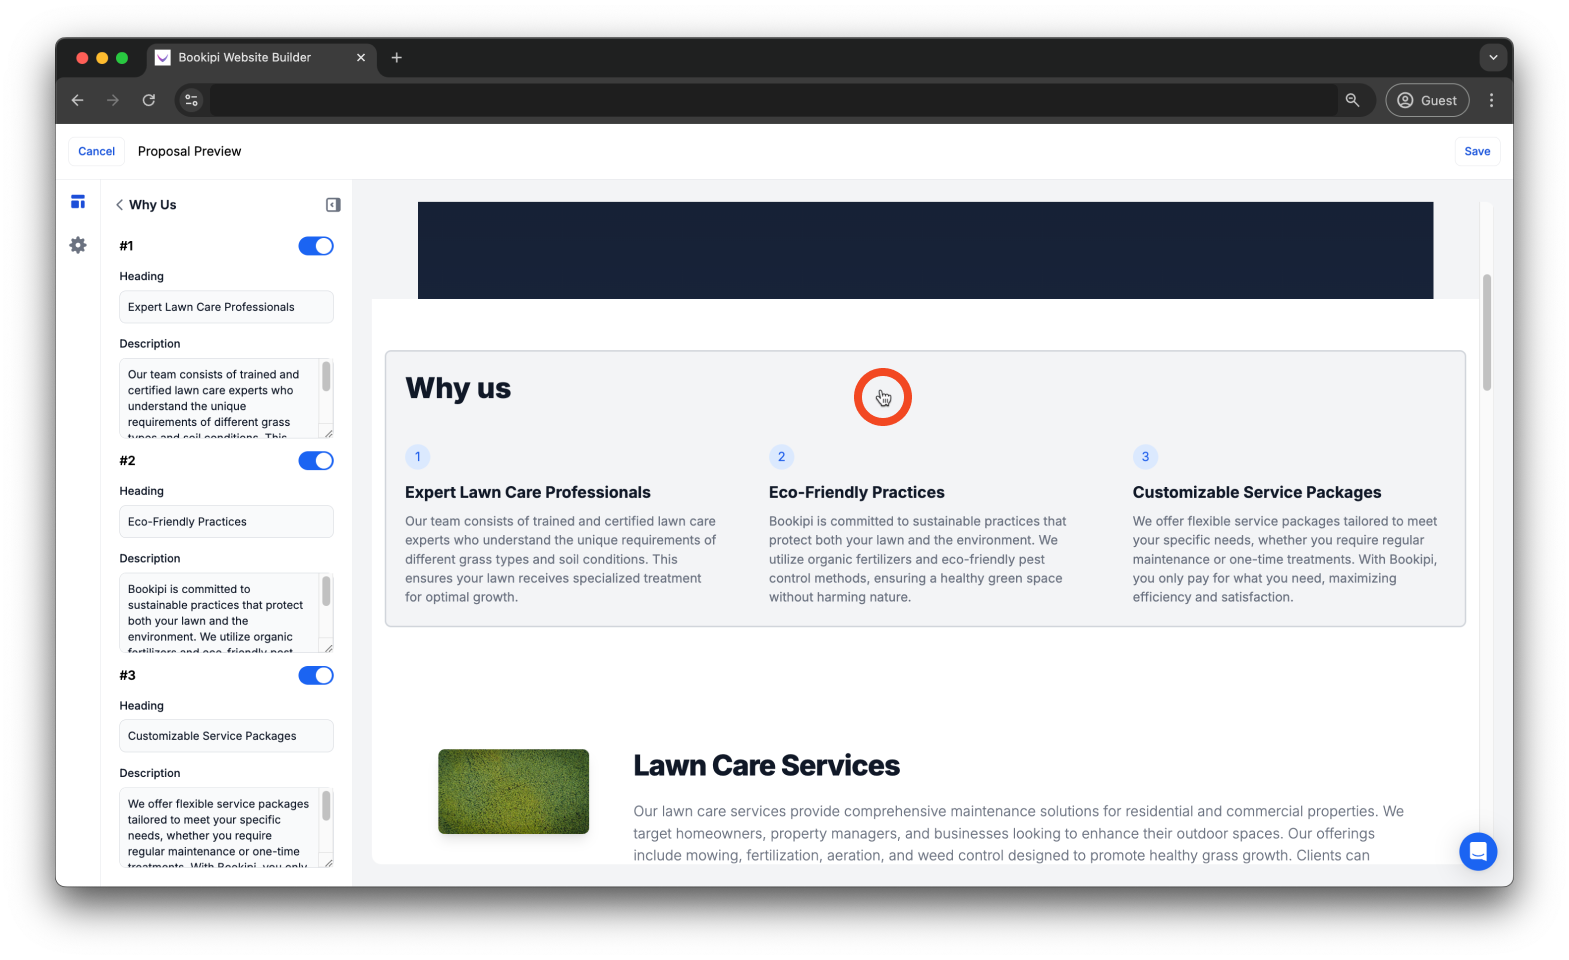
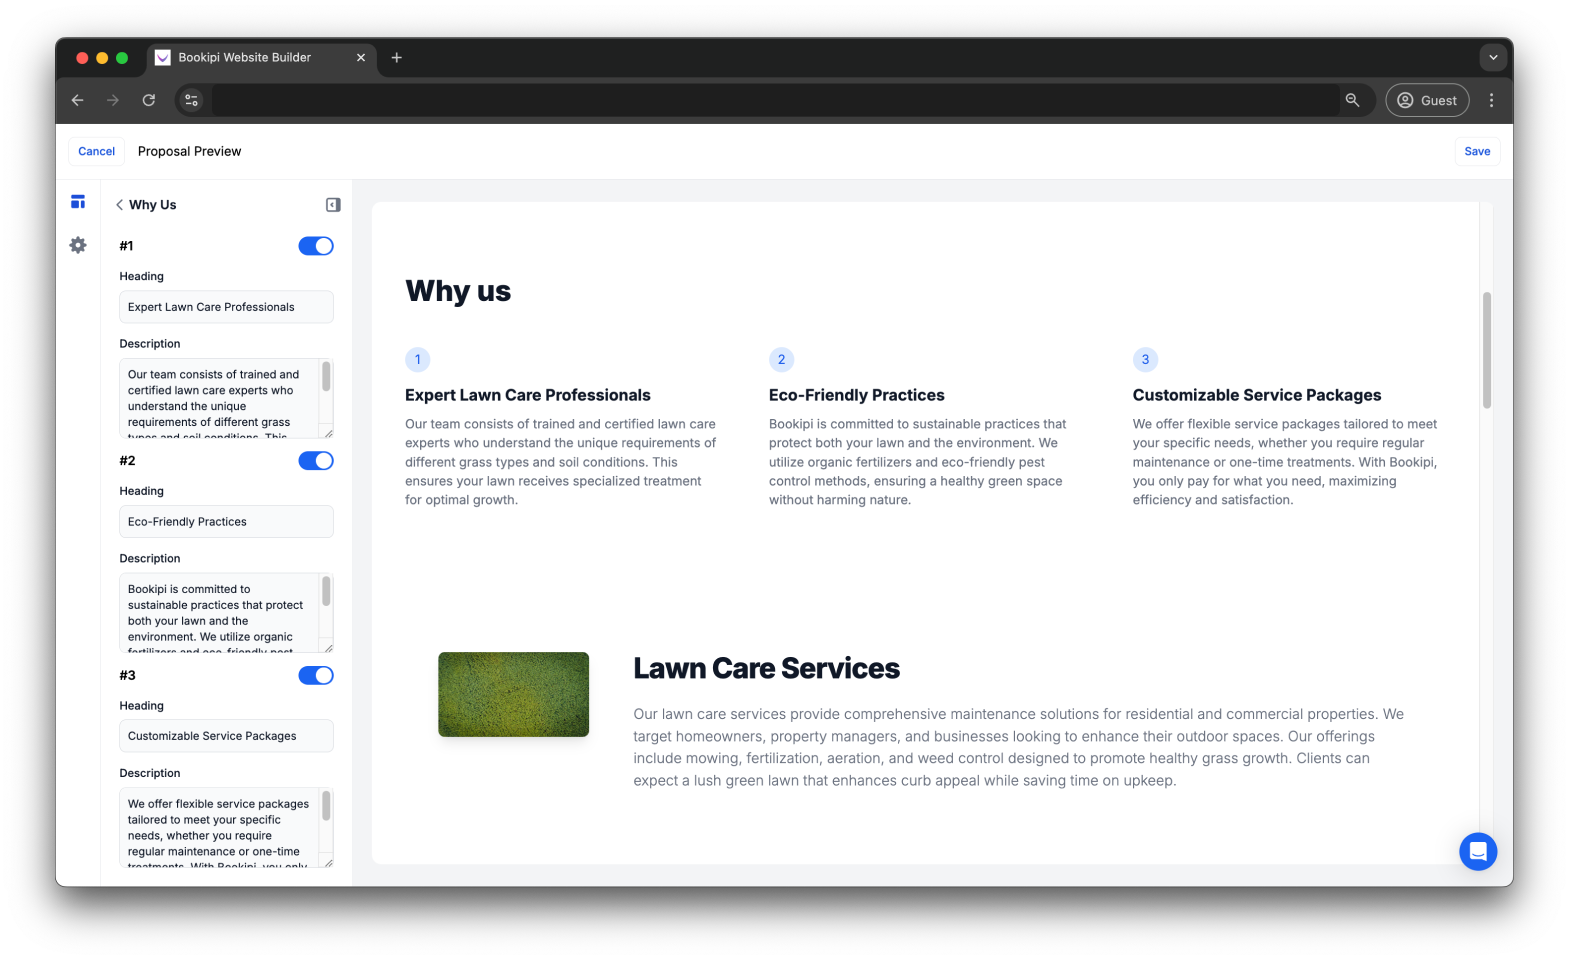
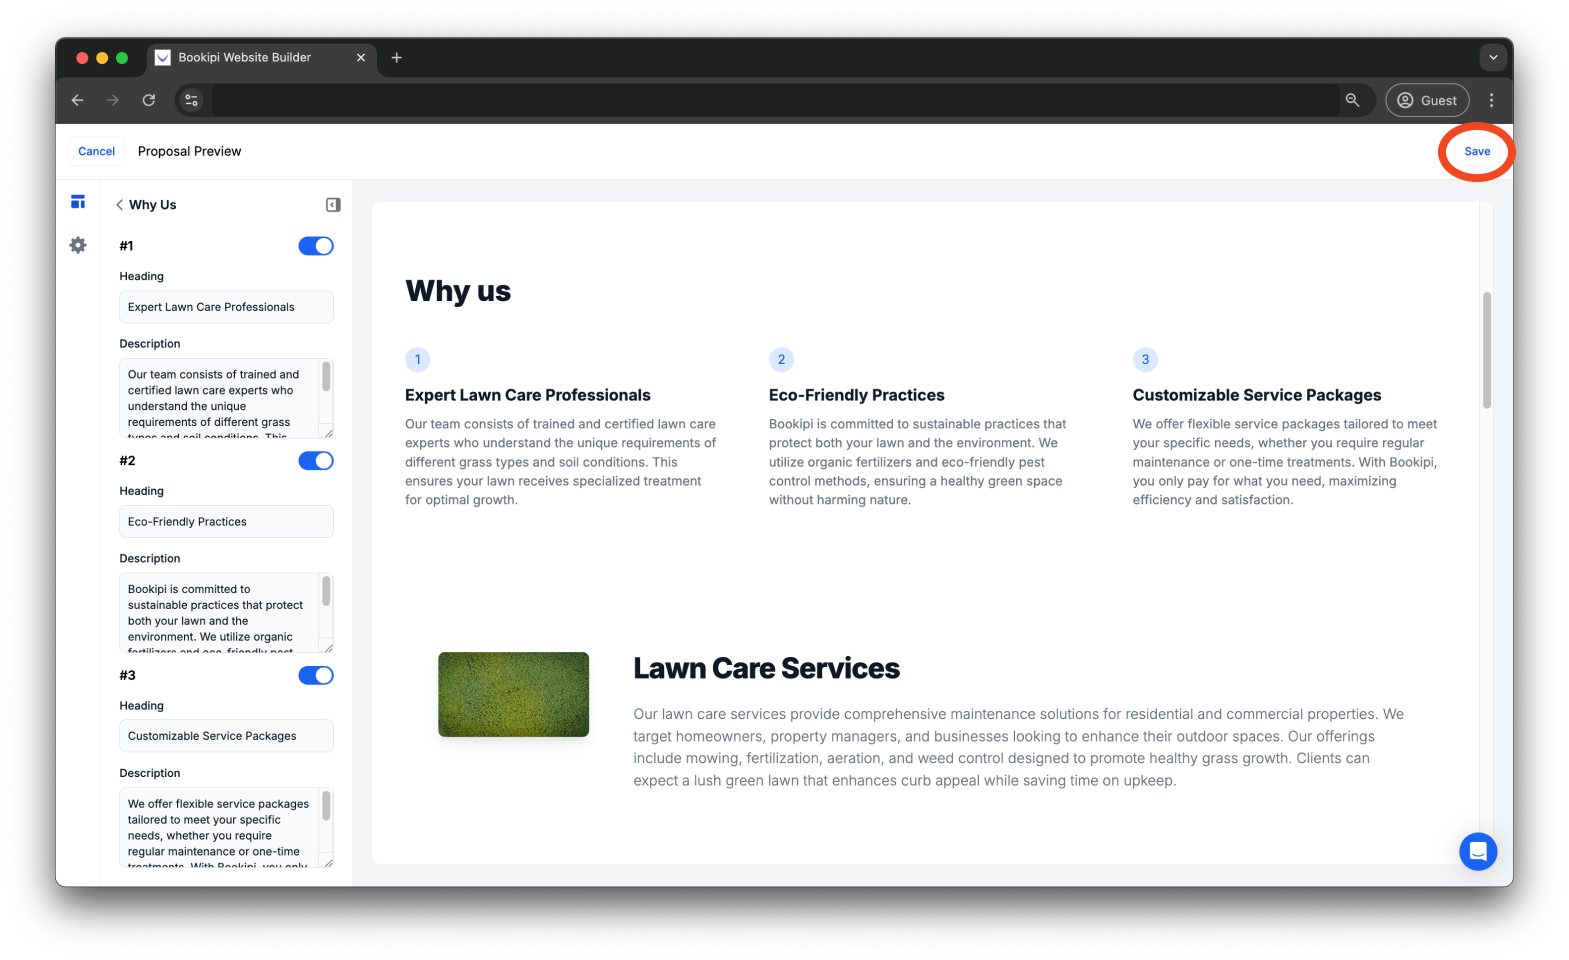
Step 7: Edit the content.
Edit the heading and description for each ‘Why Us’ point in the left panel as needed.
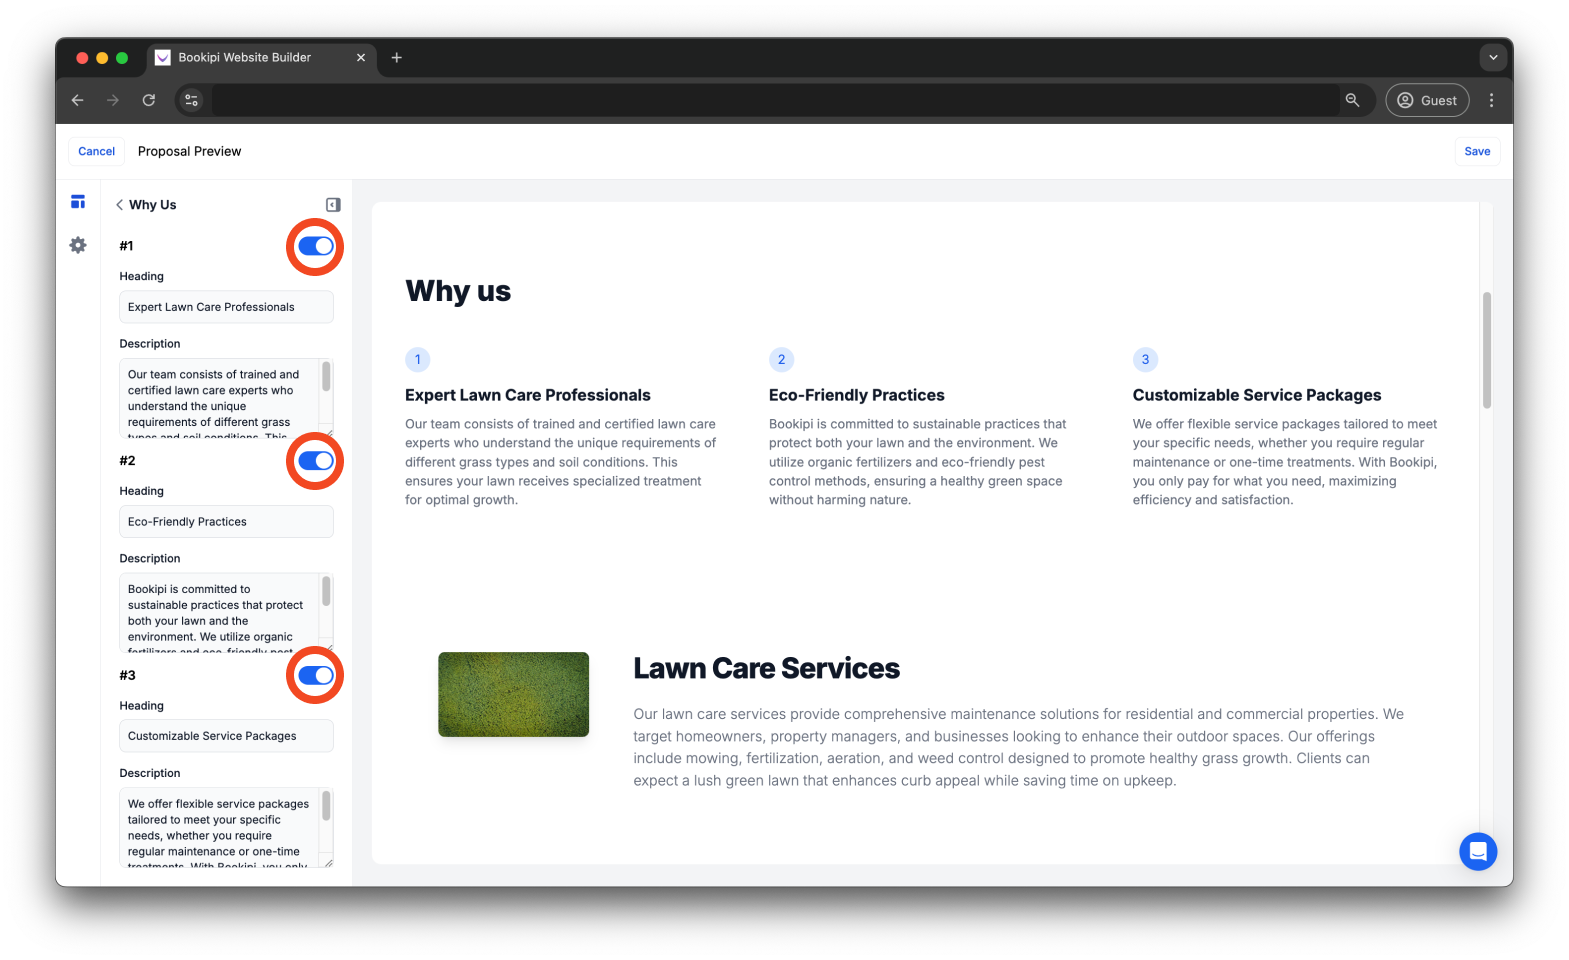
You can also choose to include or exclude any point by toggling the button.
Step 8: Click ‘Save’.
Click ‘Save’ in the top right corner of your proposal to save your changes.
Step 9: Click ‘Send’.
Check all the details of the proposal before sending it to your customer. When you are ready, click ‘Send’ in the top right corner to submit it.

FAQ:
Q: How many proposals can I create with the free plan?
A: With the free plan, you can create up to 3 documents per month. This limit is shared across all document types, including invoices, estimates, eSign documents, and others.
Q: How many ‘Why Us’ points can I include in my proposal?
A: Currently, you can include a maximum of three points in your ‘Why Us’ section of your proposal. If you prefer to have fewer, you can toggle off the additional ones.
Q: Can I use Bookipi proposals on the mobile app?
A: The Bookipi Proposal feature is currently only accessible through the web version and is not available in the mobile app.
Discover more tutorials for Bookipi Invoice Web App
Discover more tips on how to get the most out of Bookipi Invoice web app with our Bookipi Invoice guides.
Want to send invoices easily? Download the Bookipi Invoice mobile app and check out our Bookipi Invoice mobile app guides.


