
Learn how to create and send documents for eSignature using Bookipi eSign on the web.
How to create and send an eSign document using Bookipi eSign Web
Make the signing process easy for both you and your customers, ensuring smooth and efficient operation for your business. Follow this guide to create an eSign document, add recipients, and send it for digital signatures using the Bookipi eSign Web.
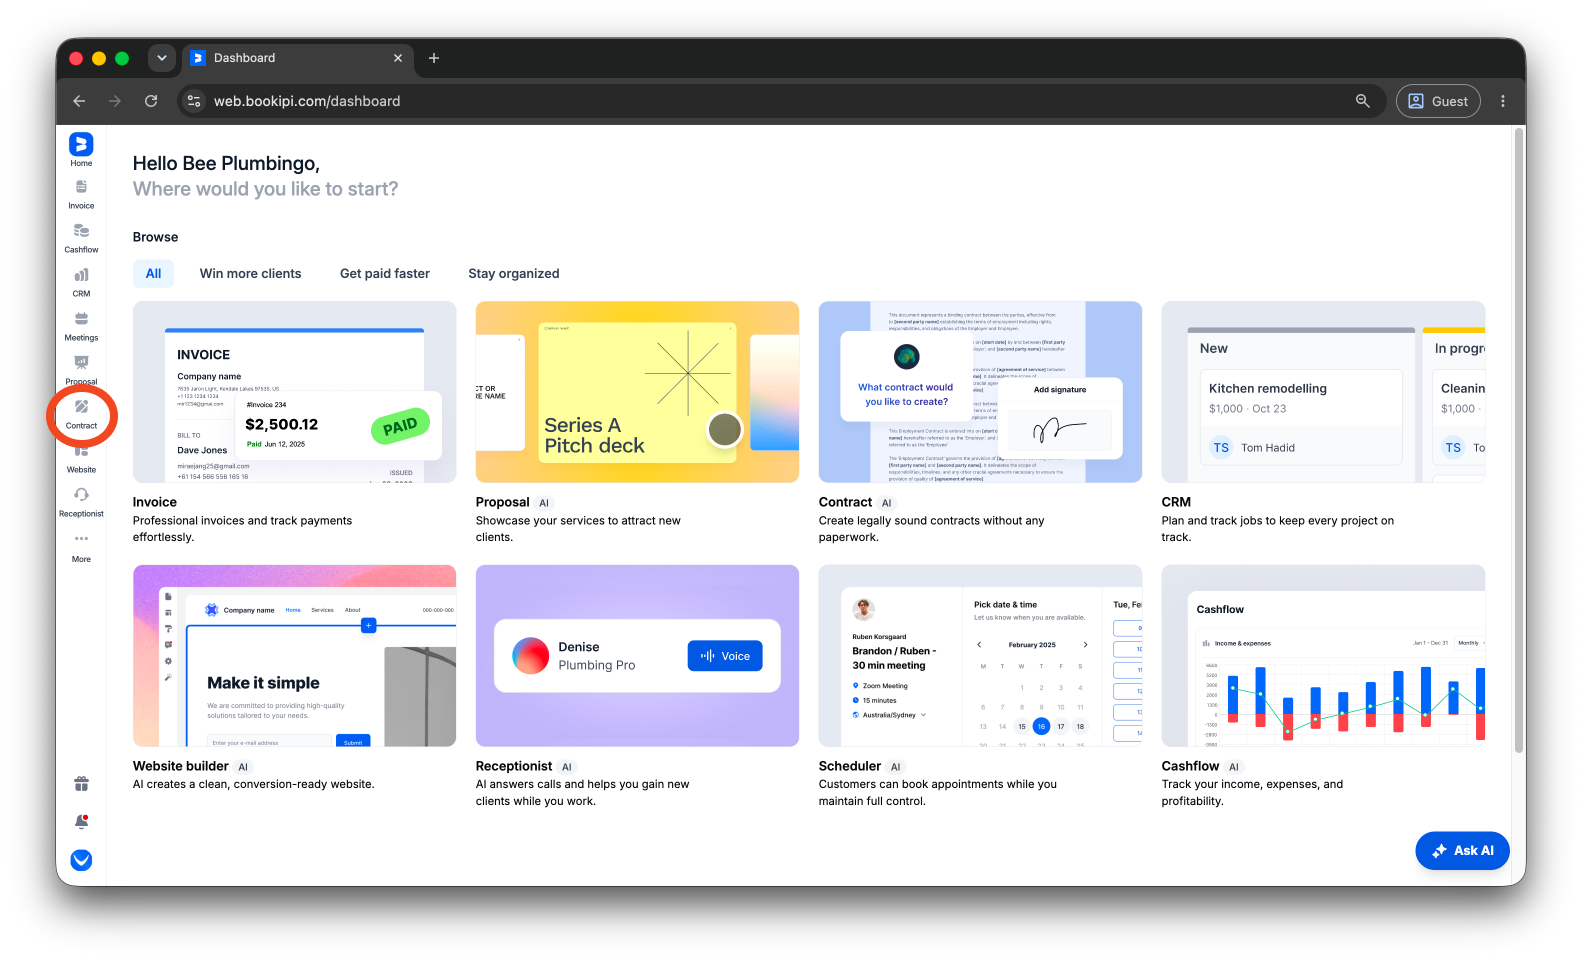
Step 1: Click ‘Contract’
Click ‘Contract’ on the left panel menu of your dashboard.
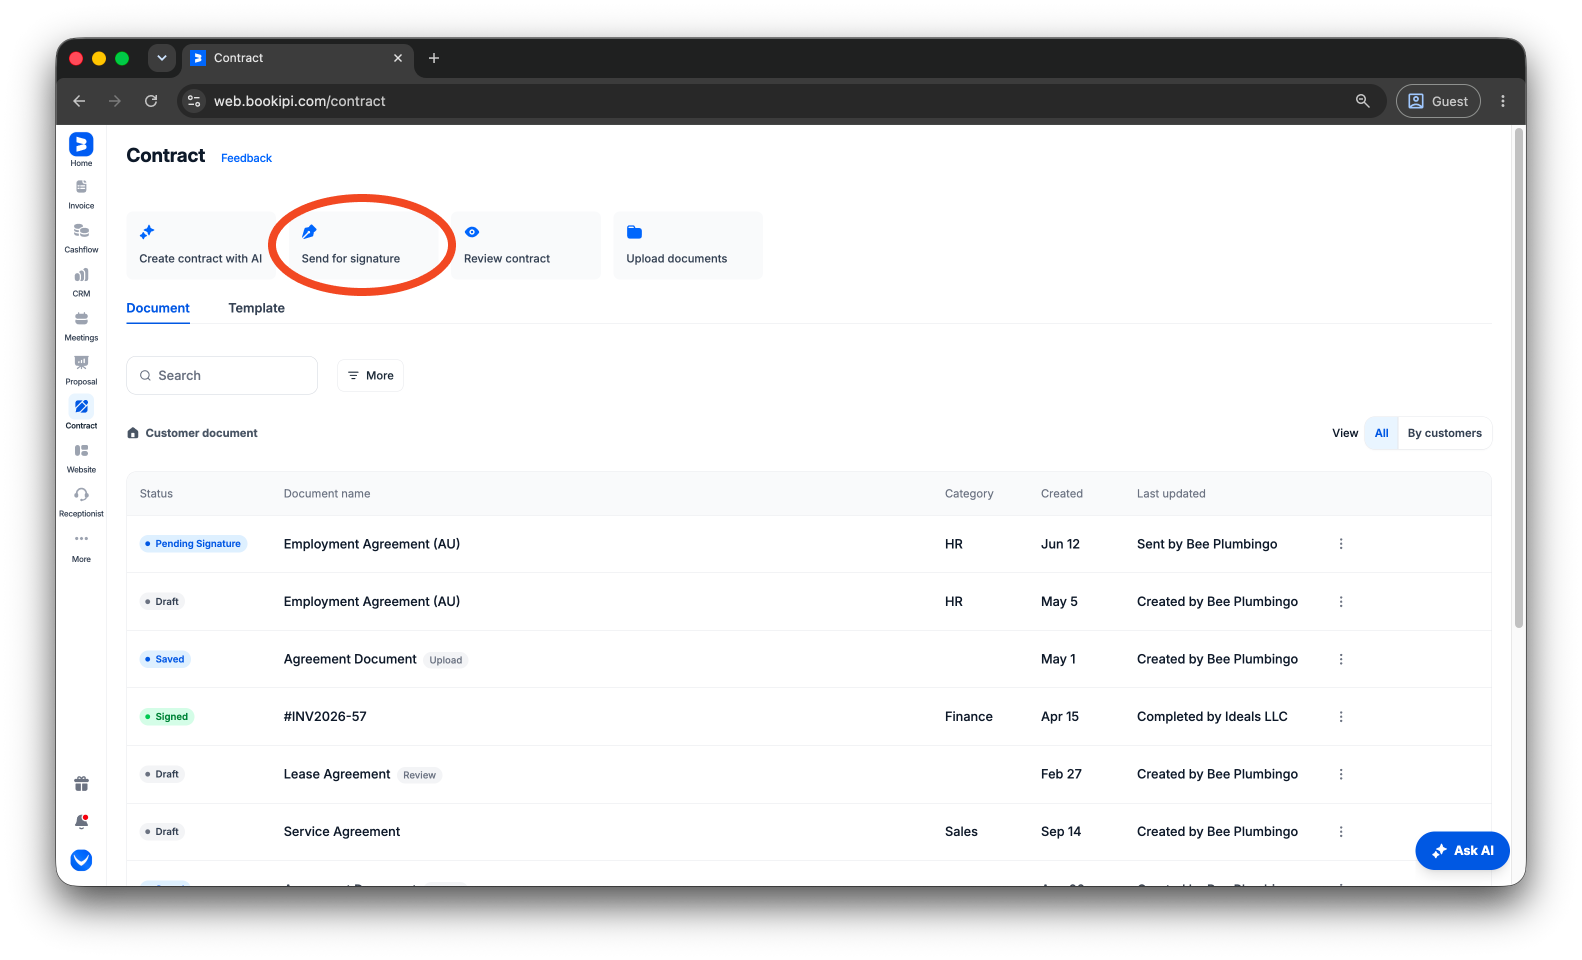
Step 2: Select ‘Send for signature’
Select ‘Send for signature’ located at the top of the page.
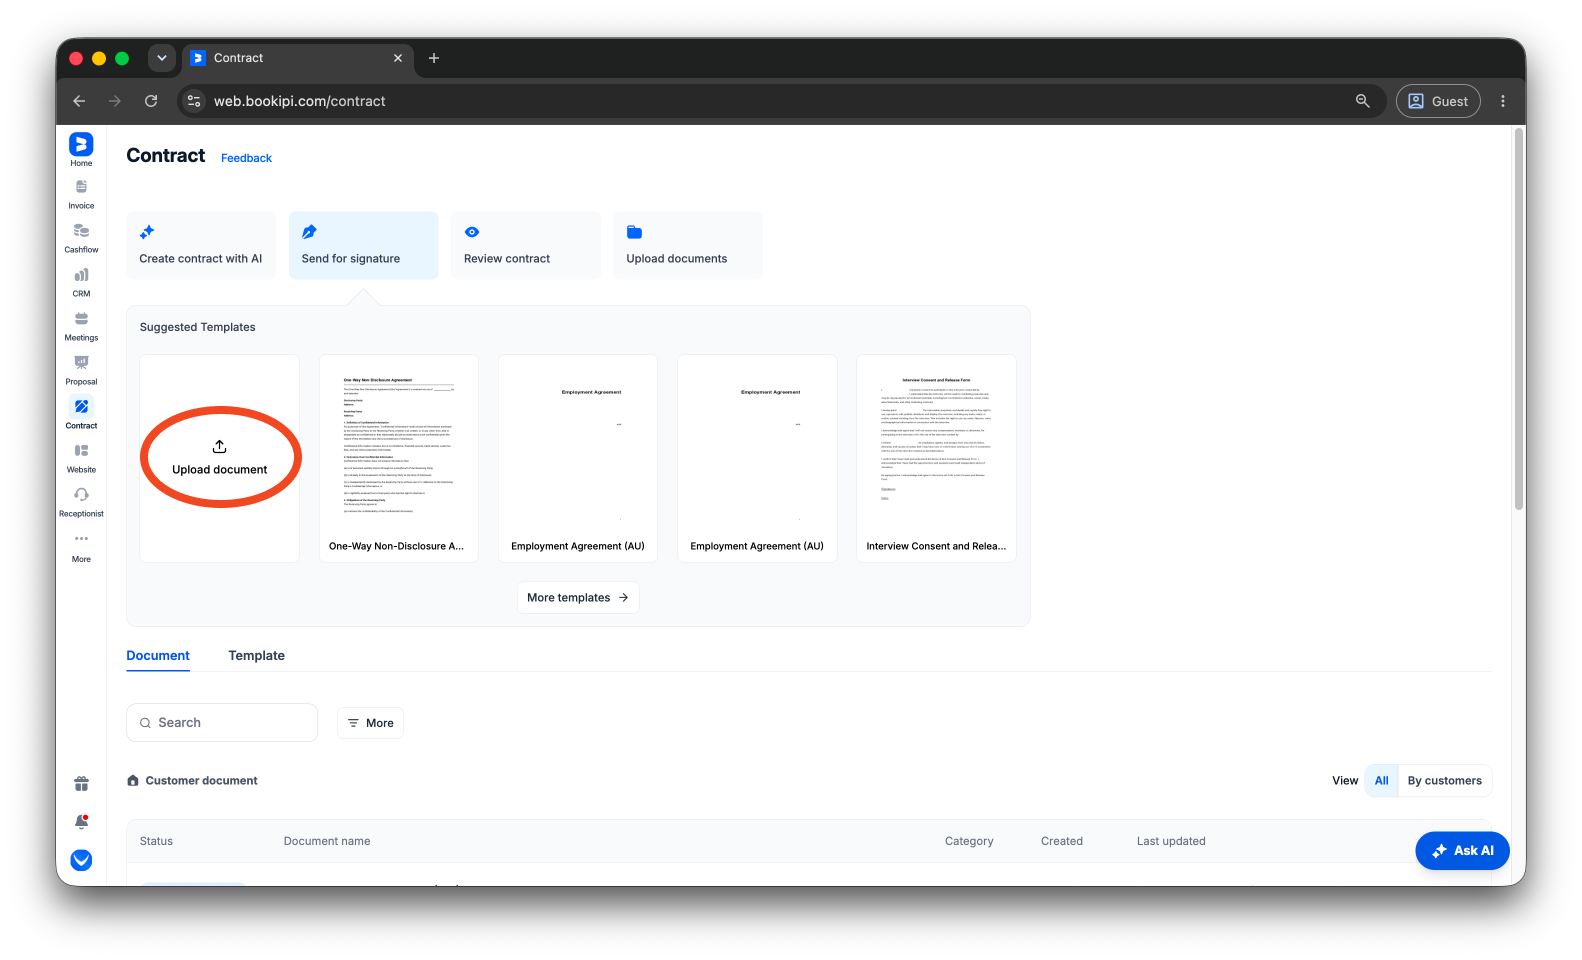
Step 3: Add your document
Click ‘Upload document’ to add your own file for signing.
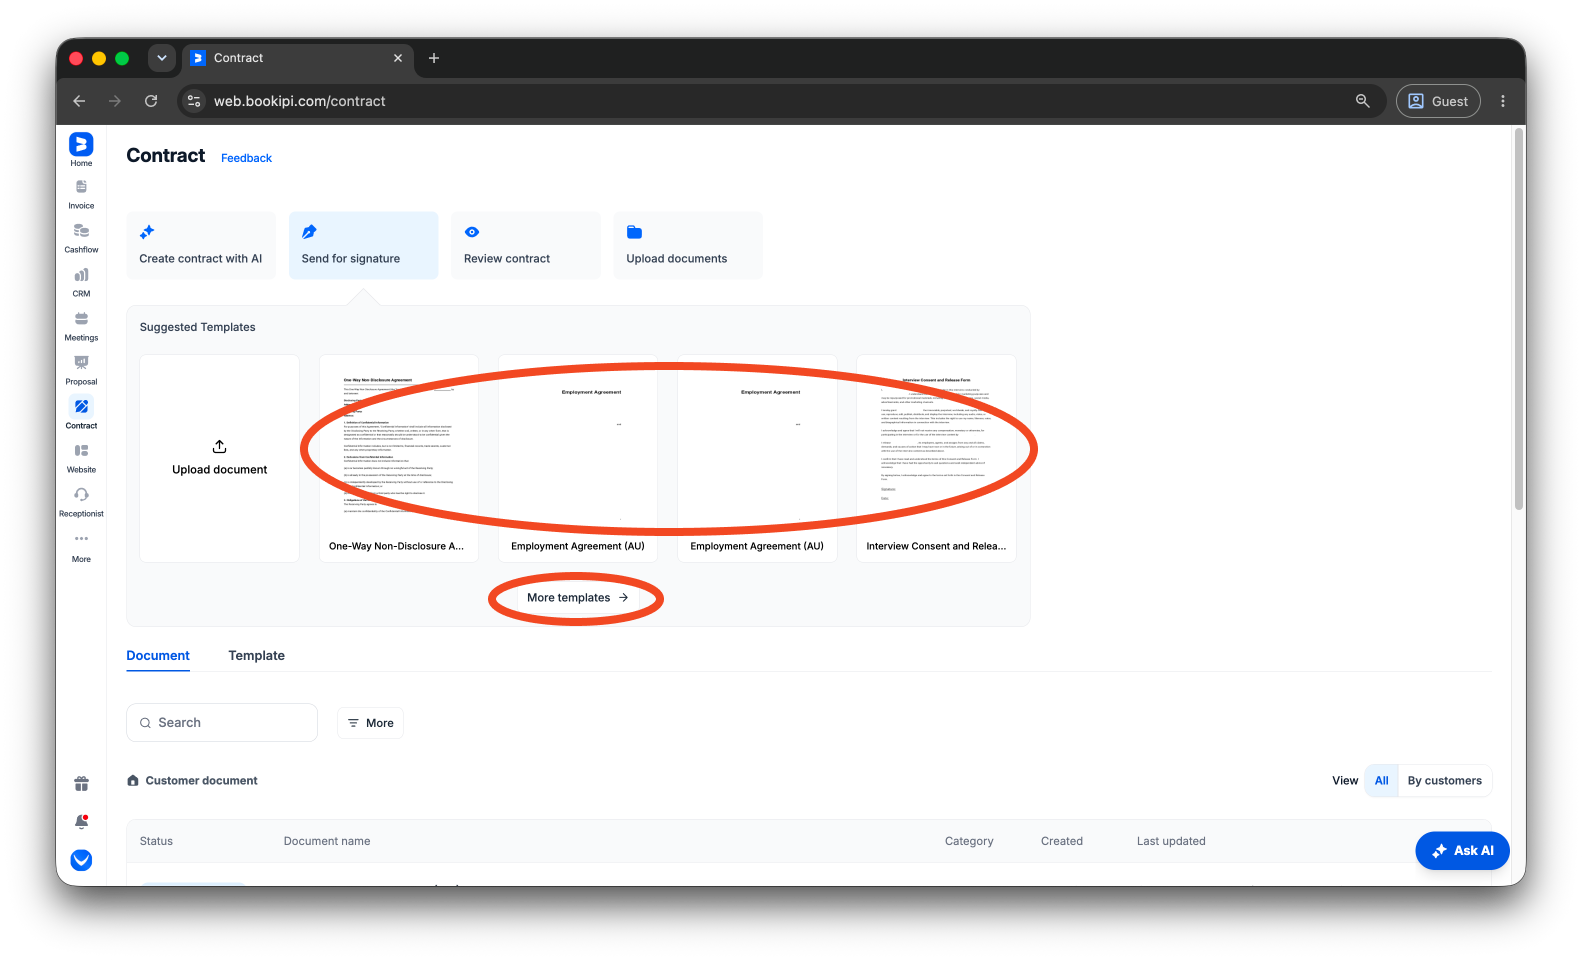
You can also select a template from the library or saved templates and customize it to your needs.
Step 4: Add signers
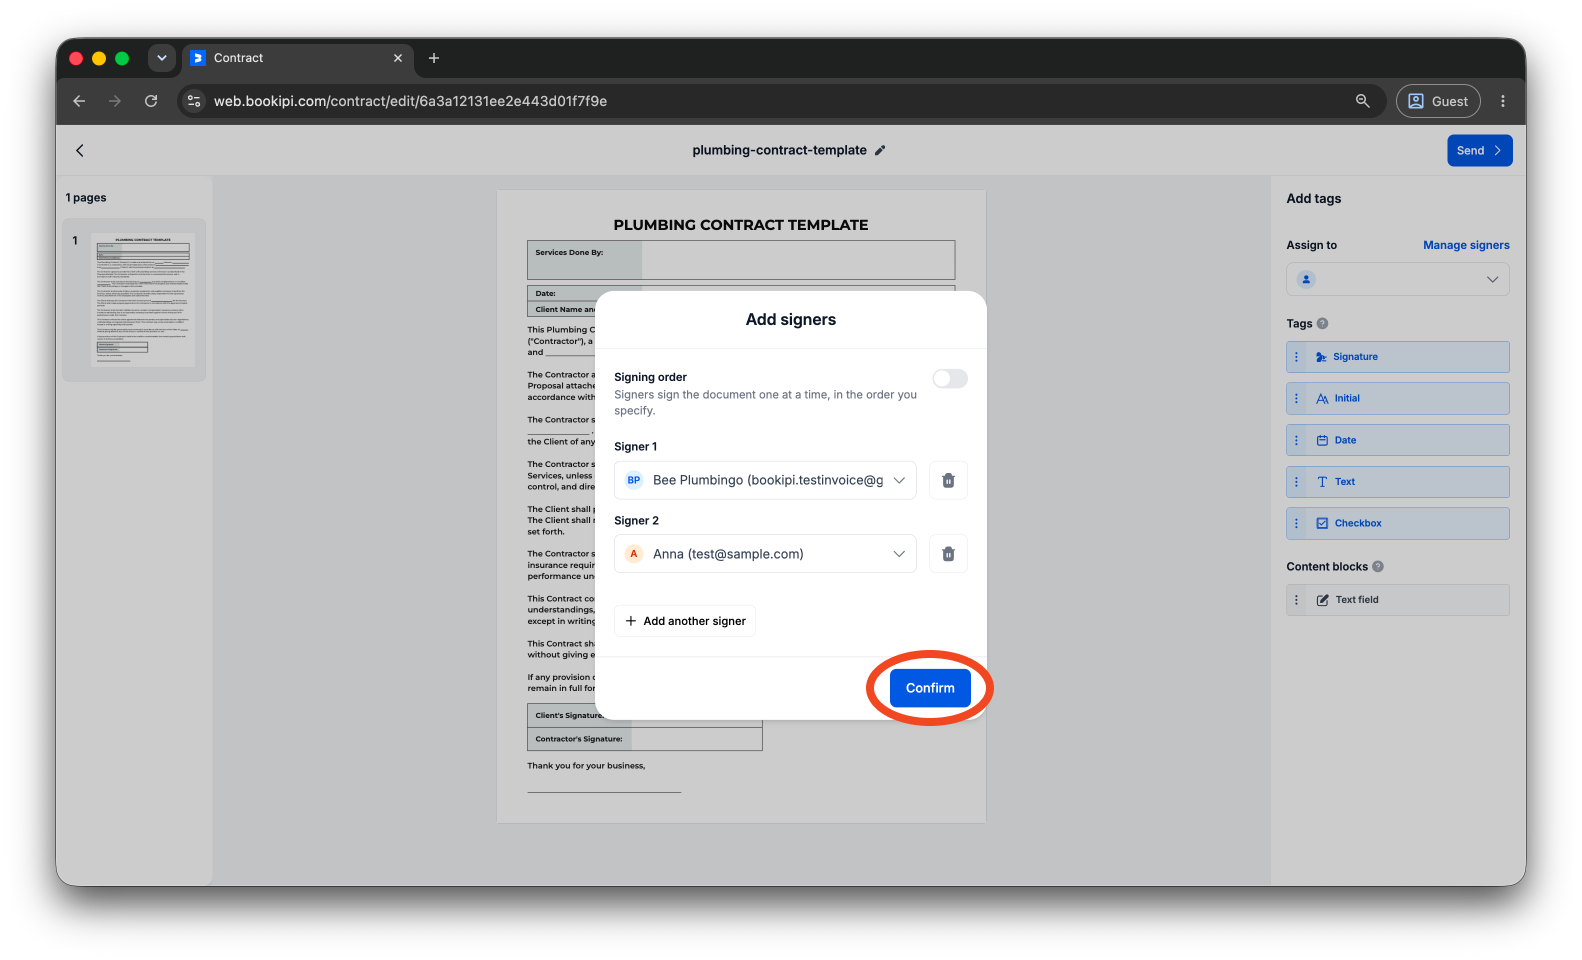
If you uploaded your own document, you will be prompted to add and assign signers directly, then click ‘Confirm’ to proceed.
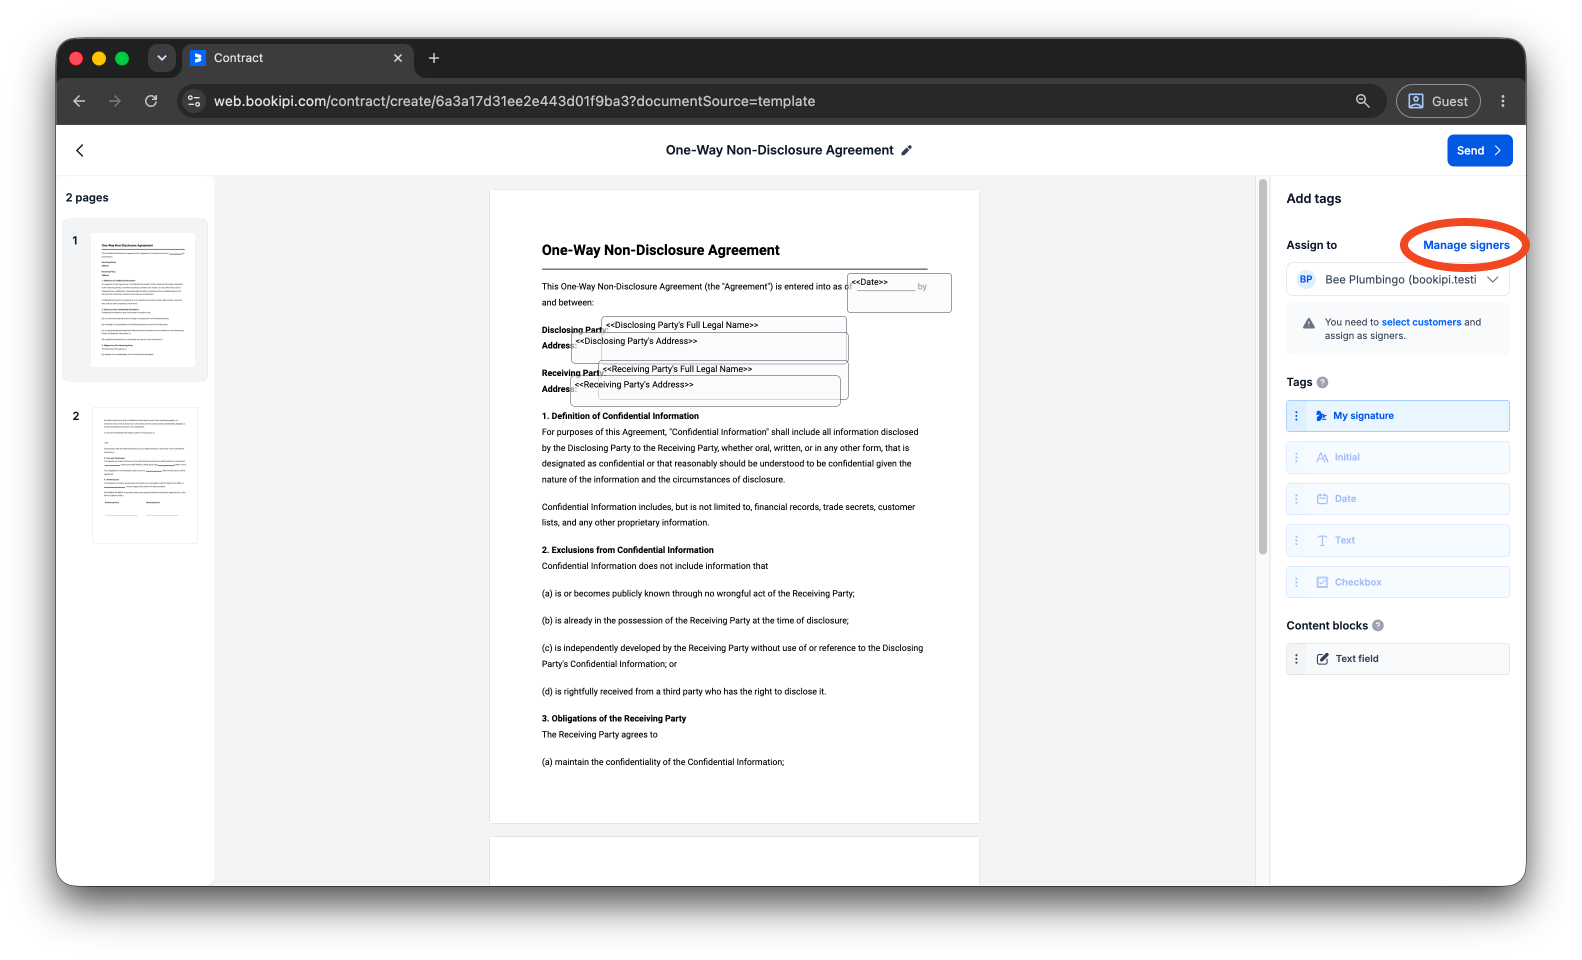
If you are using a template, click ‘Manage signers’ next to the Assign To section to add and assign recipients.
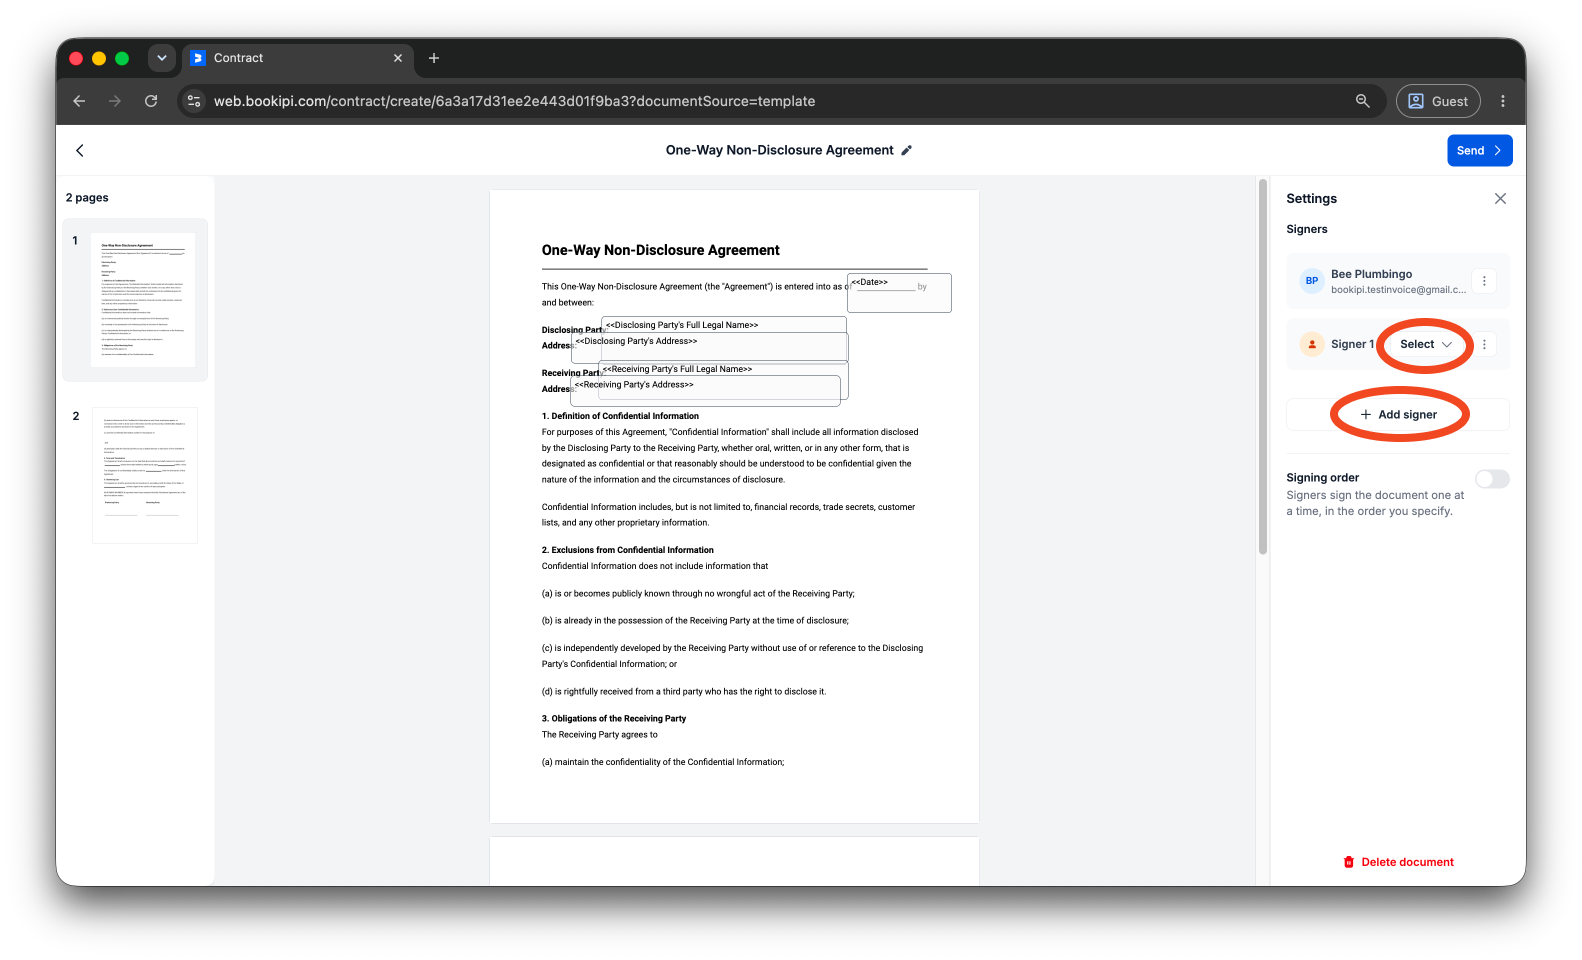
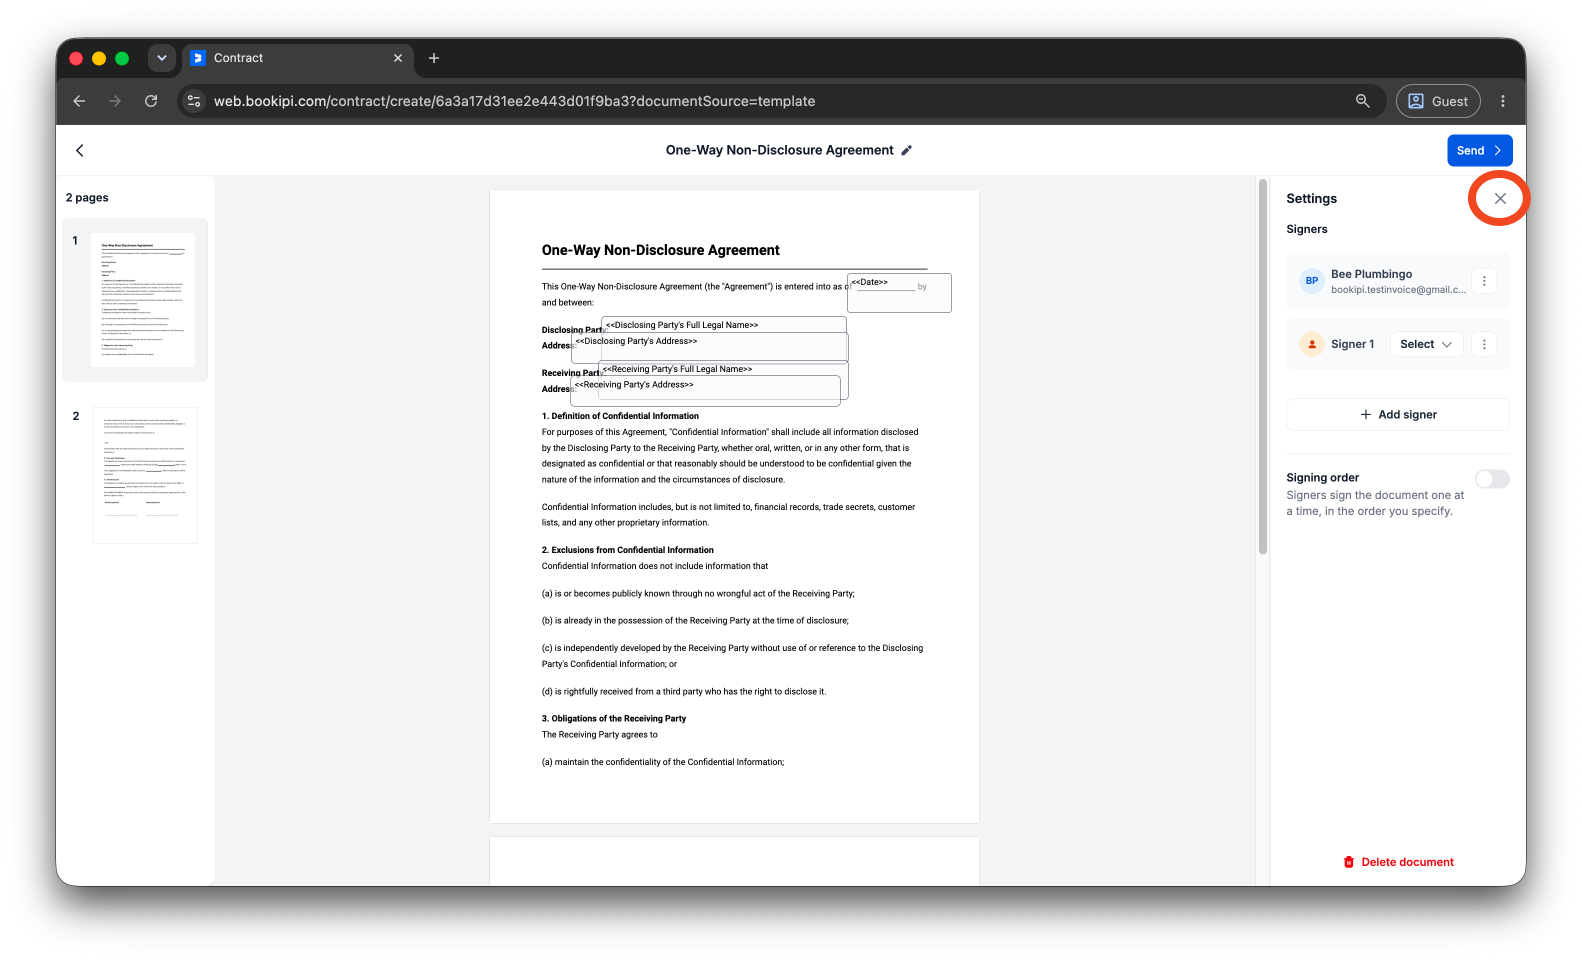
Then click Exit in the upper-right corner to proceed with assigning tags.
Step 5: Add tags
Select a signer from the Assign To dropdown.
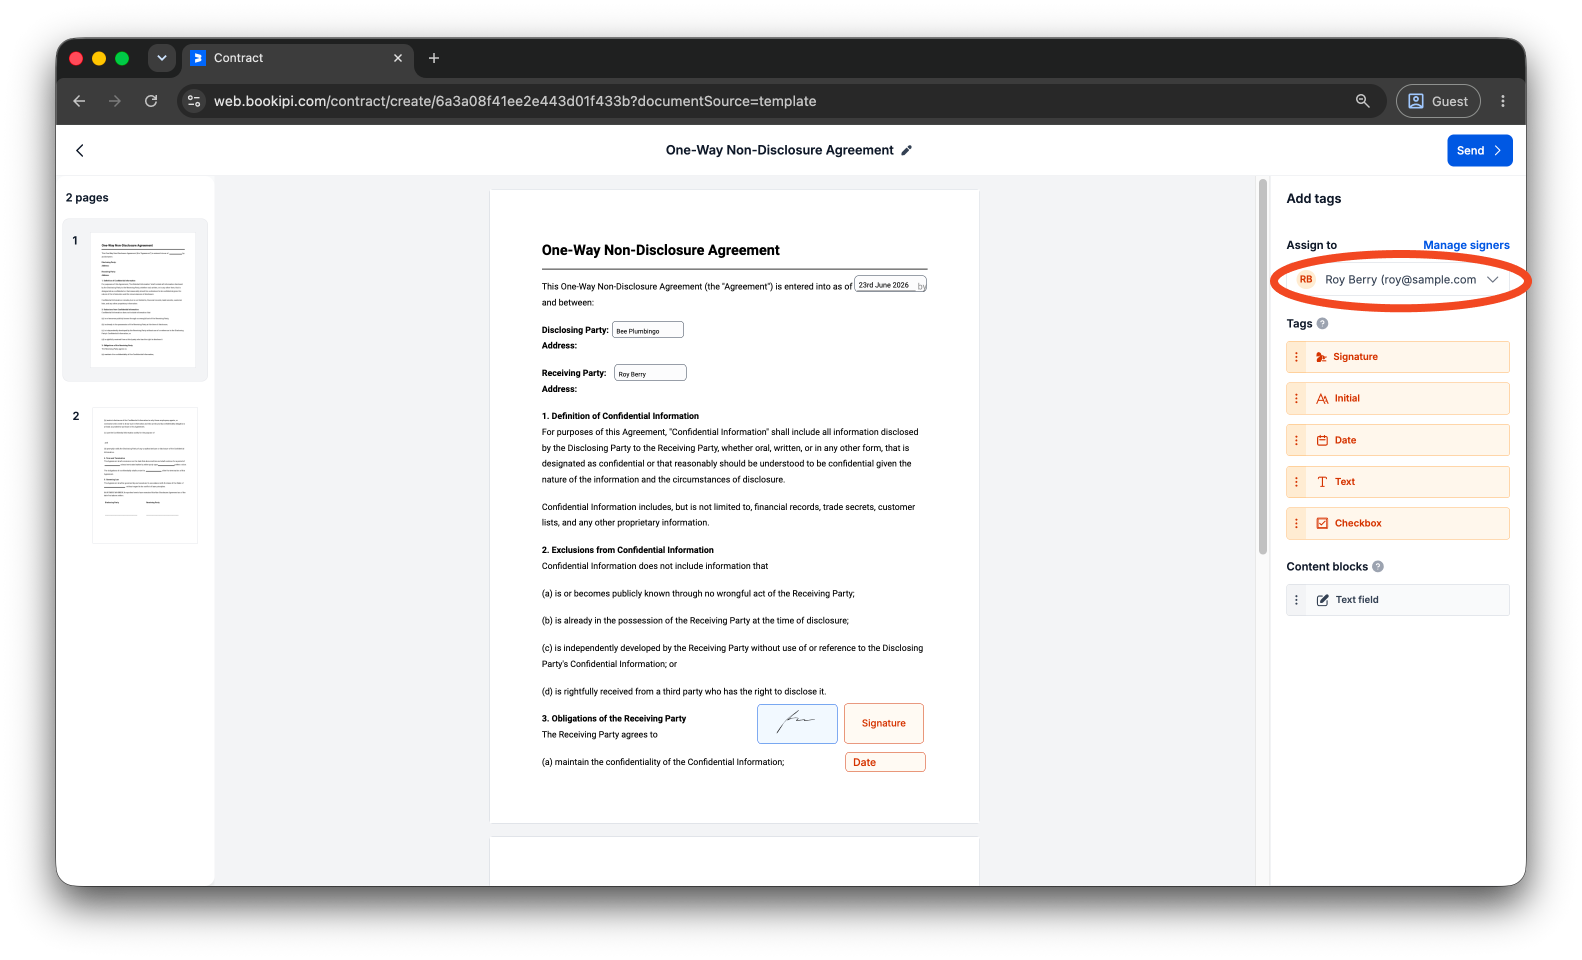
Then, drag and drop the required tags and text fields from the Tags and Content blocks sections onto the document and position them where needed. Each signer has a unique color, making it easy to identify their assigned fields.
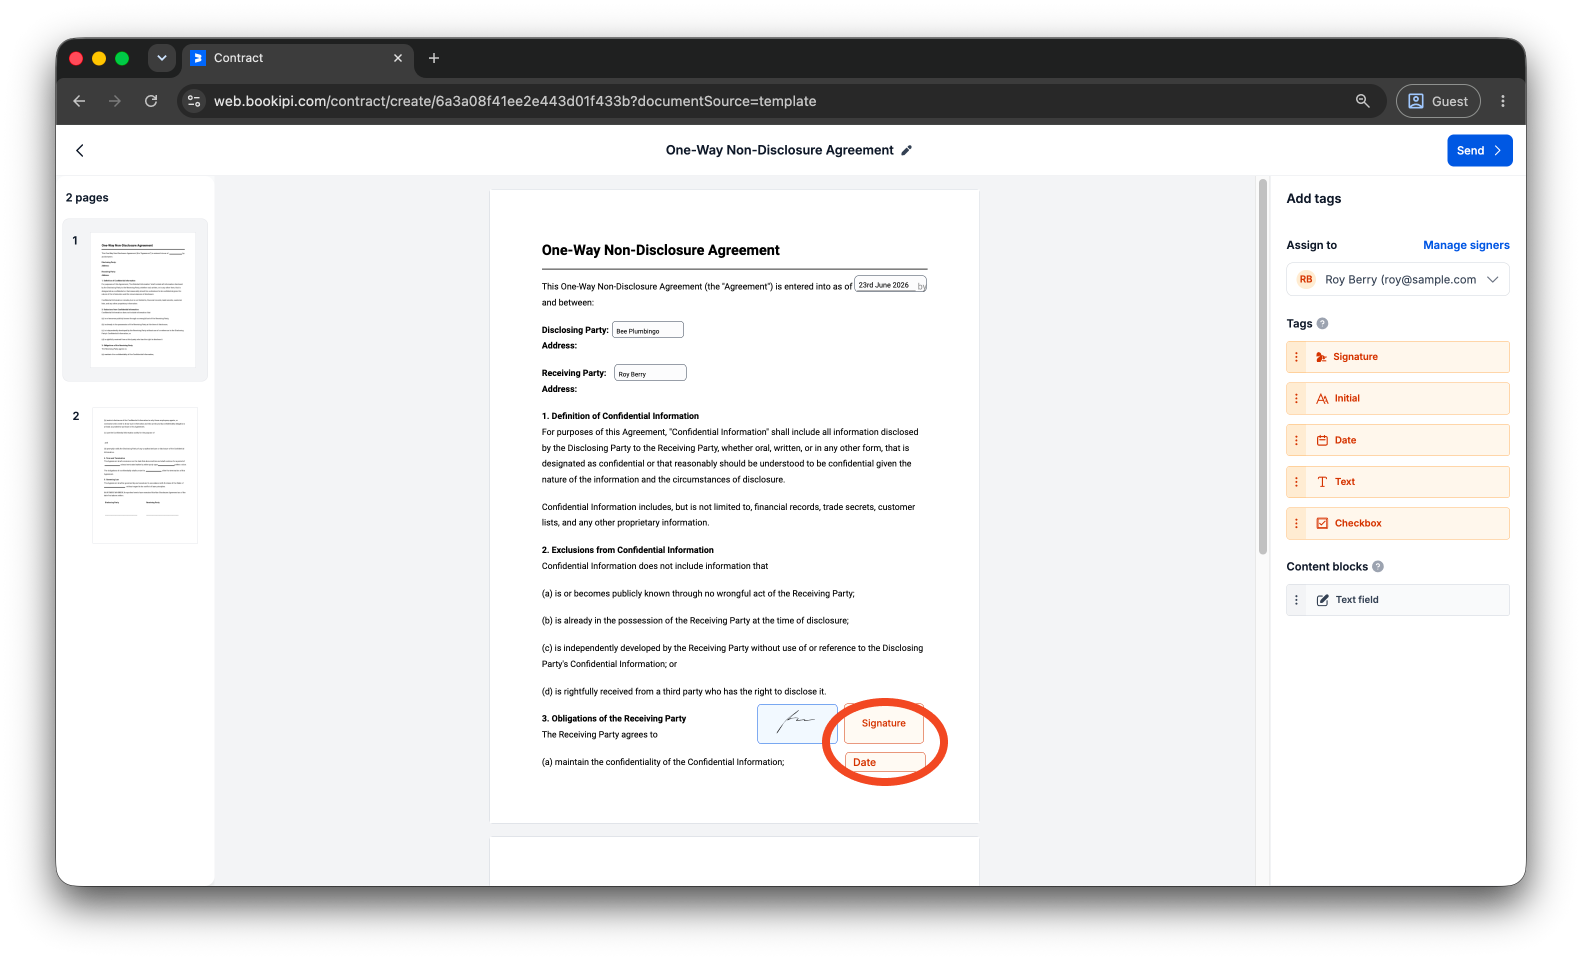
Step 6: Send the document
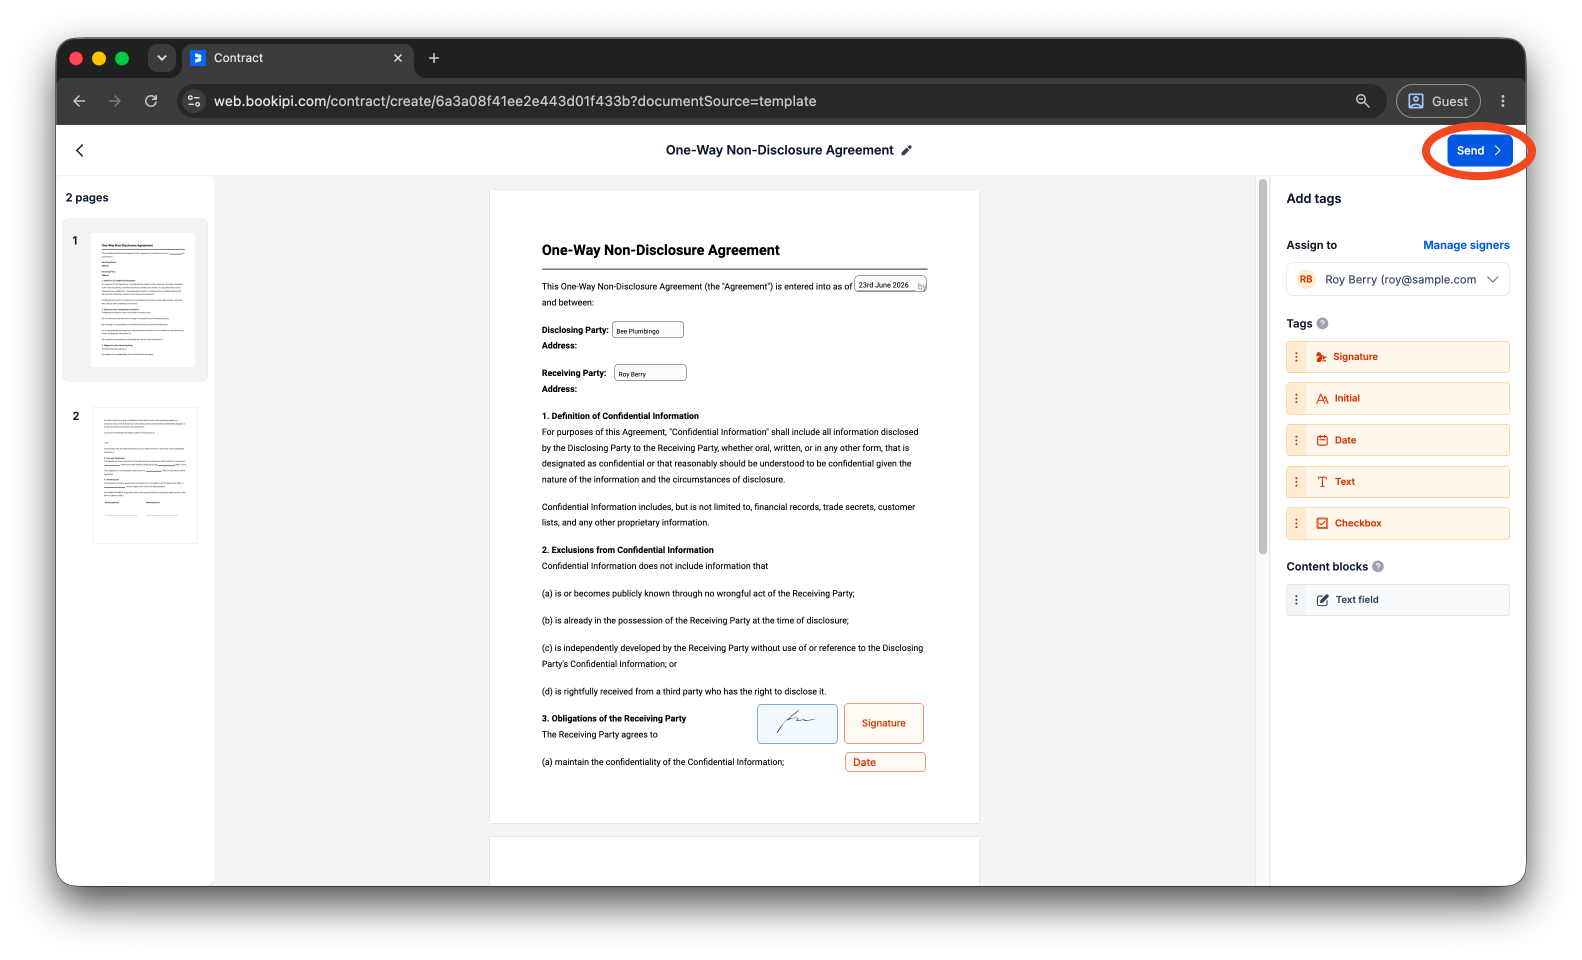
Once you’re ready, click ‘Send’.
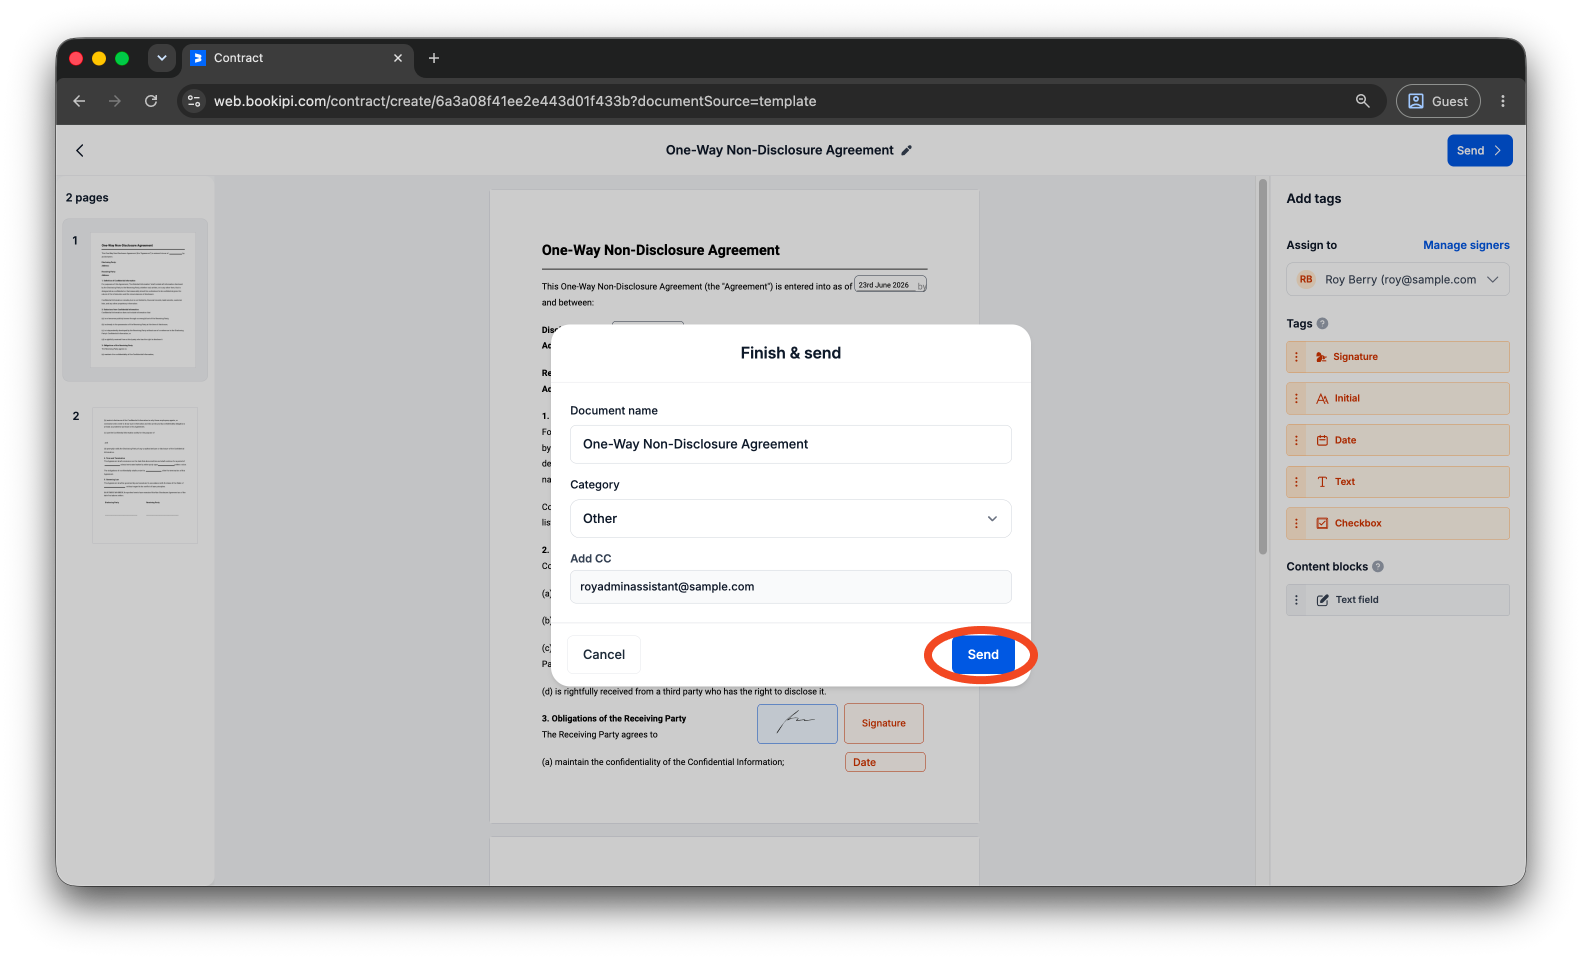
Before sending, enter a document name and select a category. You can also add additional recipients in the CC field. Then click ‘Send’ to proceed. Its status will change to Pending signature.
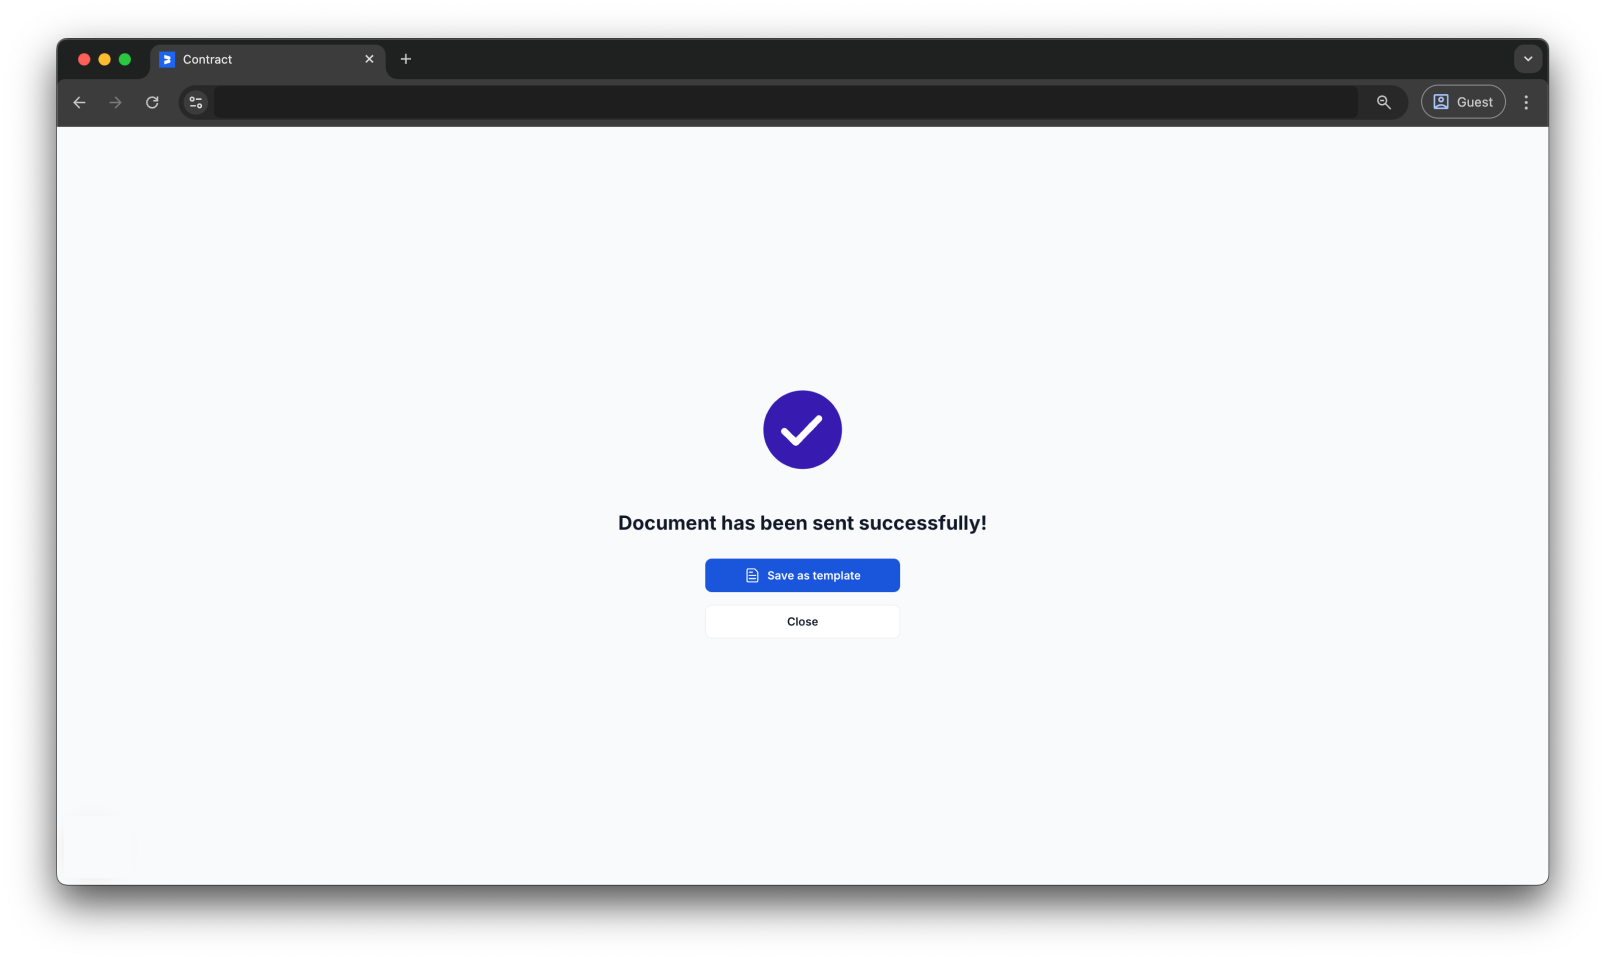
After sending your document, you will also have the option to save it as a template.
Once all signers have completed the signing, the document’s status will update to Signed.
FAQs about how to create and send an eSign document using Bookipi eSign Web
Q: What is the supported file format and maximum file size for uploading my documents?
A: You can upload documents in PDF, PNG, or PDF format, with a maximum file size of 30MB.
Q: How many eSign documents can I create with the Free plan?
A: All plans—Free, Starter, and Professional—include 3 eSign documents per month.
If you need more, you can upgrade to the Contract Pro add-on, which provides additional eSign packages. You can subscribe via the paywall or in Settings under the Subscription tab (Add-ons).
Q: Can I rearrange the order of signers?
A: Yes. Enable the ‘Signing order’ option by clicking ‘Manage signers’ in the Assign To section, then toggle it on. Drag and reorder the signers based on your preferred signing sequence. Once enabled, each signer will receive an email notification when it is their turn to sign.
Discover more tutorials for Bookipi eSign
Discover more tips on how to get the most out of Bookipi Invoice on Web v2 with our Web v2 guides, and explore more guides to help you get the most out of Bookipi eSign on the Web.
Want to sign and send documents on the go? Download the Bookipi eSign mobile app to manage contracts, forms, agreements, and other documents anytime, anywhere. Check out our mobile app guides to get started.