Discover how to select a document from an existing template for electronic signing using Bookipi eSign.
How to create an eSign document from an existing template using Bookipi eSign
Make the signing process easy for both you and your customers, ensuring smooth and efficient operation for your business. Learn how to select a document from an existing template for electronic signing with this simple guide using Bookipi eSign.
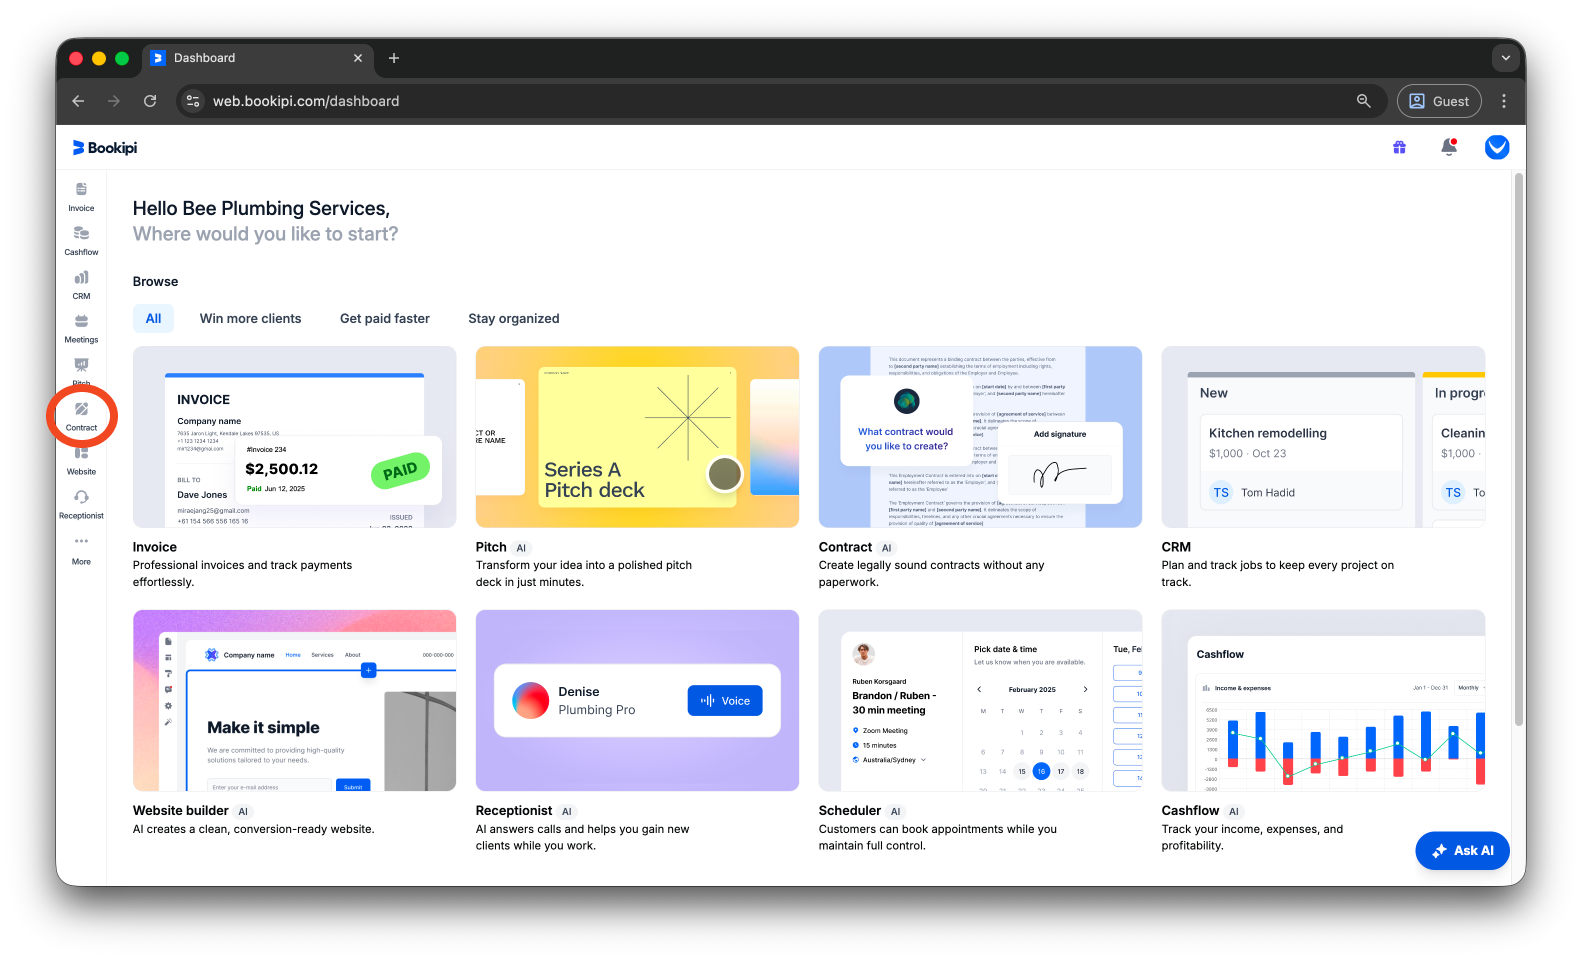
Step 1: Click‘Contract’
Click ‘Contract’ on the left panel menu of your dashboard.
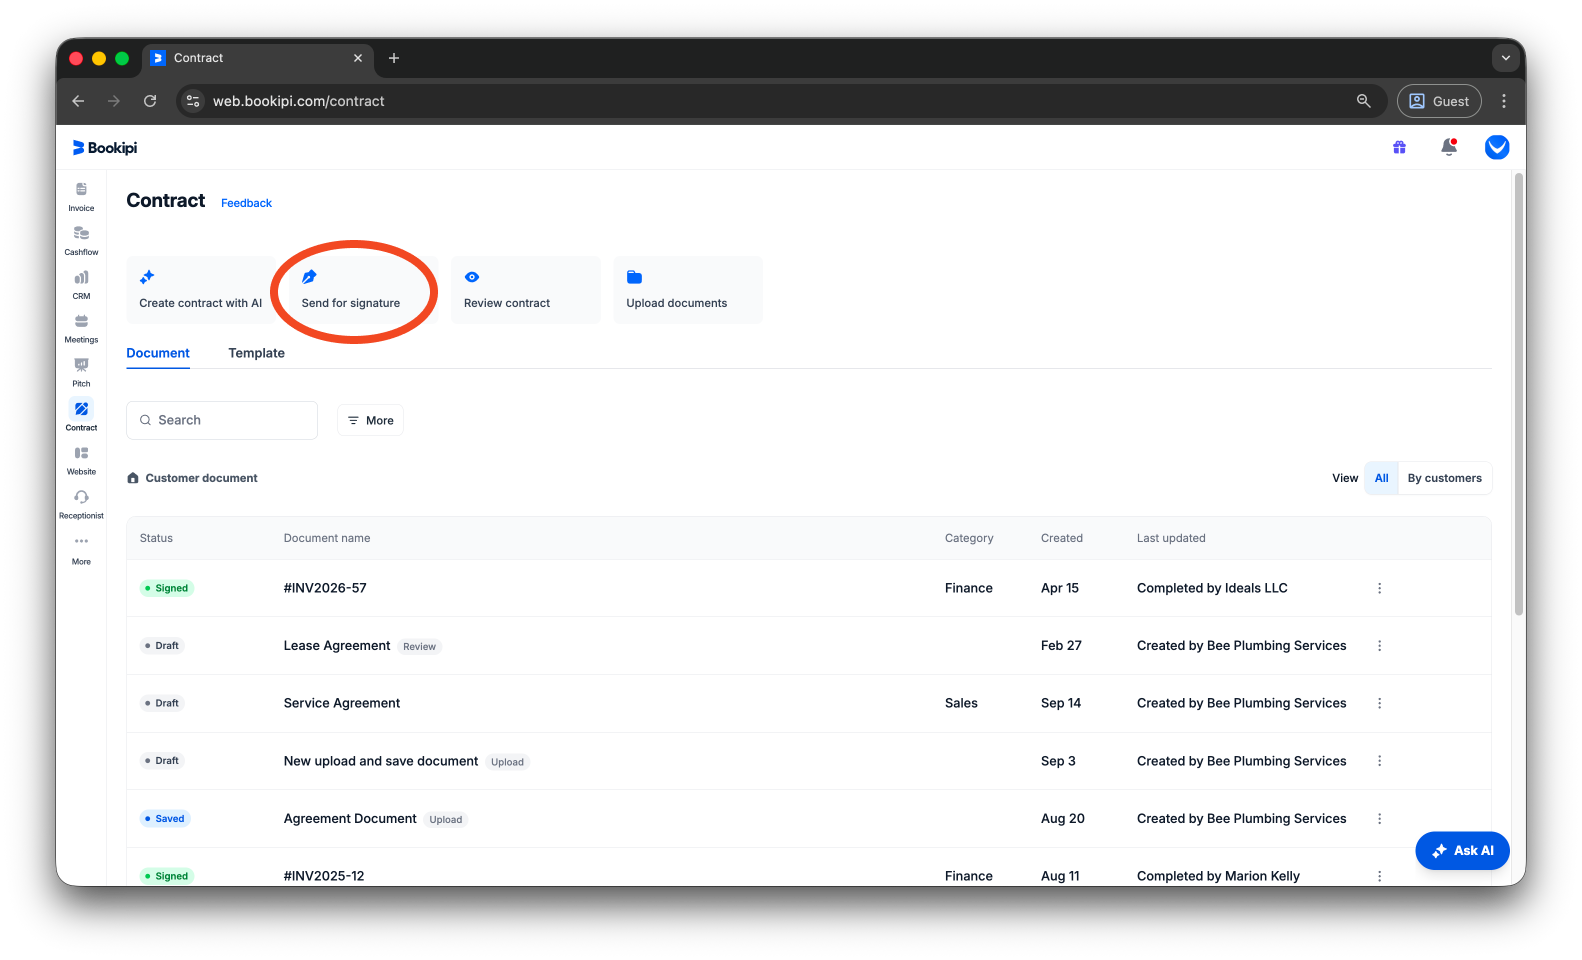
Step 2: Select ‘Send for signature’
Select ‘Send for signature’ located at the top of the page.
Step 3: Select a template
From the Suggested Templates section, choose a template from the most commonly used options displayed on the dashboard.
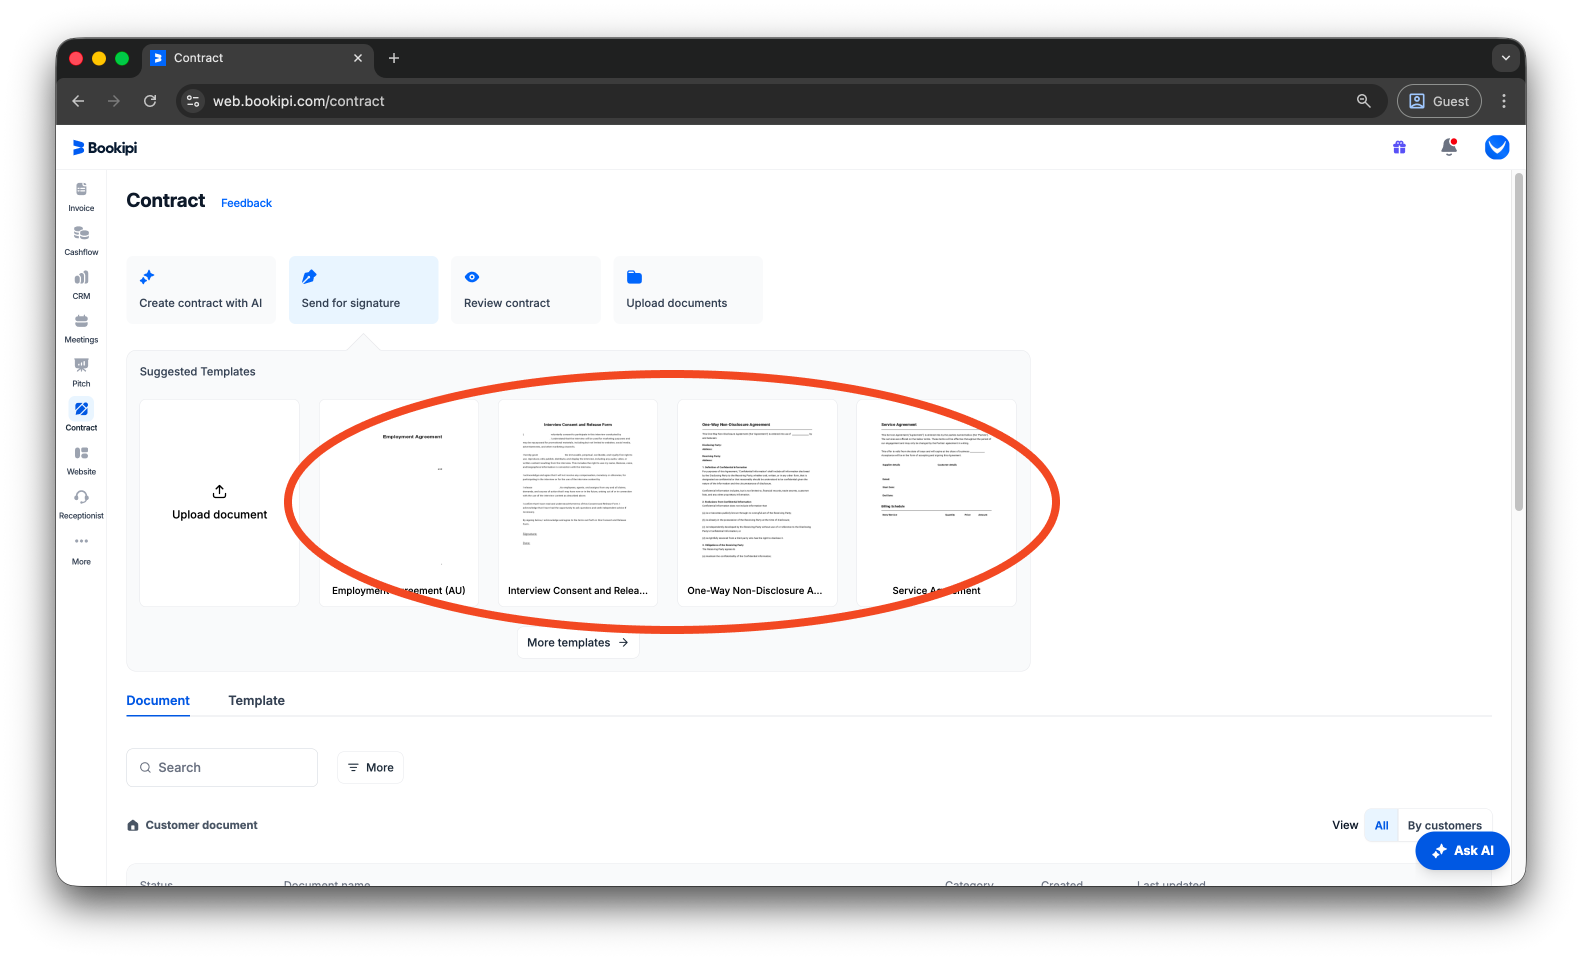
Alternatively, click ‘More templates‘ to explore more options.

Step 4: Browse templates
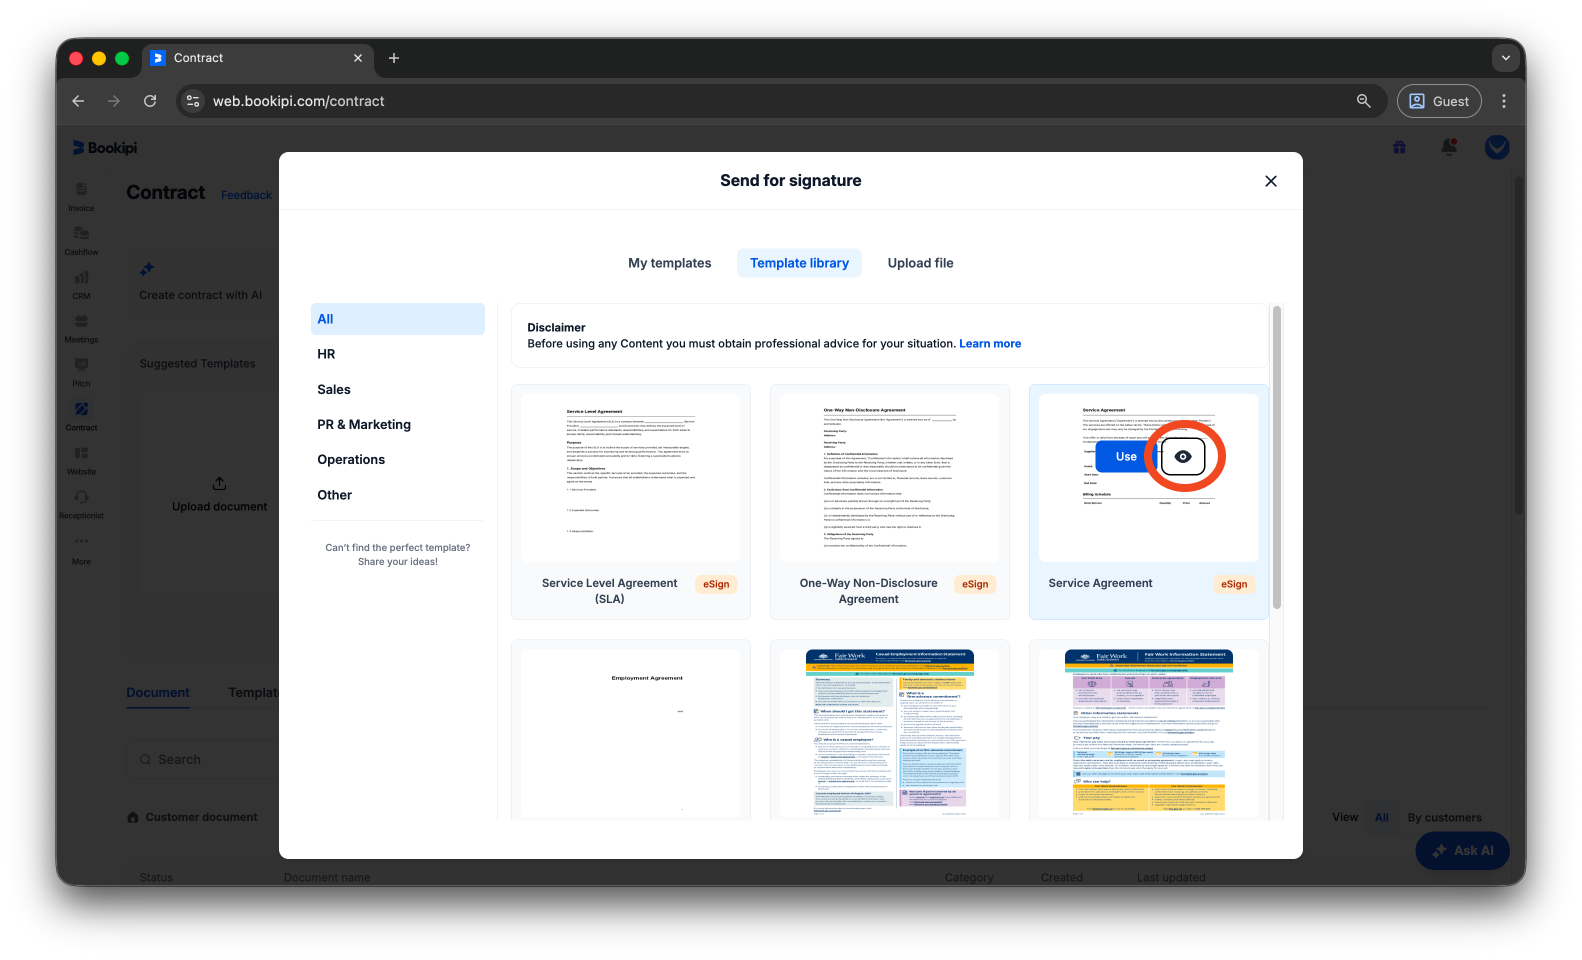
Click the ‘Template library’ tab to browse a variety of our templates across different categories.
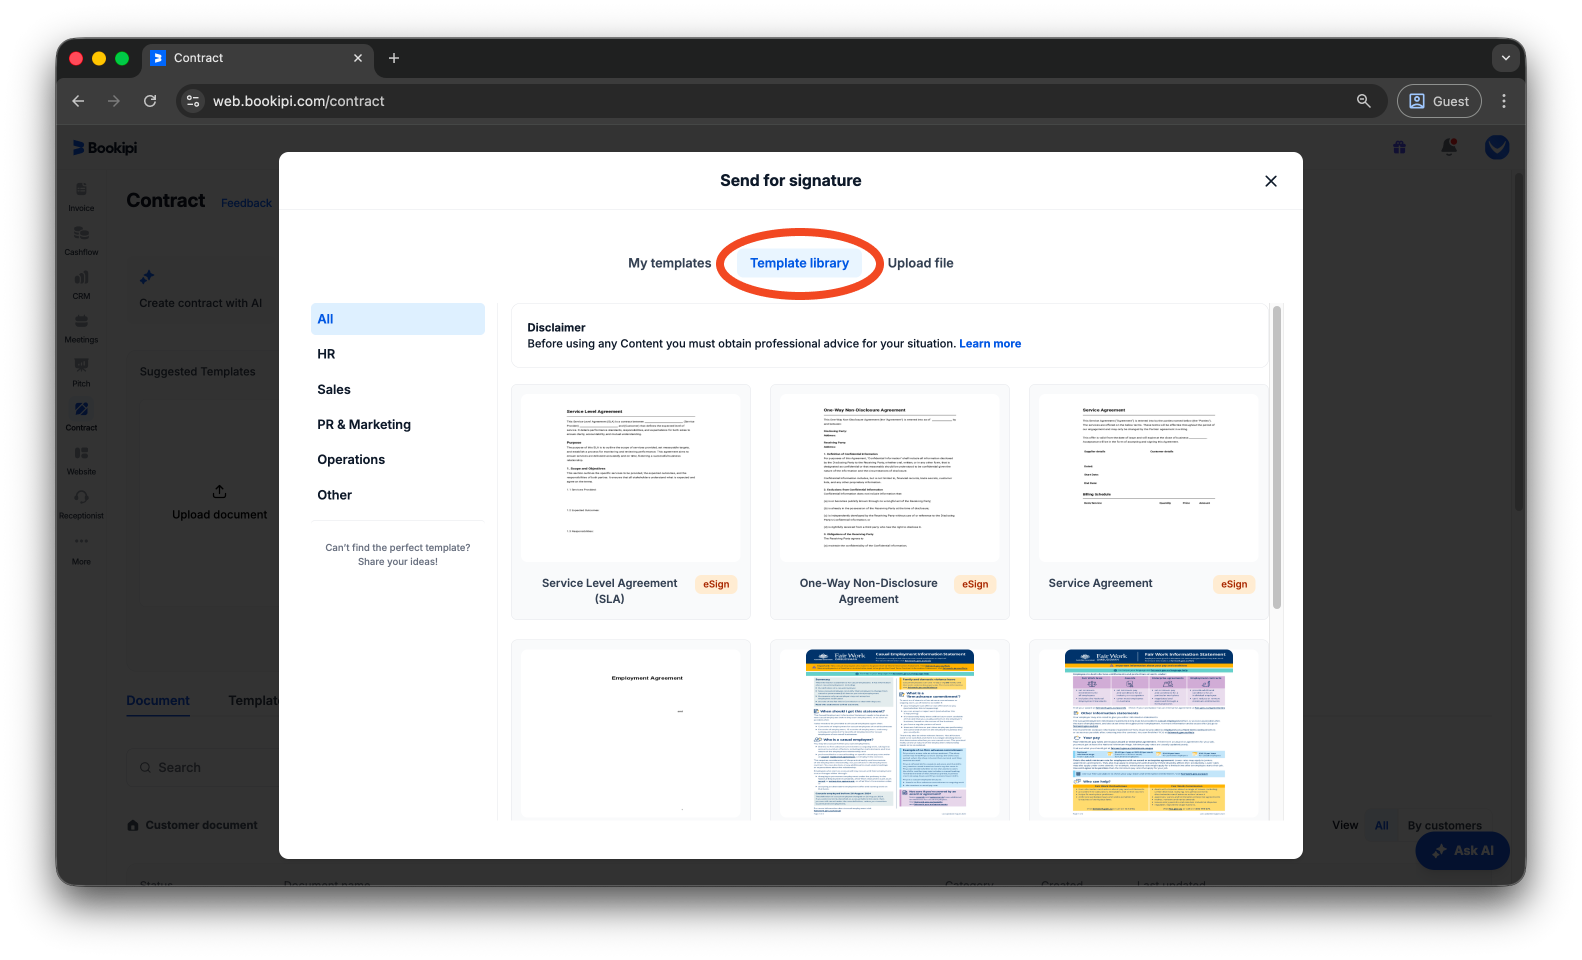
Hover your mouse over a template and select ‘Use’ to apply it.

To preview a template before using it, hover your mouse over the document and click the eye icon.
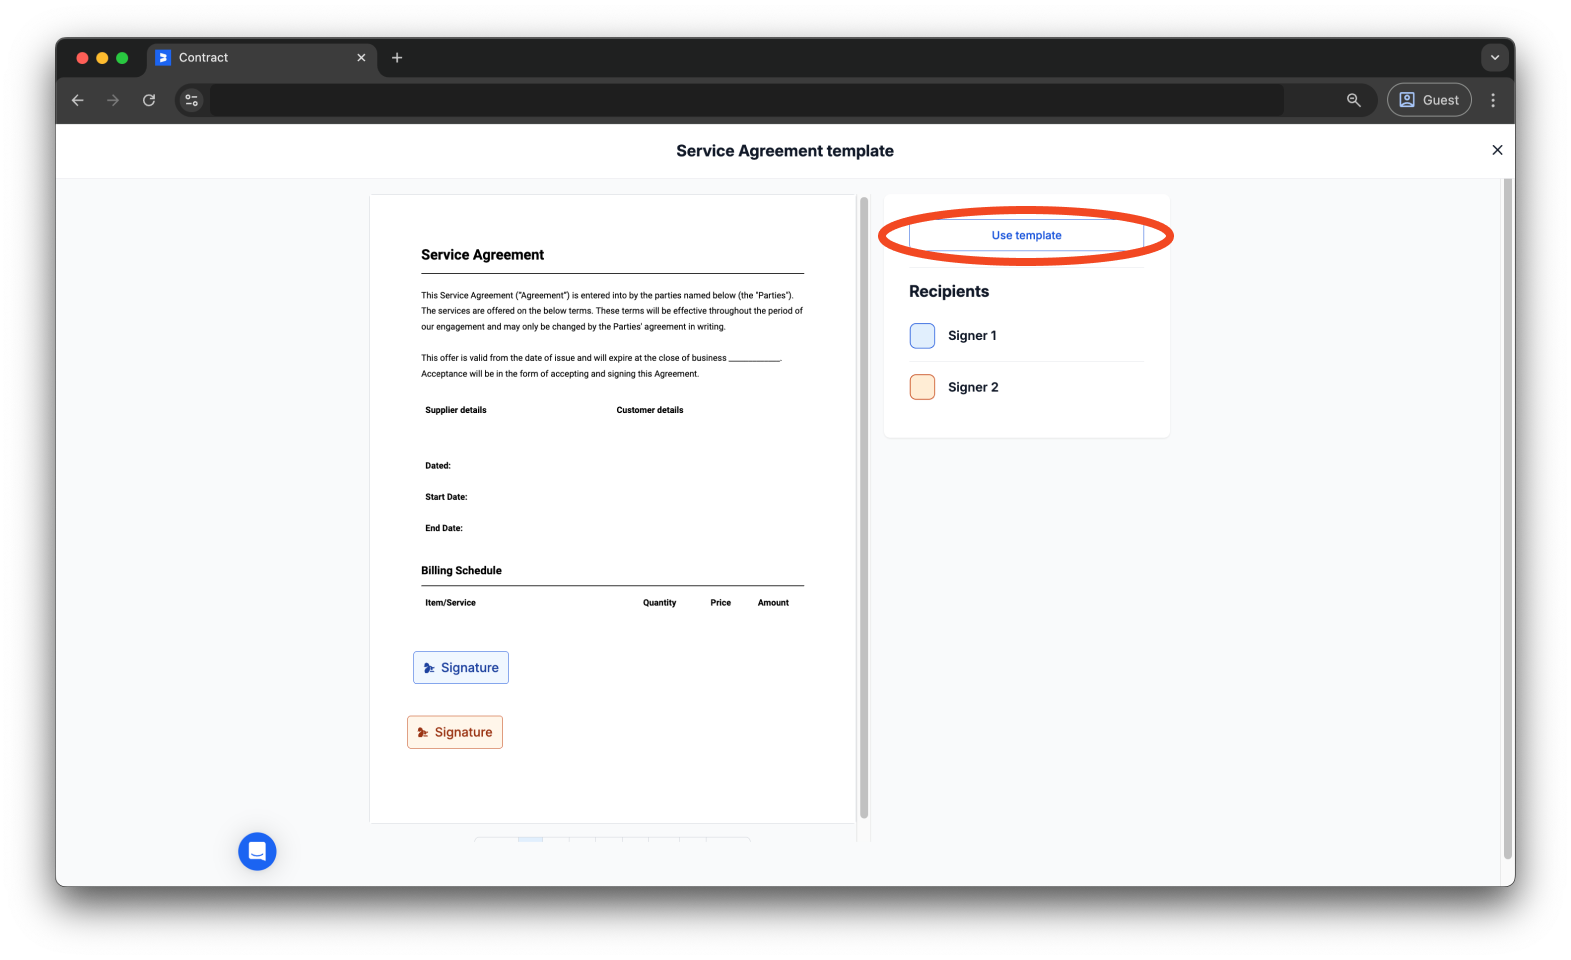
Once you’ve decided to use the template, click ‘Use template’.
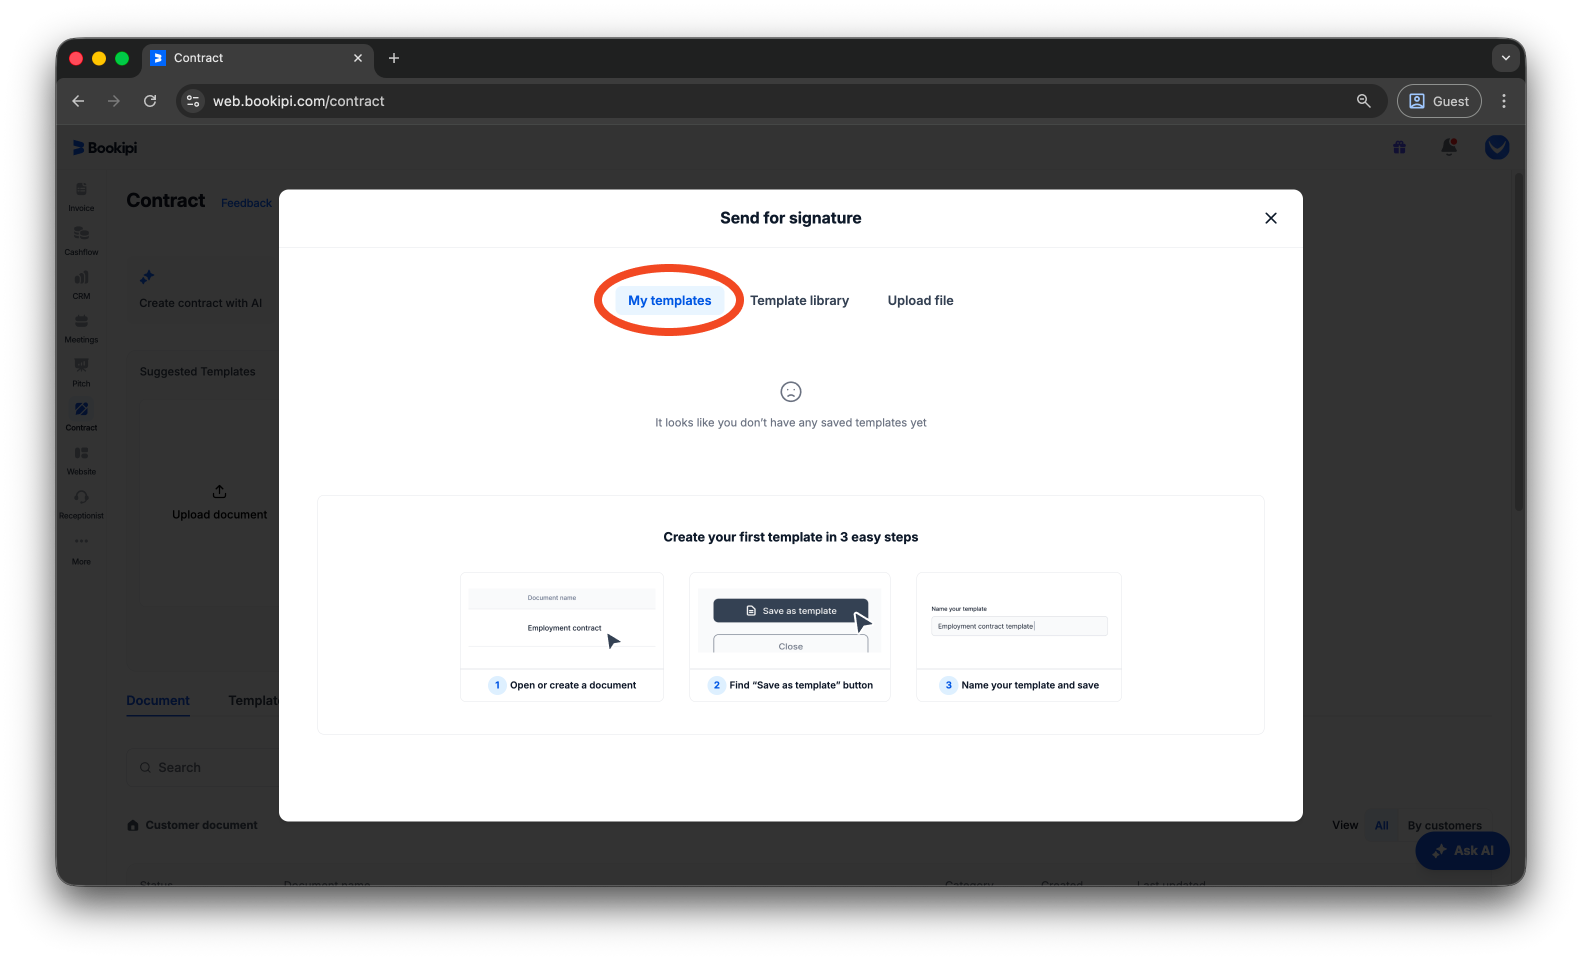
On the other hand, if you already have a saved template, click the ‘My templates’ tab and choose a document.
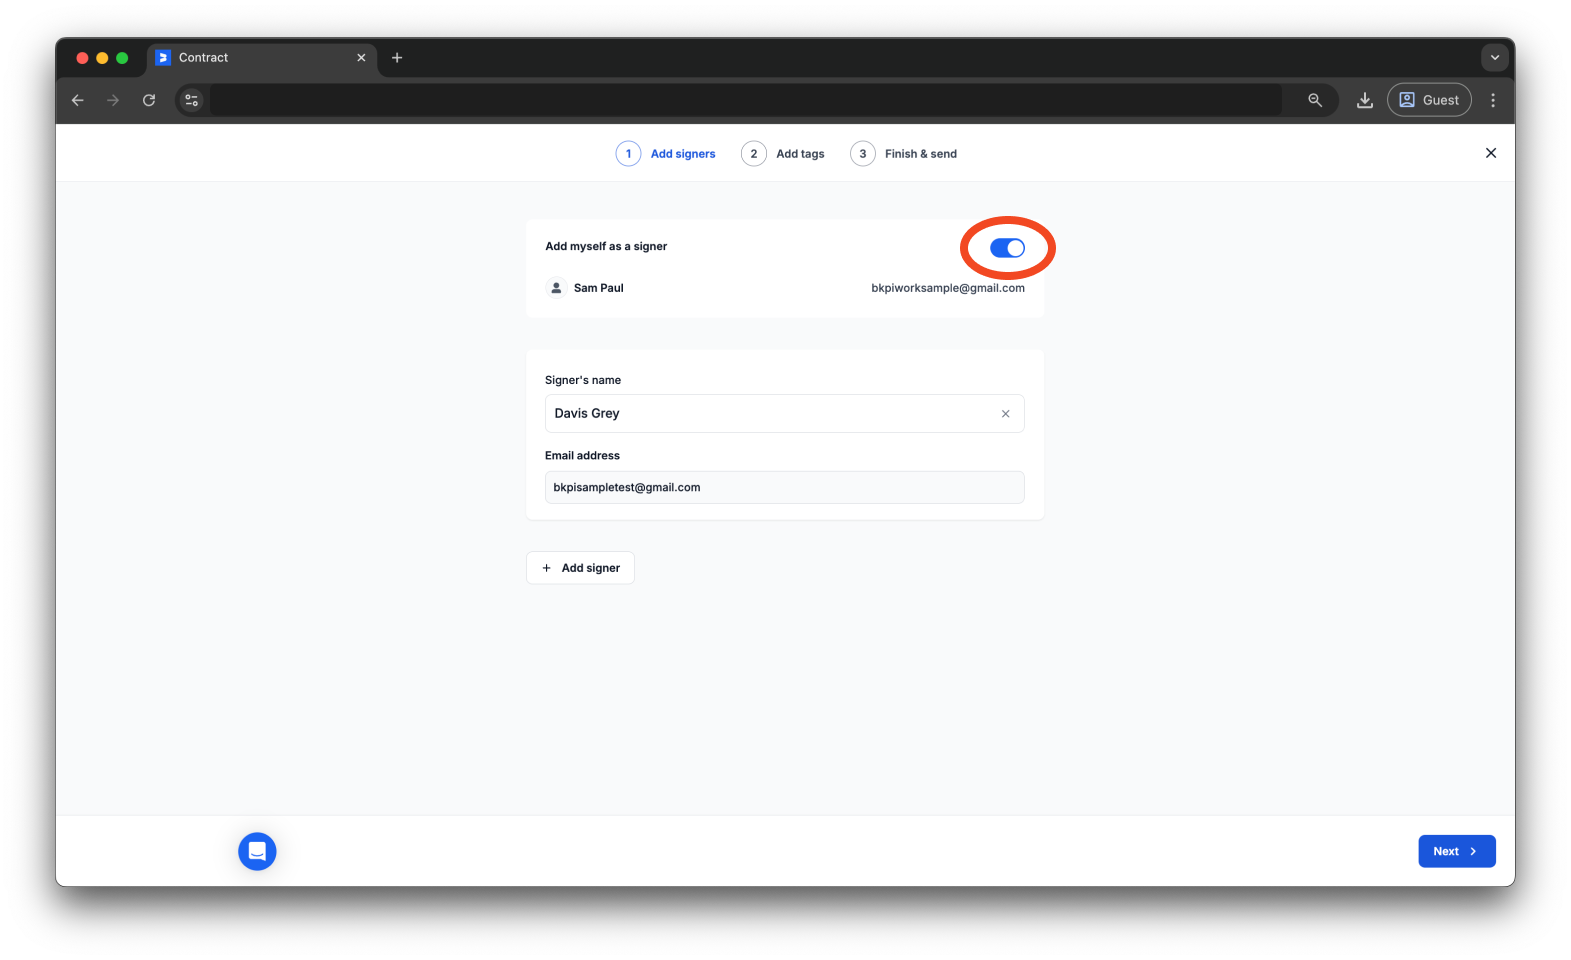
Step 5: Add signers
Enter the name and email address of the signer(s). To add more signatories, click ‘+ Add signer’.
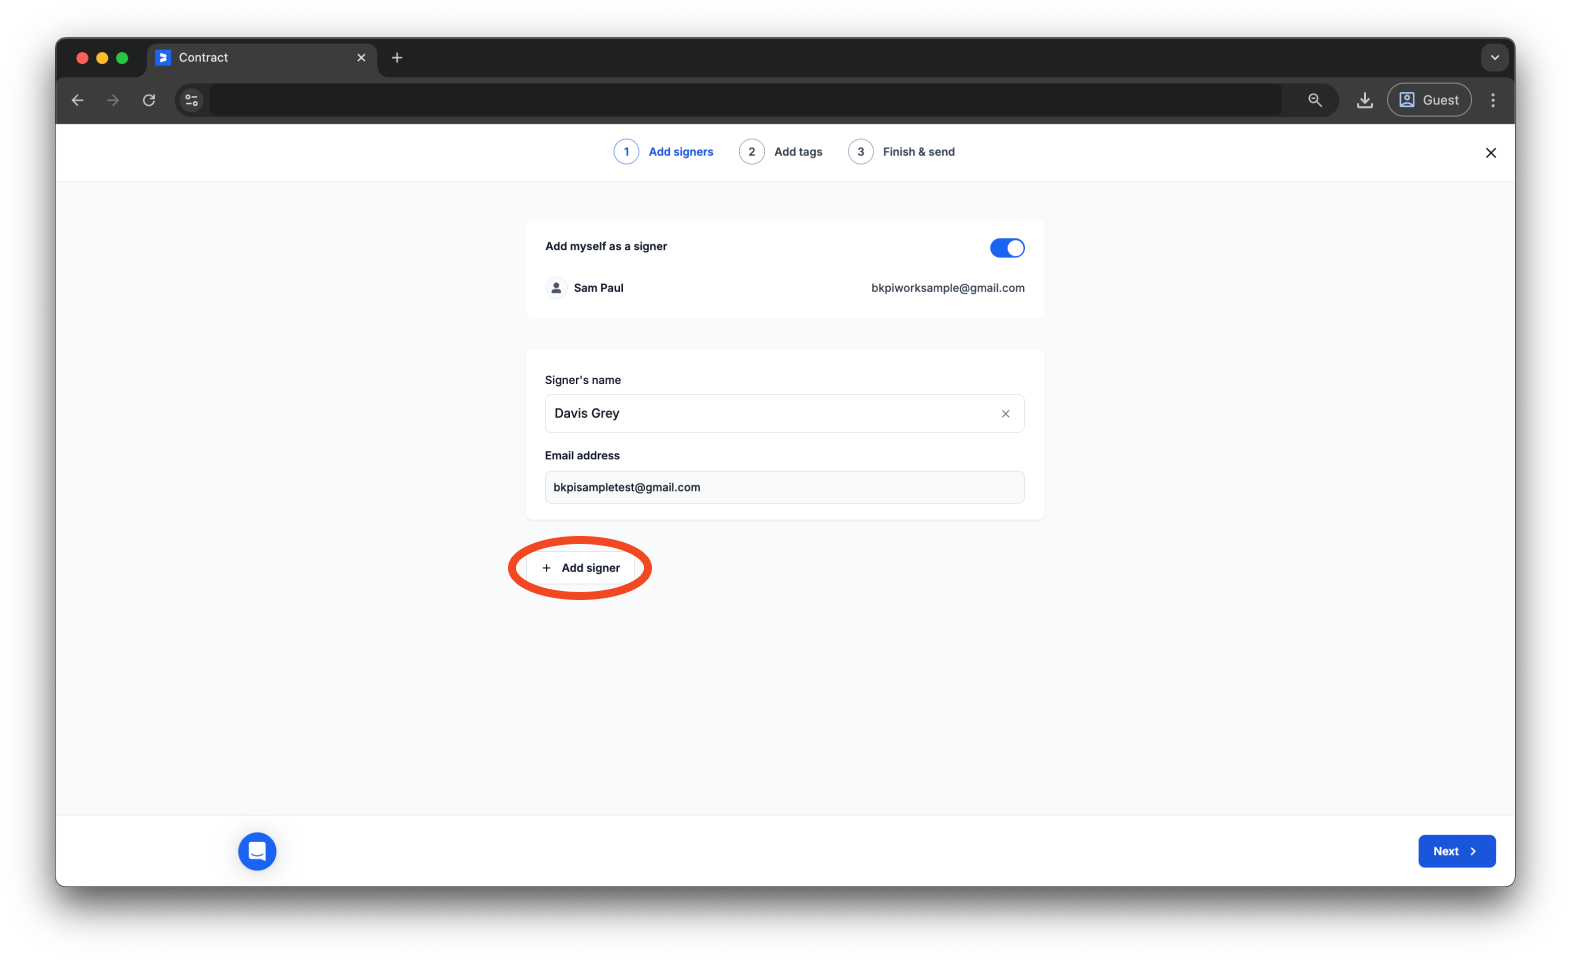
Toggle the option if you want to include yourself as a signer.
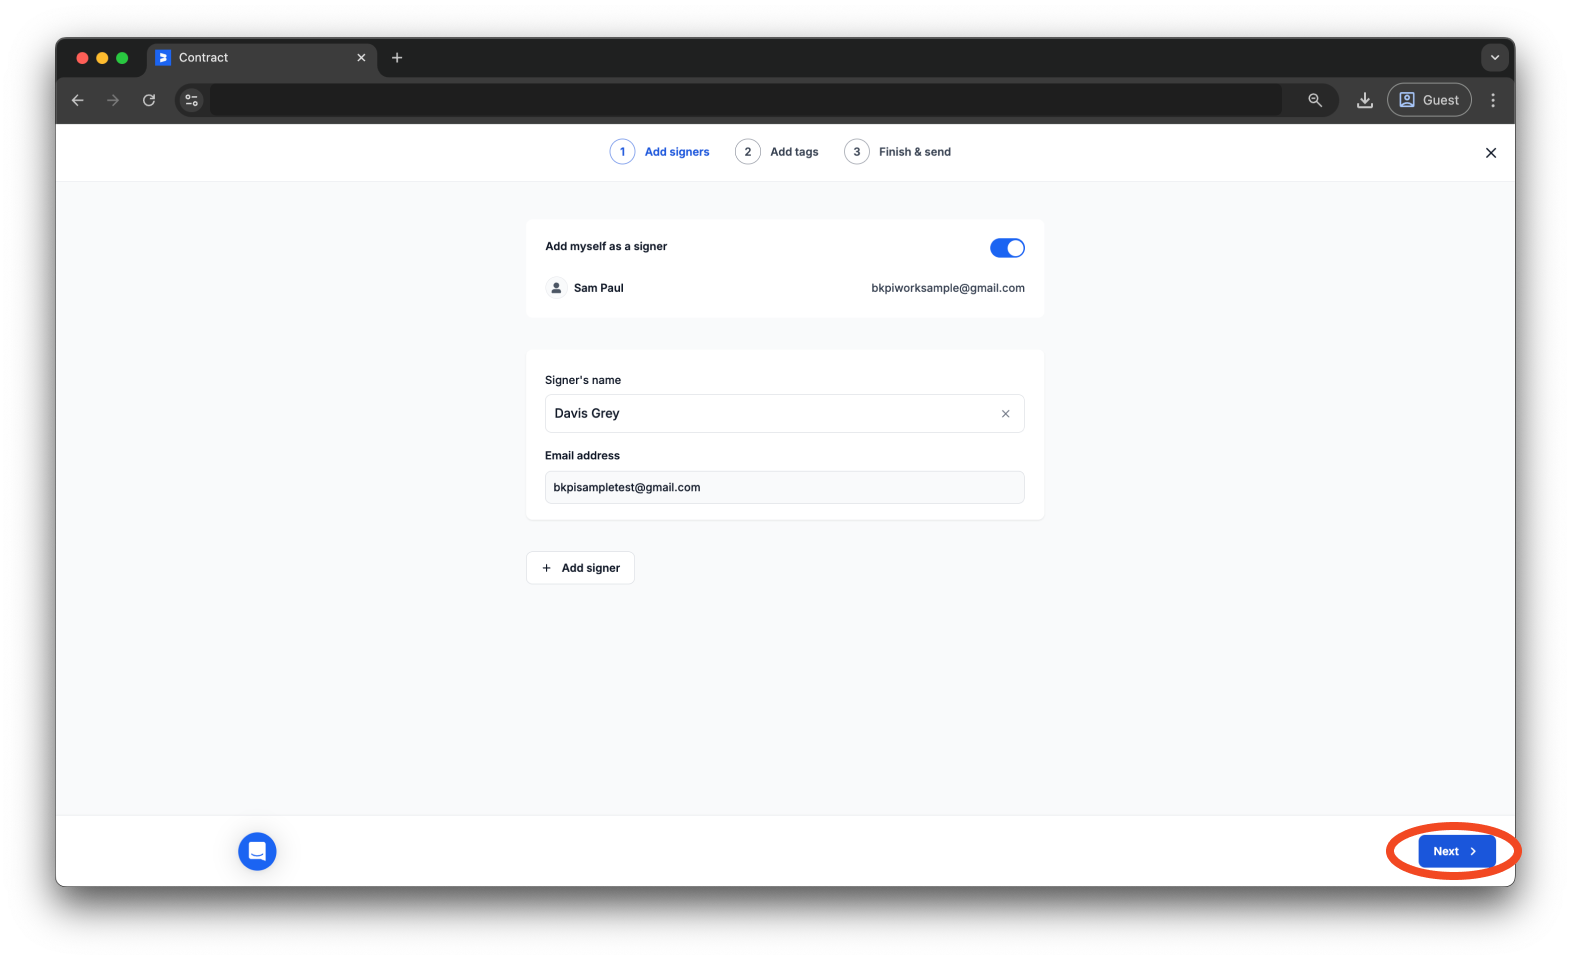
Step 6: Click ‘Next’
Click ‘Next’ to proceed to the next page.
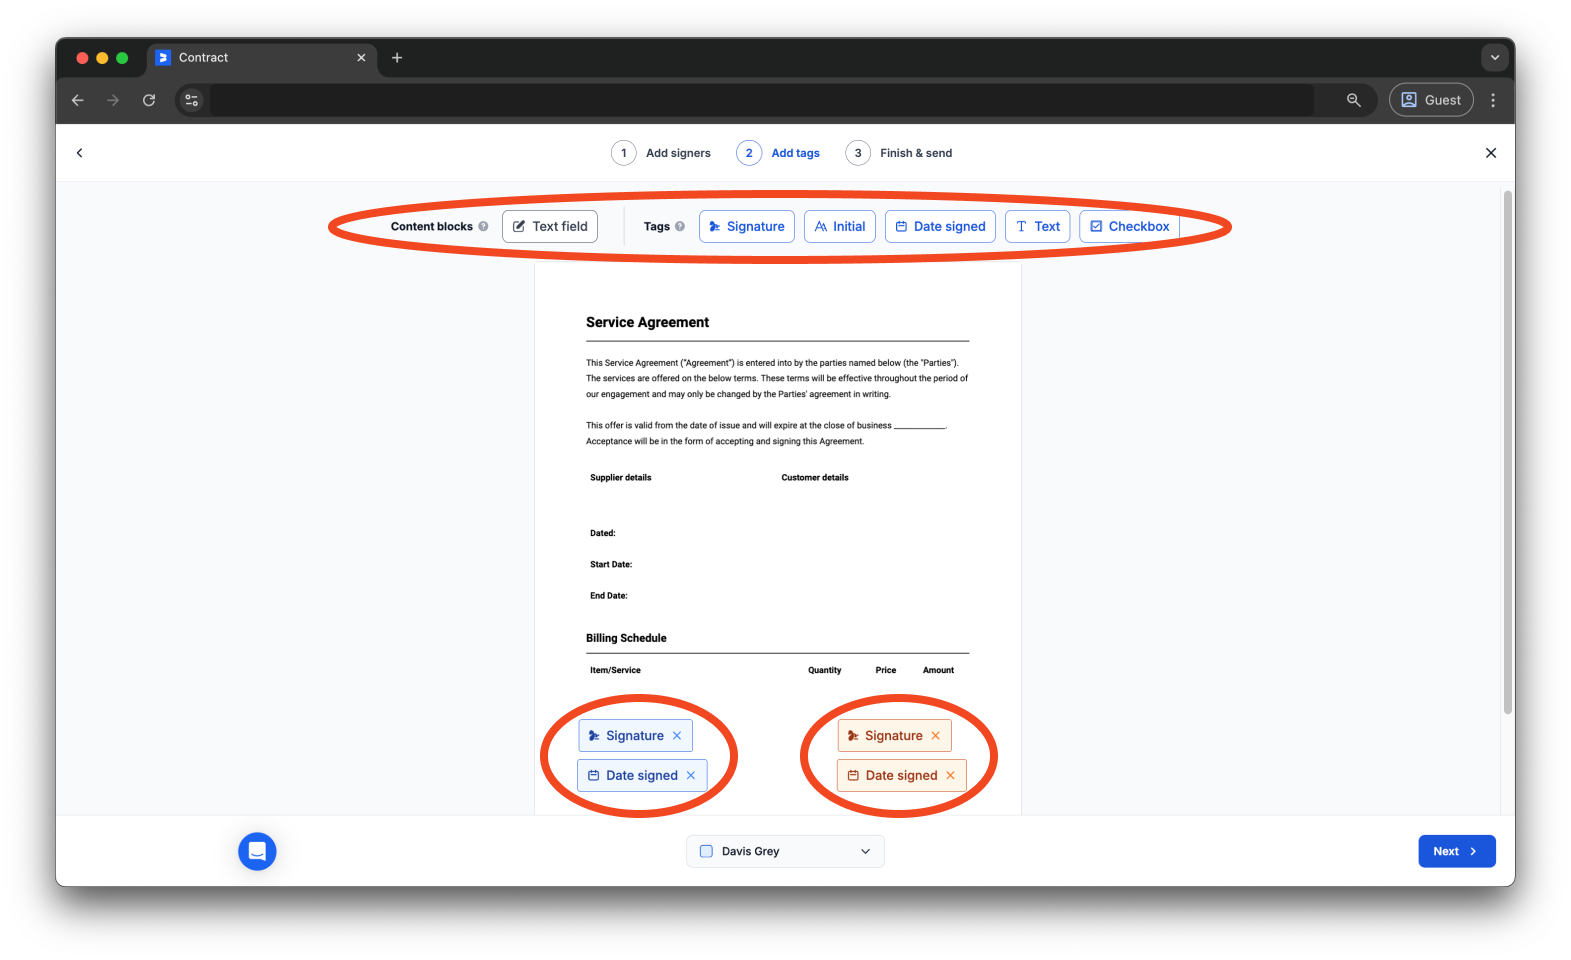
Step 7: Add tags
Your selected template will be uploaded automatically.
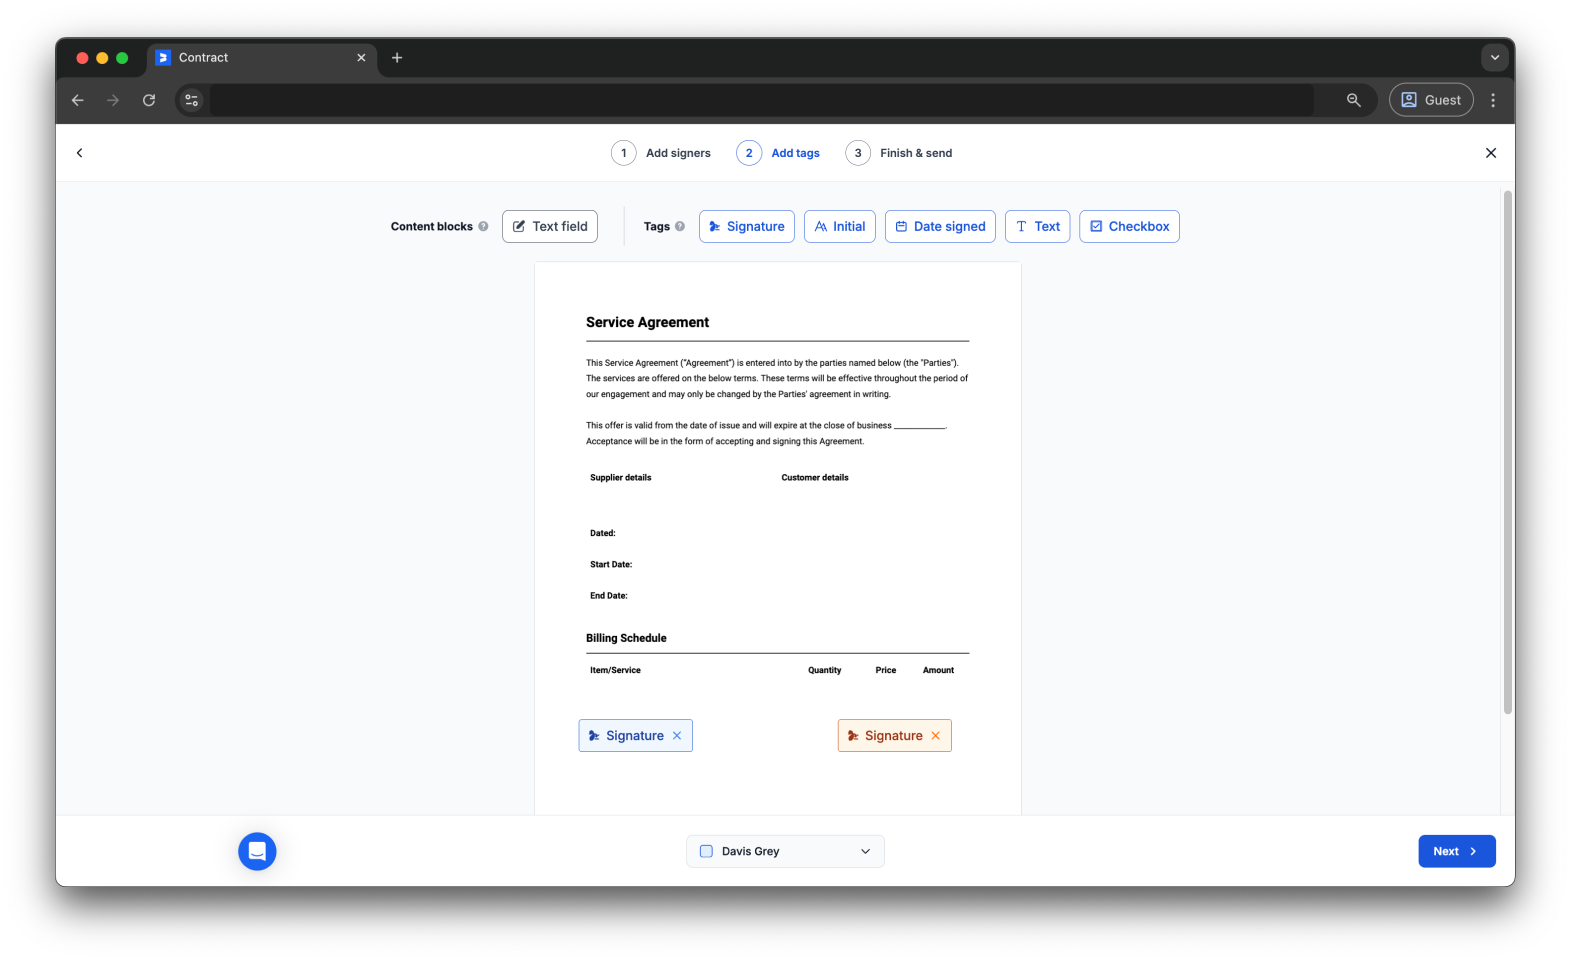
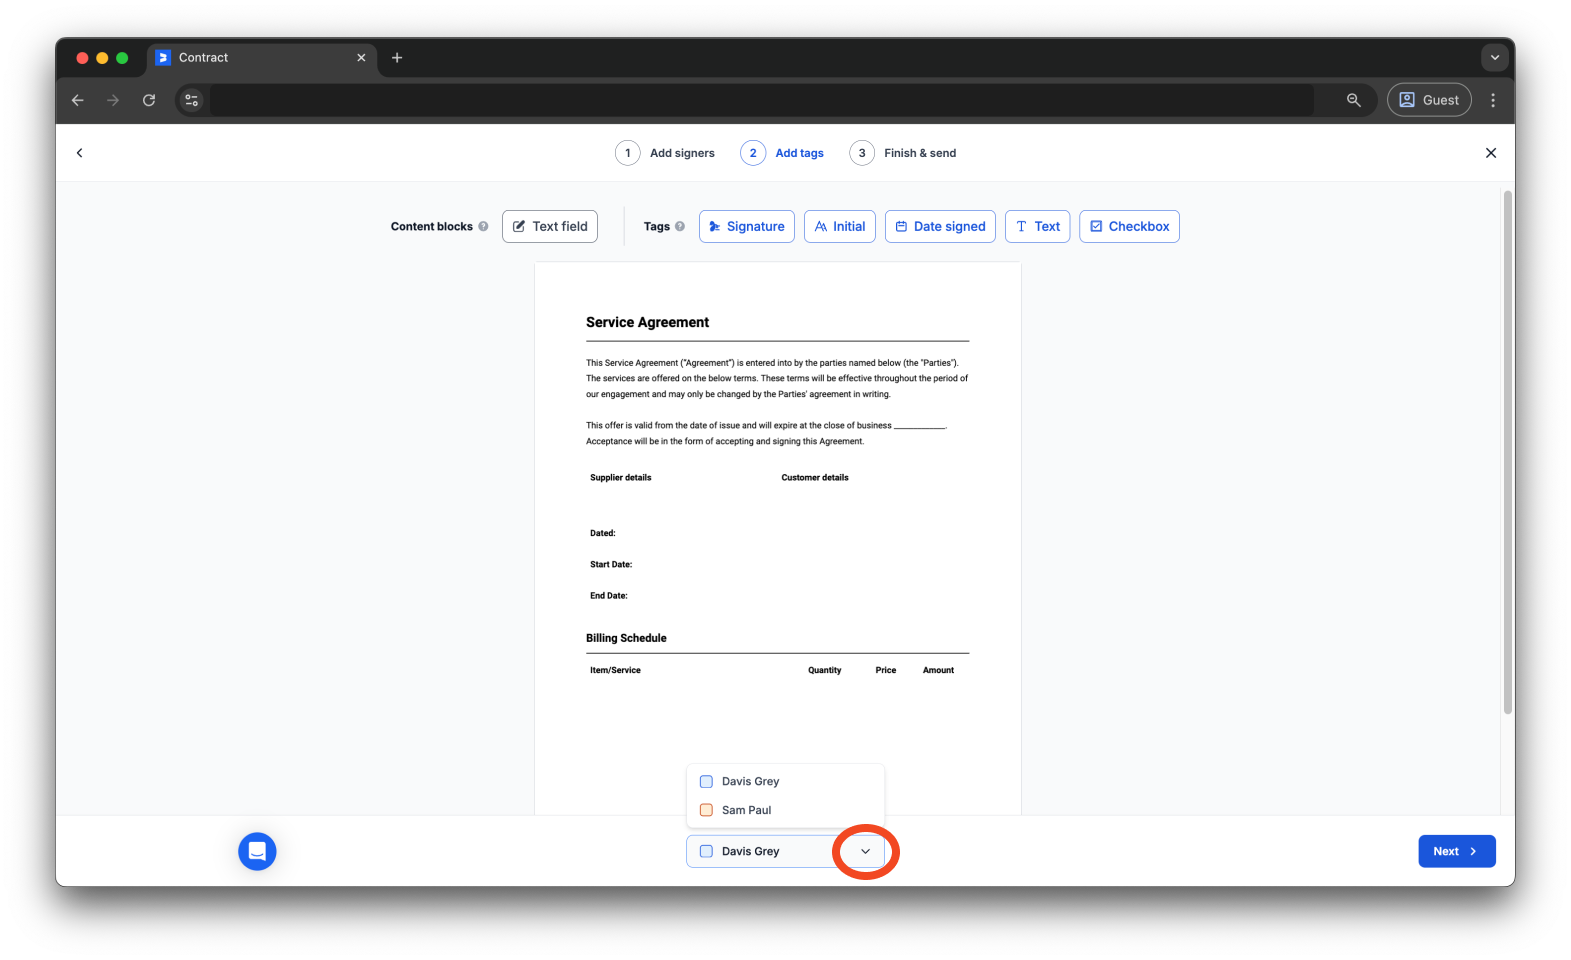
Add and assign text and tags to each signer for the fields you want them to complete. Select the signer at the bottom of the page, with each signer having a unique color.
Pick the tags from the top, and then drag and place them onto the document.
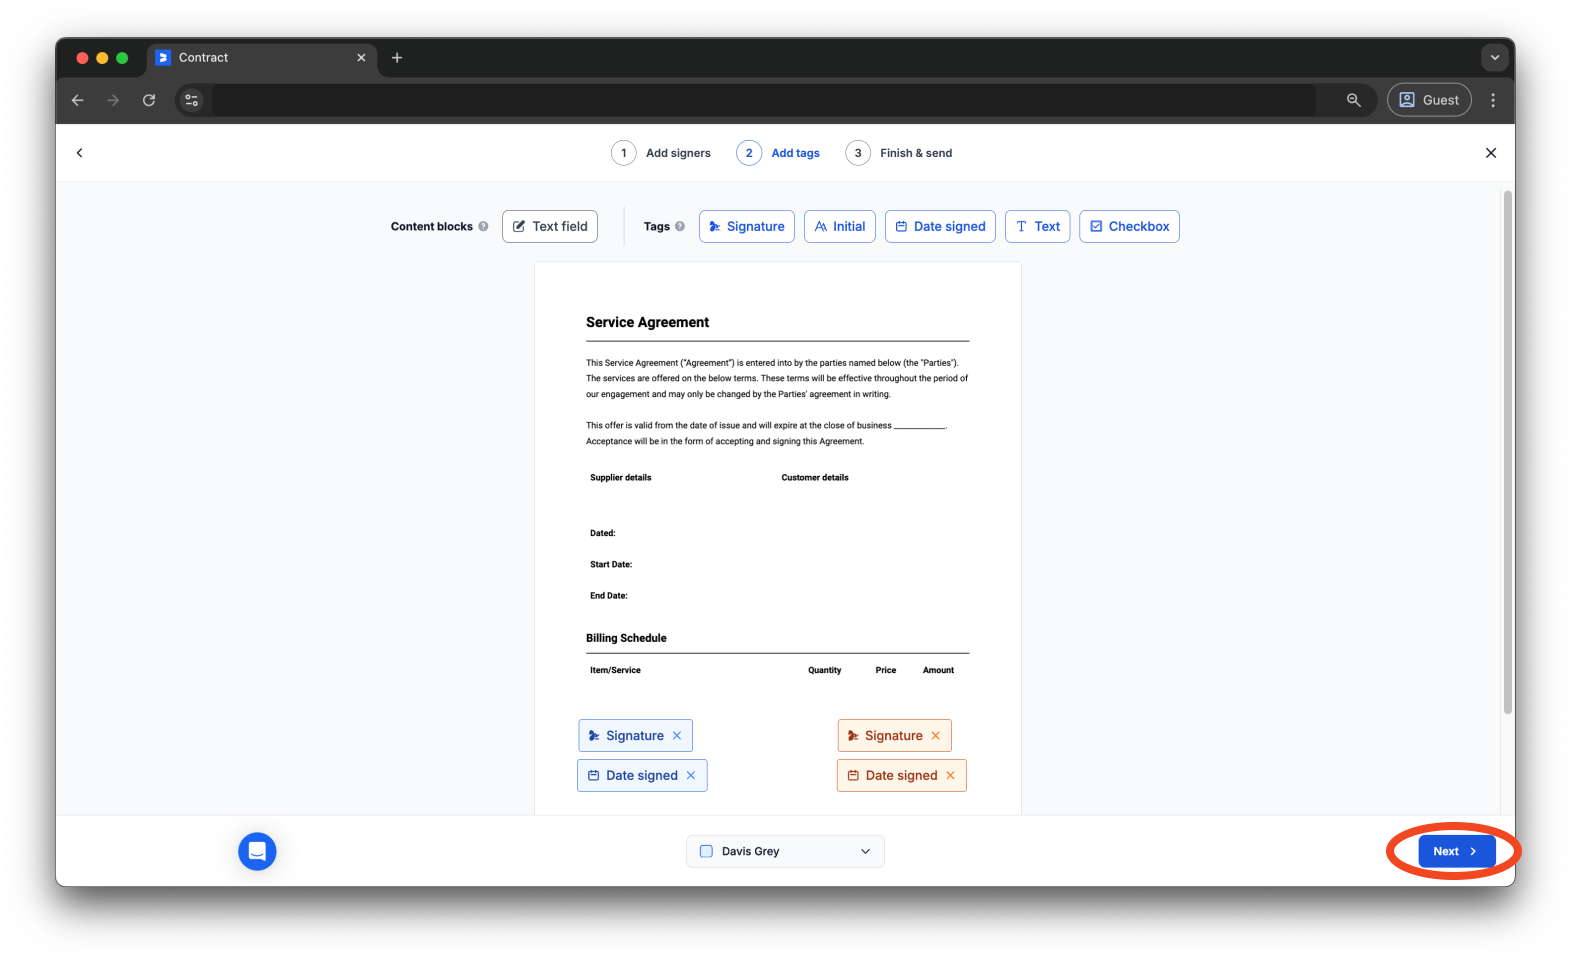
Step 8: Click ‘Next’
Click ‘Next’ to proceed to the final step.
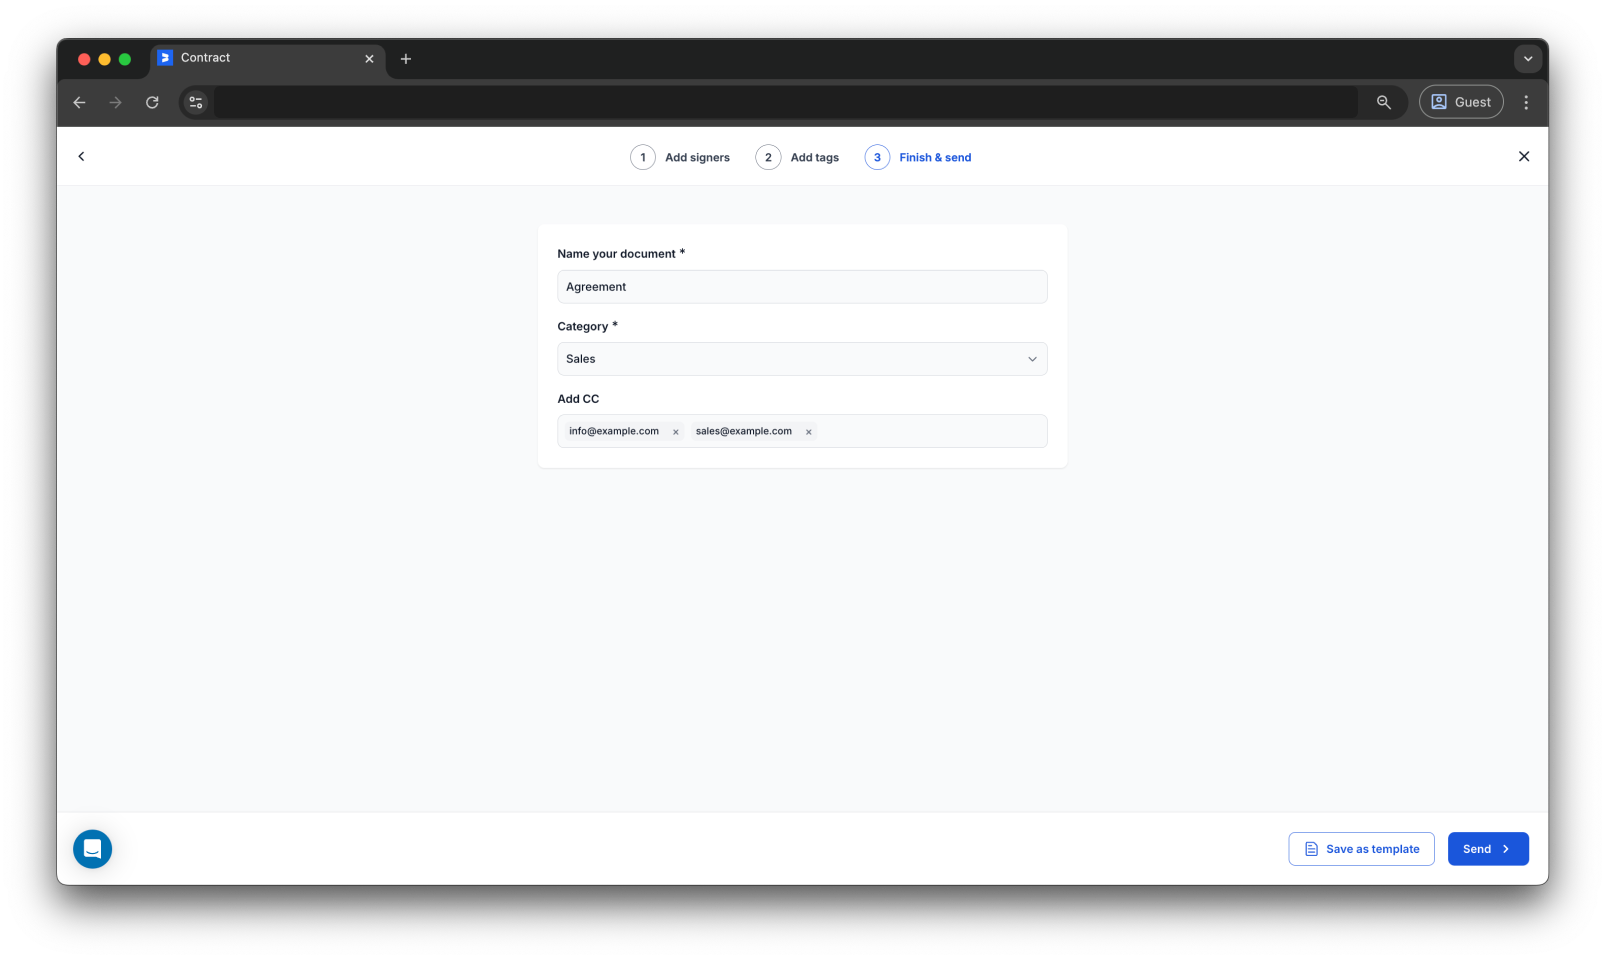
Step 9: Finish & send
Enter a name for your document and select a category. Include other recipients of your document under the Add CC field.
Step 10: Save as a template or send your document
To save it as a template for future use, click ‘Save as template’.
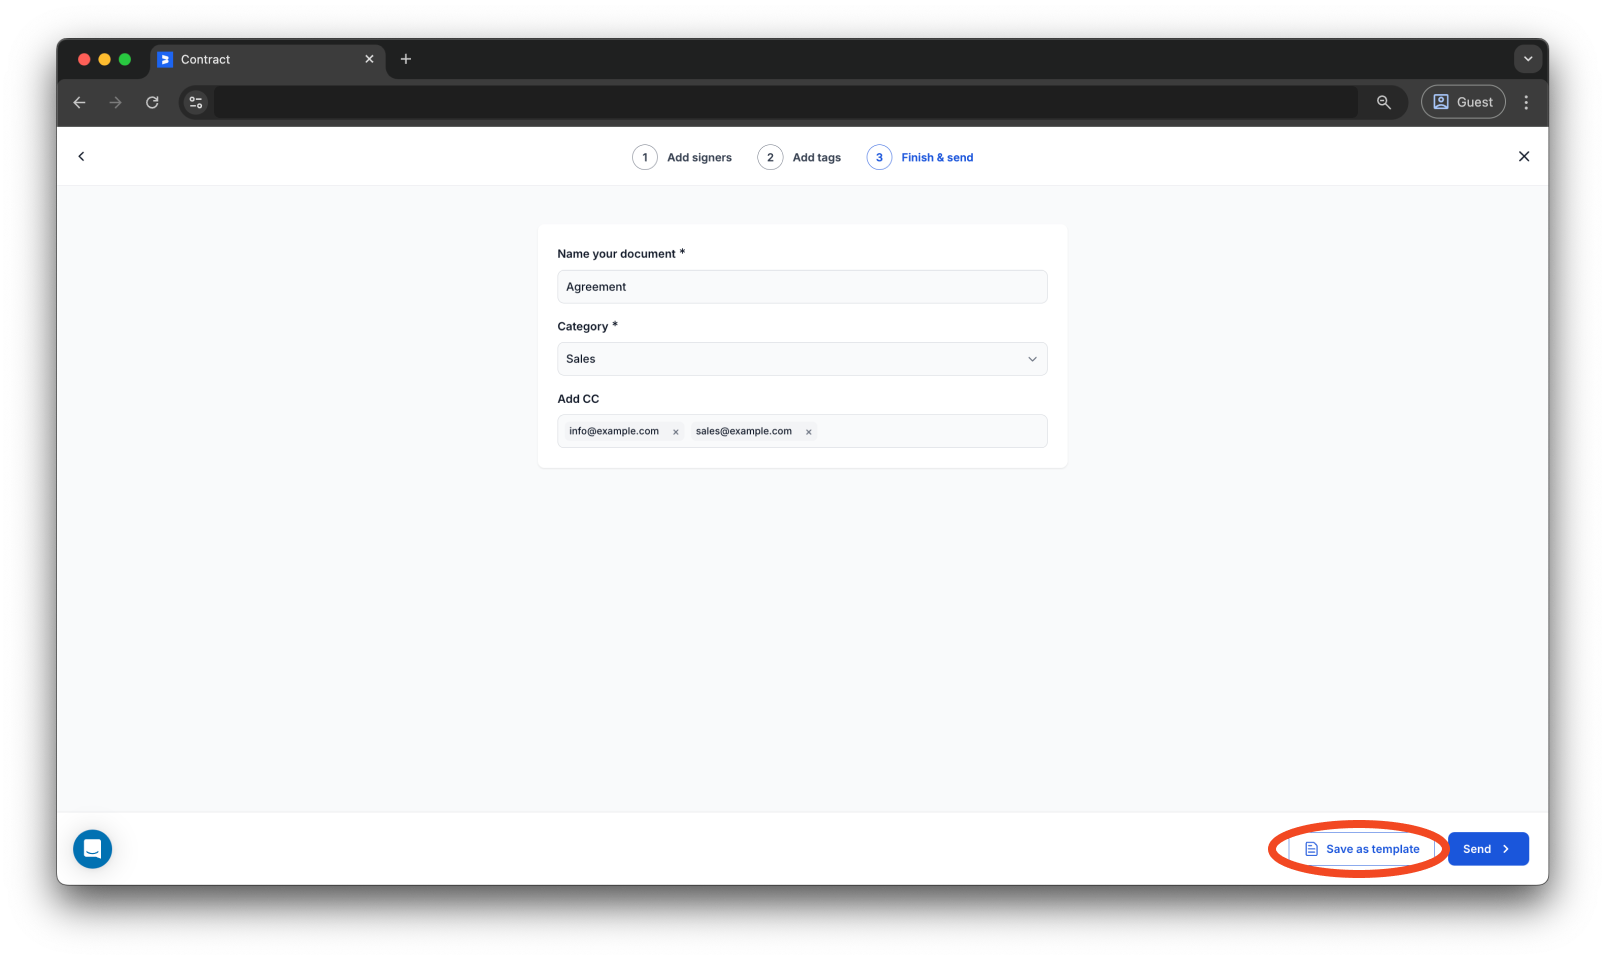
If you choose to send the document, click ‘Send’, and its status will change to Pending signature.

After sending your document, you will also have the option to save it as a template.
Once all signers have completed the signing, the document’s status will update to Signed.
FAQs about how to create an eSign document from an existing template using Bookipi eSign
Q: Do I need to create a new template each time I need a document?
A: No, you can reuse existing templates for new documents. Just select the template, make any necessary adjustments, and send it out for signing.
Q: How many signers can be added to my document?
A: You can add up to 8 signers to your document, including yourself.
Q: Can I replace the template I selected with a new one?
A: Unfortunately, once you have selected and applied a template, you can no longer replace it with a new one. Please make sure the template you choose is final and correct.
Discover more tutorials for Bookipi Invoice on Web v2
Discover more tips on how to get the most out of Bookipi Invoice on Web v2 with our Web v2 guides.
Make sending invoices anytime and anywhere even easier by downloading the Bookipi Invoice mobile app and check out our mobile app guides.


