Learn how to create a new proposal in Bookipi Proposals
Learn how to create a new proposal in Bookipi Proposals with our simple guide below.
Bookipi Proposals is available for users who have activated payments on Bookipi.
Making a new proposal
There are two ways to create a new proposal
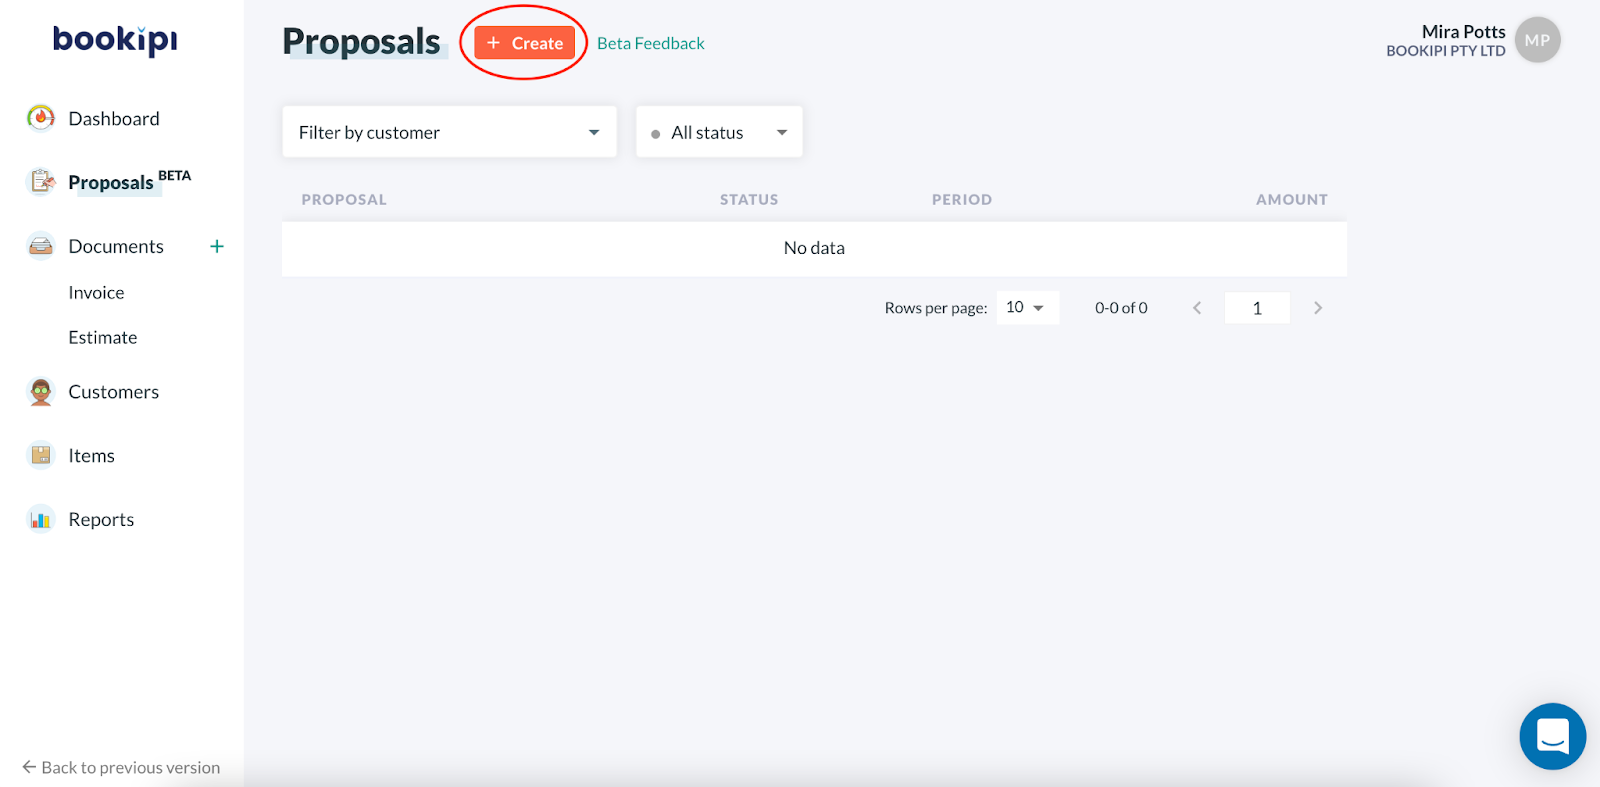
1. From the Proposals section in the left menu
Select + Create from the Proposals section
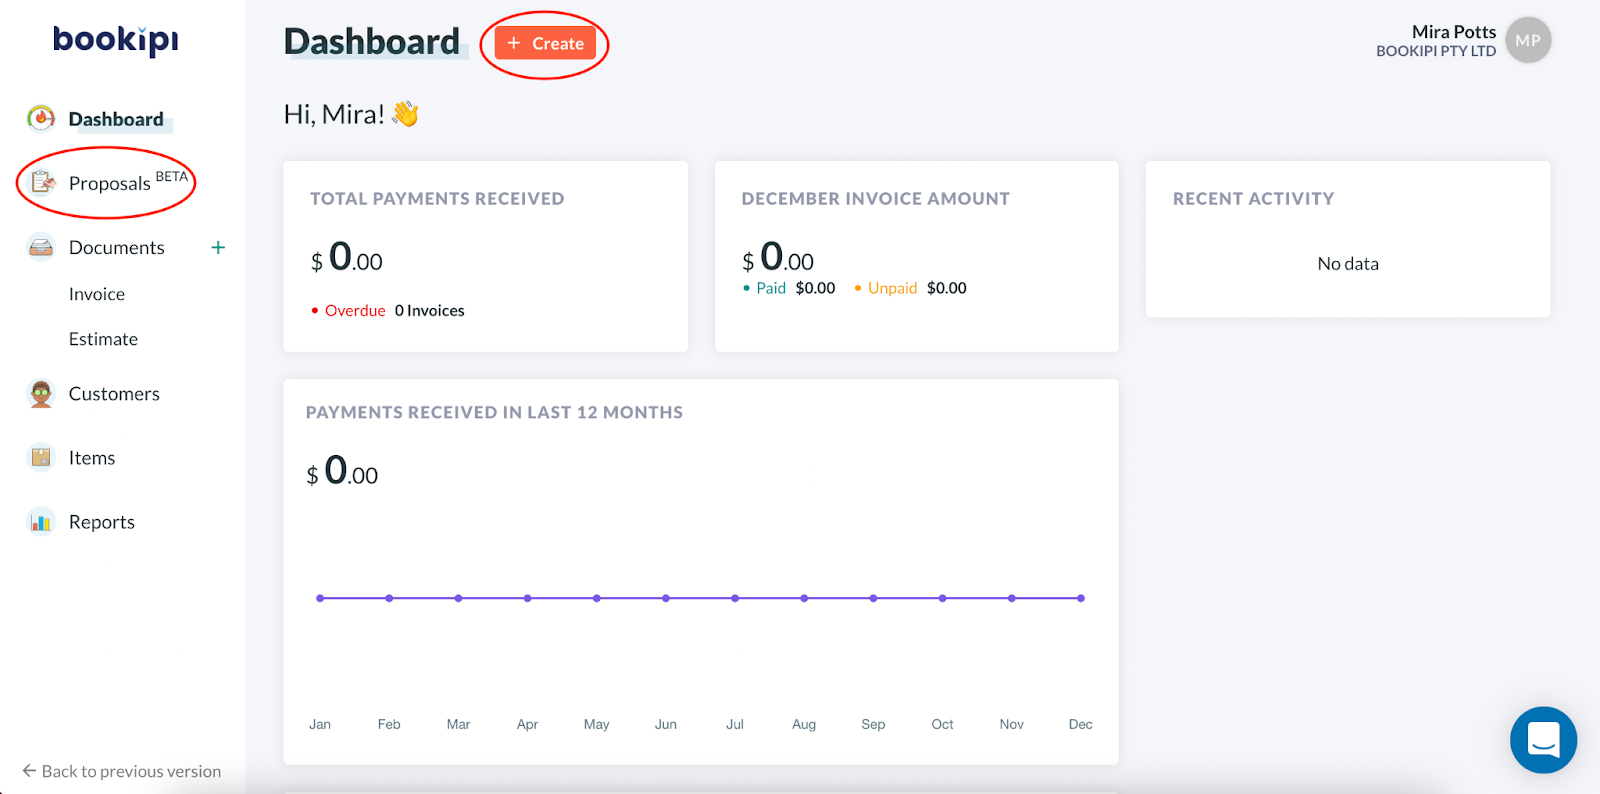
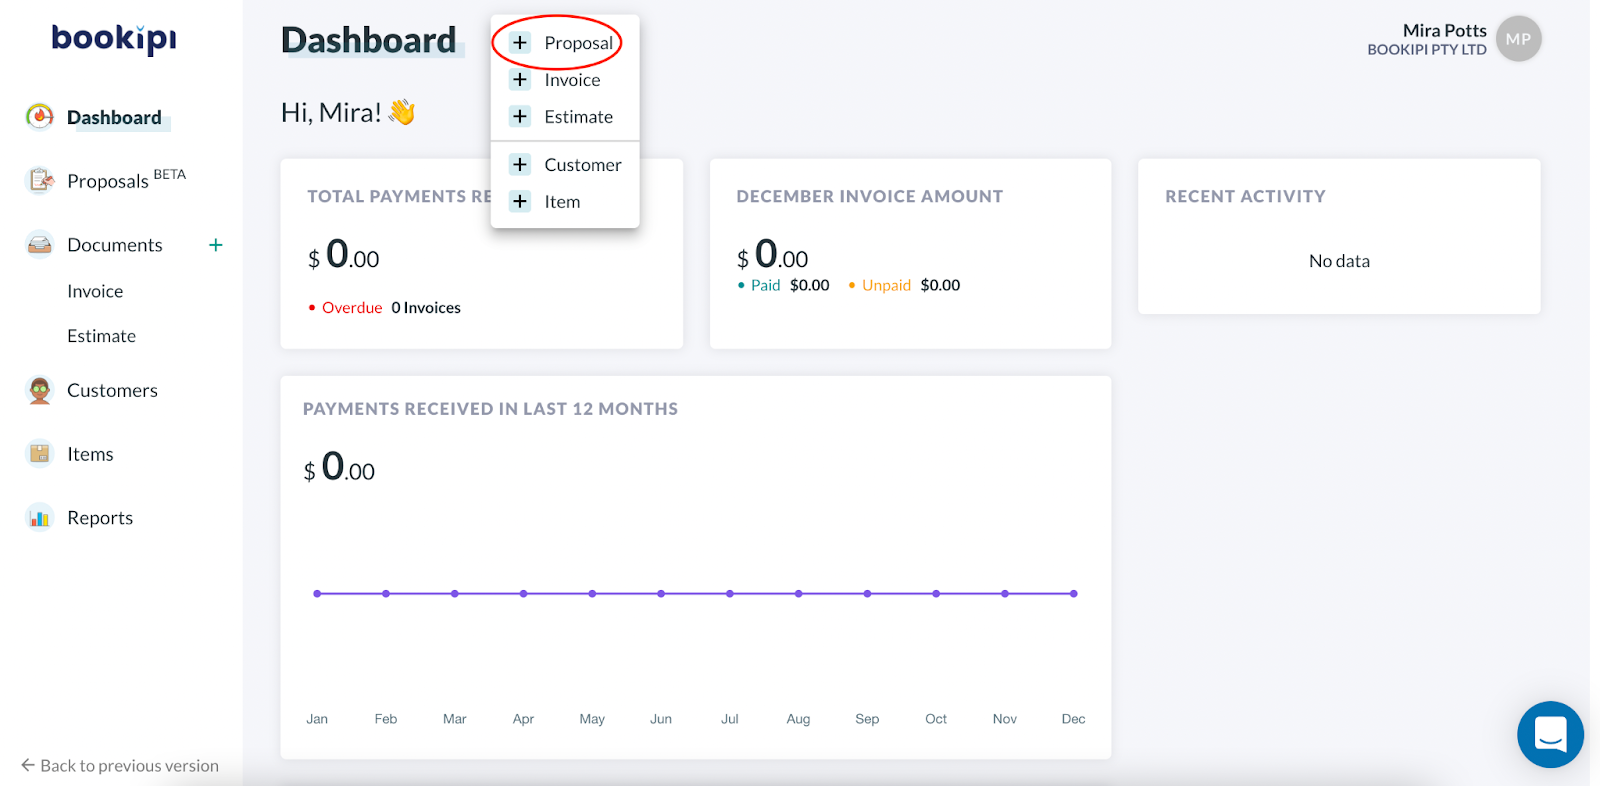
2. From the ‘+ Create’ button in your Bookipi account dashboard
Select Proposals
Bookipi Proposals page
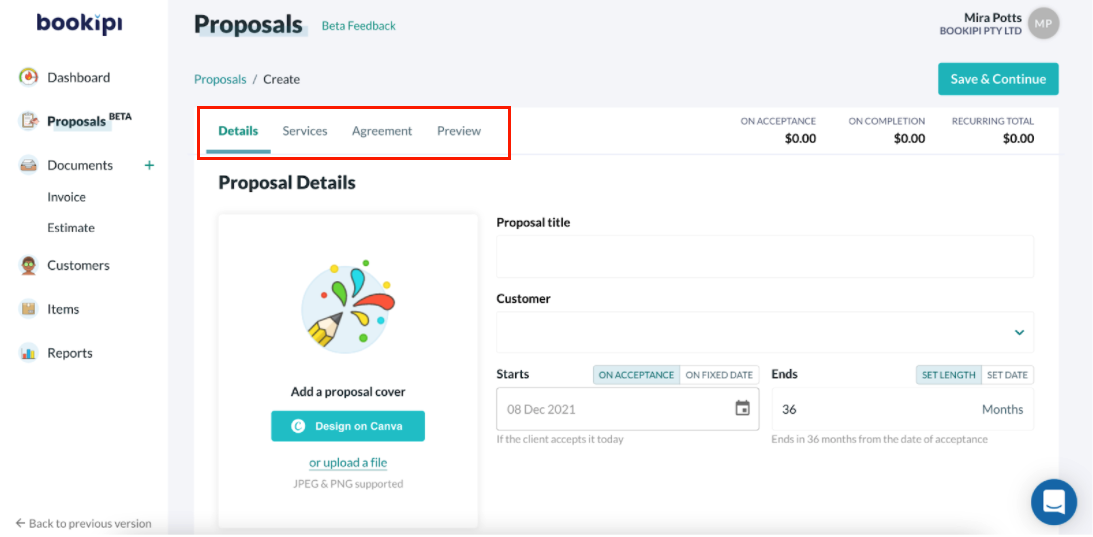
The main section for Bookipi Proposals feature is separated into four parts including:
-
Details: You can add a cover page, enter the title, customer detail, add in start and end times.
-
Services: You can add service items, the billing type, and add/edit tax if required.
-
Agreement: Review and edit the terms and conditions of your proposal.
-
Preview: Preview your completed proposal before you send it.
Easily navigate between these parts by clicking on the tabs. However, please select ‘Save & Continue‘ to save your current progress as a draft.
Sections of a Proposal made with Bookipi
1. Adding a cover page
Firstly, you can make a cover page for your proposal. This step is optional.
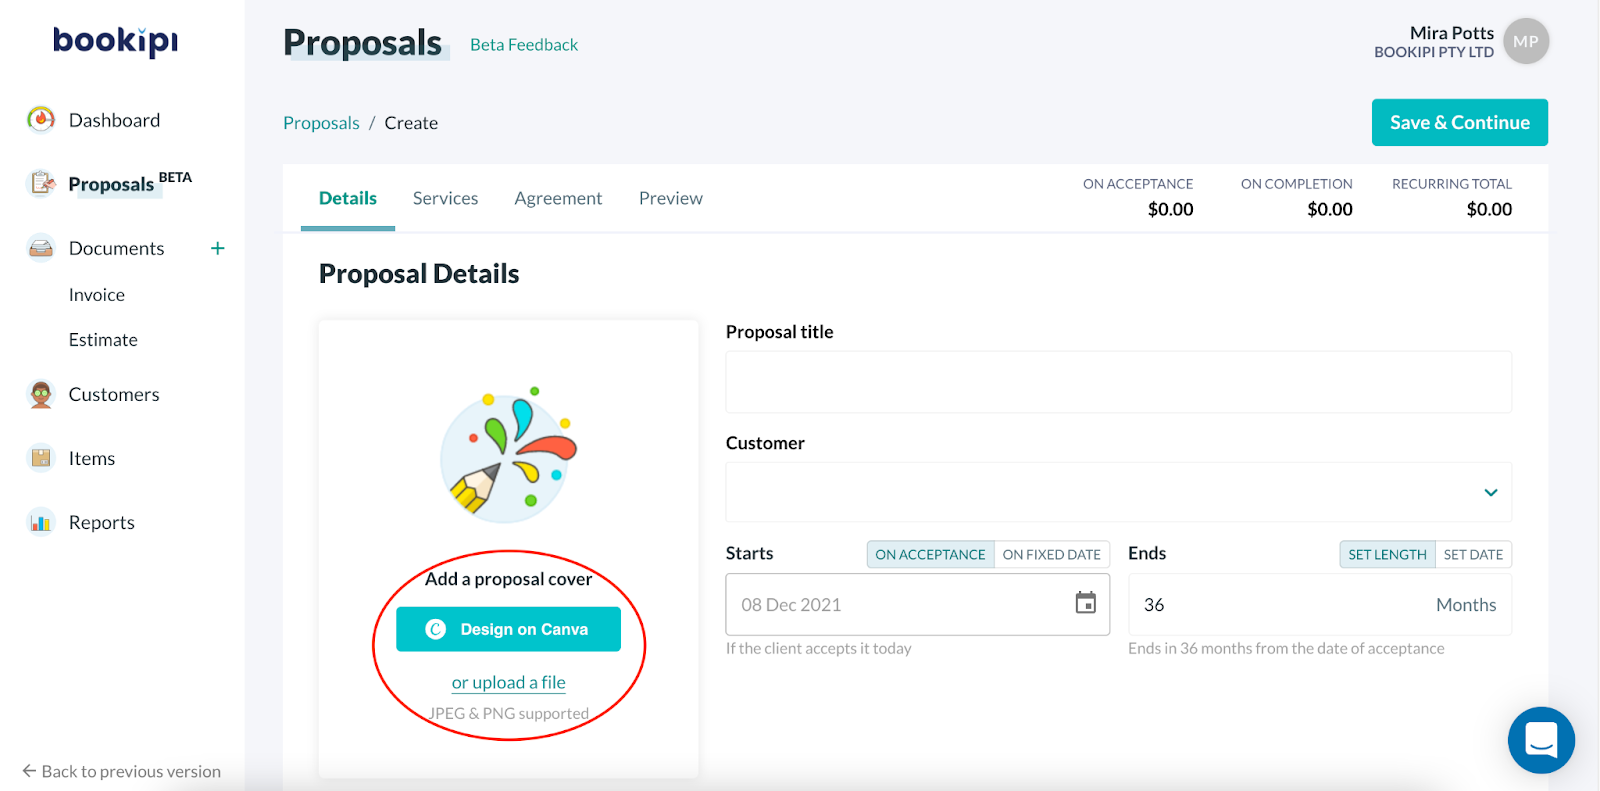
You can upload a pre-designed cover page by selecting “Upload a file” OR create your own cover page by selecting “Design on Canva”
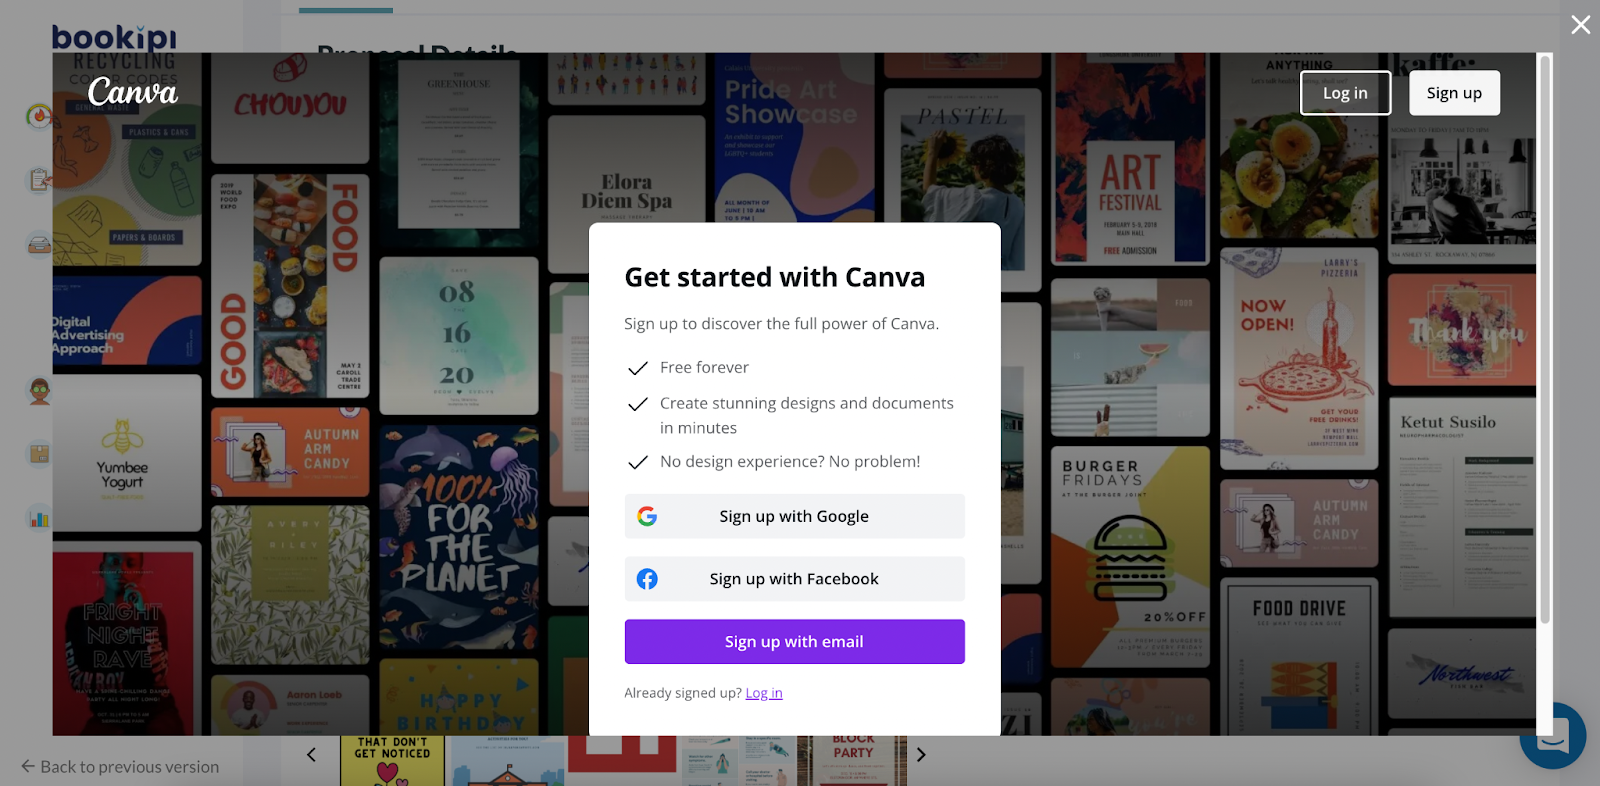
If you decide to design on Canva you will need to log in or sign up to use Canva.
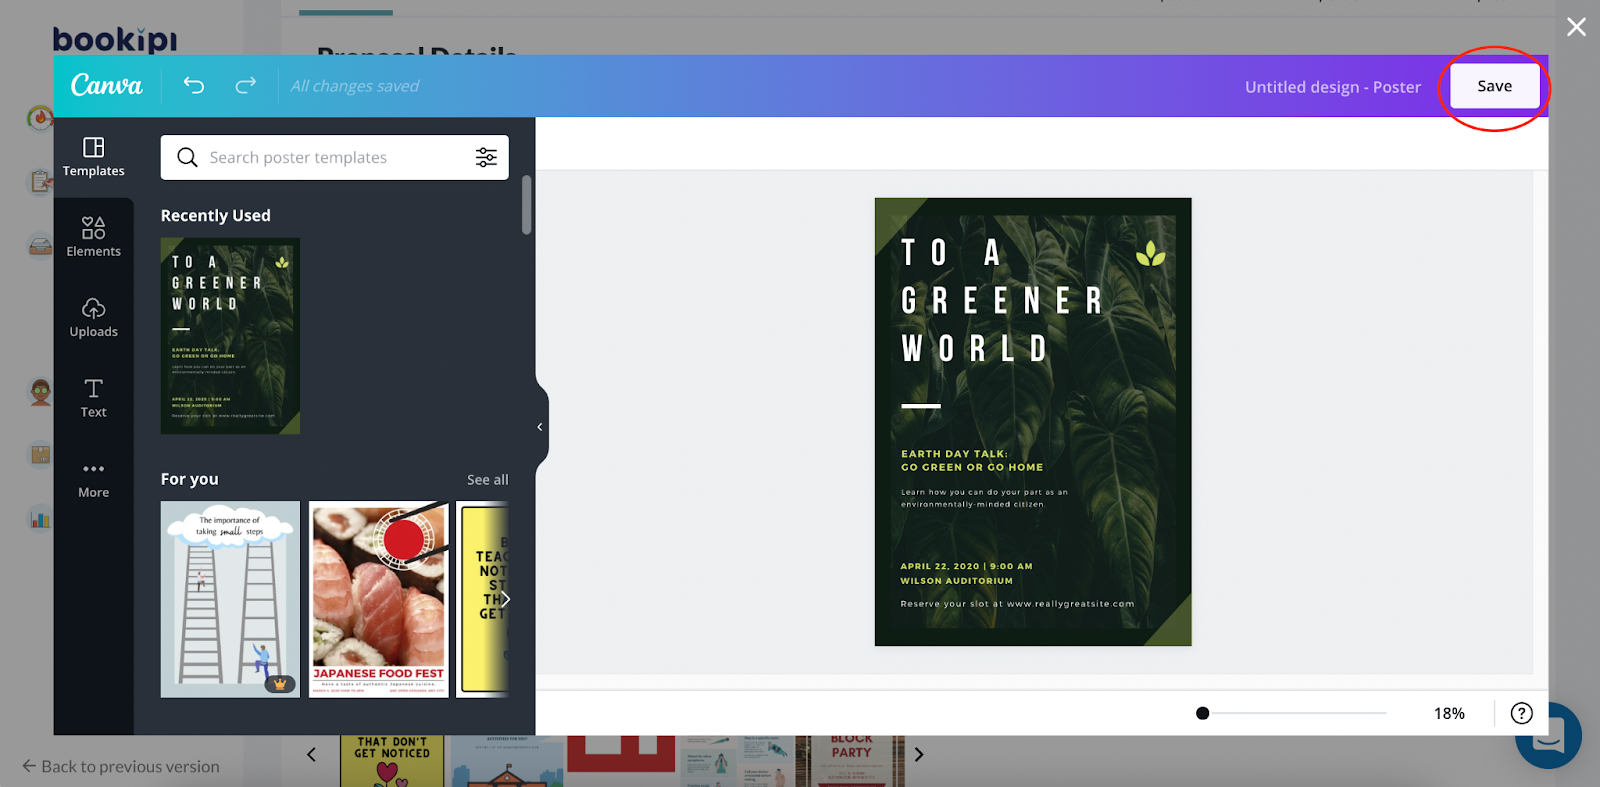
Choose from the templates provided or make a new proposal cover page. Select ‘Save’.
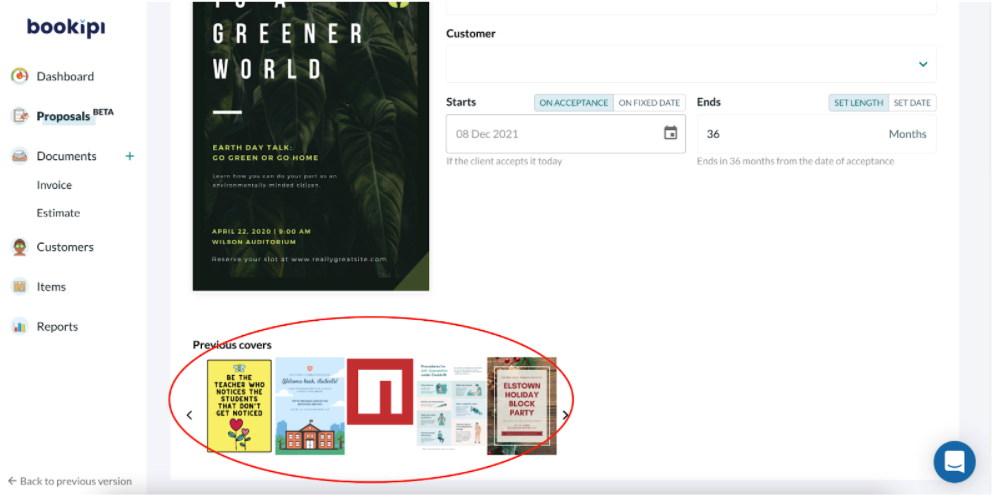
You can delete a cover photo by selecting the the ‘x’ close button in the top right of your proposal in Bookipi.
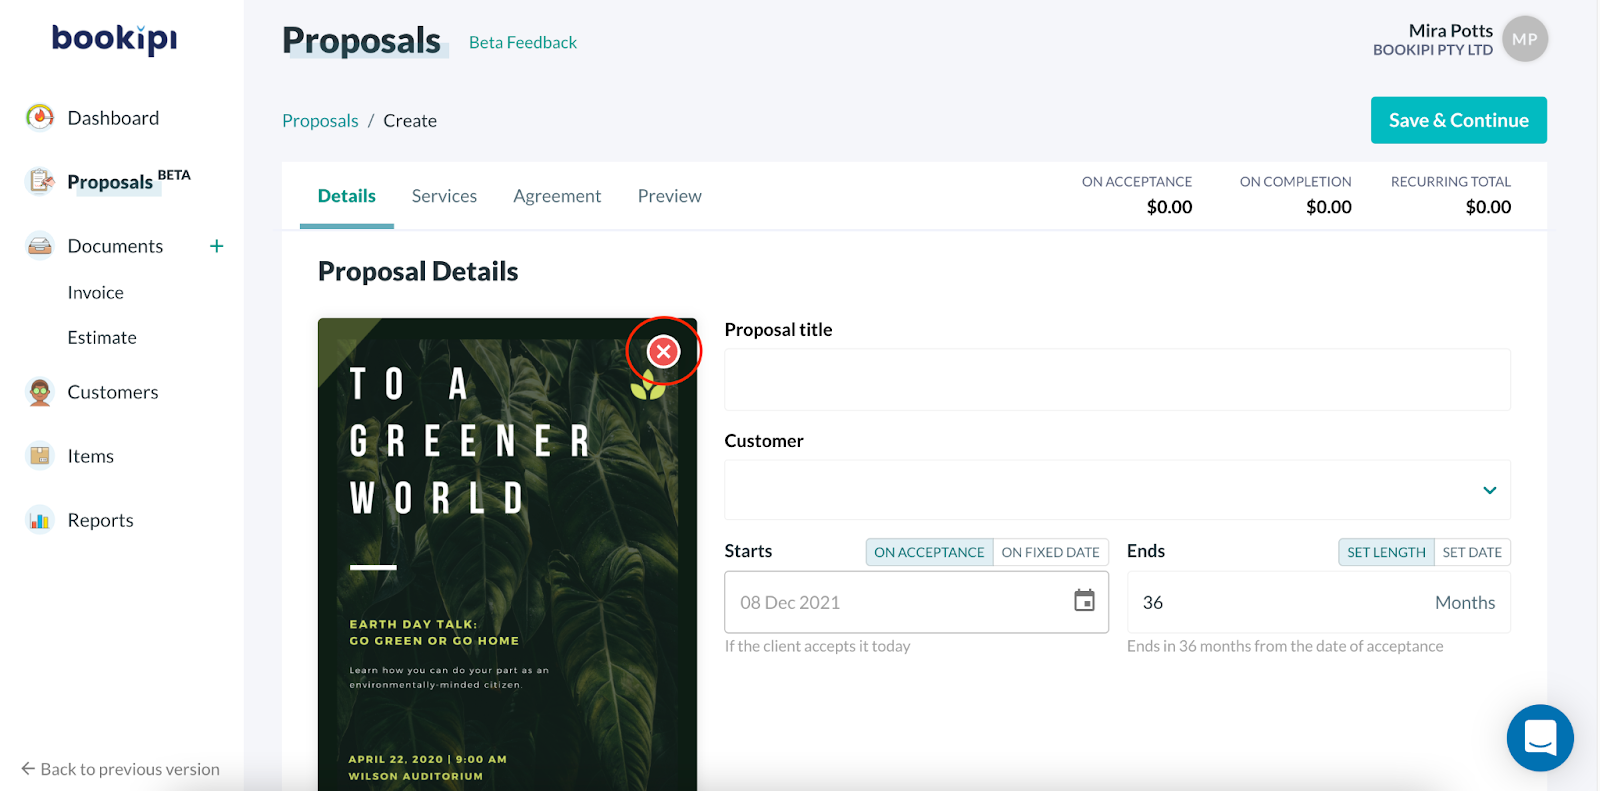
Your previous proposal covers will be saved if you need to reuse them for the next proposal. Simply select any image from your gallery of ‘Previous covers‘.
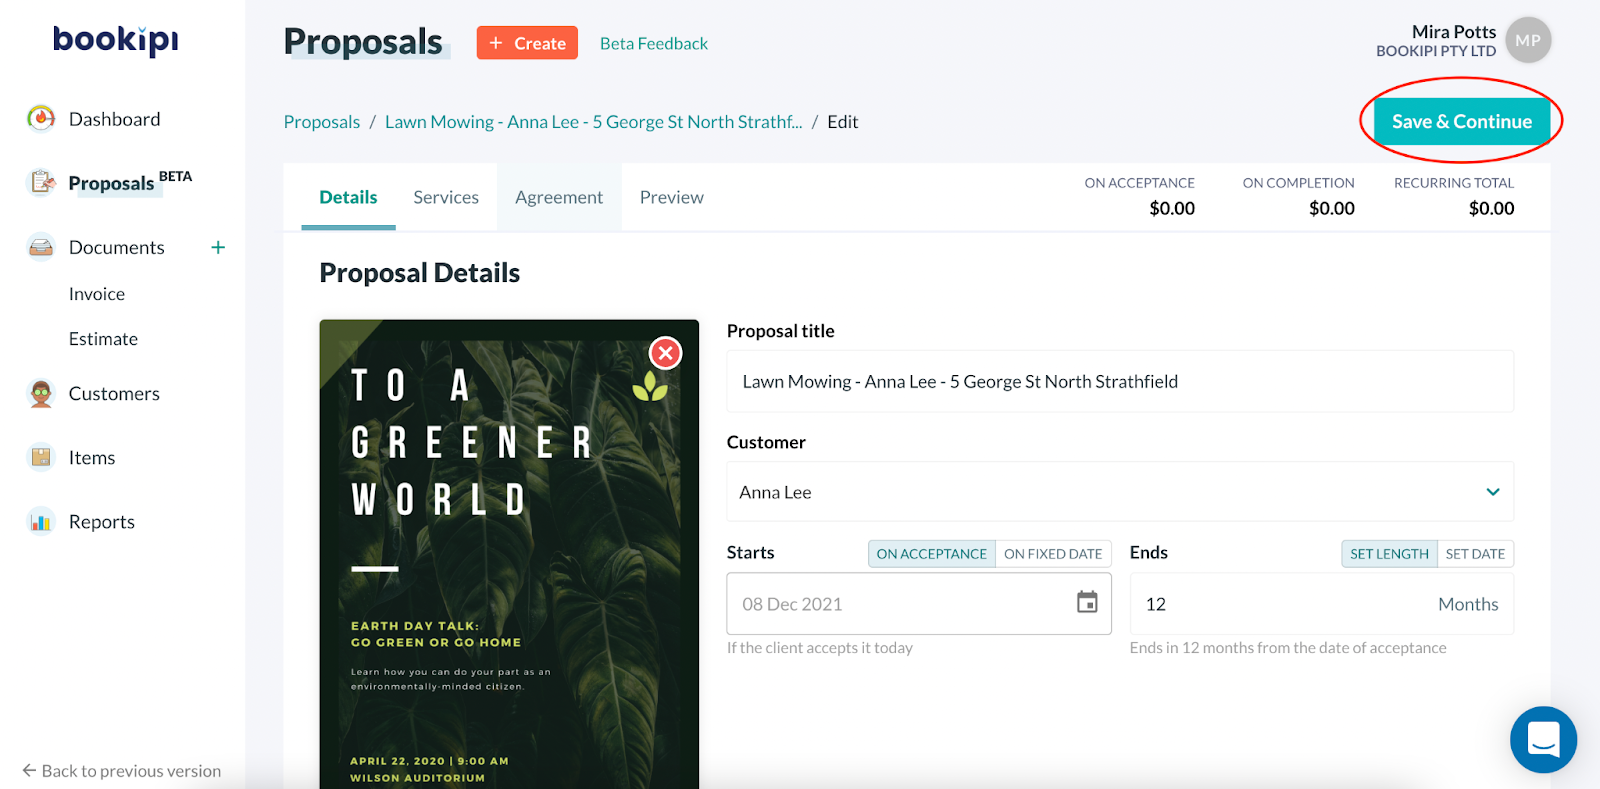
2. Add Proposal Title and Customer
Enter your proposal title and add a customer.
When you add a customer you can create a new customer or add them from your customer list in your Bookipi account.

Once you have added your customer, select an option for your proposal start and end dates, and specify the actual dates. Proposal start and end date options include:
Proposal start dates
-
On Acceptance – The proposal begins once the customer accepts the proposal.
-
On fixed date – The proposal begins on a specific date.
Proposal end dates
-
Set length – The proposal ends after your specified duration in months. For example, e.g. If the proposal was accepted on 08 Dec 2021 and you select 12 months, the proposal will end on 08 Dec 2022
-
Set date – The proposal ends on a specific date.
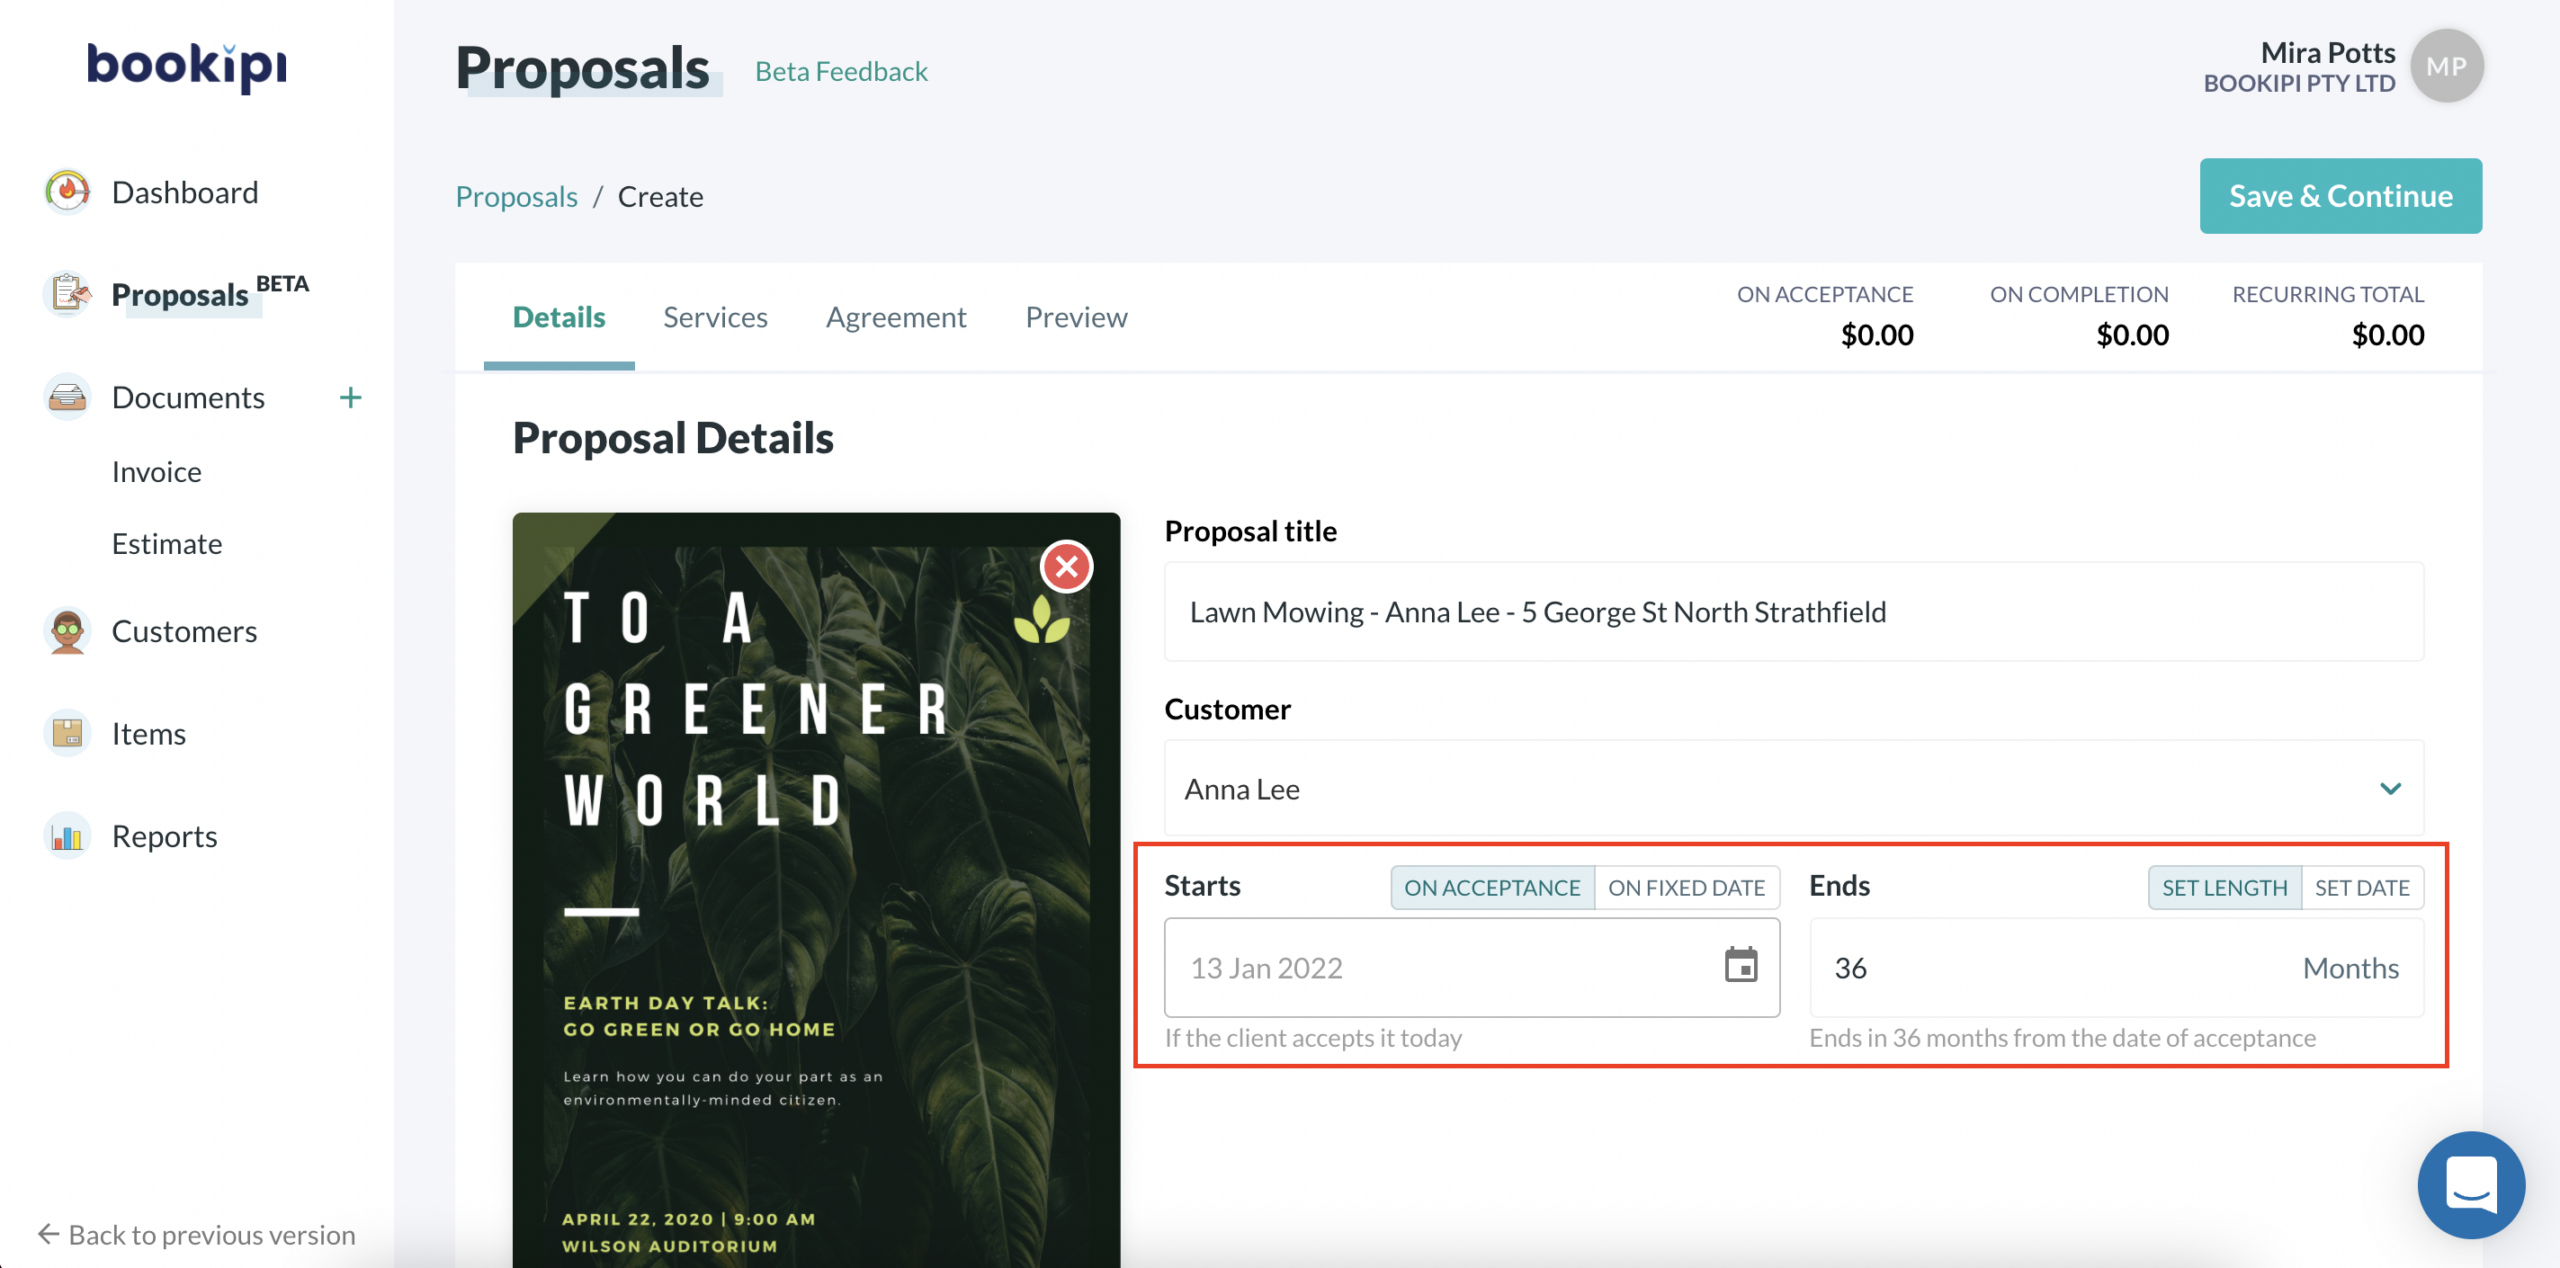
Select ‘Save & Continue‘ to save your progress as a draft.
3. Adding Services to your Proposal
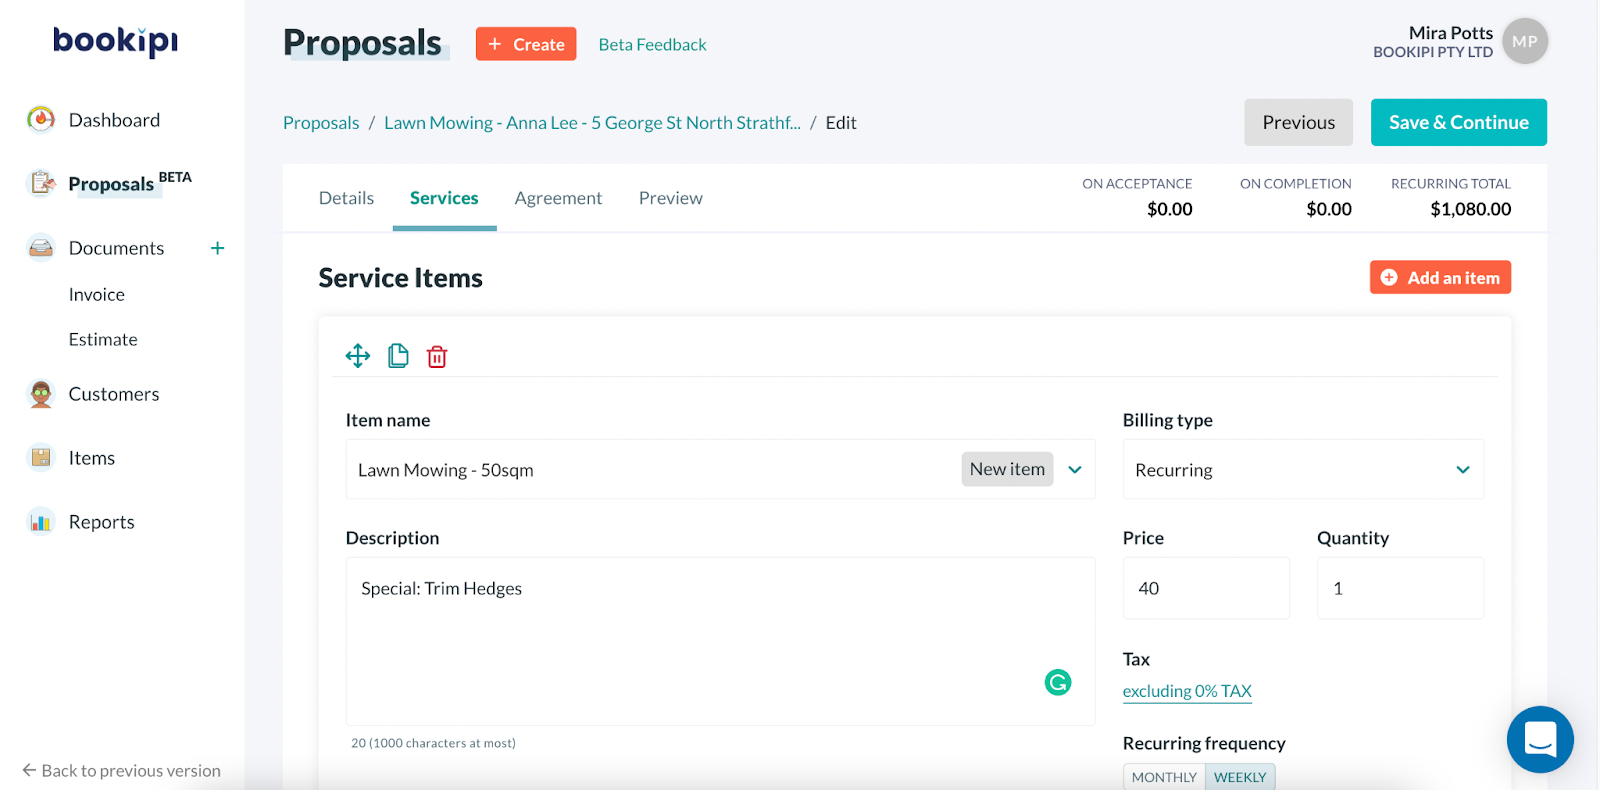
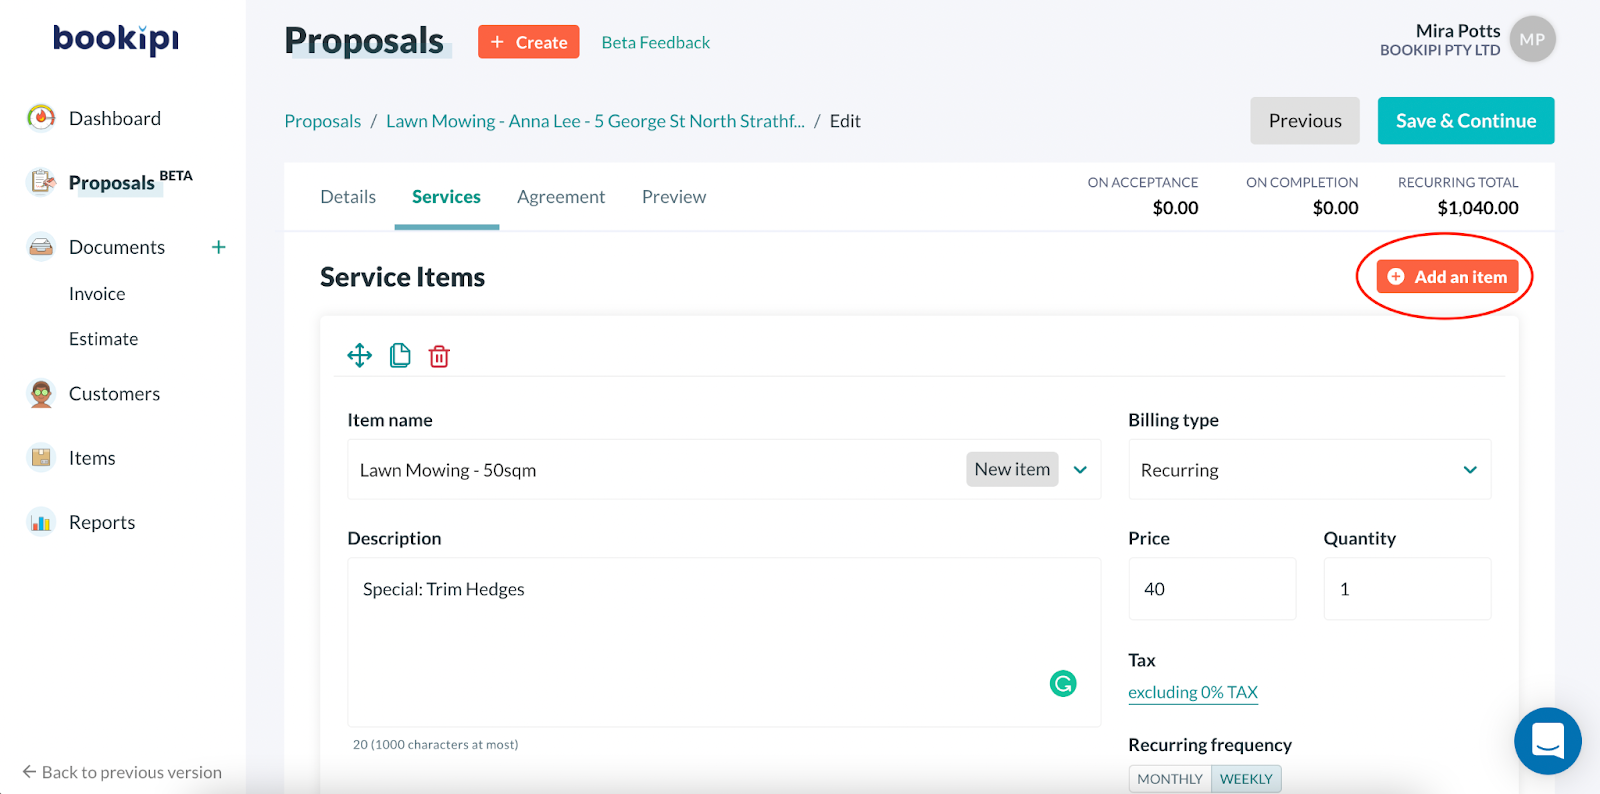
Step 1: Add an item
Next, add an item from the items list in your Bookipi account or create an item by entering an Item name.
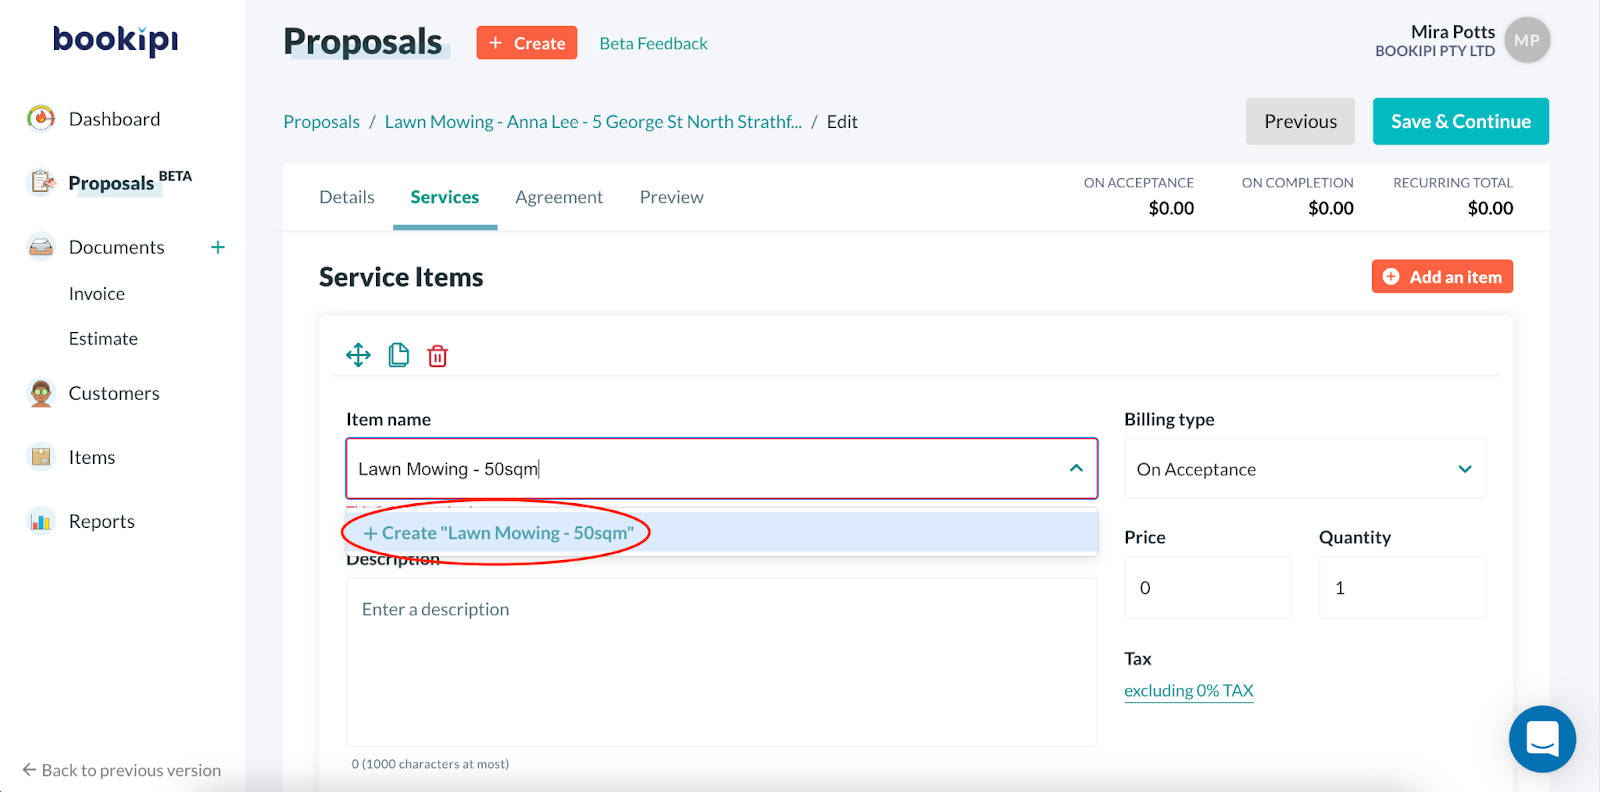
Add a description, price, quantity for your item and specify your billing type
Step 2: Customize billing type for the item
Set your billing type for service items to activate automated billing for Proposals.
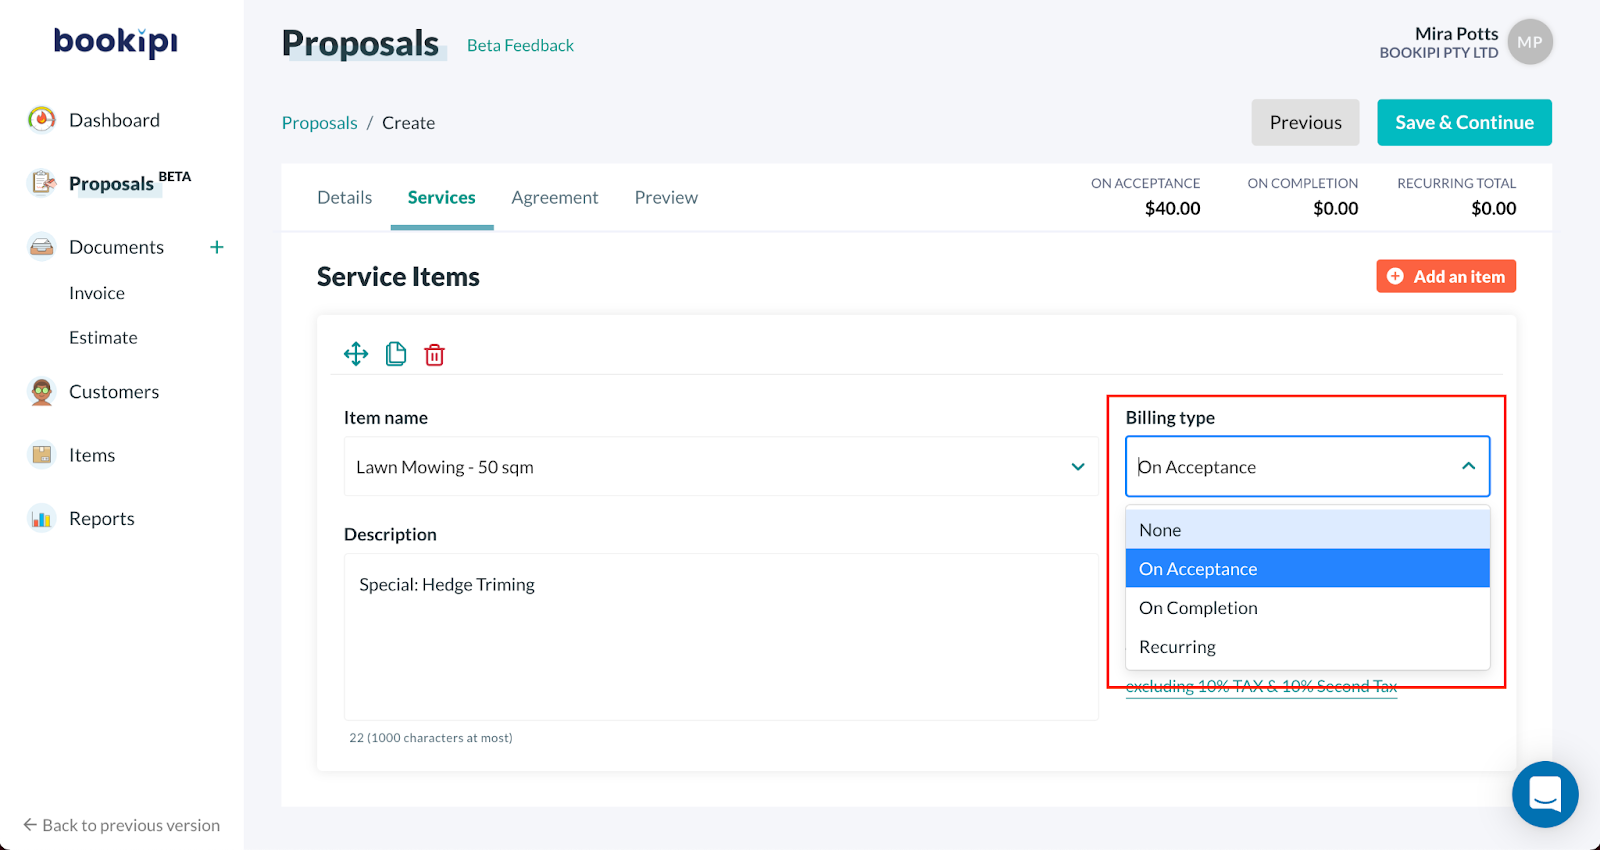
Available billing types include:
-
None: This service item will not be billed automatically and will not have invoices generated.
-
On acceptance: This service item will be automatically billed to the customer once the customer accepts the proposal
-
On completion: This service item will be automatically billed to the customer once the proposal has been indicated as completed
-
Please note that services will be charged when the proposal has been marked as complete
-
-
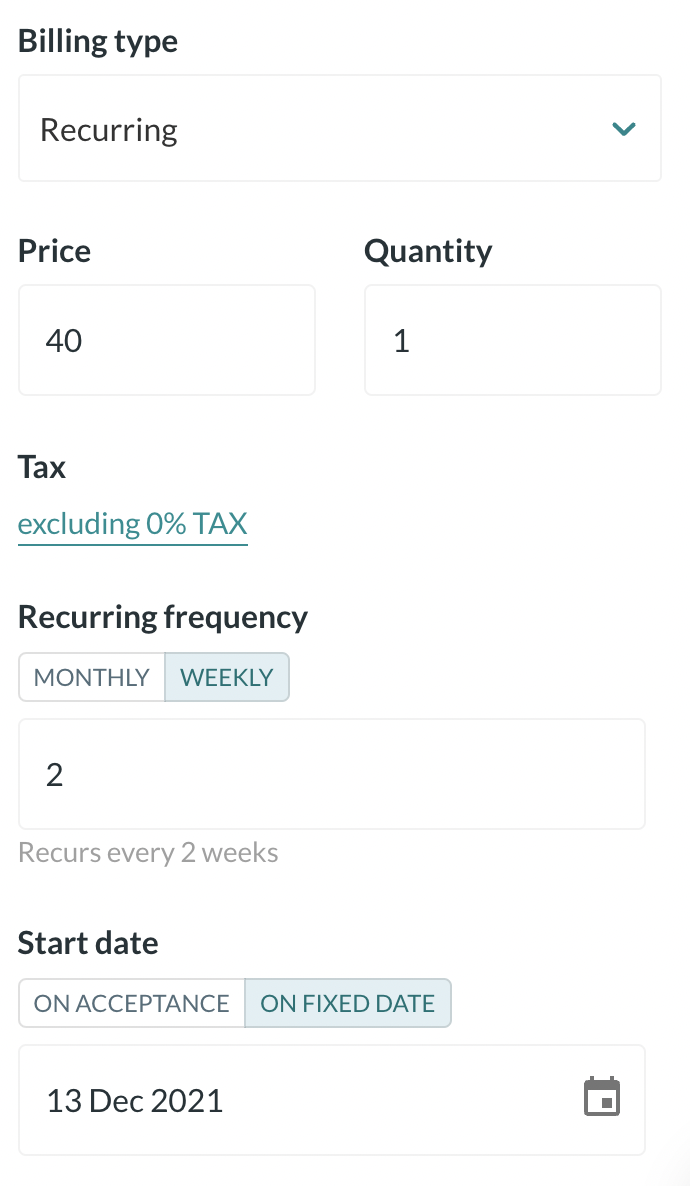
Recurring: This service item will be automatically billed depending on the start date and frequency selected.
-
If service items are given fixed dates before the approval date of the proposal, the billing for that item will start counting down from the date of approval rather than the fixed date indicated.
-
An example of a recurring billing type is as follows:
-
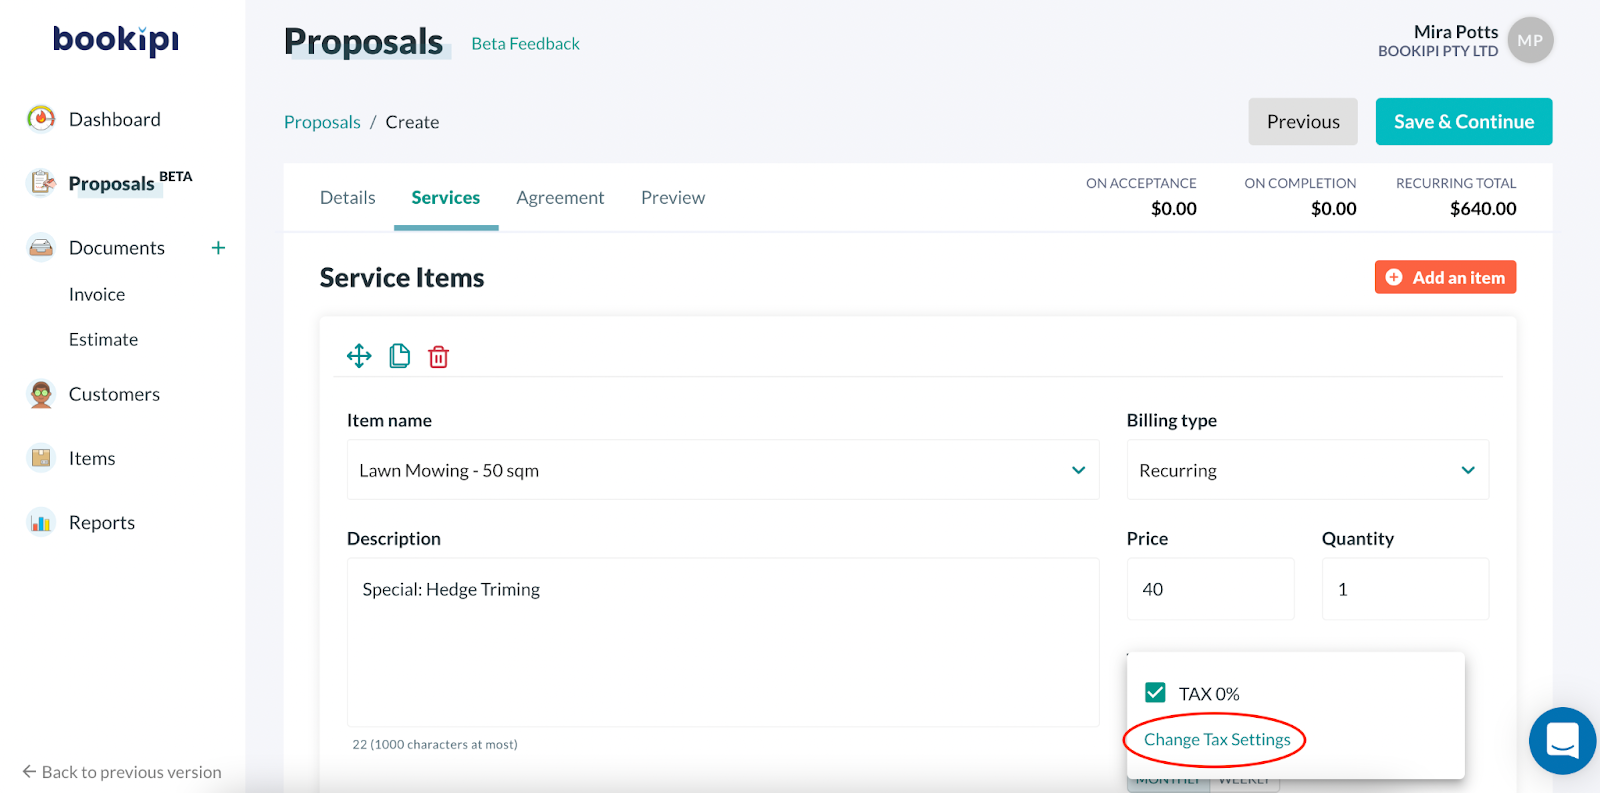
Step 3 (Optional): Add and edit tax
If you have added a billing schedule you also have the option to add tax.
To add tax select ‘Excluding 0% TAX‘

Select ‘Change tax settings‘
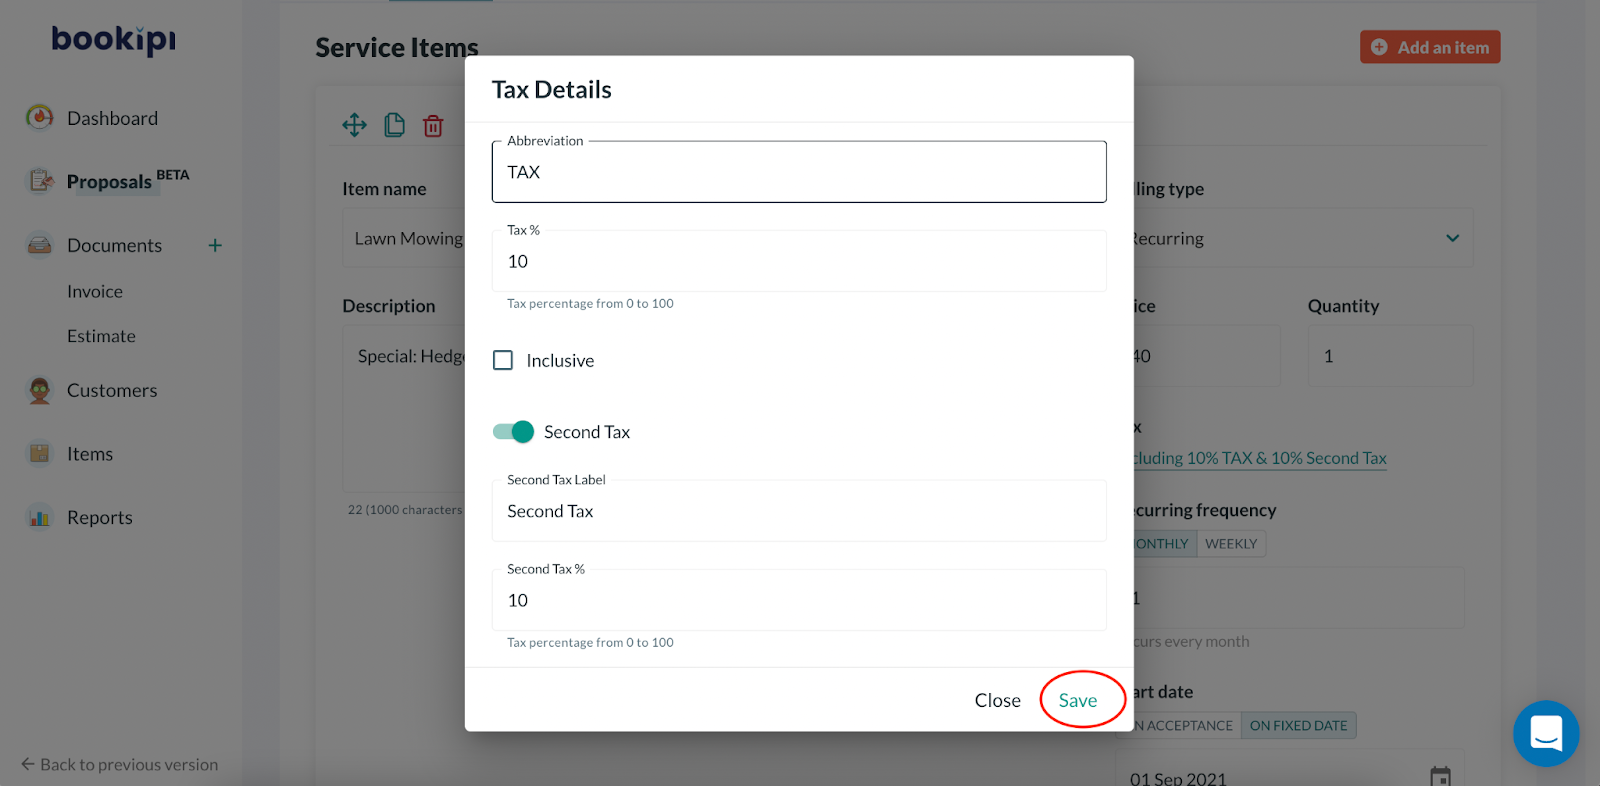
You can edit the abbreviation used, enter the % tax calculated, indicate whether it is inclusive/exclusive, or even add a second tax.
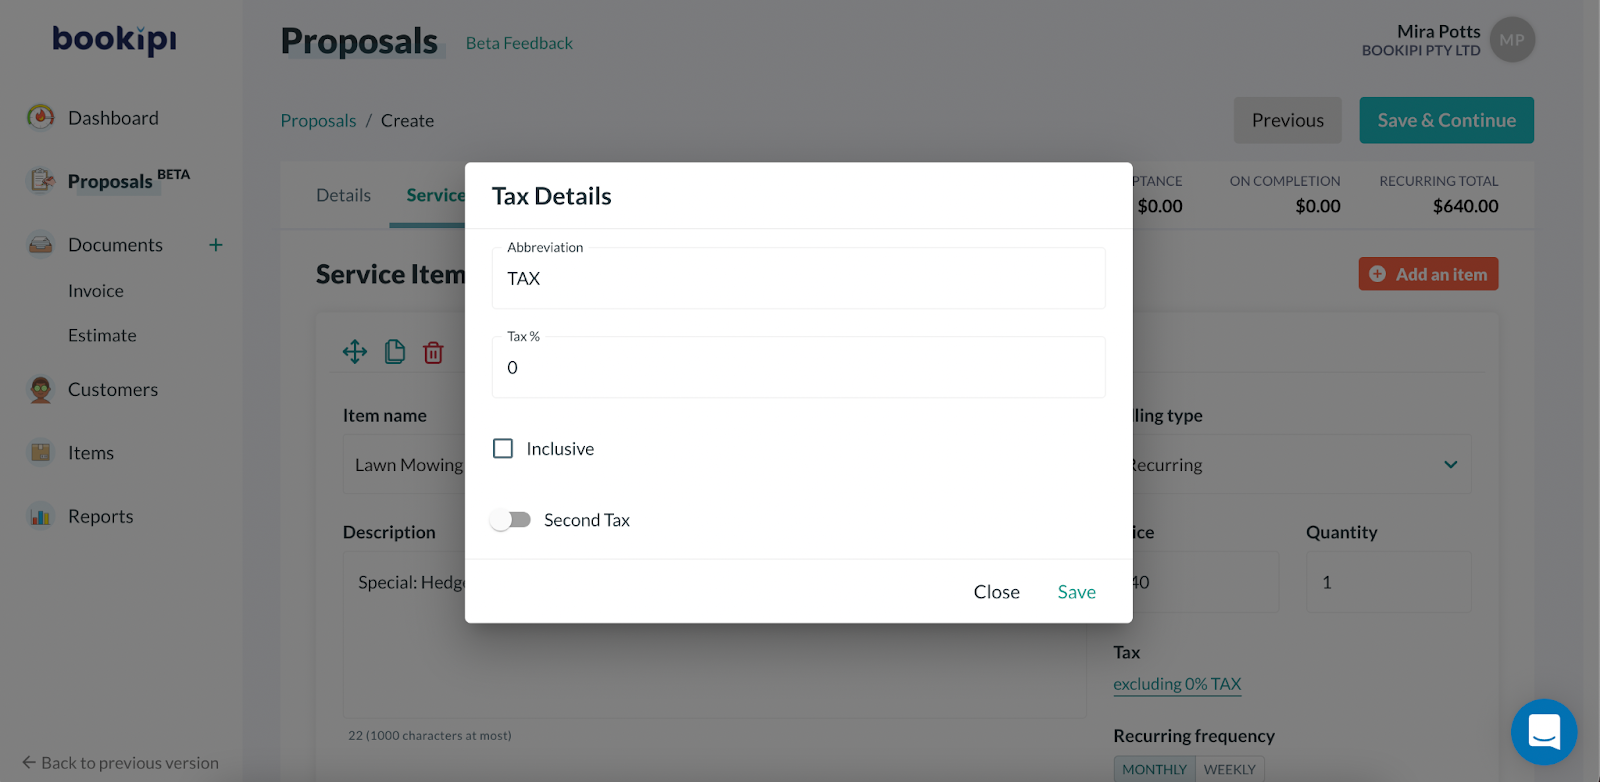
Once you are happy with the changes, click ‘Save‘
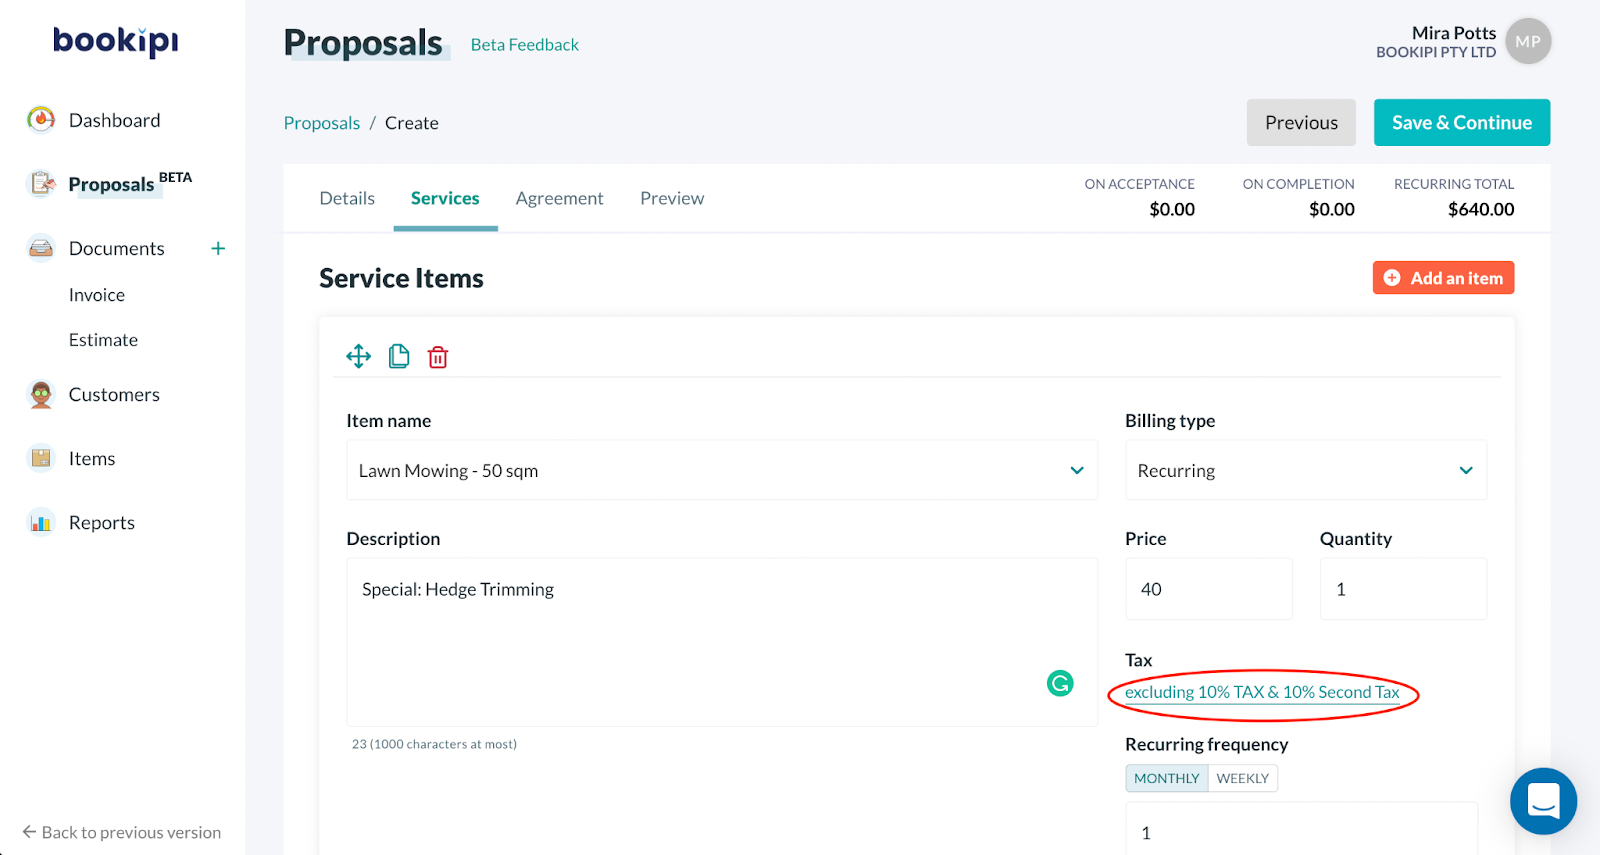
Your changes will be saved in your Proposals settings. Any new items generated will have your selected tax settings automatically added. If you wish to edit your tax settings for future items, edit this in the Settings section by following this guide.
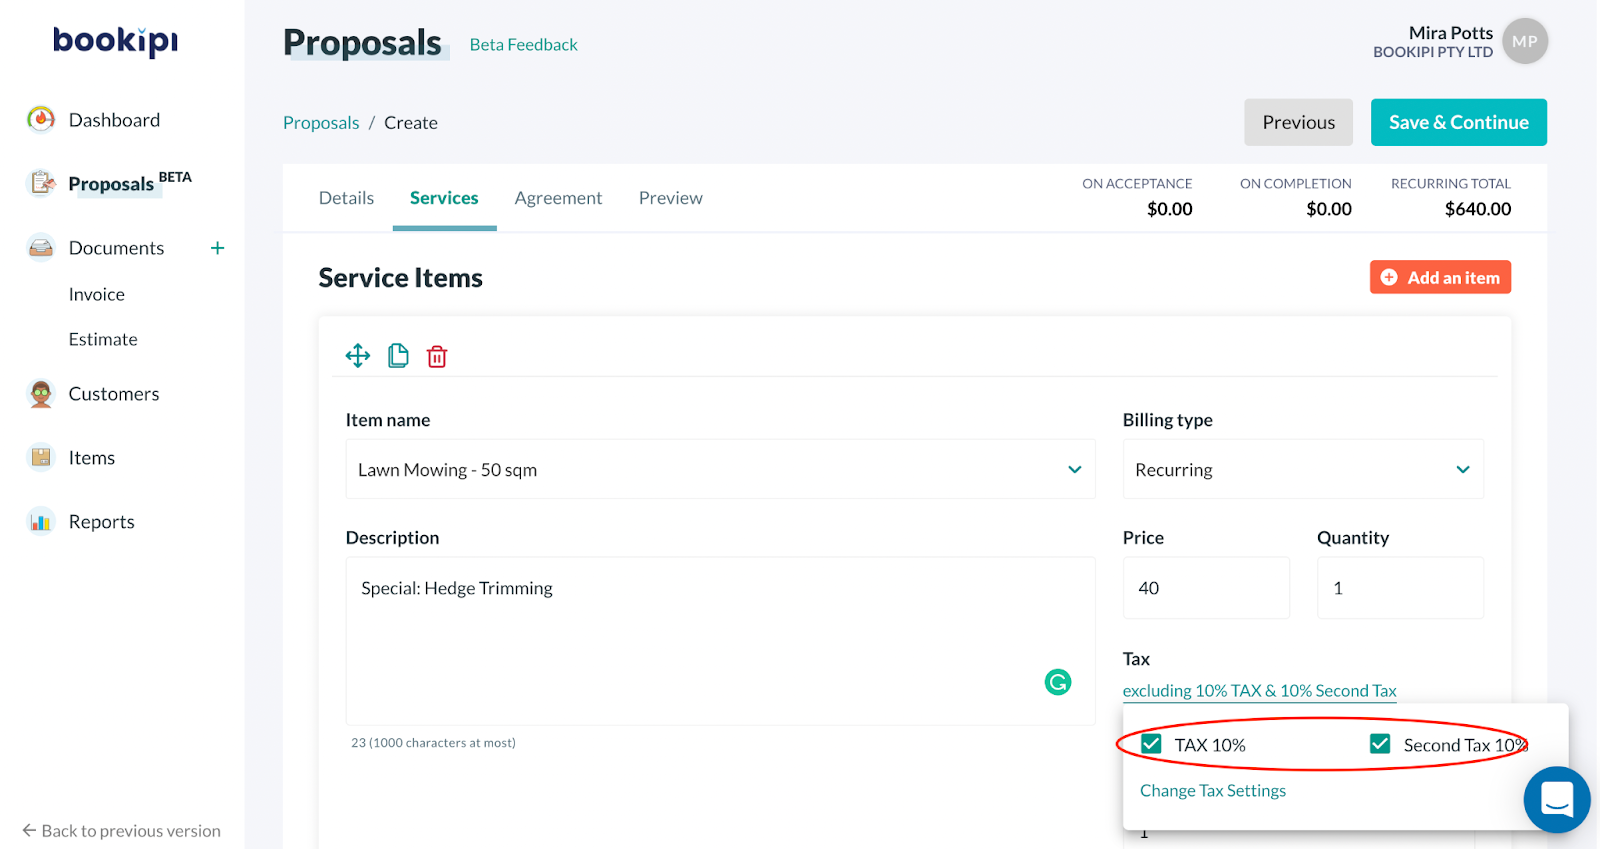
Any new items created will now automatically have this tax applied. If you wish to remove your tax from new items on a proposal, select the ‘Tax’ title.
And untick the options that don’t apply to the item.
Step 4 (Optional): Add an additional item
You can add multiple items by selecting “Add an item”
Note: You can also add the same item multiple times if you would like to customize specific billing periods for the same item
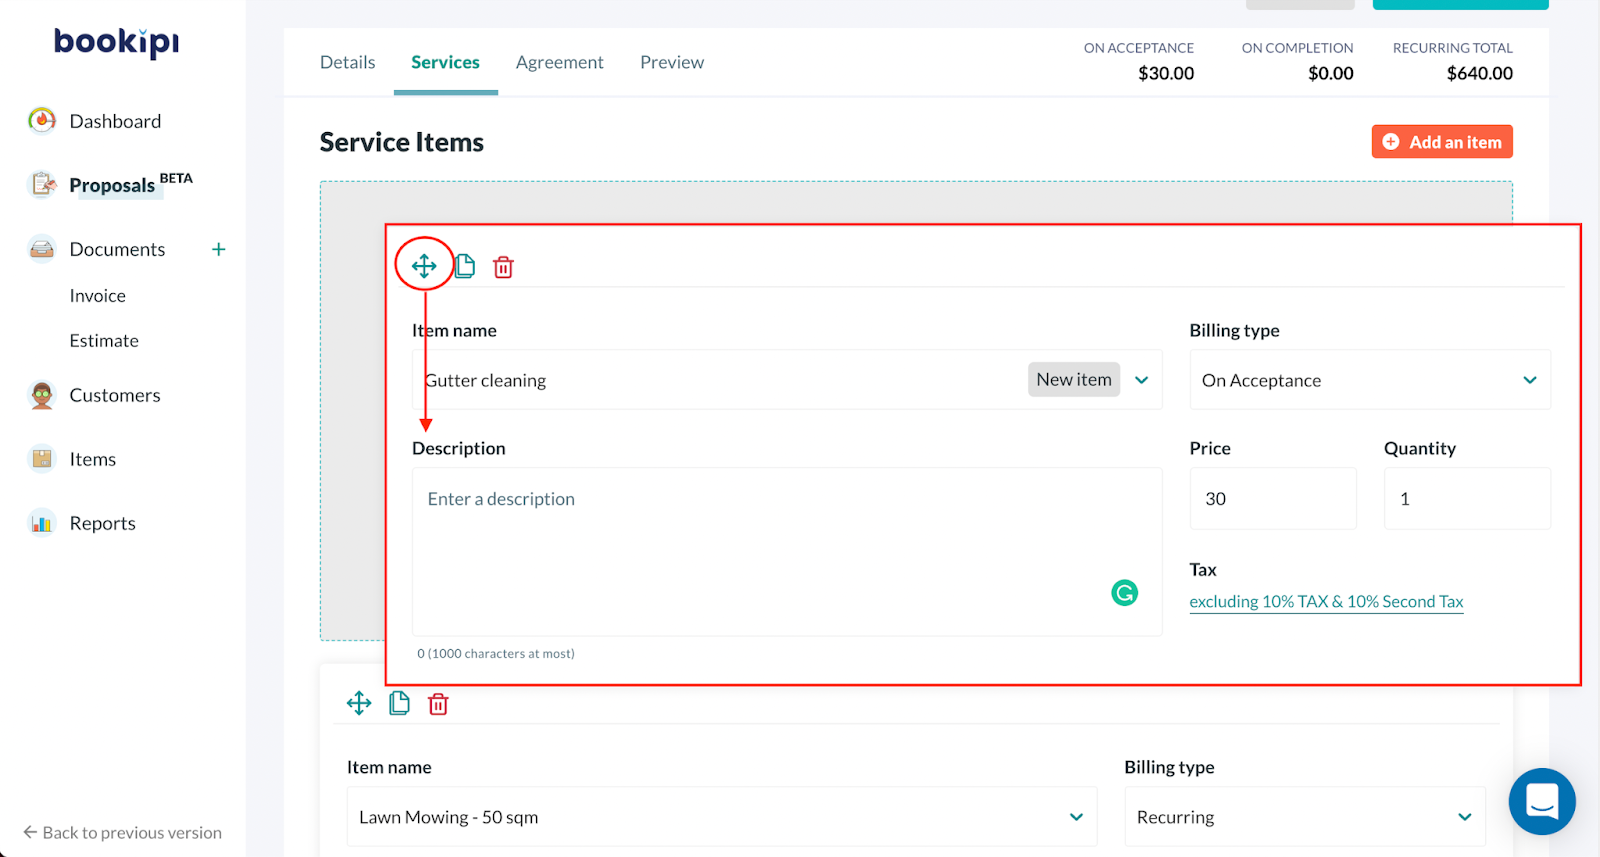
Step 5 (Optional): Rearrange the item order
If you want to rearrange the item order you can select and hold the move icon on the top left of the item card and drag it up or down to rearrange the order.
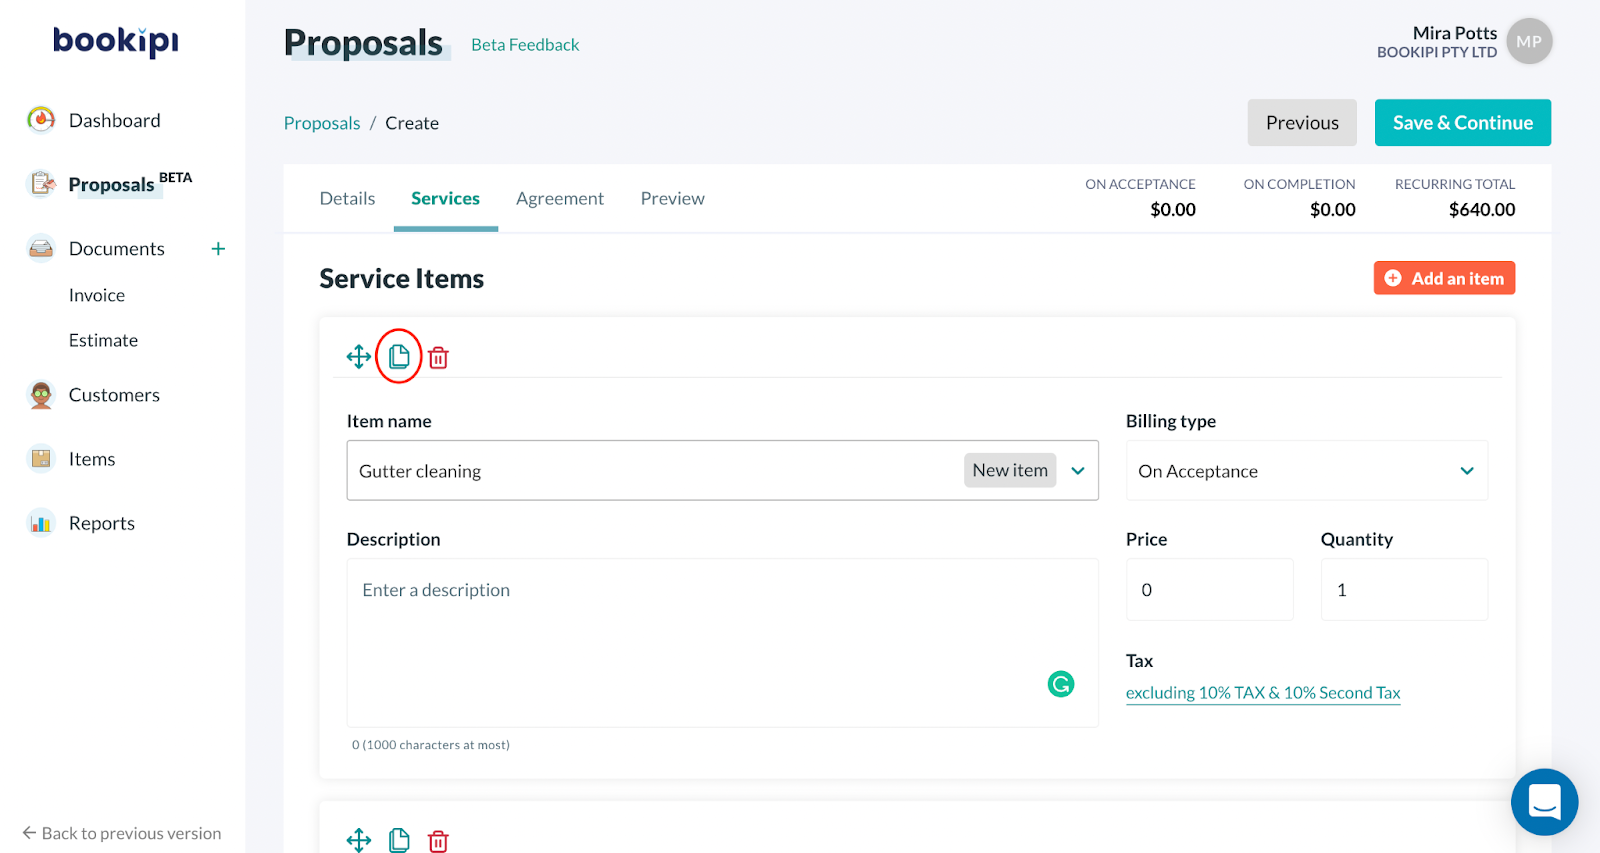
Other (Optional): Copy an item
If you want to copy an item select the copy icon.
Other (Optional): Delete a service item
If you would like to delete a service item select the bin icon.

Once you are happy with your service items select “Save & Continue”

4. Agreement
The details that you provide are automatically included in the Agreement section. You can also access commonly used Terms and Conditions templates. You can review the service agreement and make any of the following changes as required:
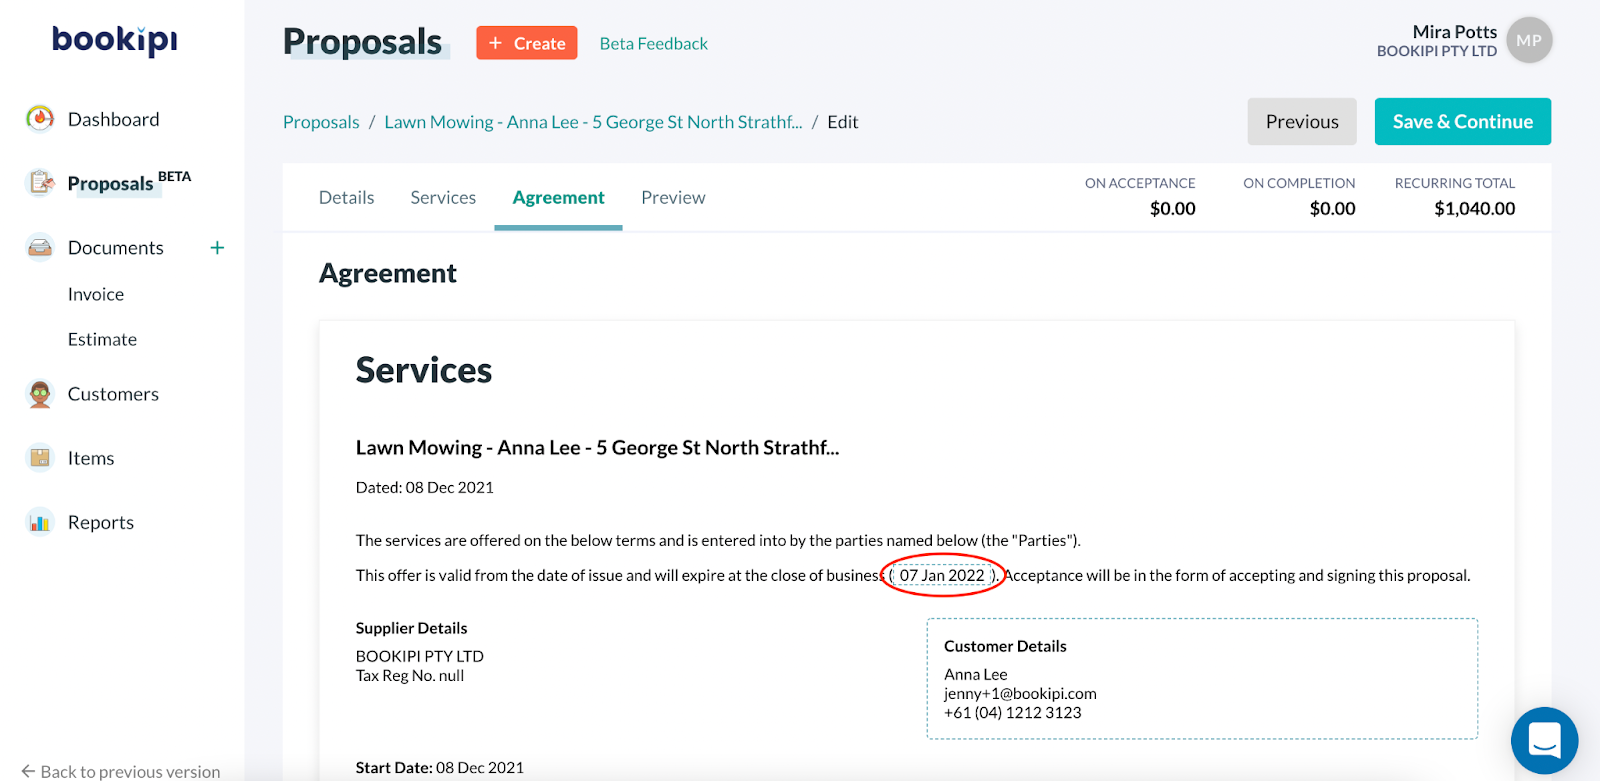
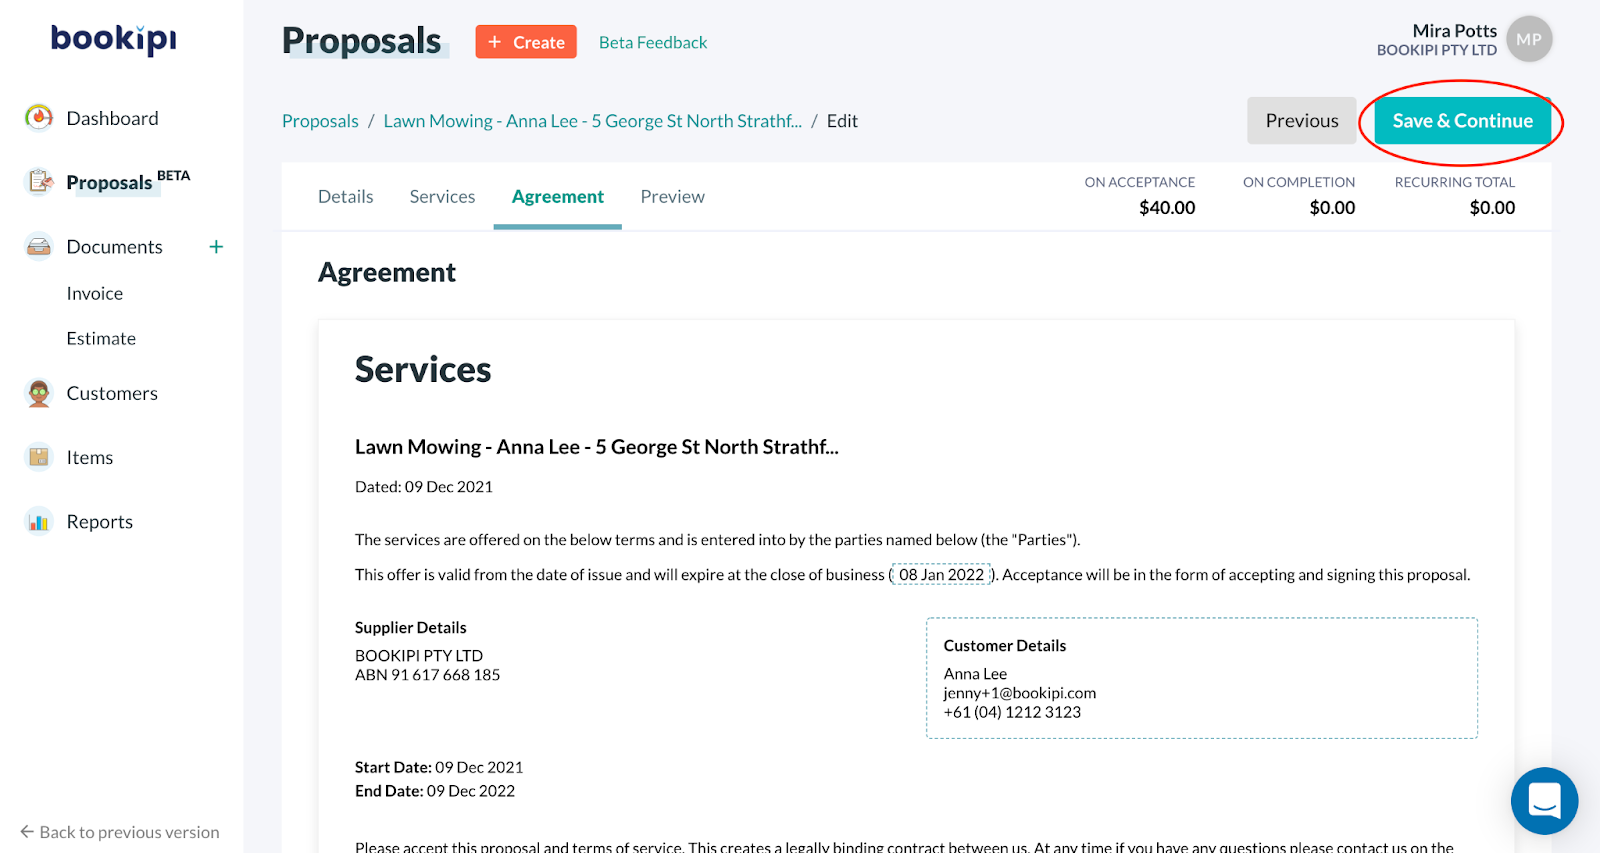
Editing the expiration date of the agreement
The expiration date determines how long the proposal is active until it expires. Once the proposal has expired, your client will not be able to view the proposal, and you will need to revoke and edit the proposal to resend this to your client.
You can edit the expiration date permanently for future proposals in the settings section.
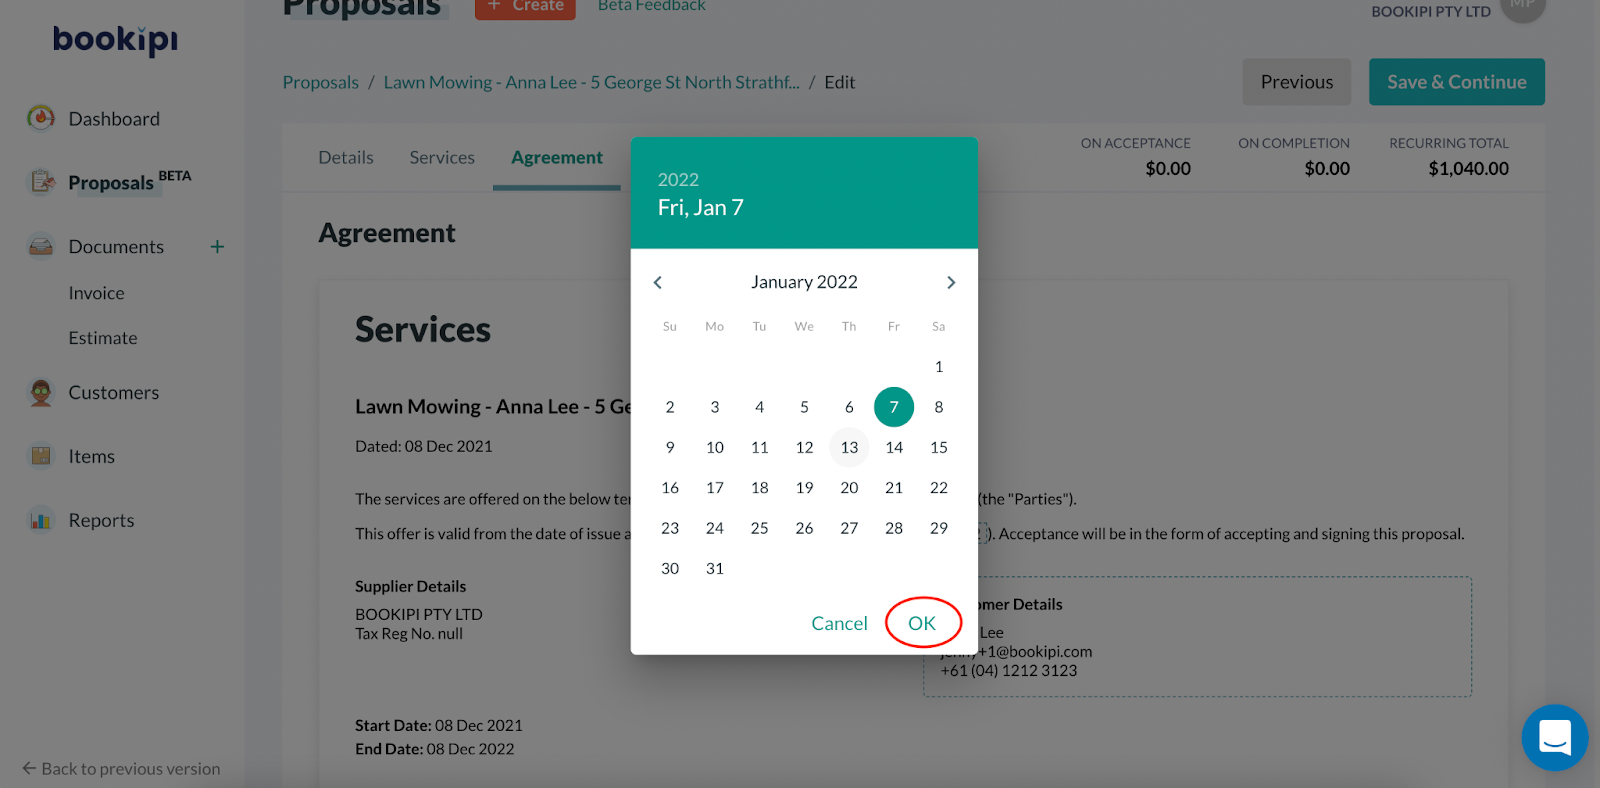
To edit the expiry date on the agreement select the date indicated by the dotted box
A calendar will pop up for you to select the correct expiry date. Select the correct date and select ok
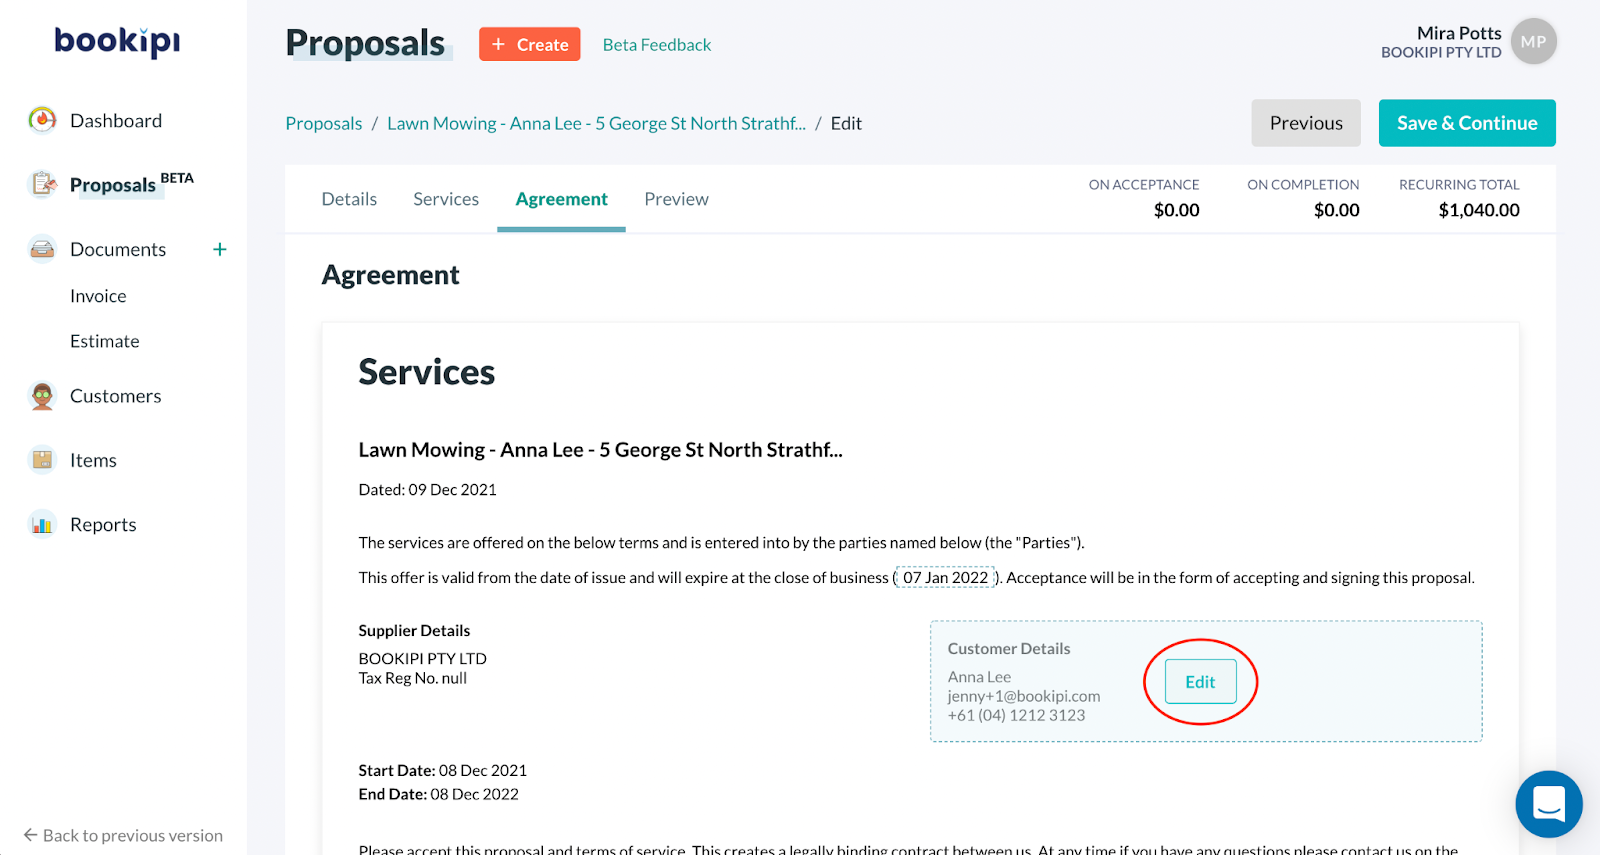
Edit the customer details as required
If you need to edit the customer details at this stage, you can edit them by hovering over the customer detail box and selecting edit
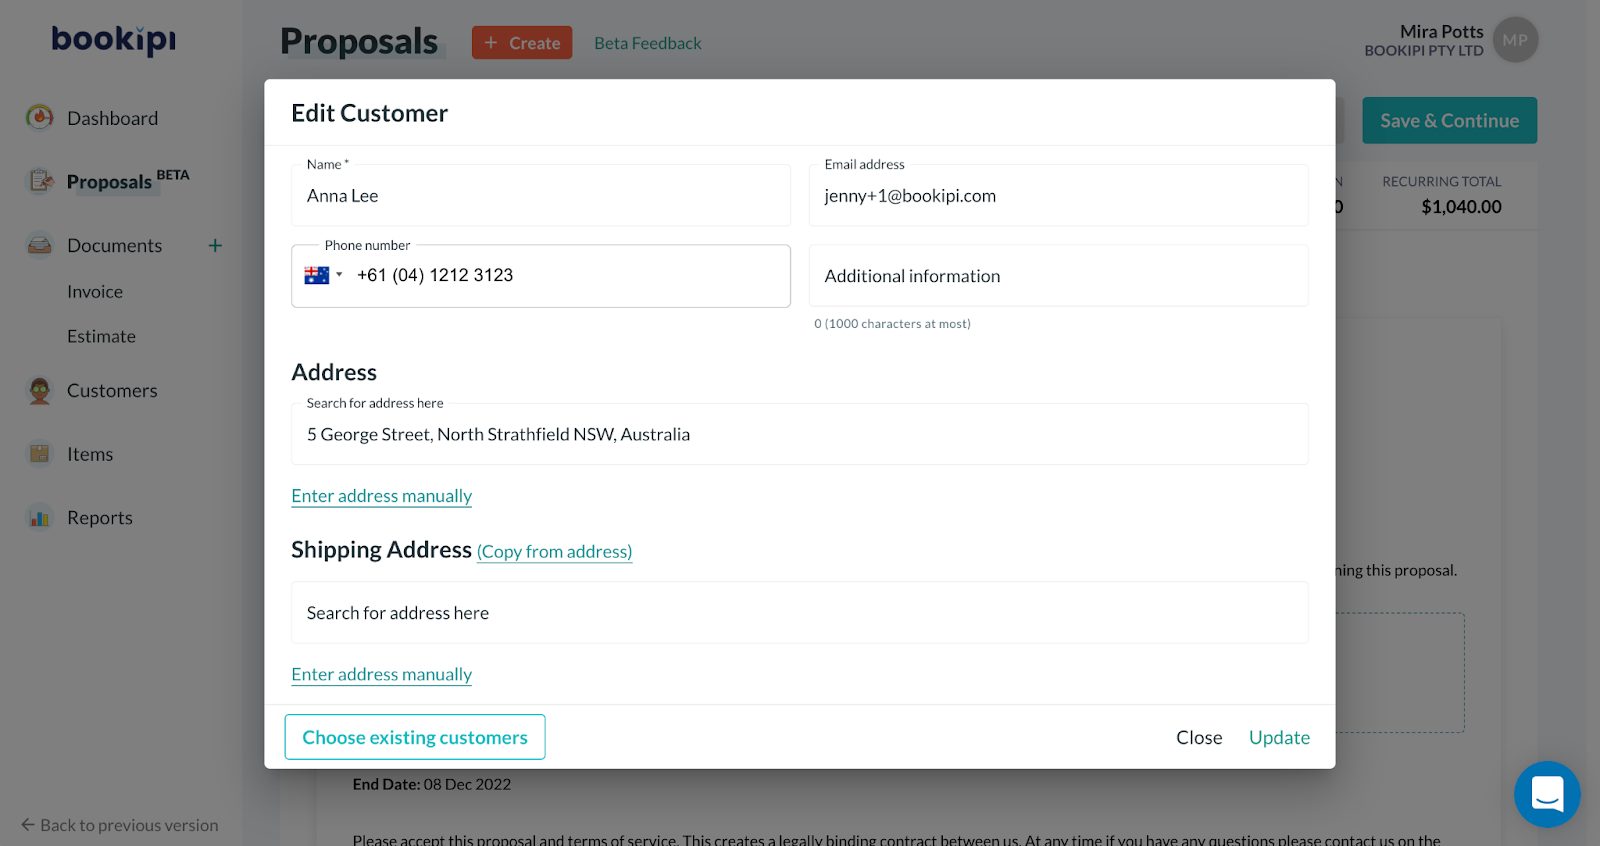
You can edit your customer’s details here or you can also choose an existing customer to swap the proposal to.
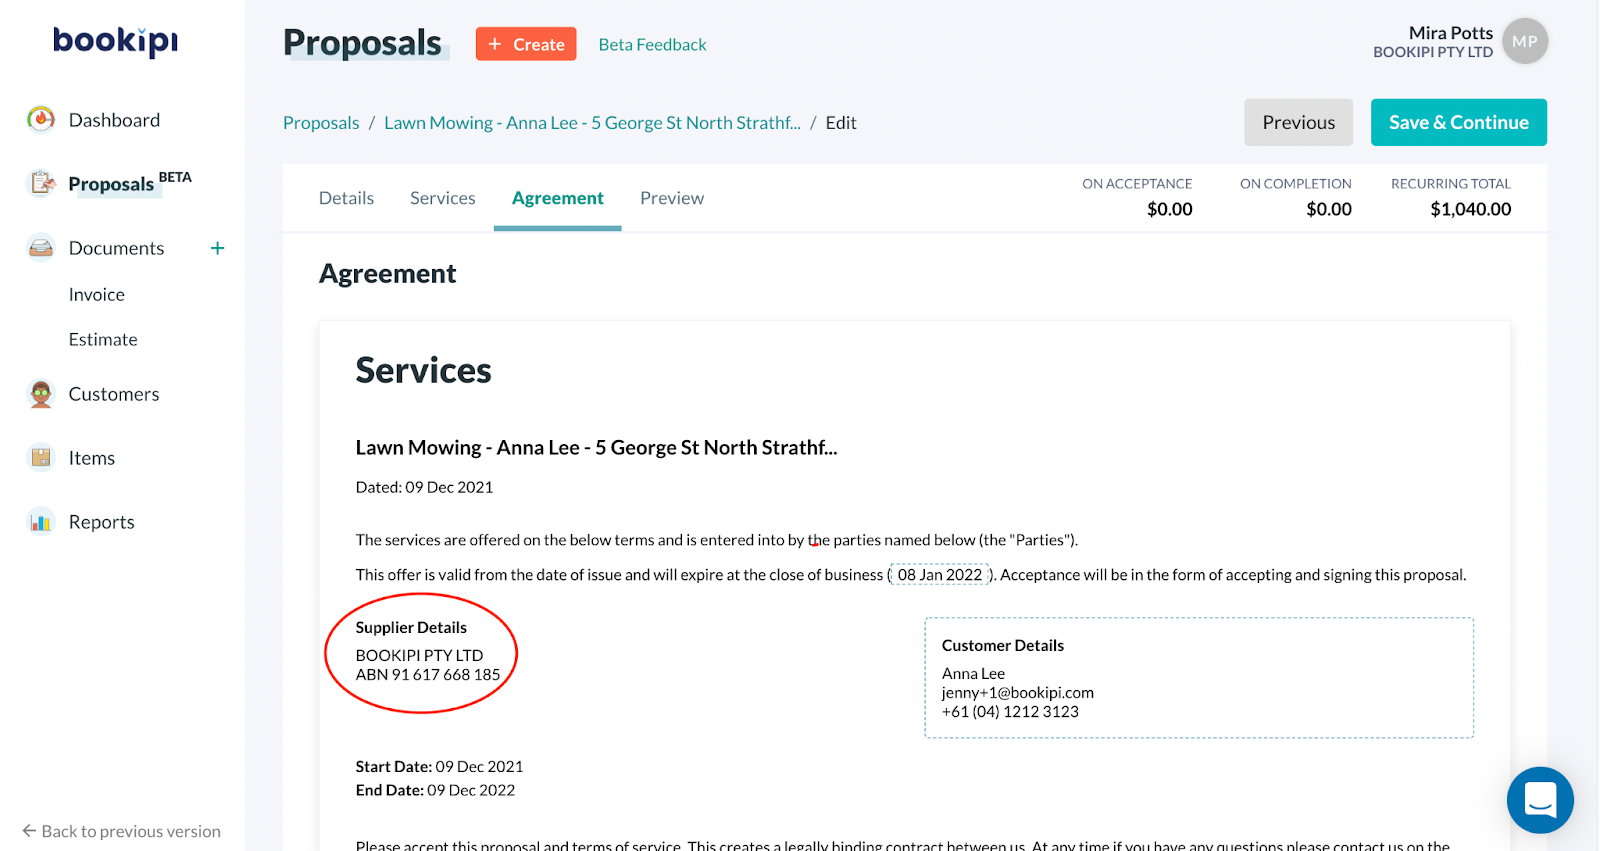
Your supplier details are pulled from the Business number section in business settings.
Review your billing schedule and customize your Terms and conditions by scrolling down the page.

Customize the Terms and Conditions
There is a set template on the Terms and Conditions page. You can customize our set template using the following methods:
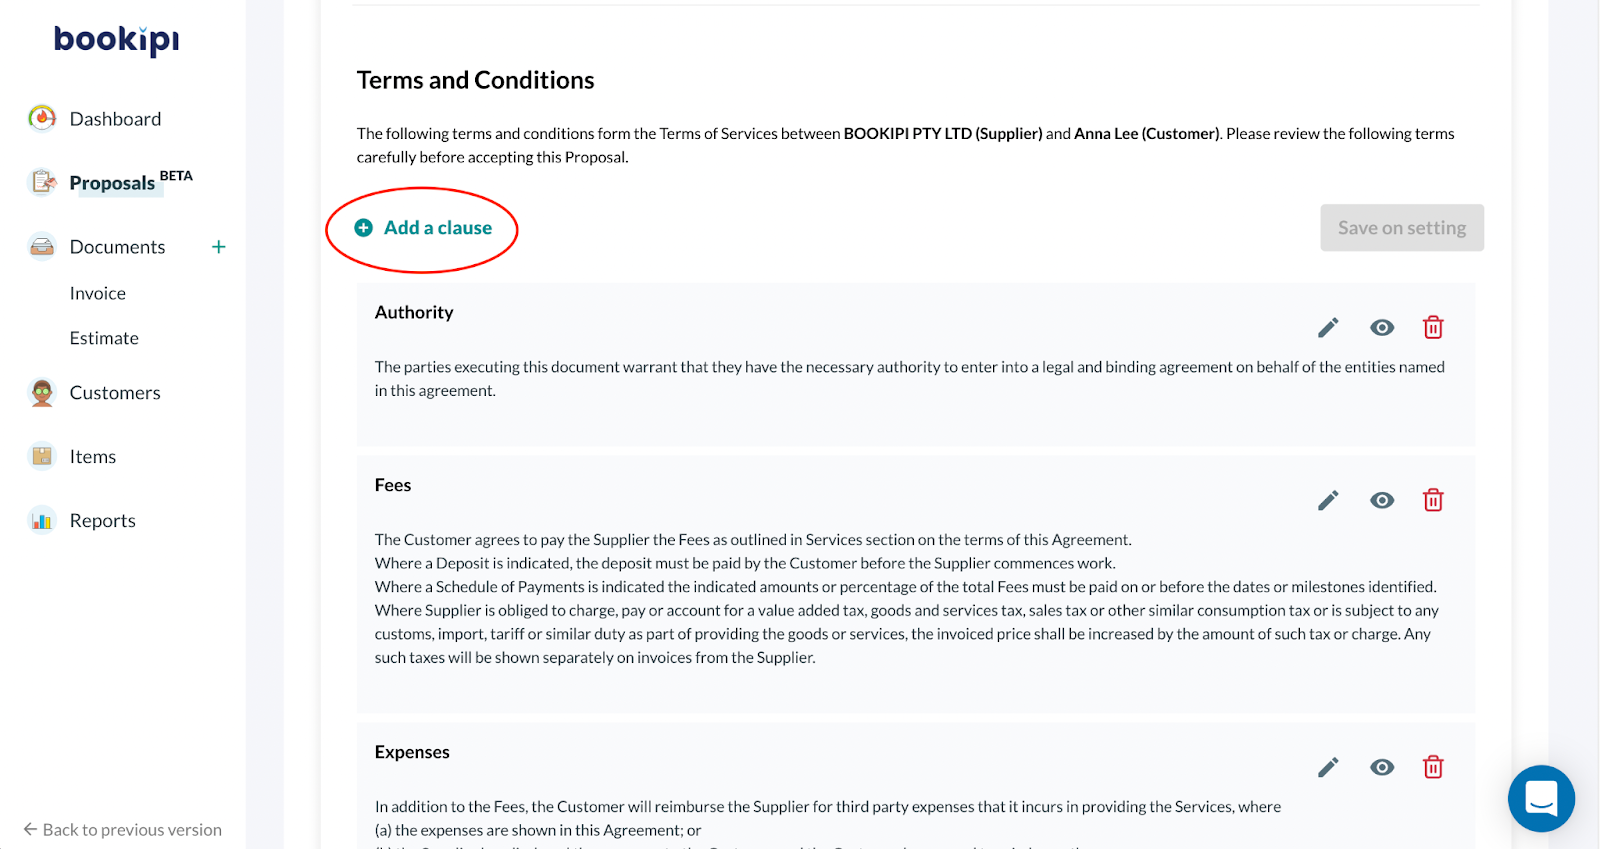
Add a Clause
Step 1: Add a clause by selecting ‘+ Add a clause’
Step 2: Add a headline, customize your content and click ‘Add‘.
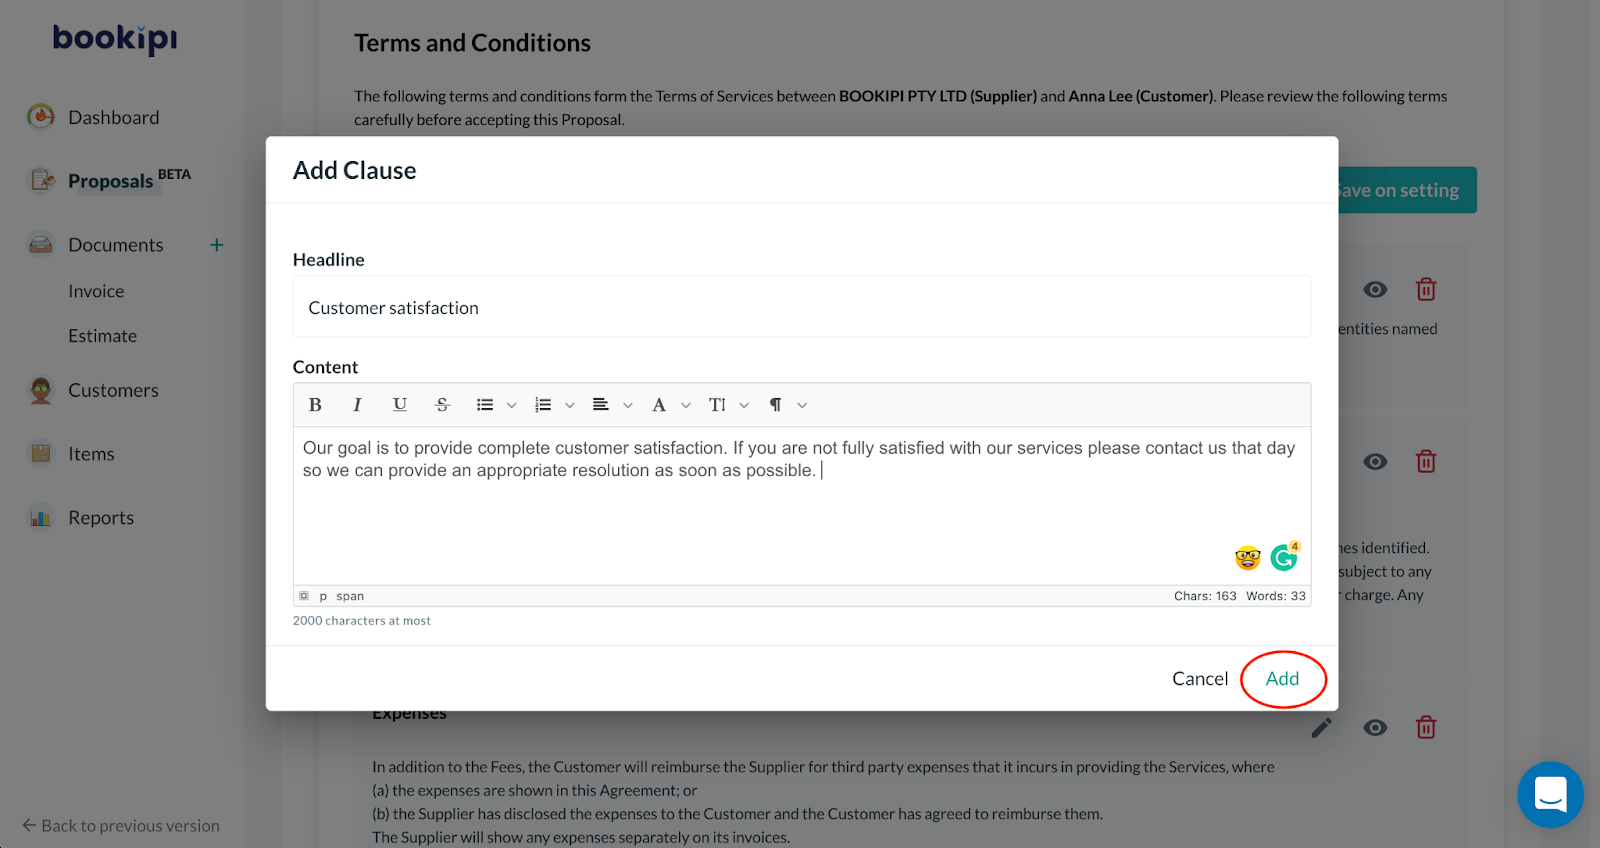
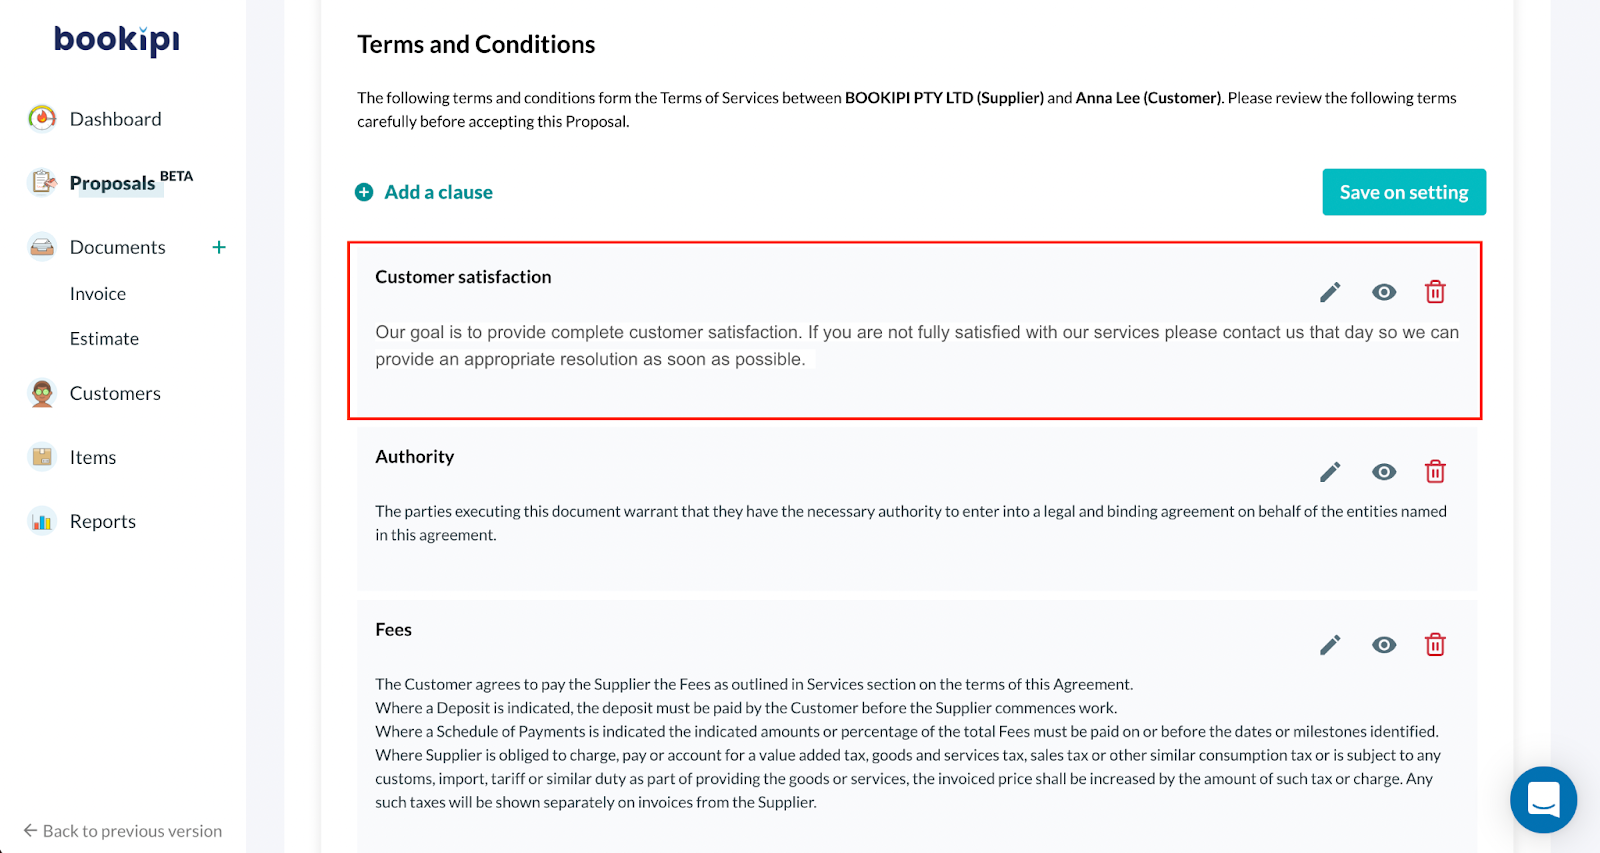
Your clause has now been added to the agreement
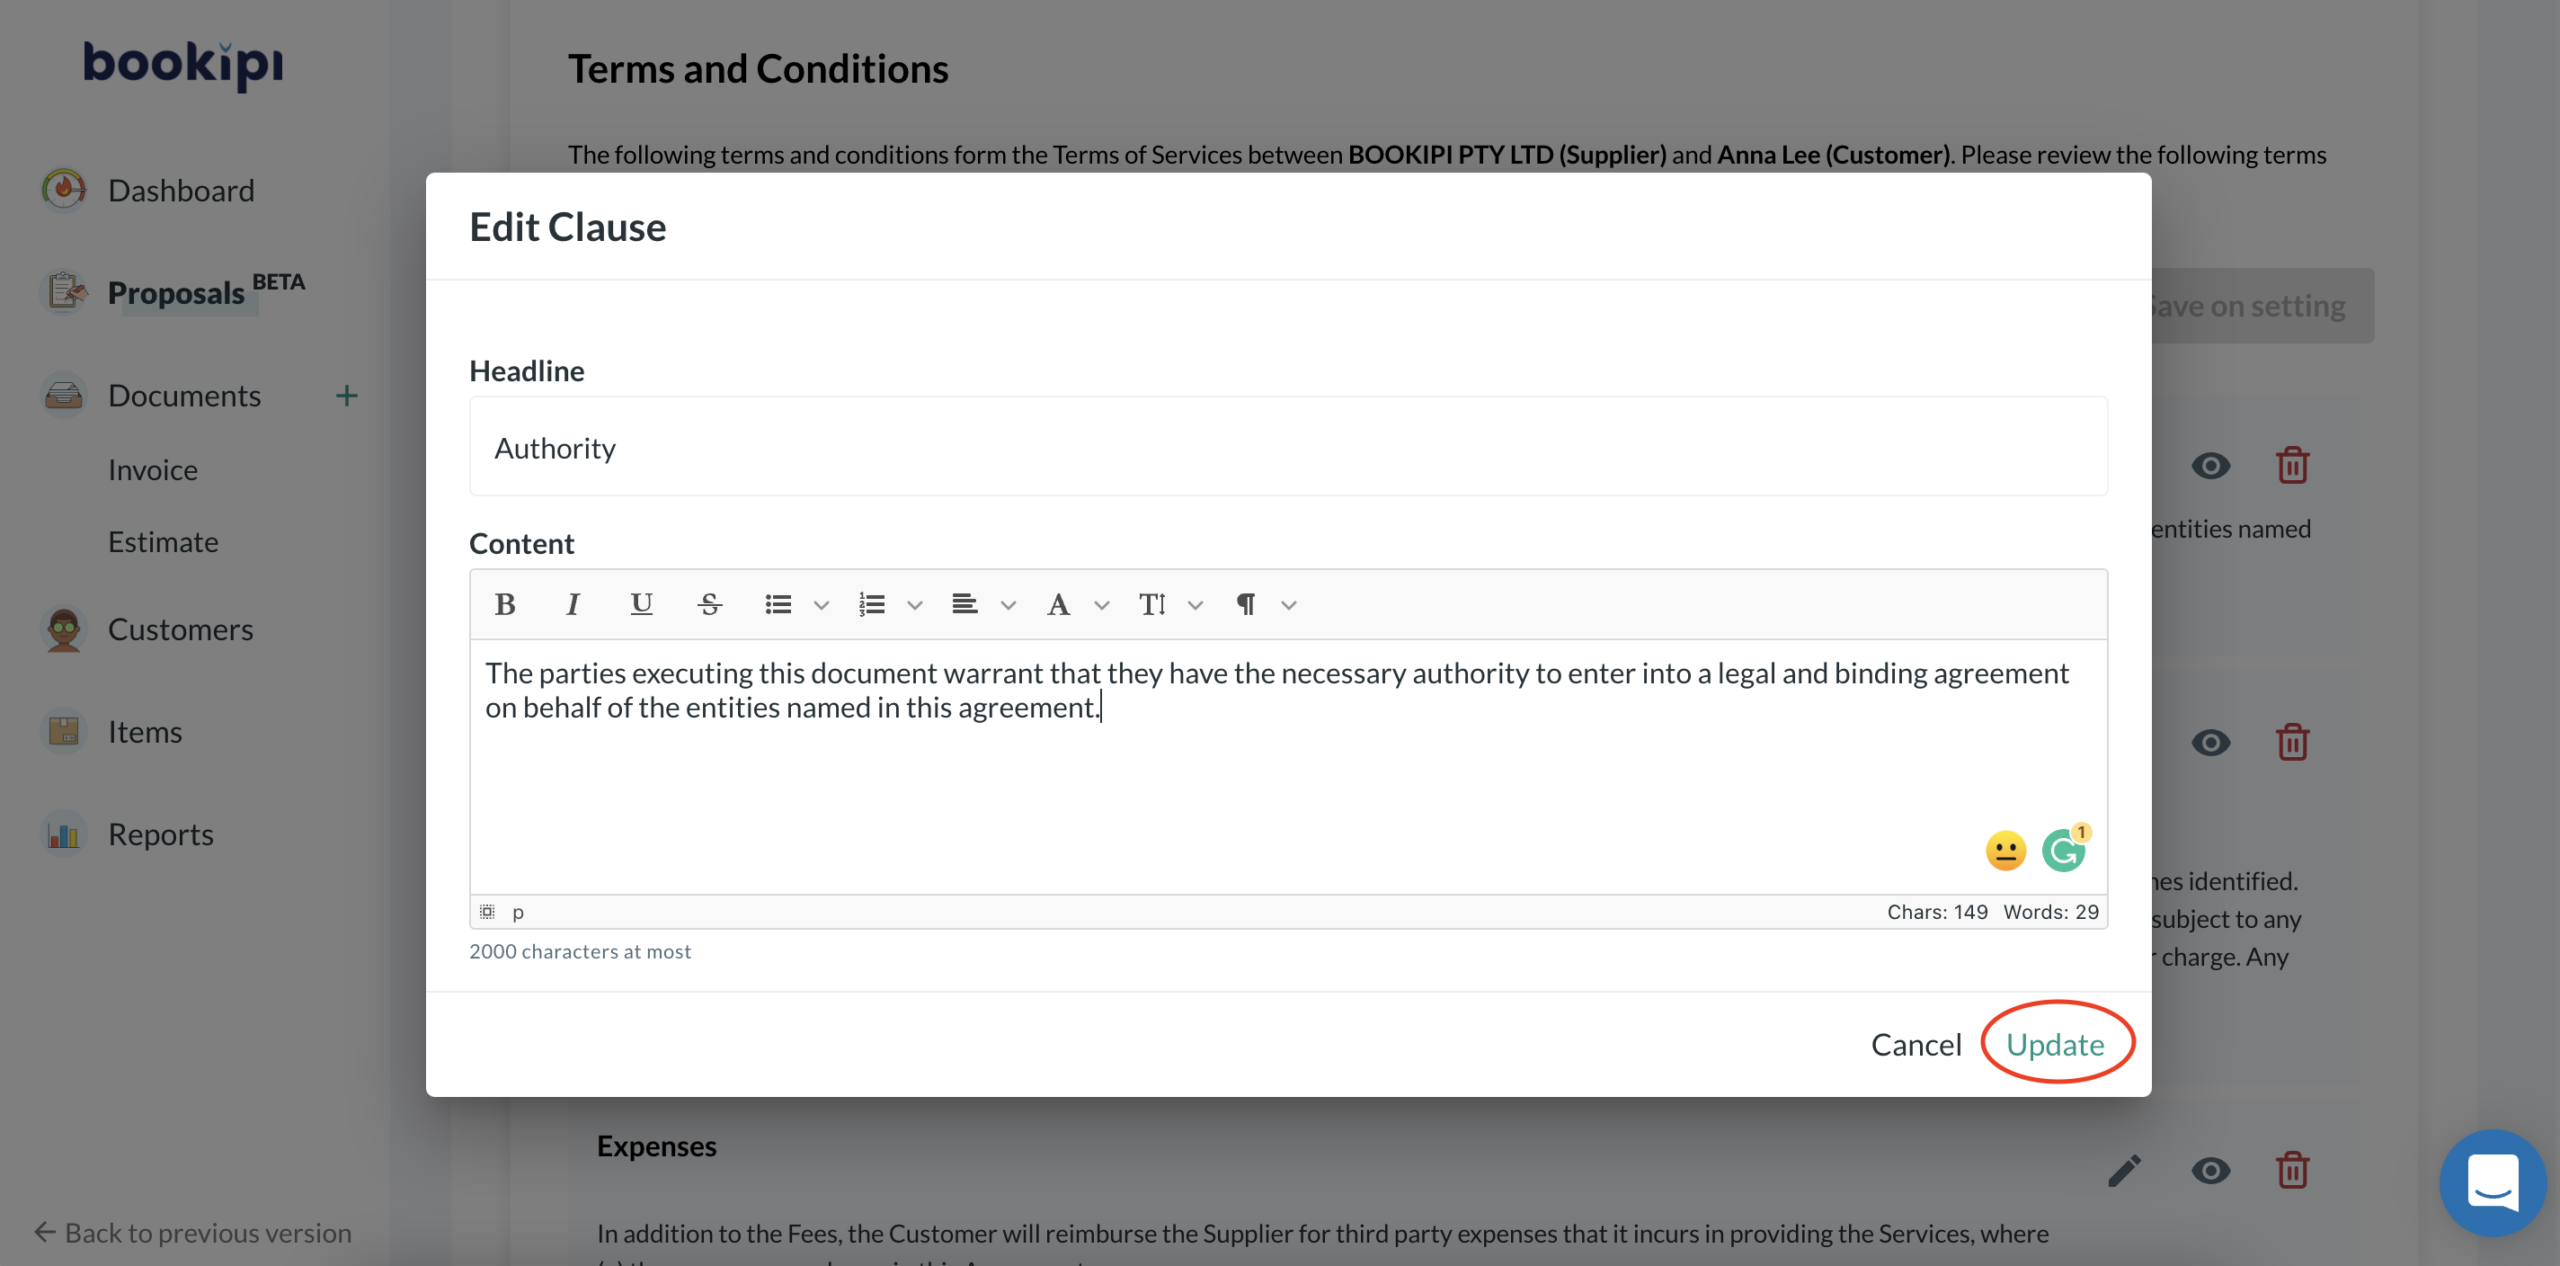
Edit a clause
Step 1: Select the pencil icon

Step 2: Make edits to the clause and select ‘Update’.
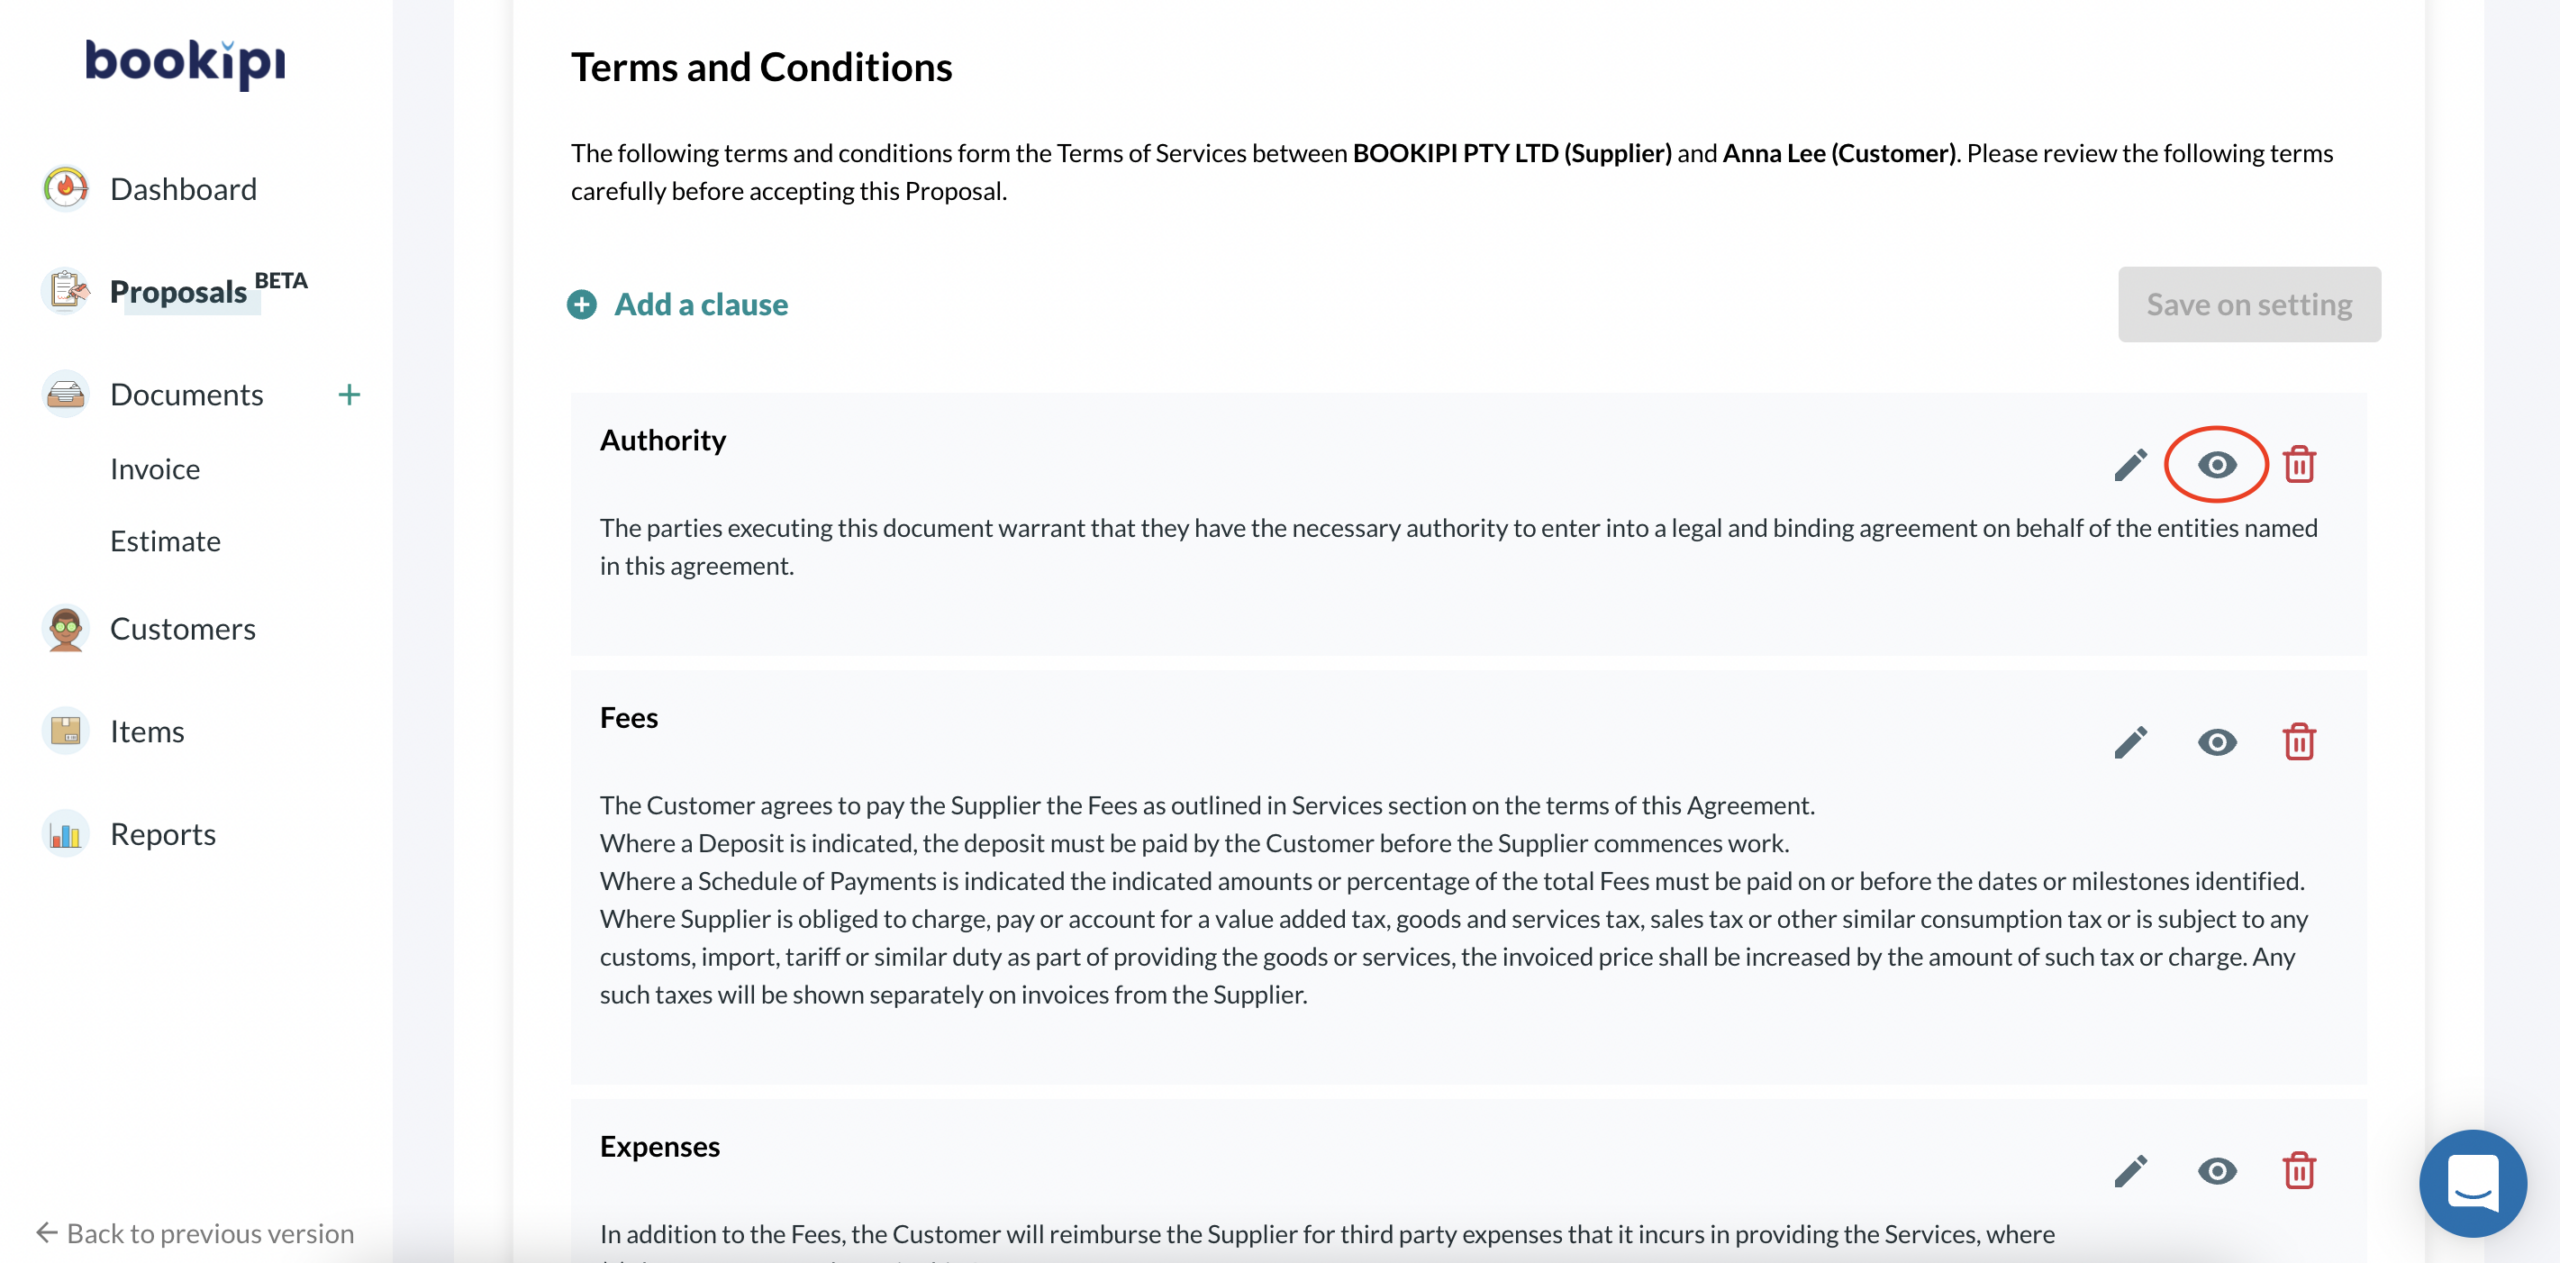
Hide the clause
You may wish to hide the clause if it doesn’t apply to this specific proposal.
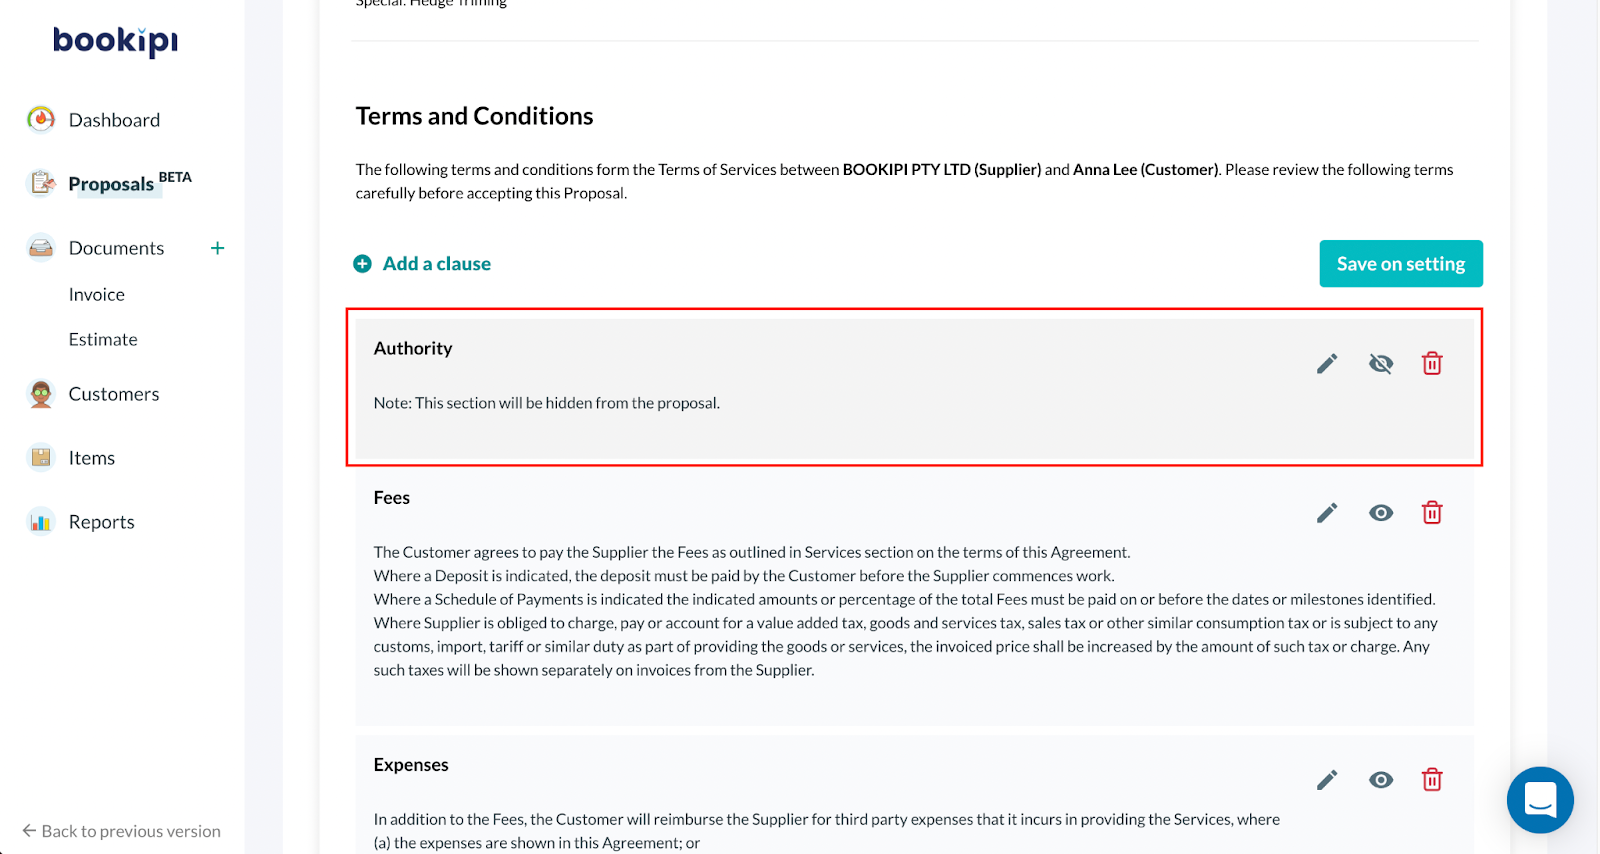
Simply select the eye icon
The particular clause will now be hidden.
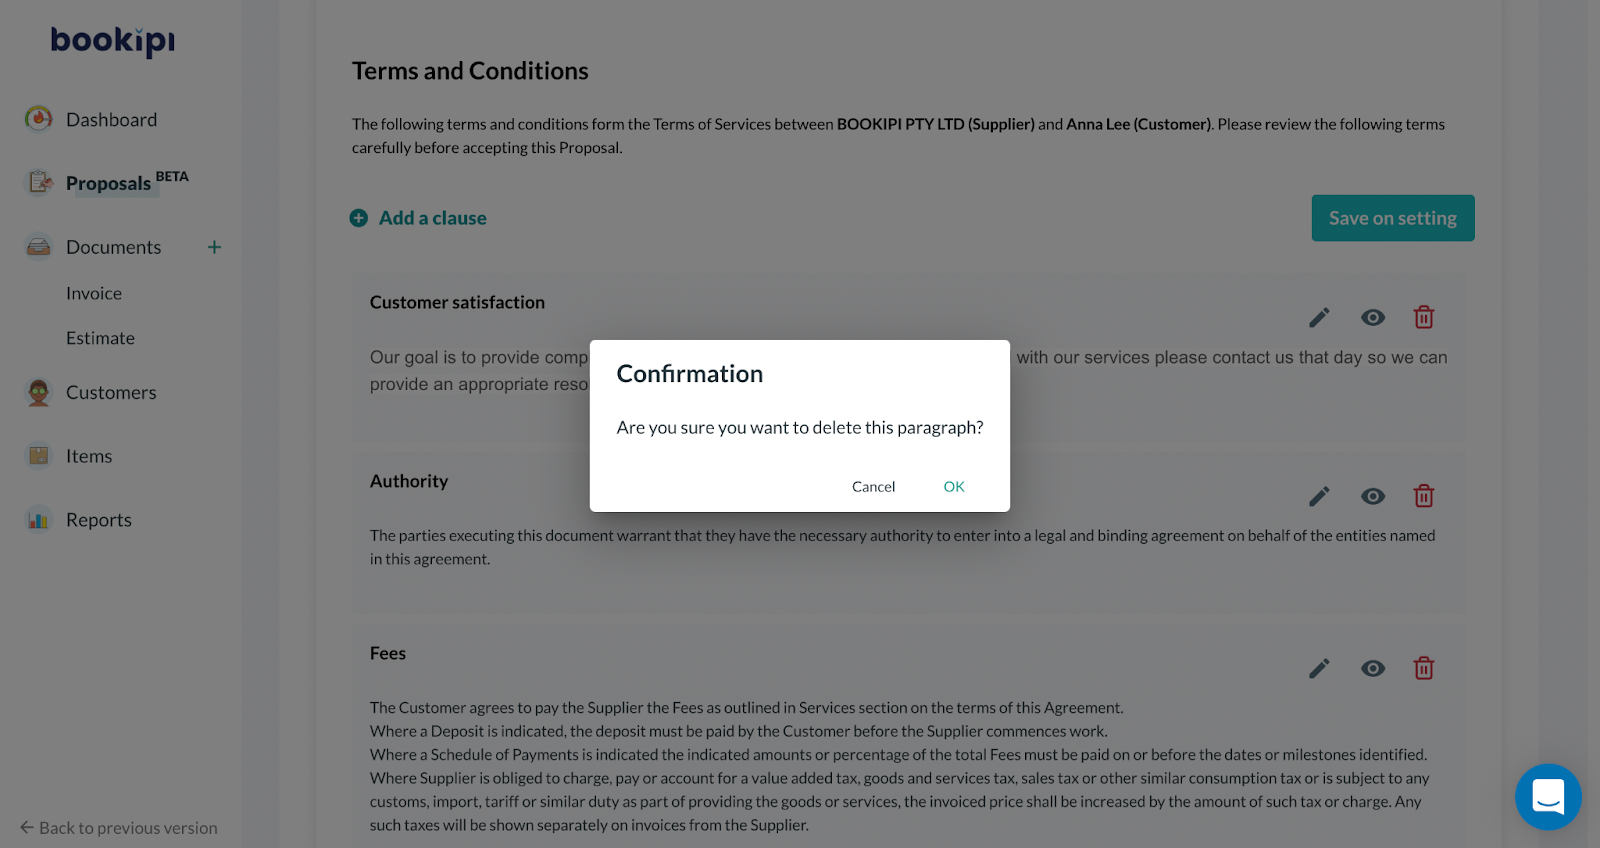
Delete the clause
Step 1: Select the bin icon

Step 2: Select ‘OK‘ to continue
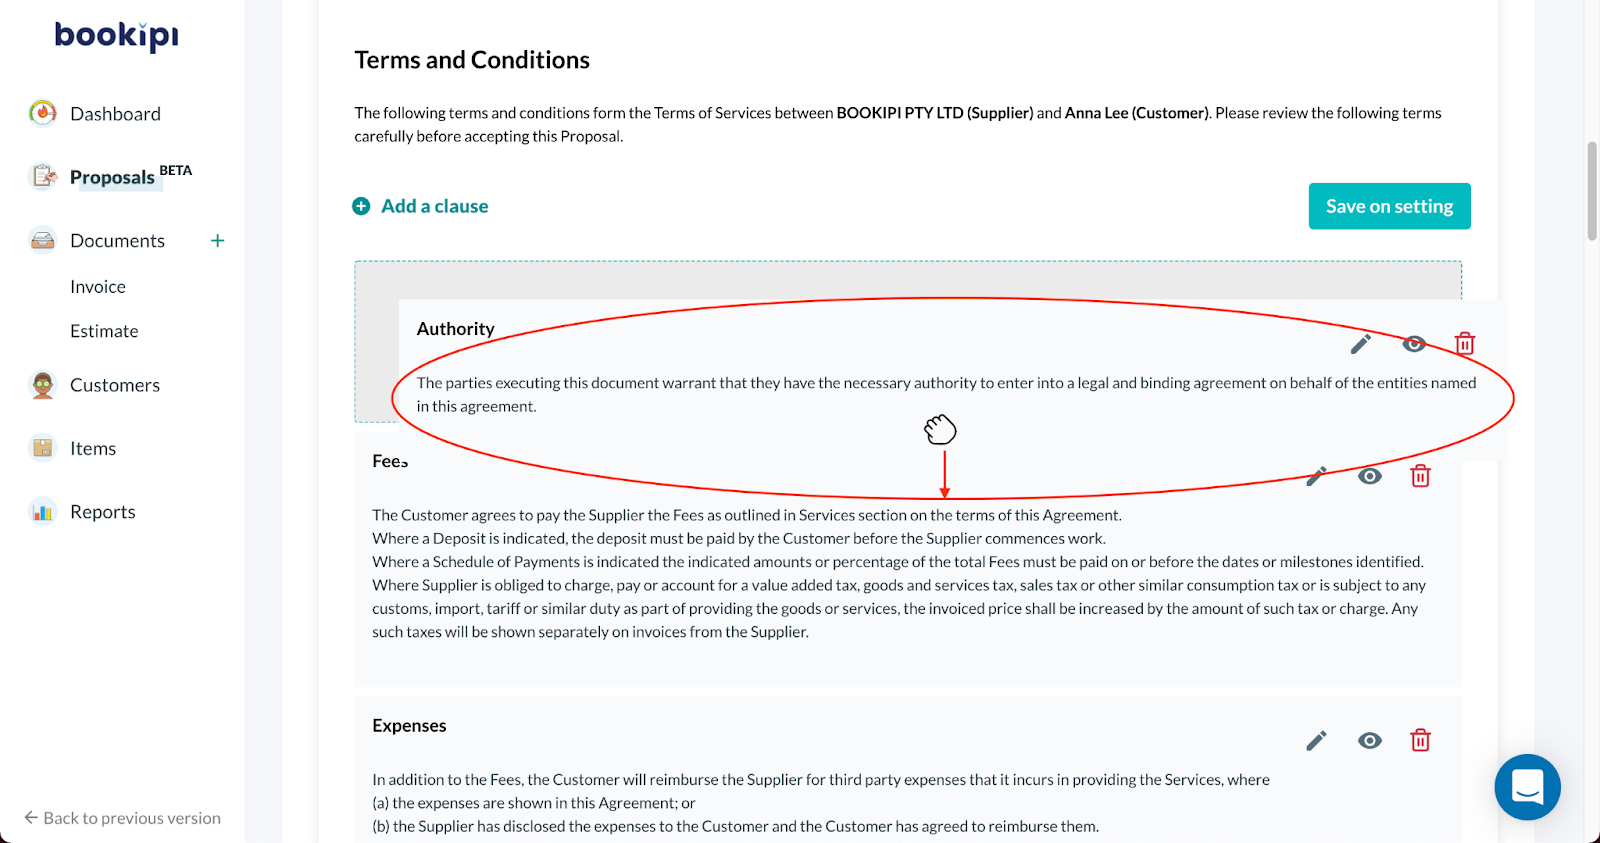
Rearrange clauses
You can also rearrange the clause by clicking and holding on to a specific clause and dragging it up or down to rearrange the order.

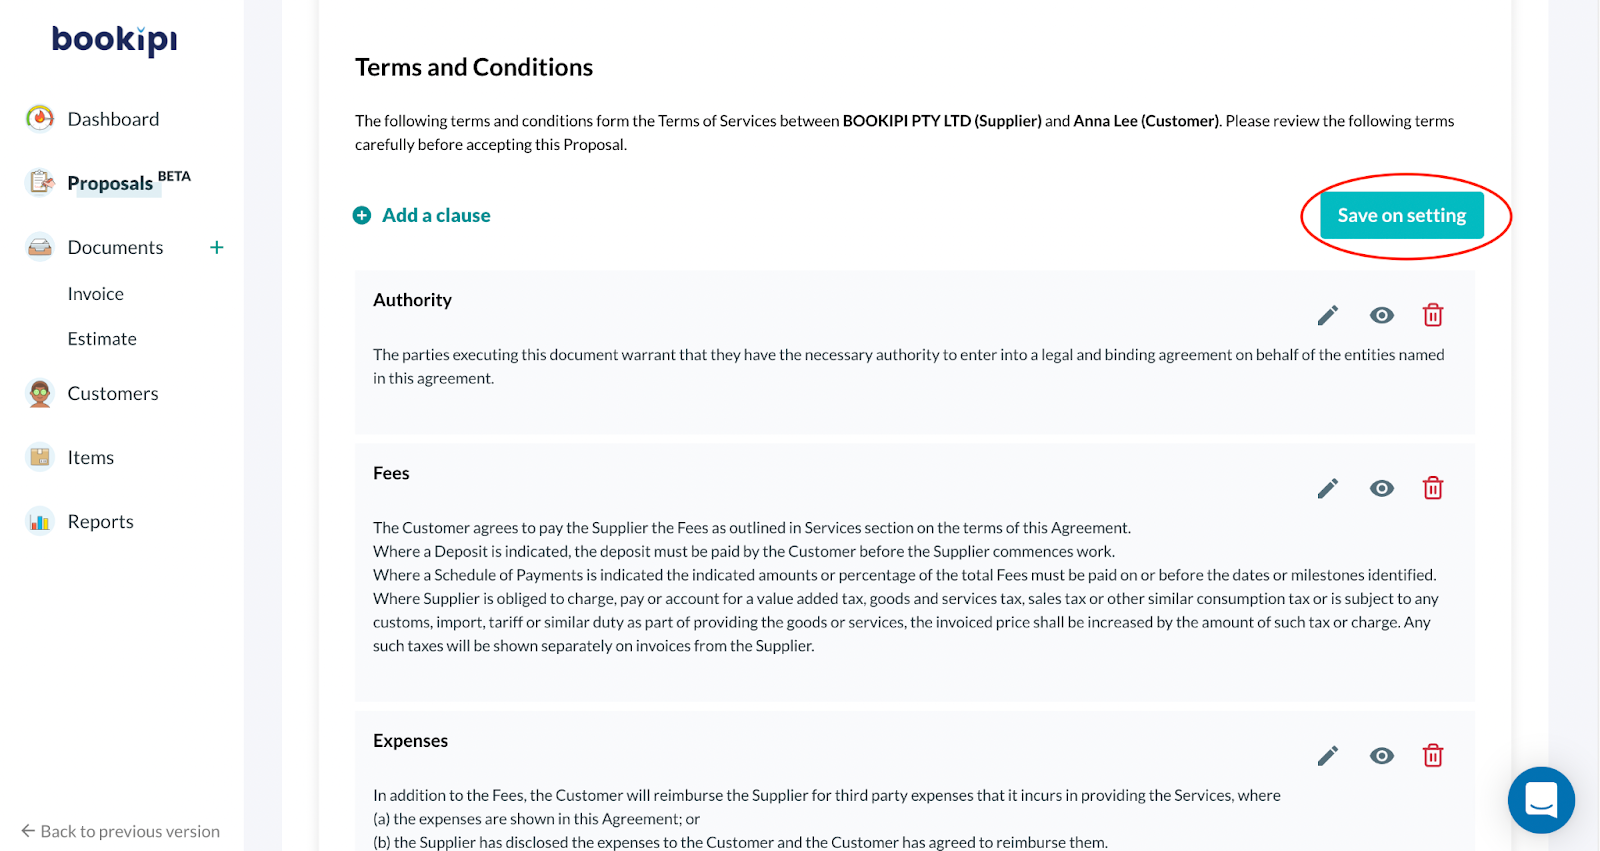
Save on Settings
All changes will only apply to this specific agreement unless ‘Save on settings‘ is selected. Once ‘Save on settings‘ is selected, any changes you have made to the current Terms and Conditions will be saved in your account settings. You will not be able to recover previous saved settings.
Any new proposals generated will apply the new terms and conditions that have been saved in Settings. You can edit the terms and conditions in the settings section anytime.
Once you are happy with the agreement select ‘Save & Continue‘
5. Preview screen
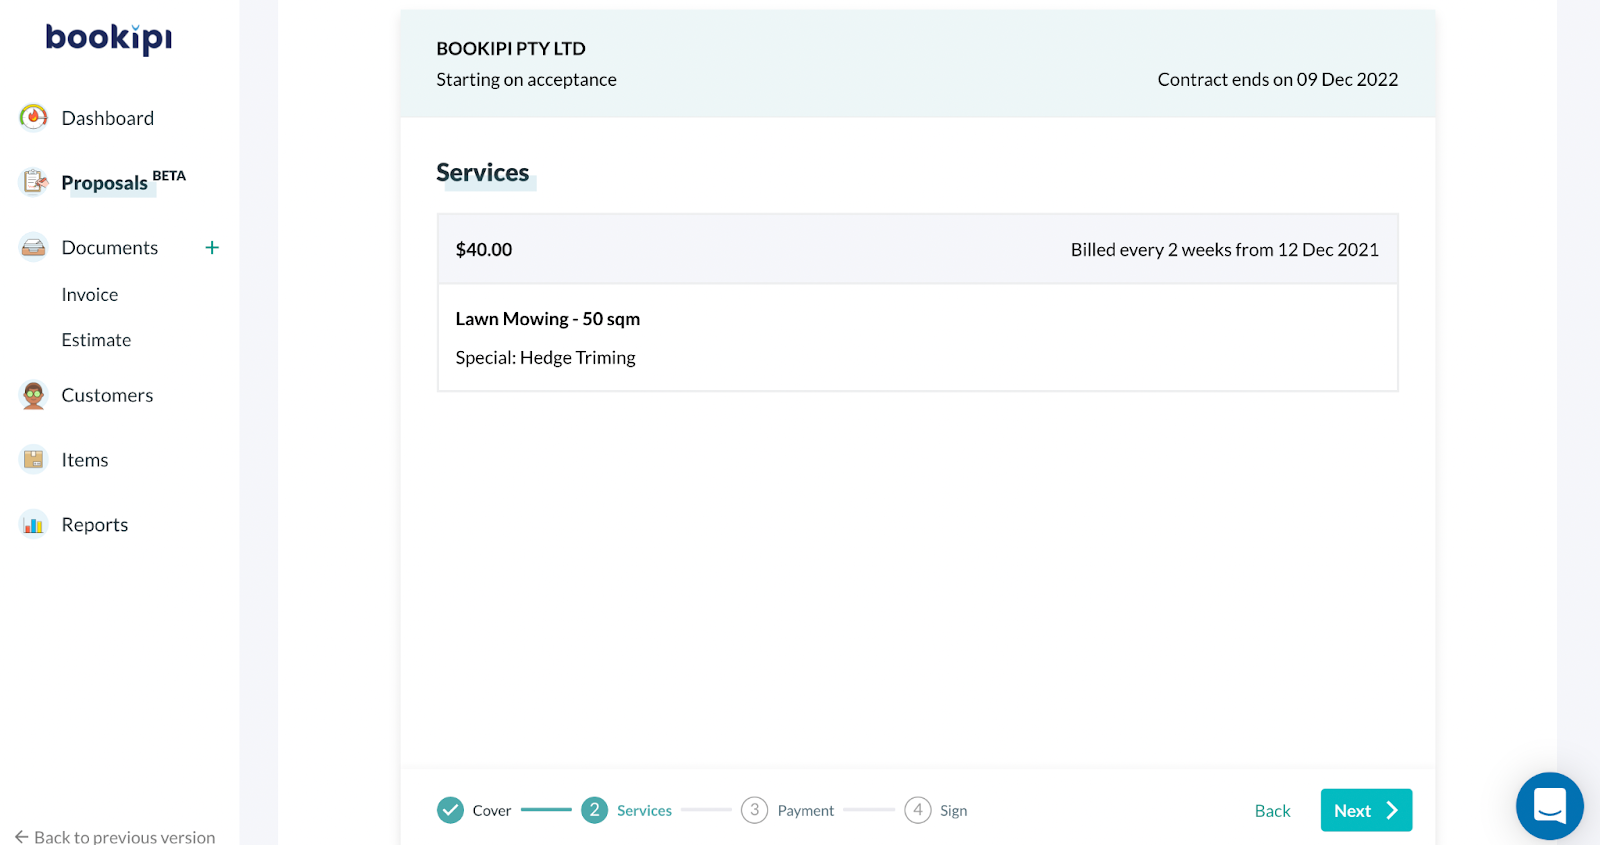
In the preview section, you can preview the proposal that your client will see
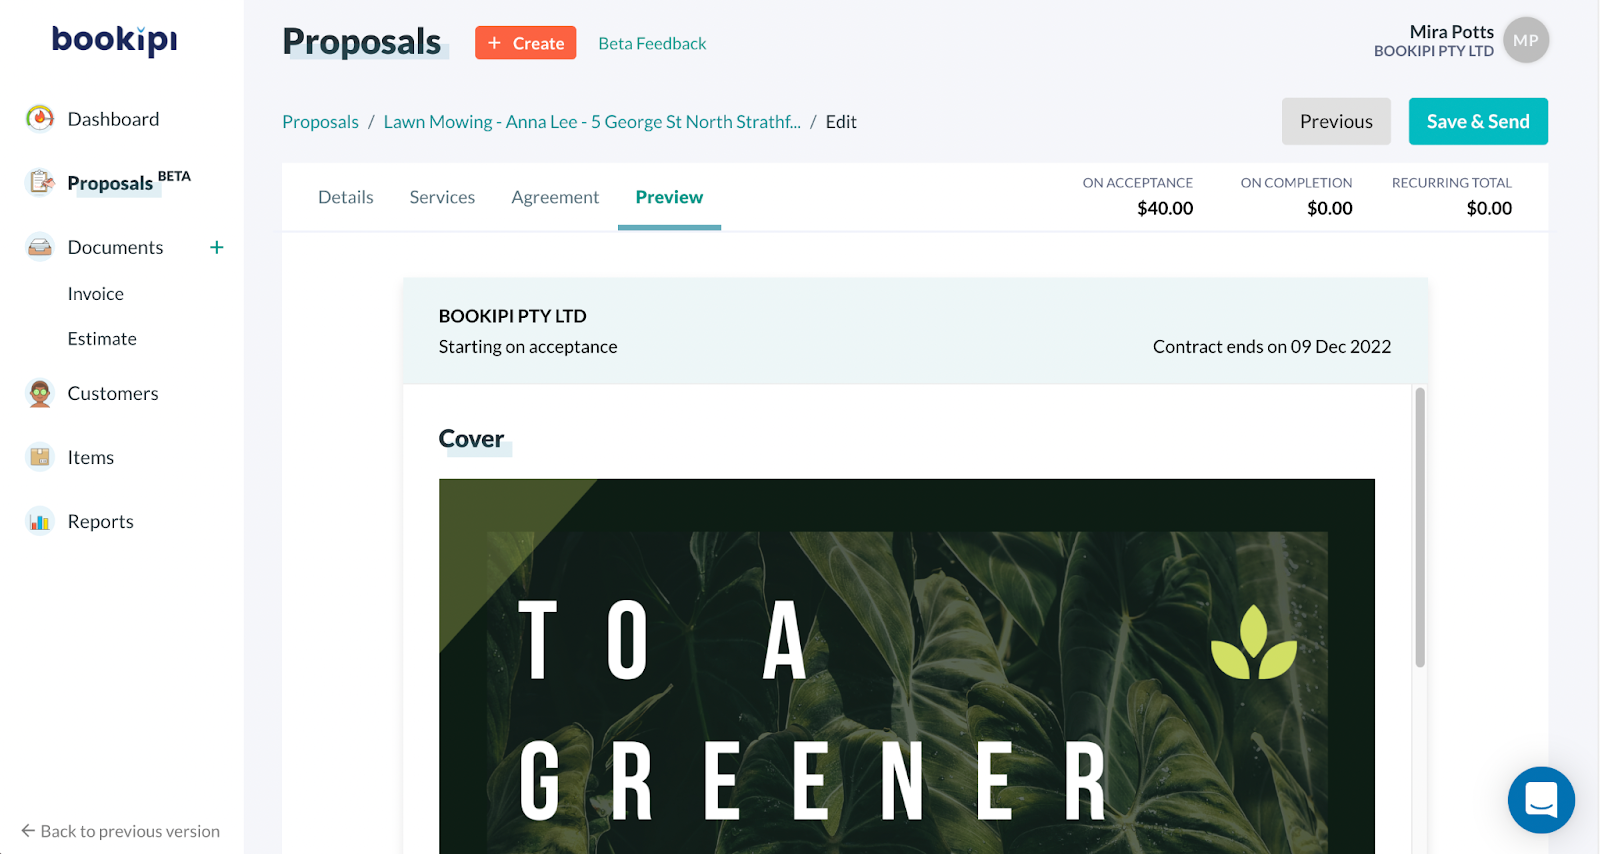
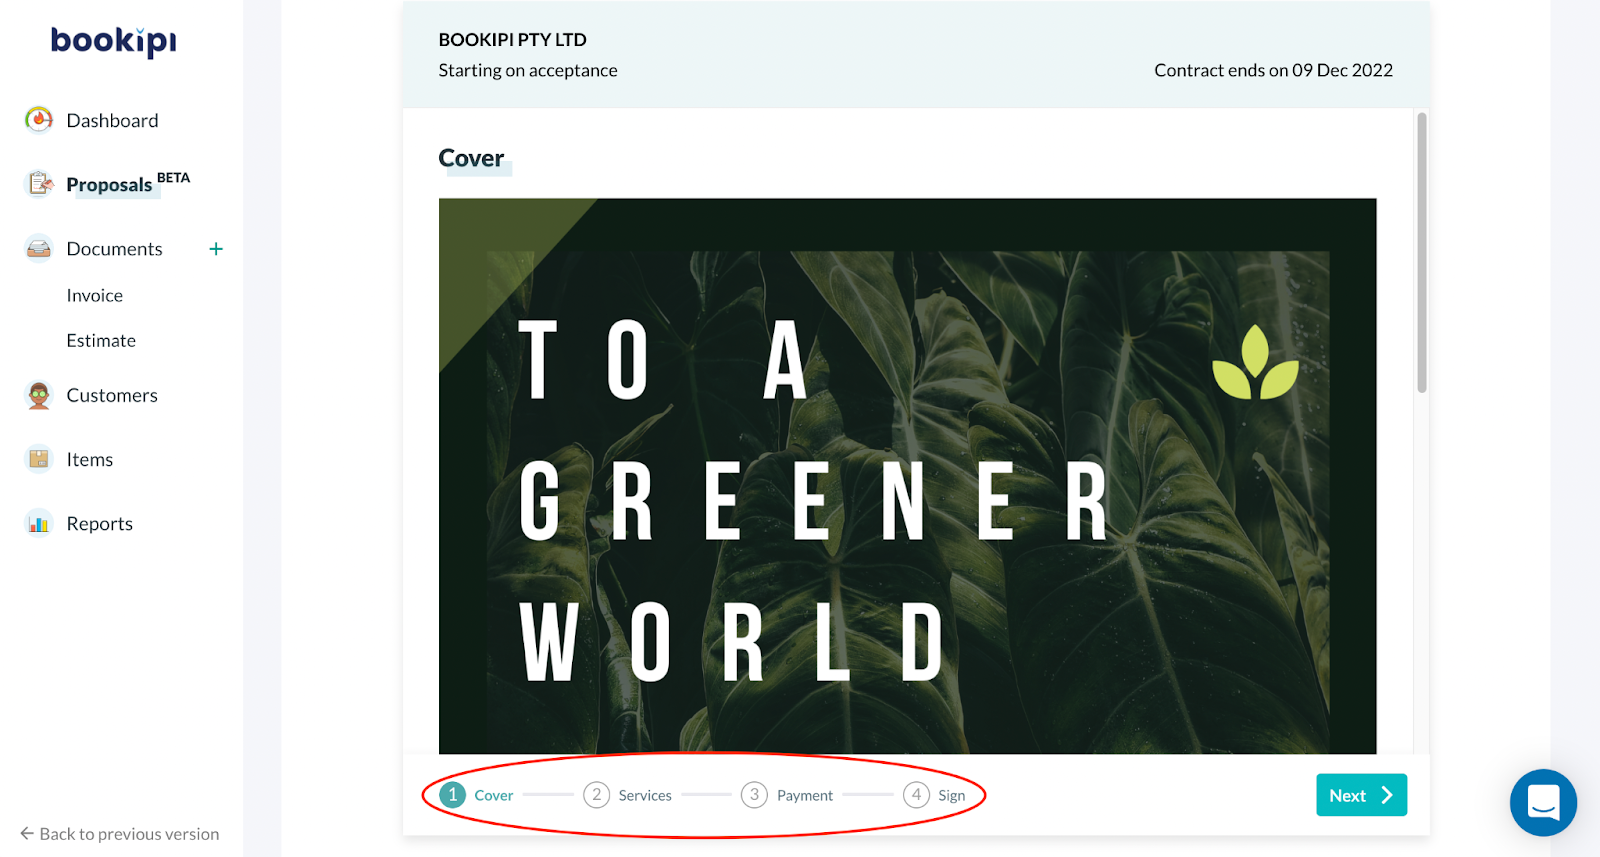
Scroll down to the bottom of the screen and you’ll be able to see the cover, services, payment, and sign.
Review the services offered
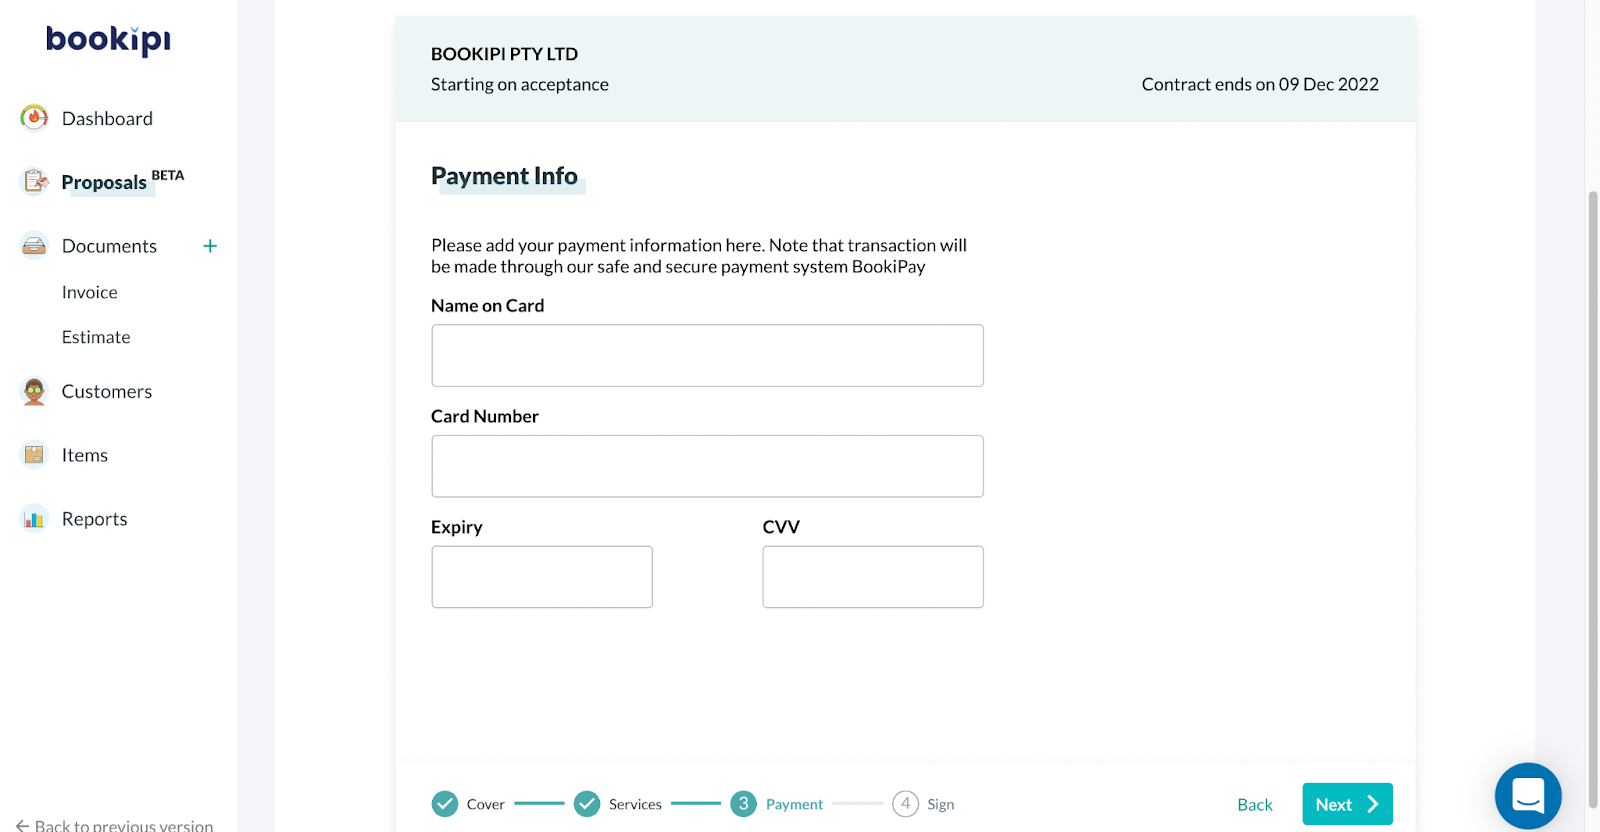
6. Payment info
Payment information is required by the client to accept the proposal. This payment information will be charged for service items that have a specified billing type. If None was selected then no payment details will be required
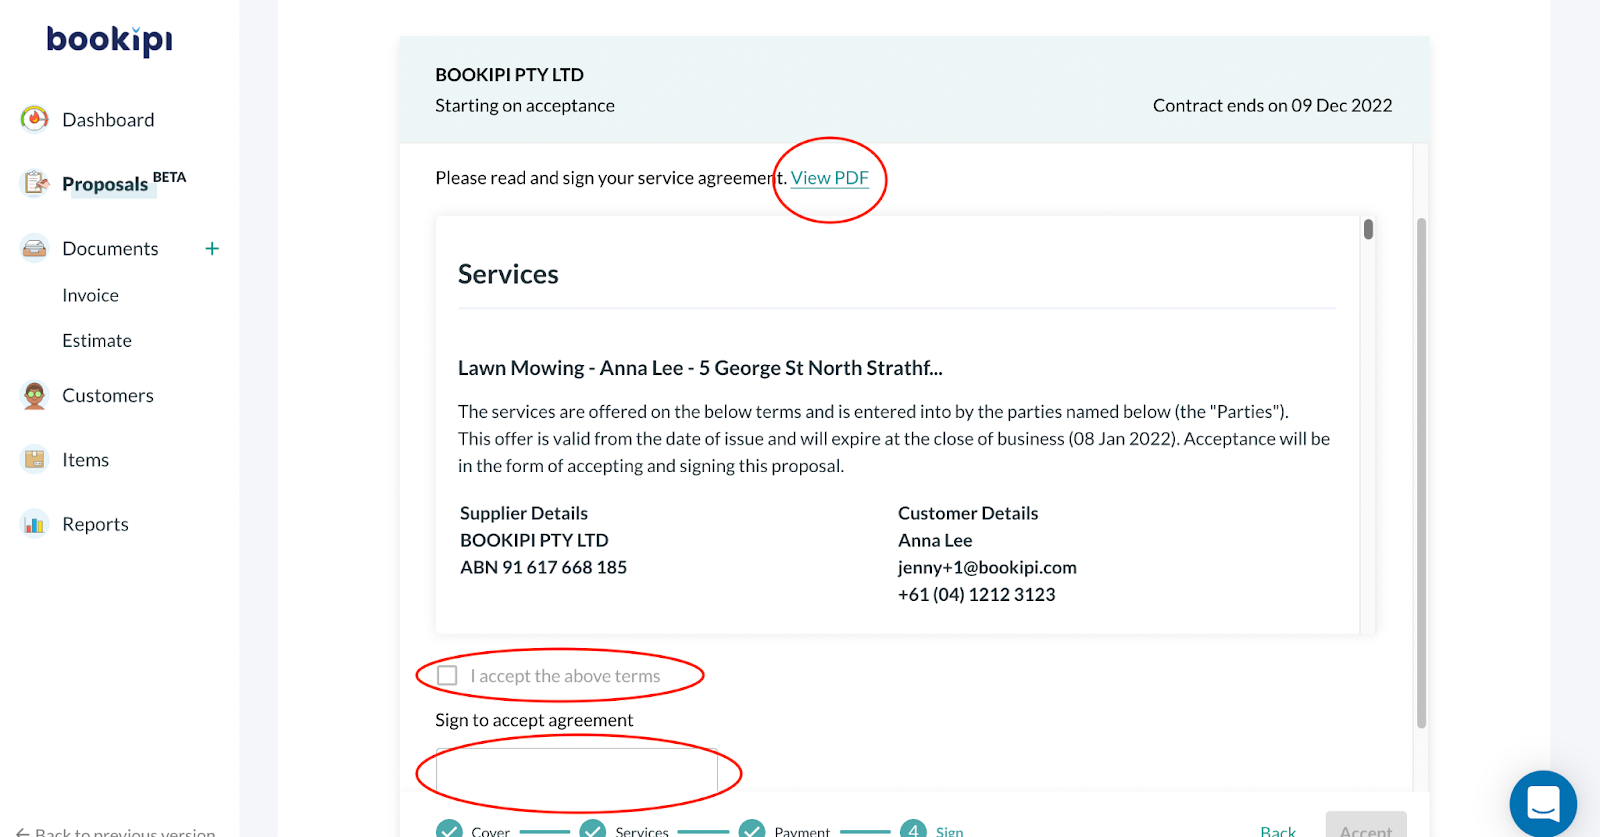
7. Print or download the agreement
The user will be able to print or download a PDF version of the agreement, review the service, accept and sign the agreement.
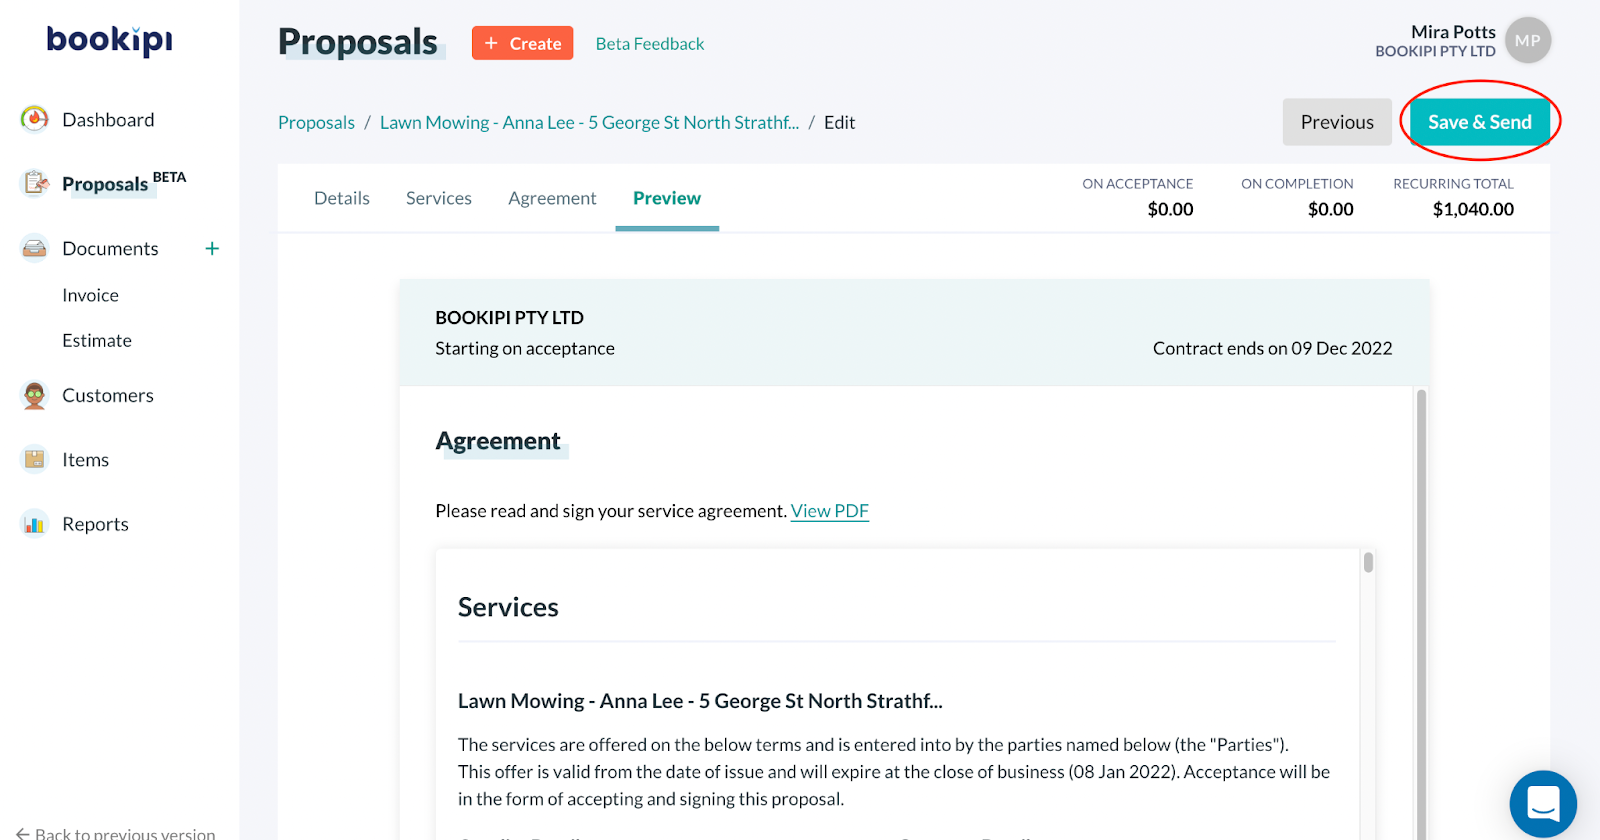
Once everything looks good select “Save and Send”
Review and edit the email as required.

You can add several different people in the To or BCC section, and also send yourself a copy.
Please note: Although you can send the proposal to multiple people, only one person is required to sign the invoice and enter their payment details.
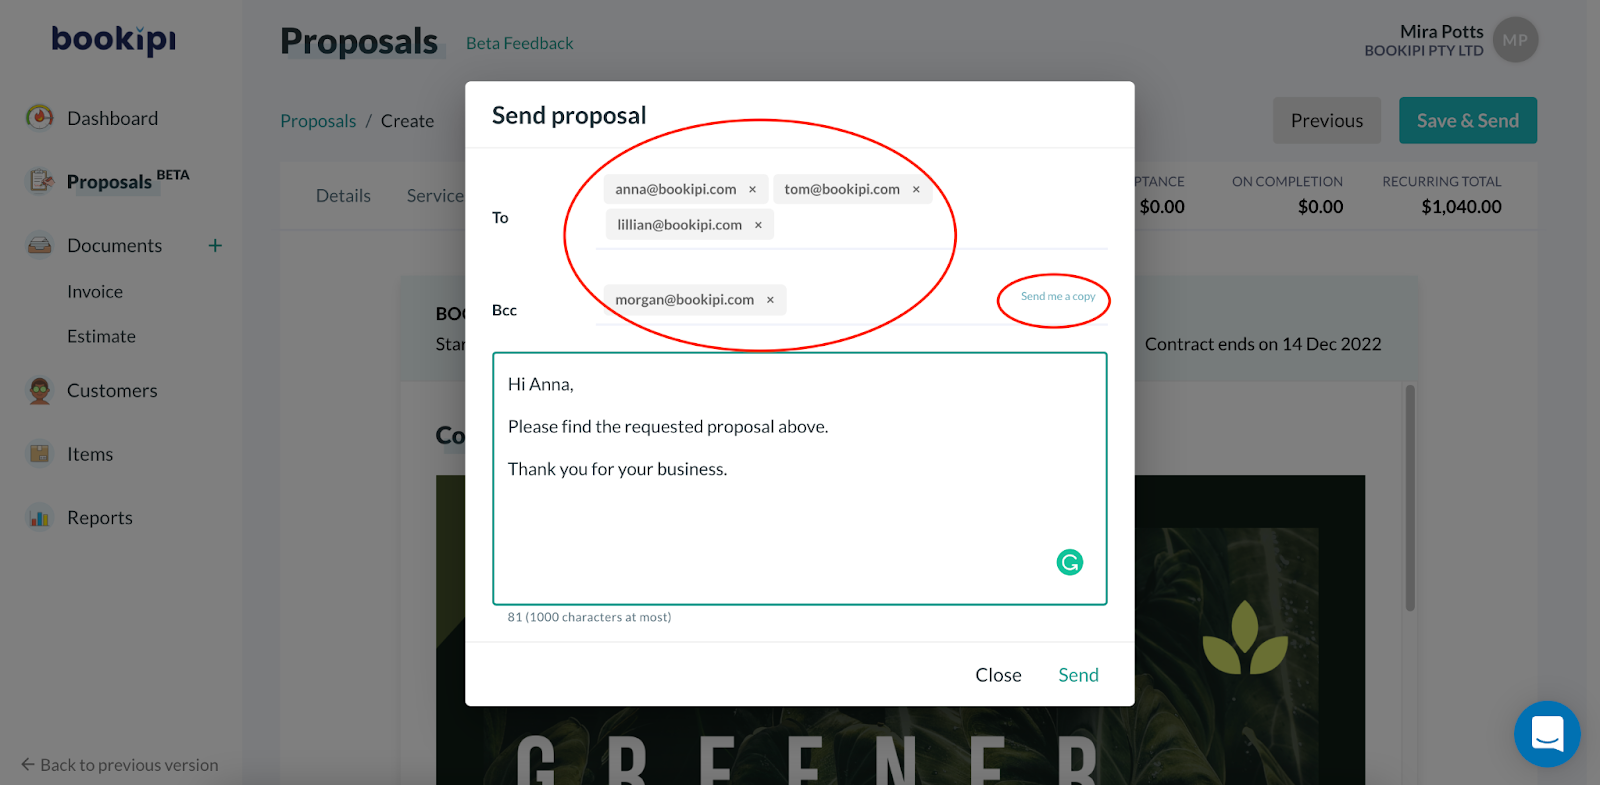
Once you are done, select send.
Please note: if you do not wish to send the proposal just yet you can select “Close” and this will just save your proposal.

Your client will now have received their proposal to view and accept.
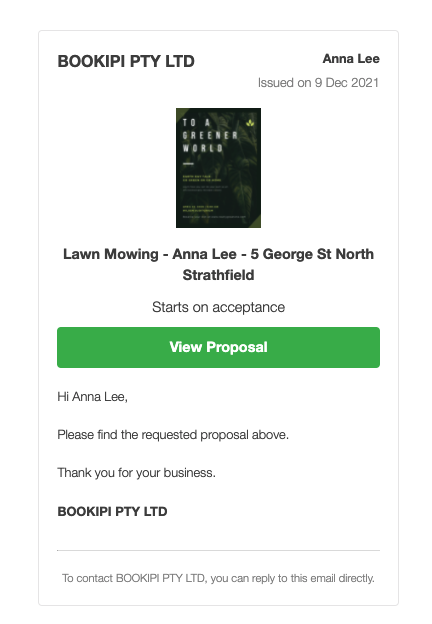
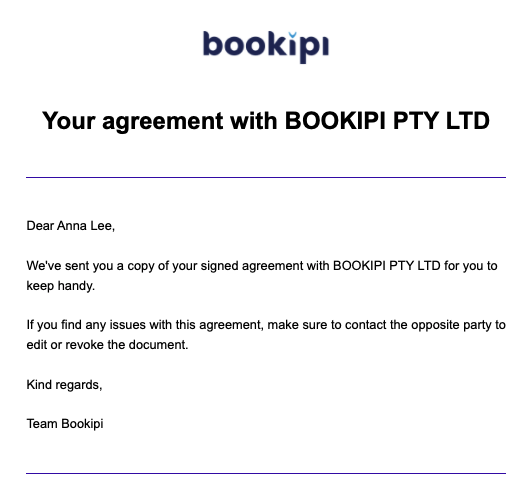
Once they accept the proposal they will receive an email of the agreement as a pdf
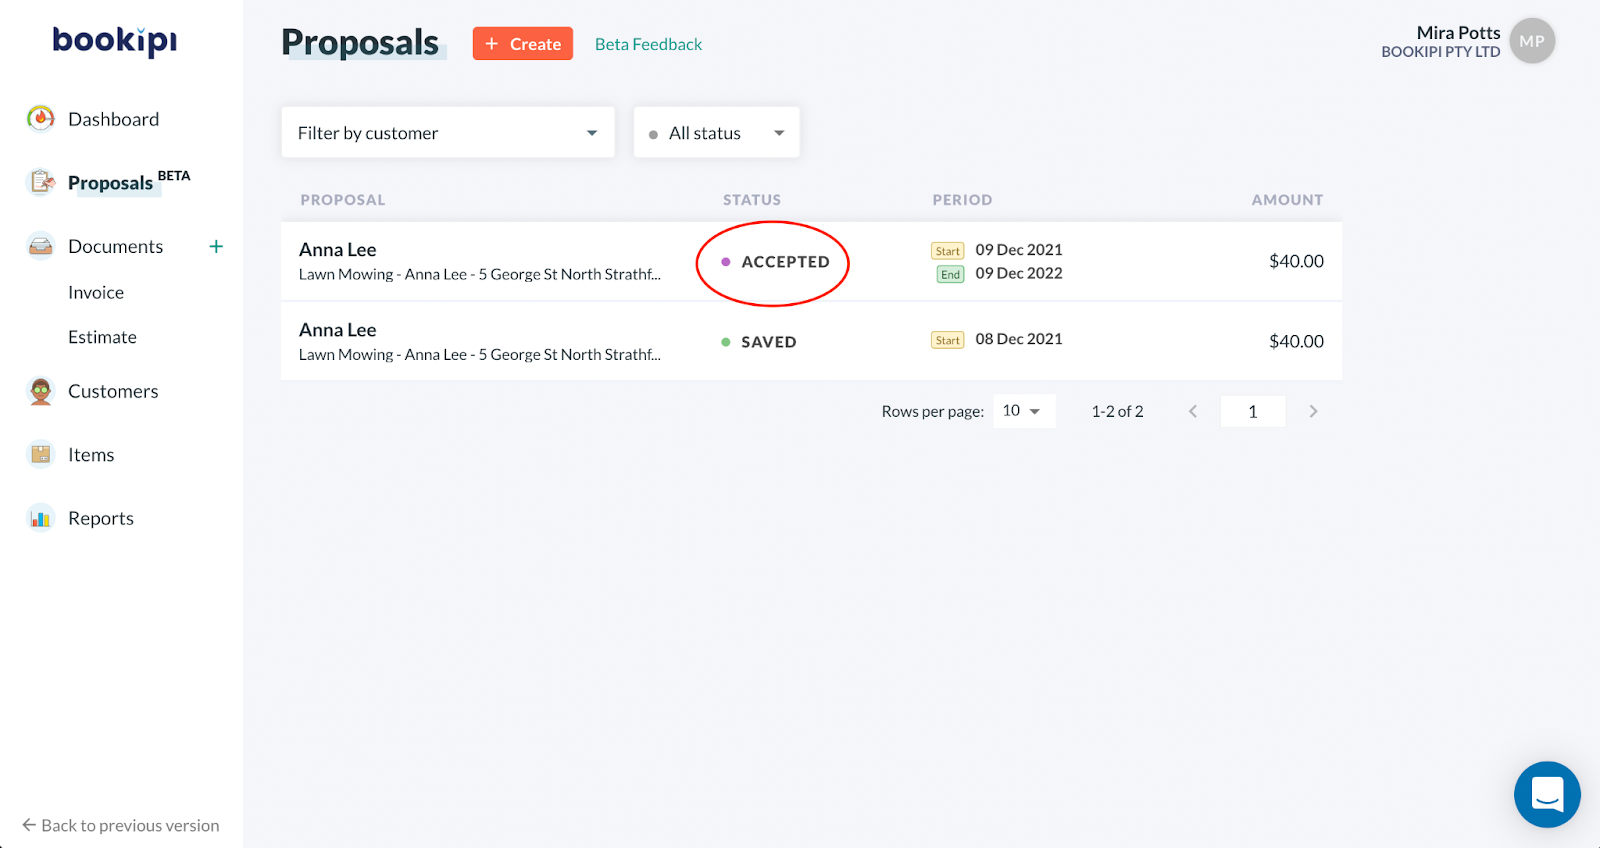
The proposal state will also have changed to accepted.
Please note: If you have a service item that is charged on acceptance of the proposal, your client’s card will be charged and they will receive the invoice and receipt of the payment.
If a card payment is unsuccessful, the system will email the client to check their account details. The system will attempt to charge the card again after 3 days, 6 days, and then 14 days. If at the end of 14 days it is still unsuccessful, the automated charge will be canceled for that billing period. If you have updated the bank details within 14 days, the system will attempt to charge the new card.
Discover more tutorials for Bookipi Proposals
Discover more tips on how to get the most out of using the Proposals feature in Bookipi Invoice with our Bookipi Proposals guides.
Get the latest version of Bookipi Invoice on Web v2 and get set up with our Web v2 guides.
Make sending invoices anytime and anywhere even easier by downloading Bookipi Invoice mobile app. Check out our mobile app guides.


