
Learn how to create an invoice that repeats in Bookipi Invoice Web v2
How to create a recurring invoice
Learn how to create a repeating invoice in Bookipi Invoice Web v2 with our simple steps. Recurring invoices are only available for the Invoice document type in Bookipi Invoice.
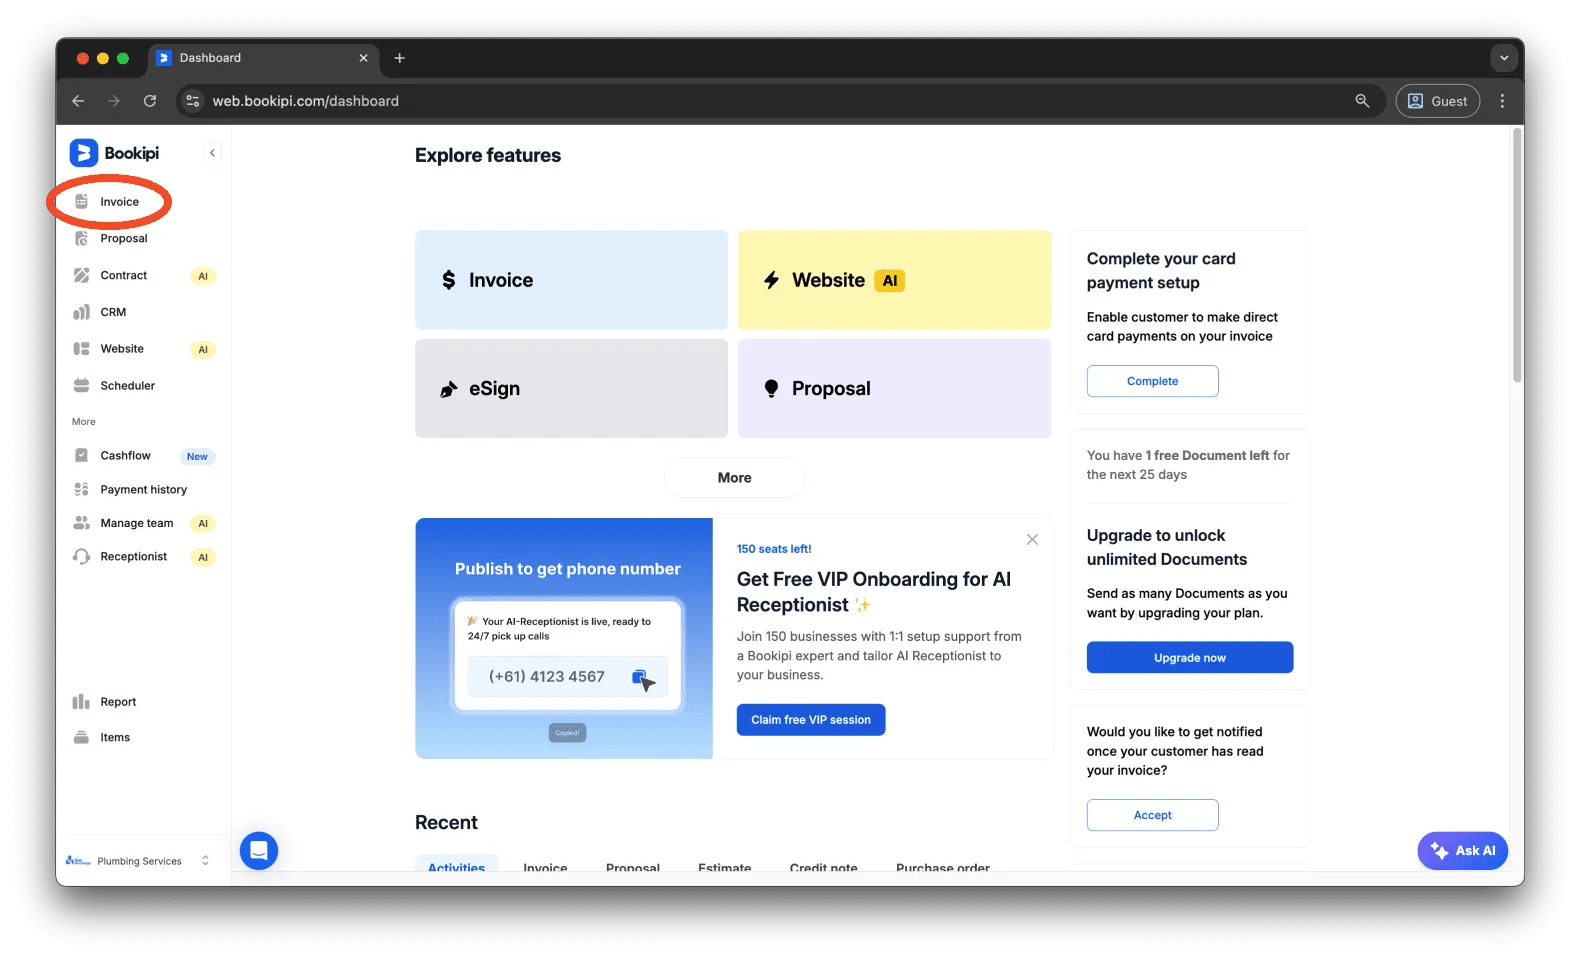
Step 1: Navigate to the Invoice category.
On your Document lists, go to the ‘Invoice’ category.
Step 2: Create a new invoice.
Click ‘+Create’ on the upper left of the screen.

Step 3: Enter invoice details.
Fill in all the required fields, such as Customer Name and Item Details.
Step 4: Set the recurring frequency.
Select the drop-down next to ‘Recurring’.
Choose your preferred repeat frequency for the invoice (e.g., daily, weekly, monthly).
Your invoice repeats within 3 hrs of your selected issue date. For example, if you saved your invoice at 3 PM for a frequency of every day, the invoice will be sent between 3 PM to 6 PM on the following days.
Step 5: Customize the next issue date.
Adjust the ‘Next issue date’ as needed.
Step 6: Save your recurring invoice.
Click ‘Continue’ to finalize and apply your changes.
You have now created a recurring invoice. Your recurring invoice is set to repeat based on your selected frequency.
You can view your list of recurring items by selecting ‘Recurring’ beside the ‘More’ option.
Common FAQs about how to create a recurring invoice
Q: What is a recurring invoice?
A: A recurring invoice is an invoice that is automatically generated and sent to your client at regular intervals (e.g., weekly, monthly). It’s ideal for subscription services or repeat billing.
Q: Can I set reminders or late fees on recurring invoices?
A: Yes, you can enable automatic reminders and late fees in your invoice settings by enabling the ‘Overdue reminders’ option.
Q: Do recurring invoices count toward my monthly invoice limit if I’m on a free plan?
A: Yes. Each recurring invoice sent counts as one invoice for your monthly quota under the free plan.
Related guides
Discover more tutorials for Bookipi Invoice on Web v2
Discover more tips on how to get the most out of Bookipi Invoice on Web v2 with our Web v2 guides.
Make sending invoices anytime and anywhere even easier by downloading Bookipi Invoice mobile app and check out our mobile app guides.


