Learn how to add a signature to your invoices in Bookipi Invoice Web v2.
How to add a signature to invoices
Learn how to set up and add your signature to invoices in Bookipi Invoice Web v2 with these easy steps. Once your signature is set up, you can easily add it to any invoice, saving you time.
How to set up your signature
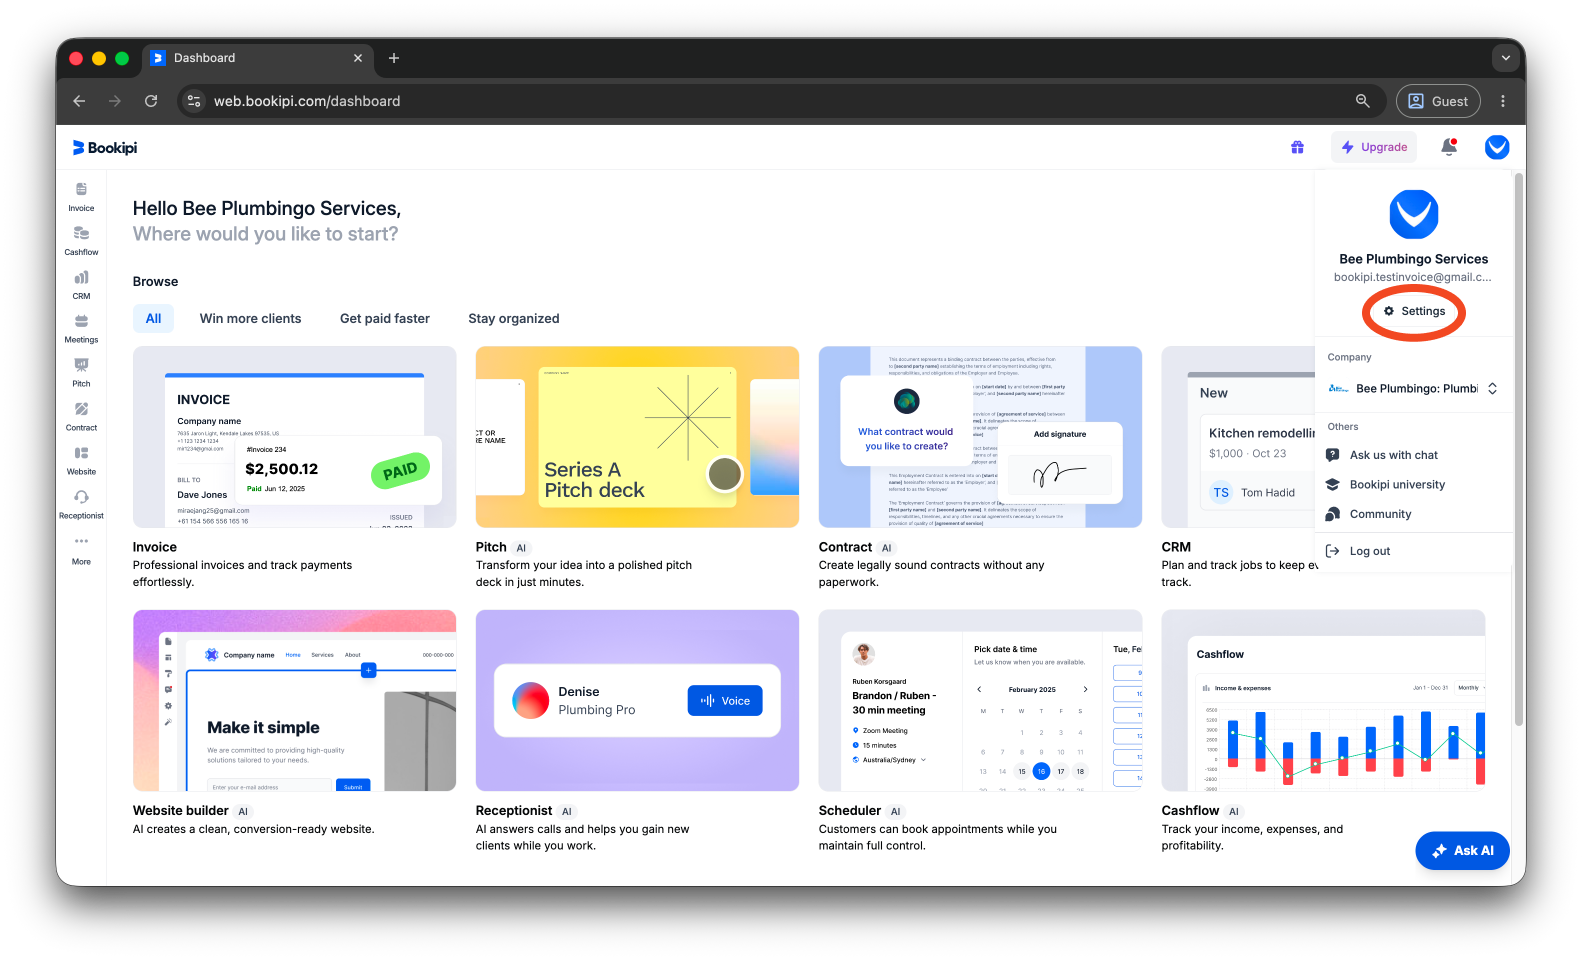
Step 1: Click on your user icon.
Click on your user icon in the upper right corner of your dashboard.

Step 2: Click ‘Settings’.
Click ‘Settings’ beneath your account email address.
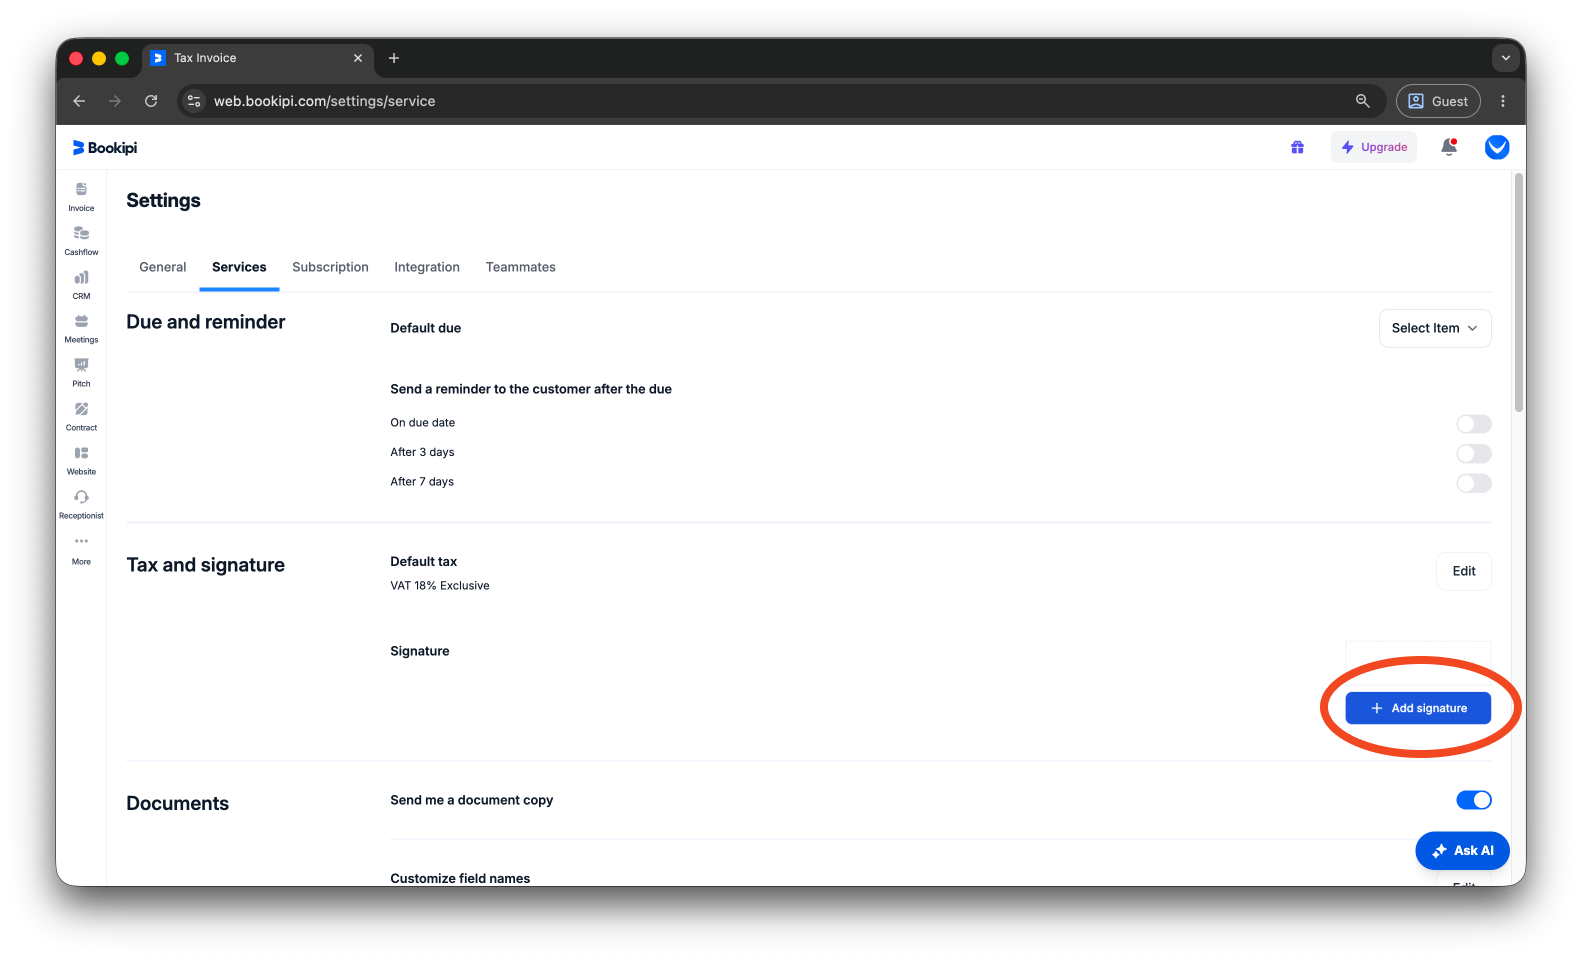
Step 3: Click the ‘Services’ tab.
Click on the ‘Services’ tab and navigate the Tax and Signature section.

Step 4: Click ‘+ Add signature’.
Click on ‘+ Add signature’ located on the far right of the Signature section.
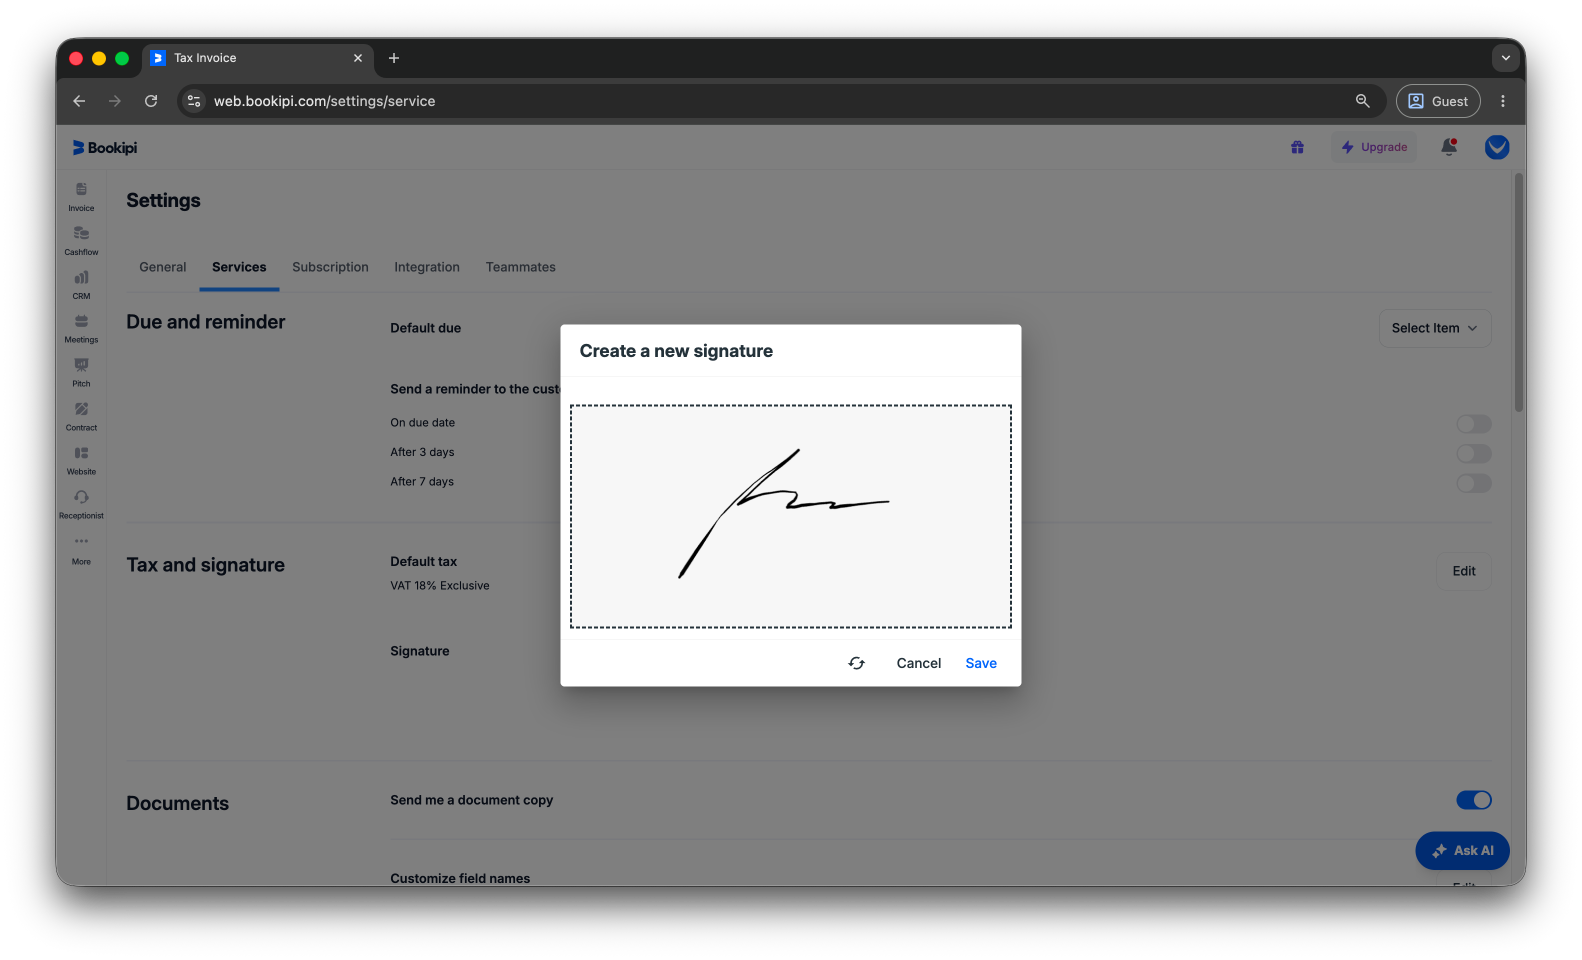
Step 5: Add your signature.
Add your signature in the box. If needed, click the refresh icon to try again.
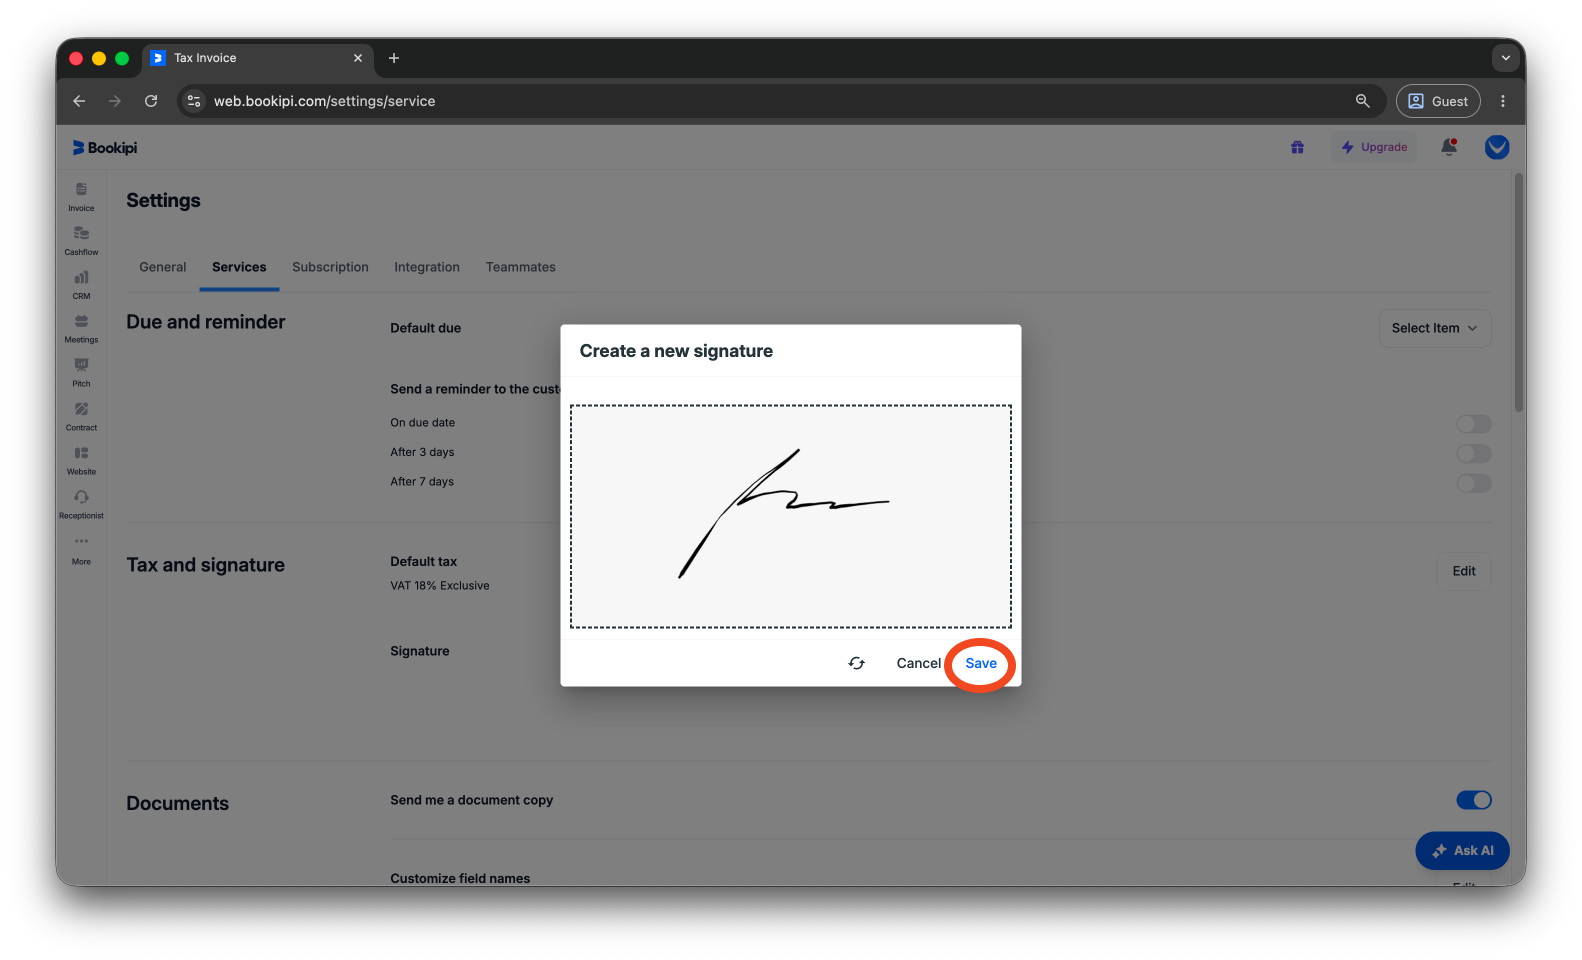
Step 6: Click ‘Save’.
Click ‘Save’ to save your signature.
How to add your signature to an invoice
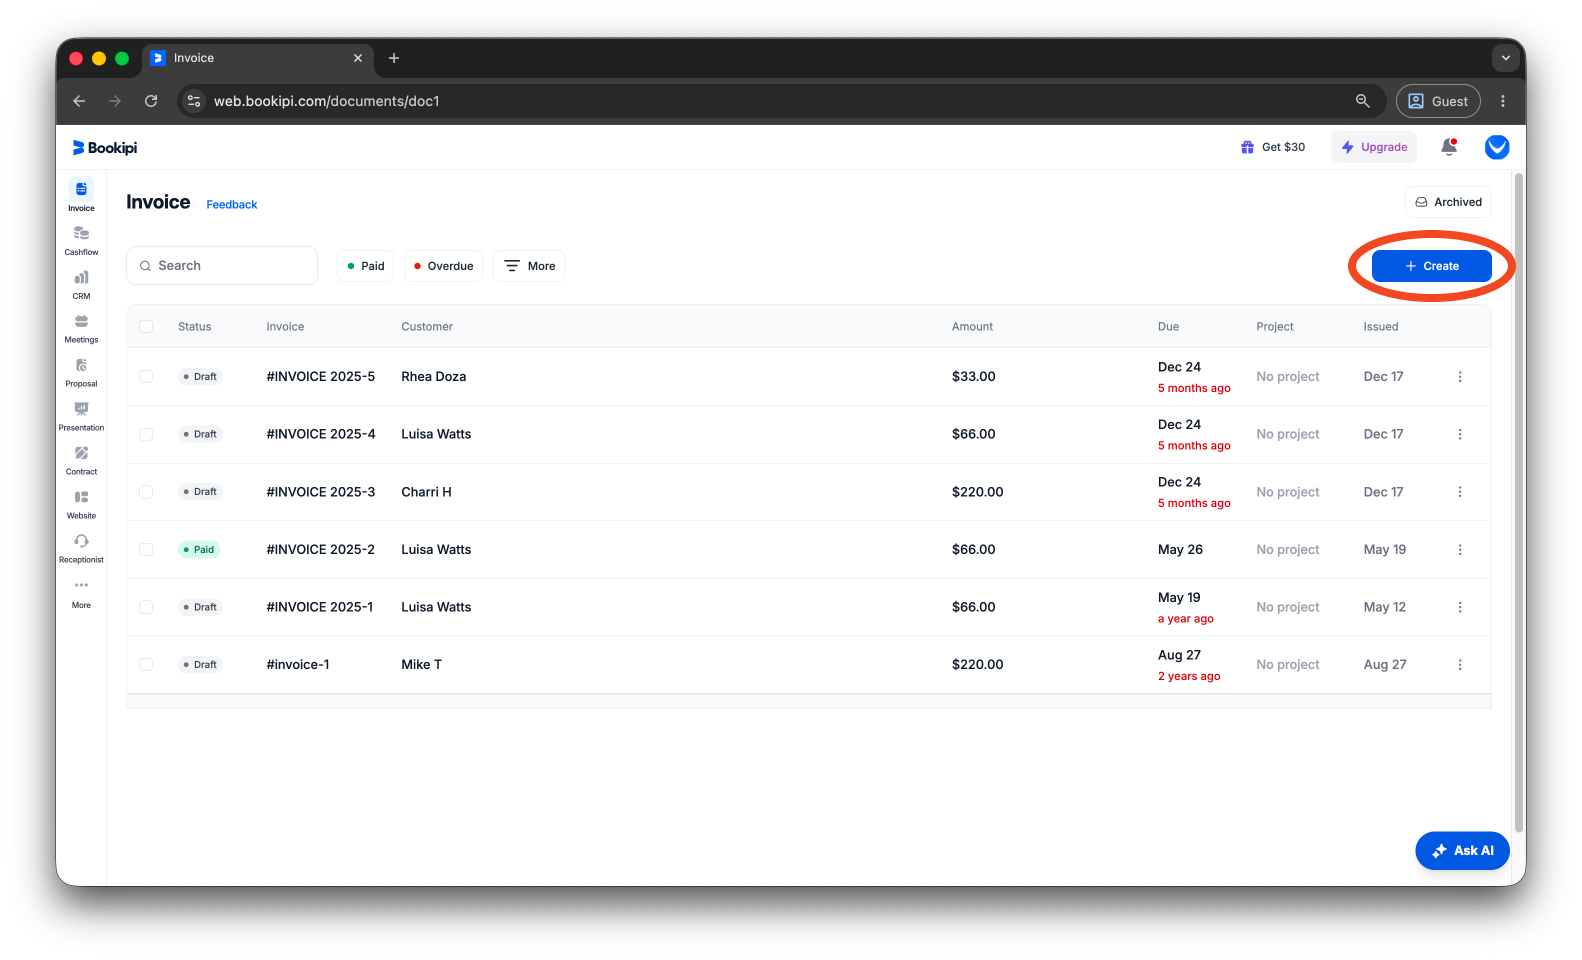
Step 1: Create a new invoice or open an existing draft.
Click on the invoice category, then click ‘+ Create’ to generate a new invoice or open an existing draft where you want to add your signature.
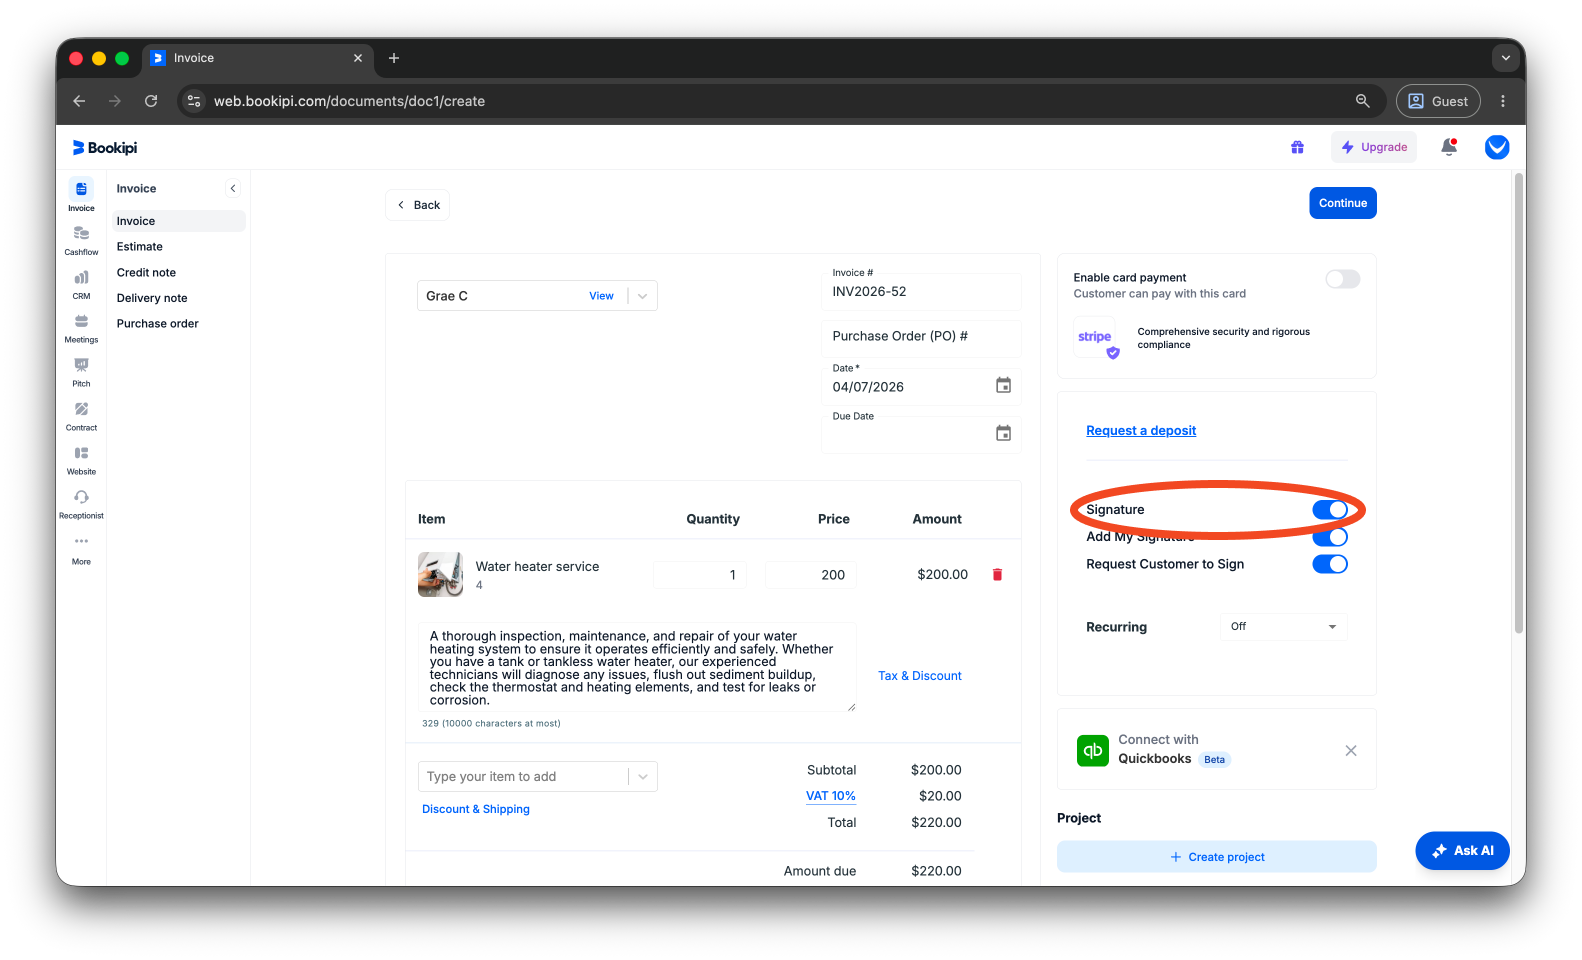
Step 2: Enable ‘Signature’.
Enable the ‘Signature’ option on the right side of your invoice.
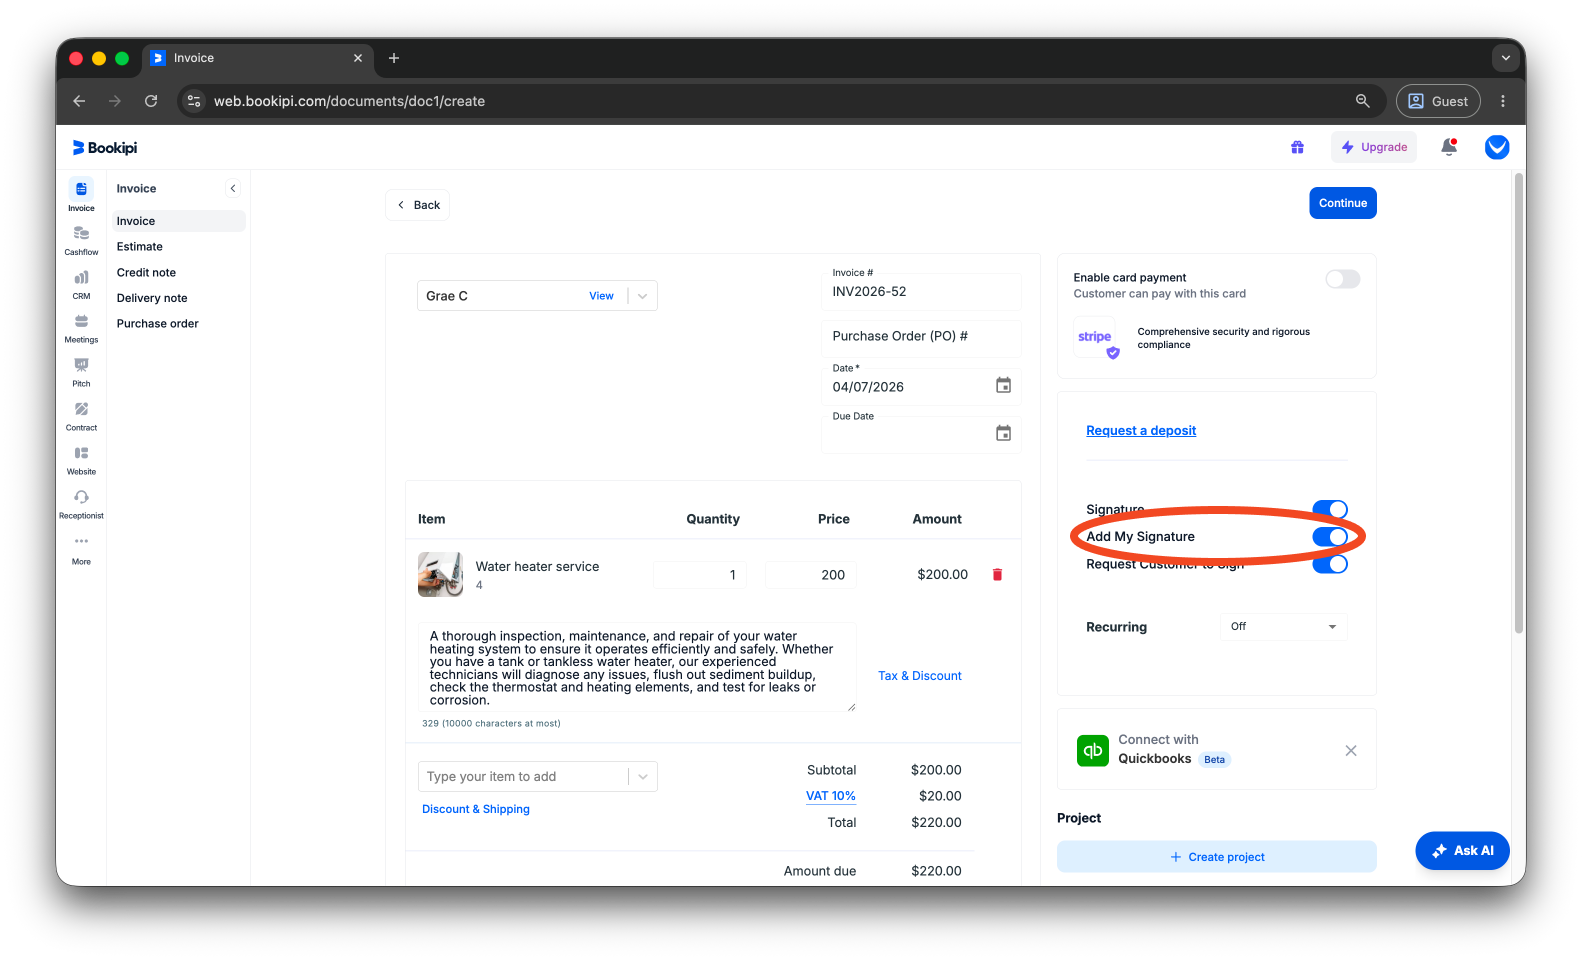
Step 3: Enable ‘Add My Signature’.
Turn on the ‘Add My Signature’ toggle to include your signature on the invoice.
Step 4: Click ‘Continue’ or ‘Update’.
Review the invoice details, then click ‘Continue’ to create a new invoice, or click ‘Update’ to save changes to your draft invoice.
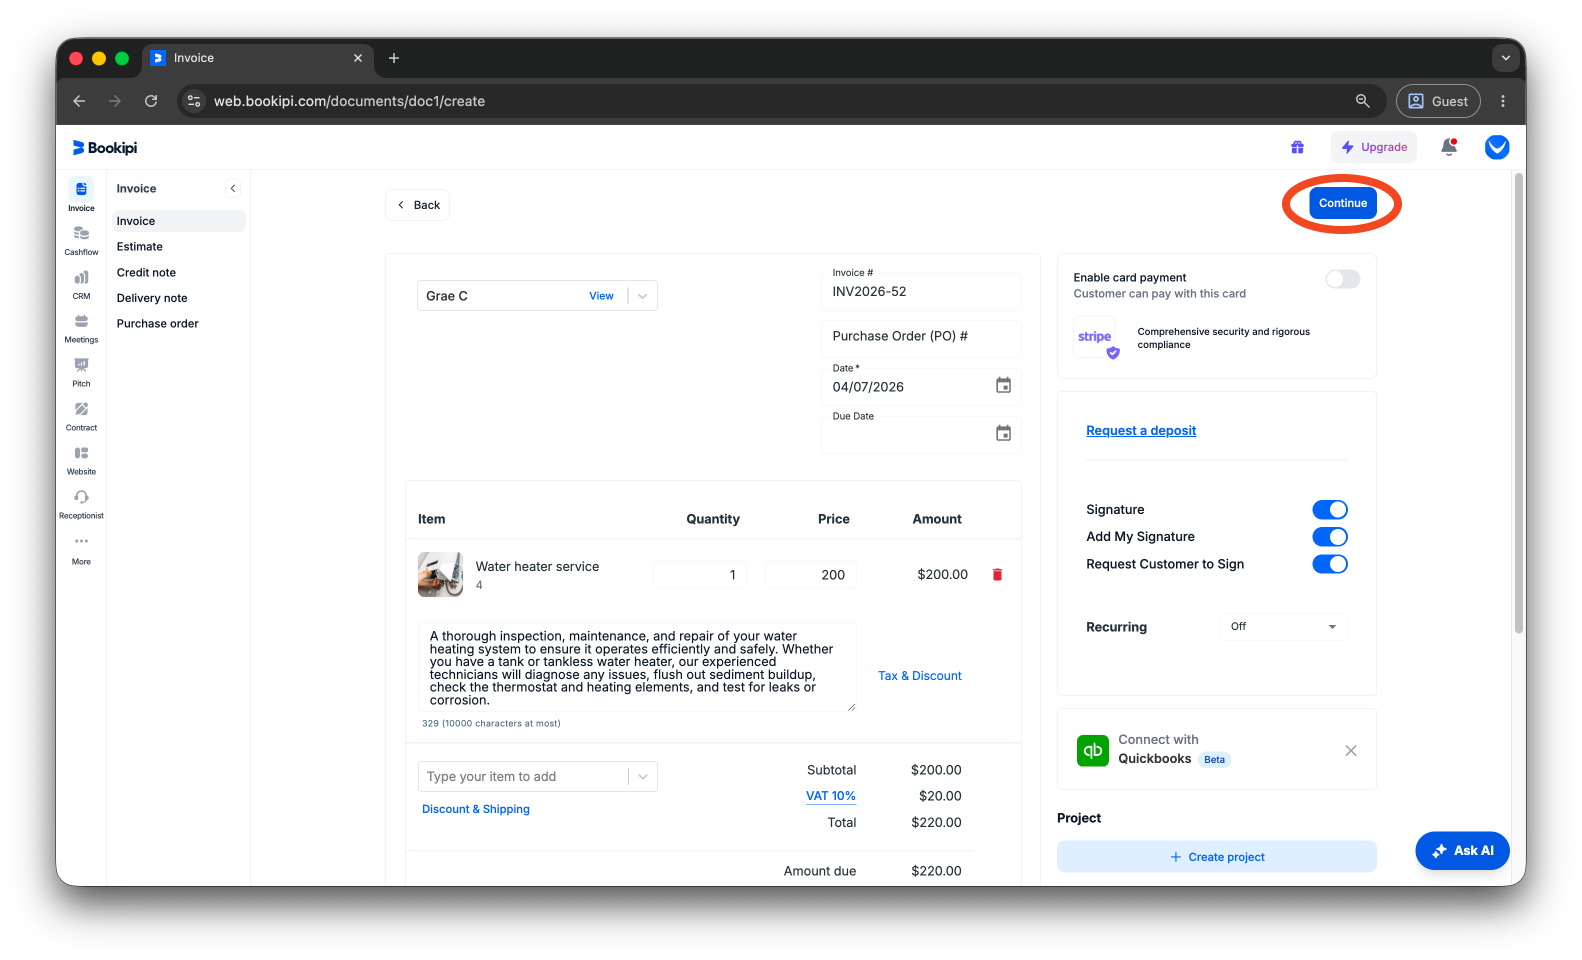
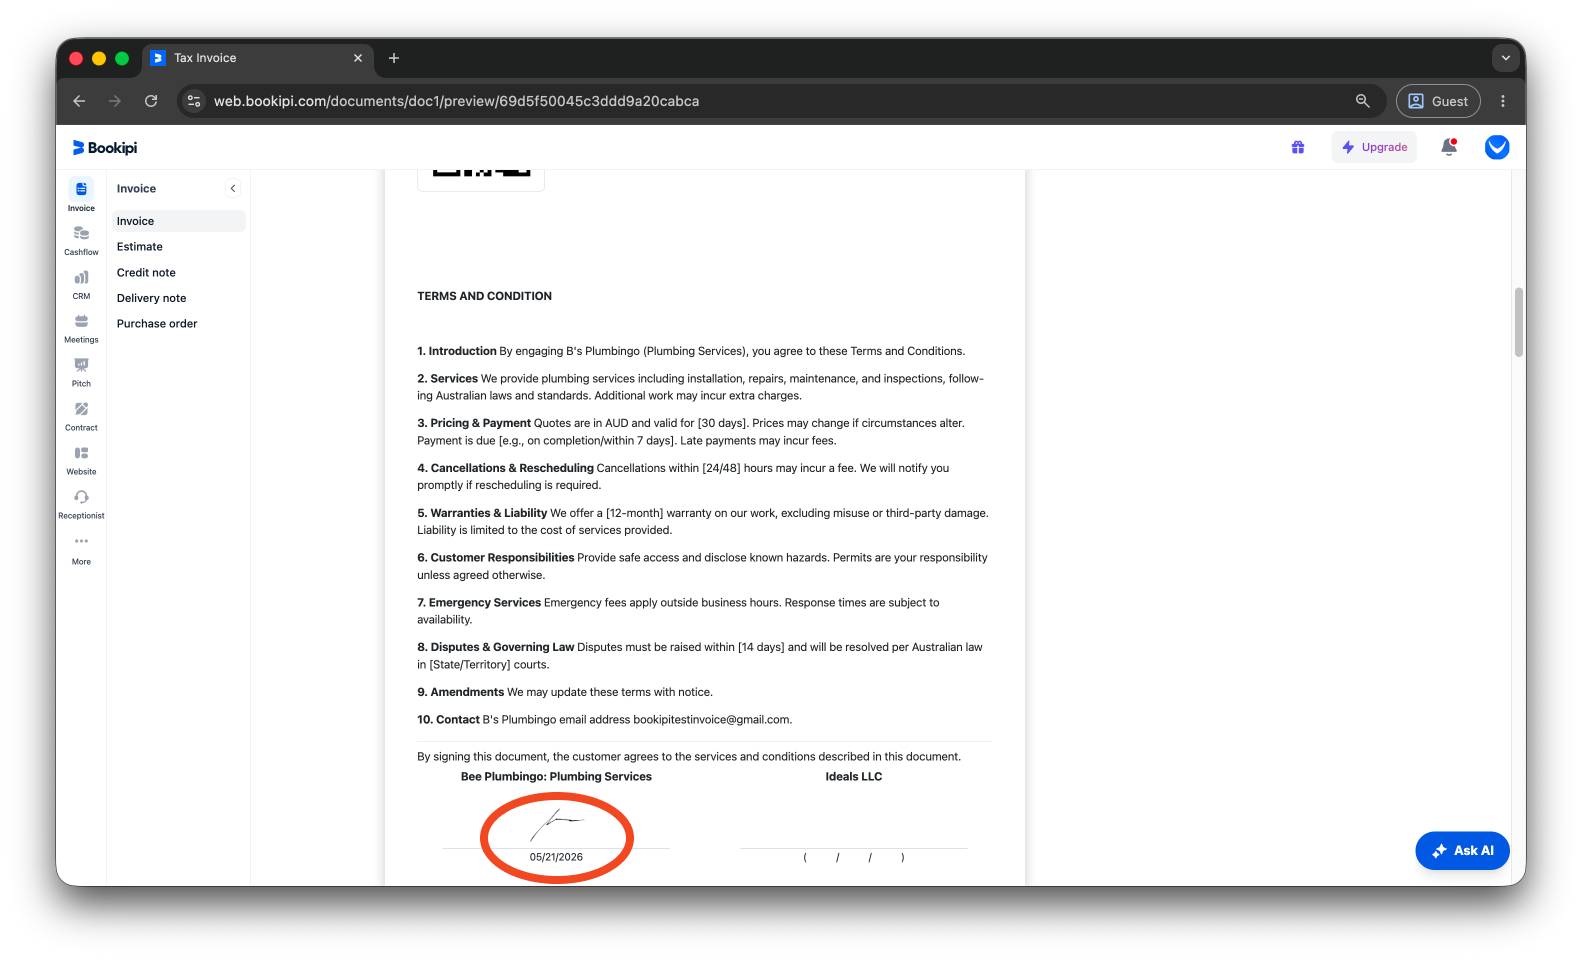
Your signature and the signing date is now added to the invoice.
FAQs about how to add a signature to invoices
Q: Can I edit my signature after saving it?
A: Yes, you can replace your current signature by creating a new one in the signature settings.
Q: Can I upload an image of my signature?
A: No, uploading a signature image is not currently supported.
Q: Can I remove my signature from invoices?
A: Yes, you can disable the signature option in your invoice settings if you do not want it to appear on invoices.
Q: Why is my signature not showing on my invoice?
A: Make sure the signature option is enabled in your invoice settings and that your signature has been saved successfully before sending or downloading the invoice.
Discover more tutorials for Bookipi Invoice on Web v2
Discover more tips on how to get the most out of Bookipi Invoice on Web v2 with our Web v2 guides.
Make sending invoices anytime and anywhere even easier by downloading Bookipi Invoice mobile app and check out our mobile app guides.


