This guide explains how to edit a partially or fully paid invoice using the Bookipi Mobile App. Paid invoices are automatically moved to the Archived section after you record a payment. You can edit certain fields and resend the updated invoice directly from the app. If you encounter difficulties editing invoices or find certain fields non-editable, refer to the troubleshooting and workaround sections for additional solutions.
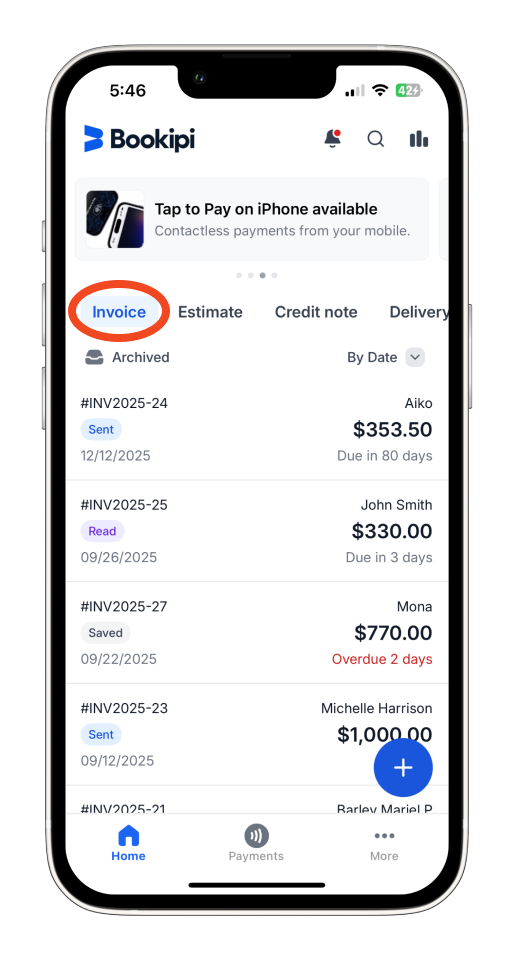
Step 1: Open the Invoice category
From the home screen, tap ‘Invoice’.
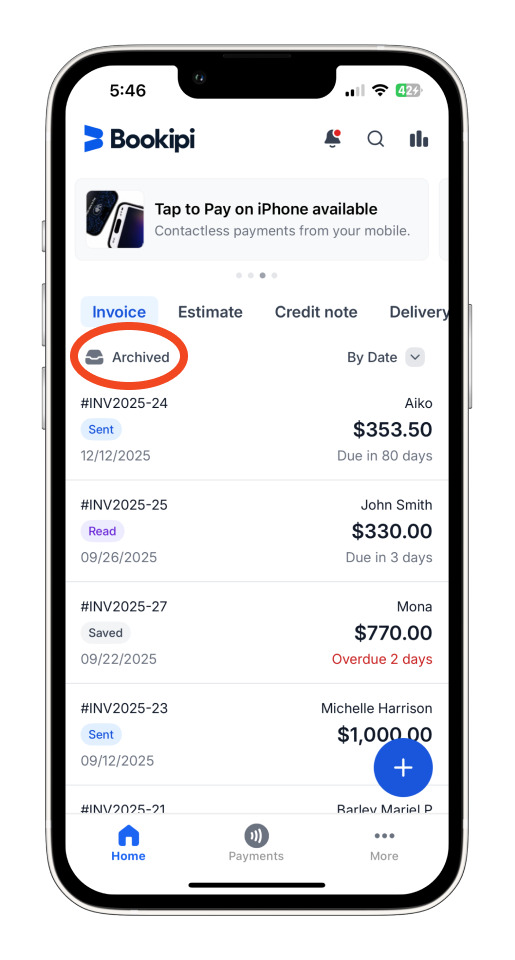
Step 2: Navigate to the Archived section
In the Invoice screen, go to the ‘Archived’ section. This is where all invoices that are marked as paid are stored after payment is recorded.
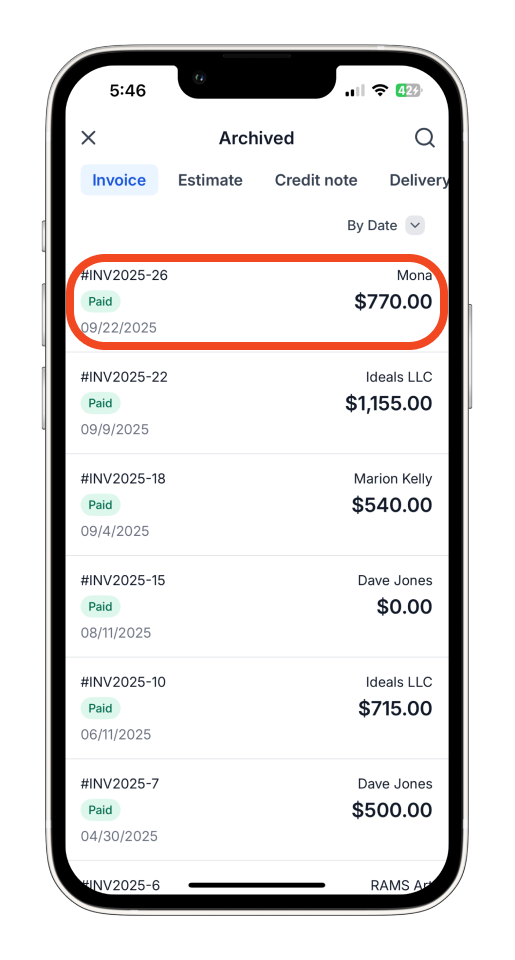
Step 3: Select the paid invoice
Browse the list of archived invoices. Tap the paid invoice you’d like to update.
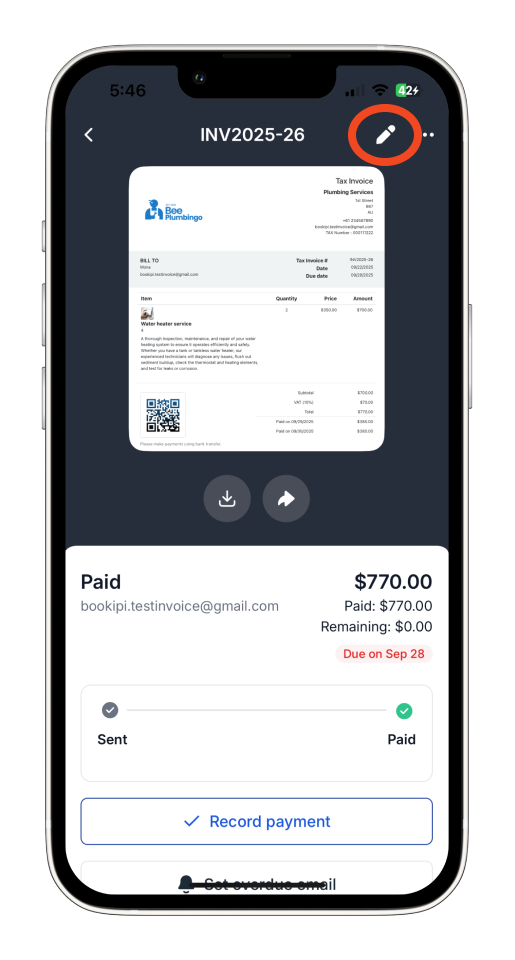
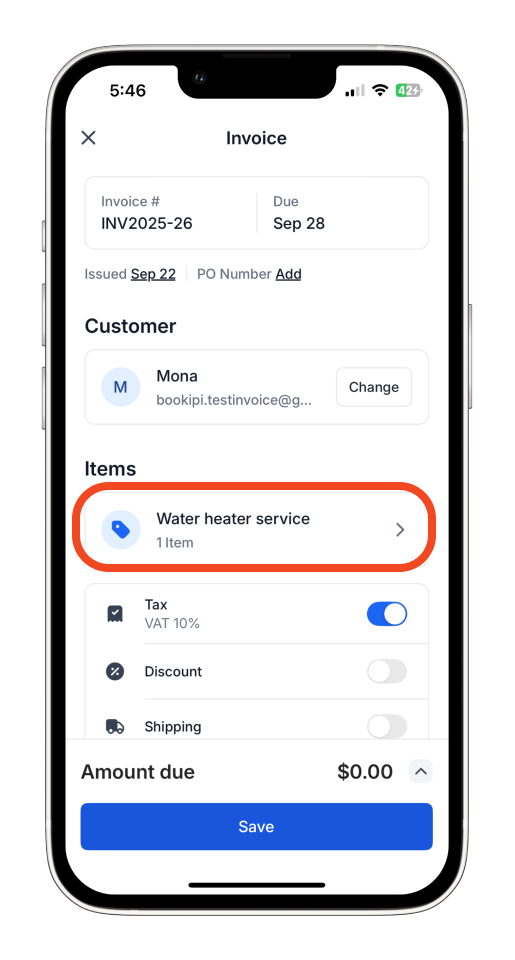
Step 4: Enter editing mode
Tap the pen icon to open edit mode for the selected invoice.
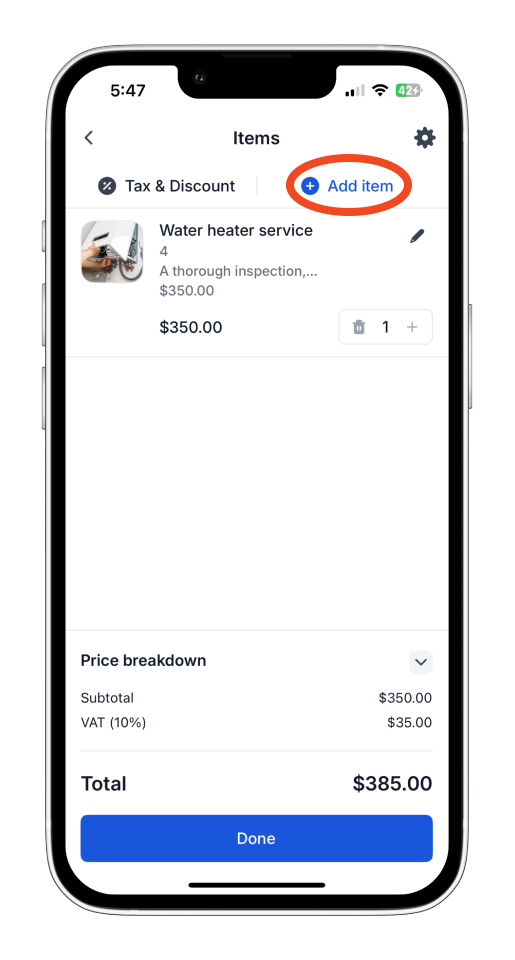
Step 5: Update the invoice
Make your changes, such as editing an item line, like adding a new item.

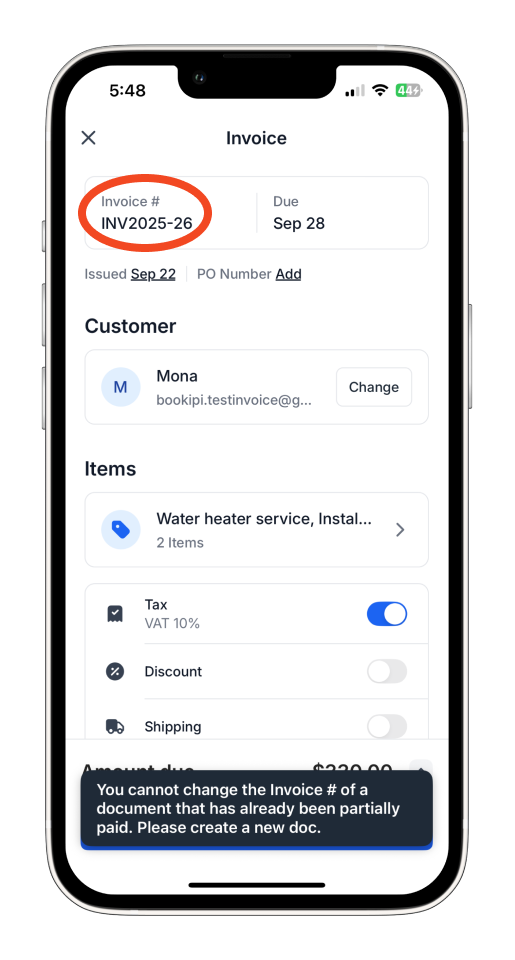
Some fields are non-editable (they appear greyed out). If you need to update non-editable fields, you can either create a new invoice or duplicate the existing one for adjustment.
Step 6: Save your changes
Once done, tap ‘Save’ to apply your updates.

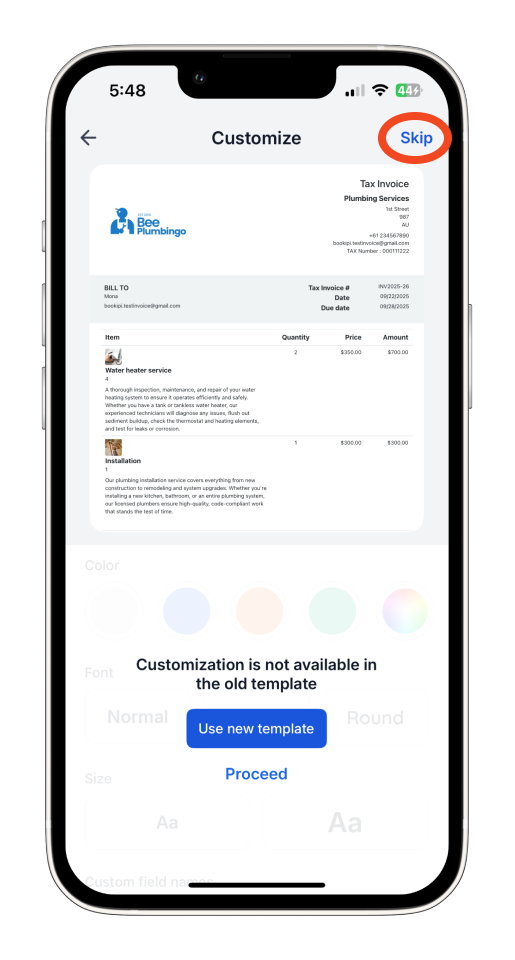
Step 7: Tap Skip
Tap ‘Skip’ if prompted, to move directly to sending the updated invoice.
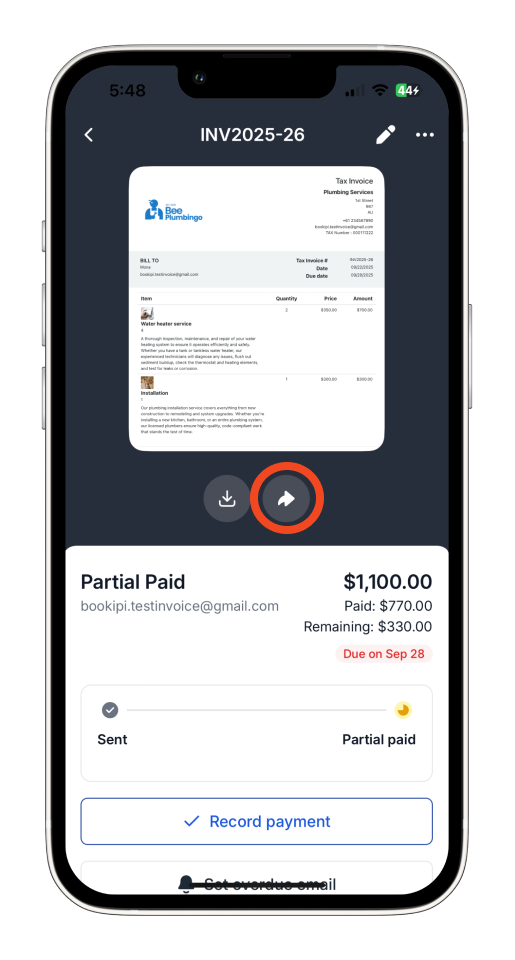
Step 8: Send the invoice
Tap the sending arrow icon to prepare the invoice for delivery.
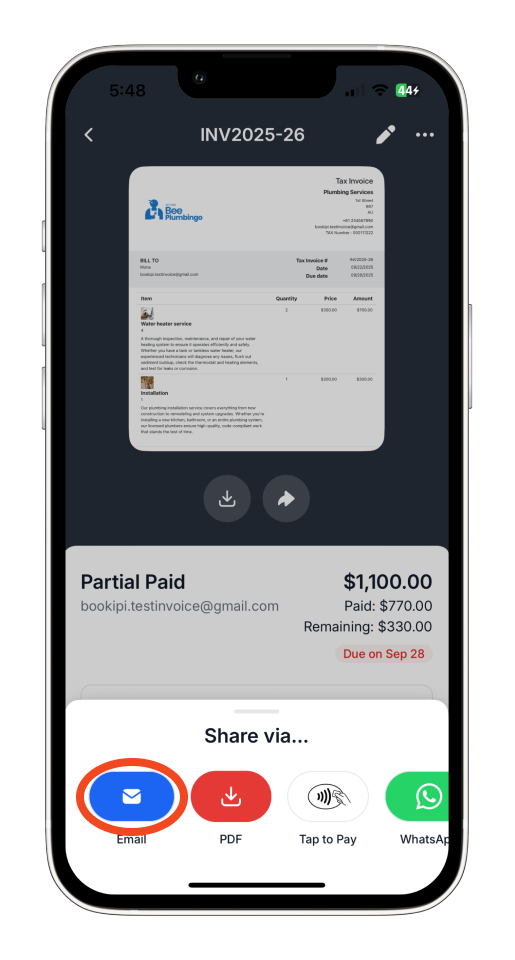
Choose your preferred sending method (e.g., direct from the app or share link).
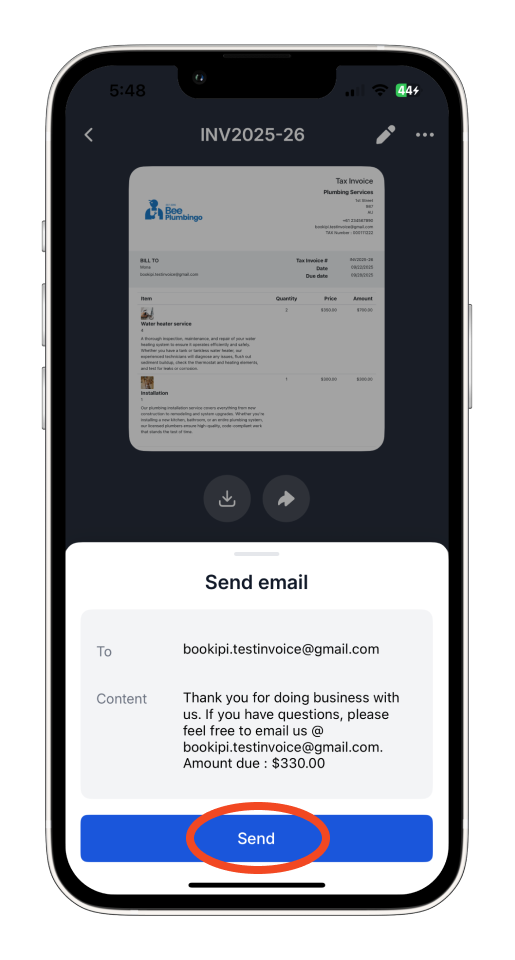
Tap ‘Send’ to deliver the updated invoice.
The updated invoice has been sent successfully.
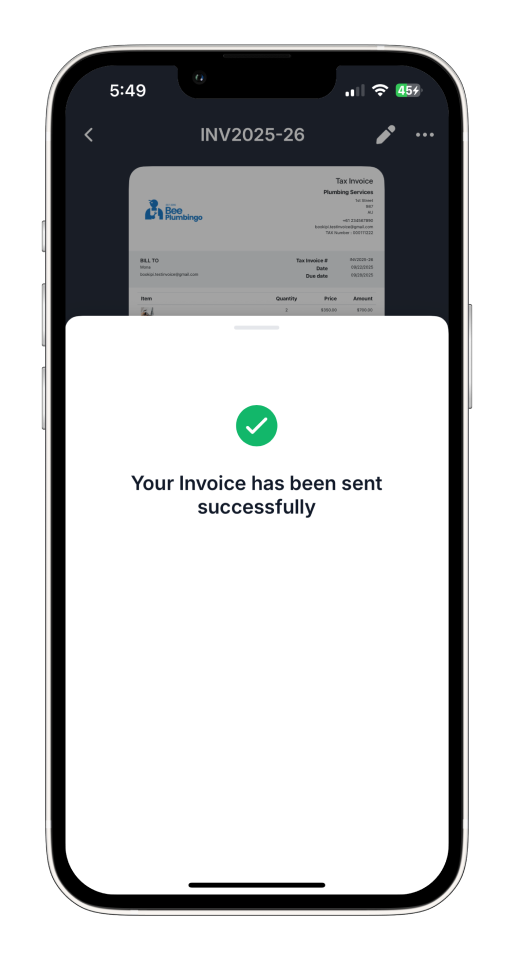
You can find this invoice in your Invoice ‘Inbox’ category.
Troubleshooting: When Editing Invoices Fails
If editing directly in the mobile app presents challenges, try these steps:
- Log out and log back into the app. This often resolves session or cache-related issues.
- Update the app. Ensure you have the latest version installed from the App Store or Google Play Store.
- Reinstall the app. Uninstall and reinstall the app to fix potential software issues. Before doing so, note your username under
More > Settings > Usernameto easily log back in. If these steps do not solve the issue, consider using the Bookipi web app to bypass limitations in the mobile app. Additionally, document and report the problem to Bookipi’s technical team with details like app version, device model, and steps to reproduce the issue.
Frequently Asked Questions: Editing Paid or Partially Paid Invoices in the Mobile app
Q: Which fields remain editable on a partially or fully paid invoice?
A: The fields listed below are available for editing and can be adjusted:
-
Purchase order number
-
Due date
-
Line items (add/update amounts, quantity, description)
-
Notes & comments
-
Attachments/Photo
-
Tax & discount & shipping fields
-
Accept card payments
-
Signature
-
Overdue reminder
Q: Which fields are locked on a partially or fully paid invoice?
A: While some fields remain editable, certain key fields are locked to protect payment accuracy. The following fields can still be edited:
-
Customer details
-
Invoice issue date
-
Invoice number
-
Recurring
Q: Why are some fields locked or unavailable?
A: Some fields are disabled to protect the accuracy and reliability of payment records. Once a payment is recorded, key information such as customer details or the invoice issue number is locked to prevent any unintentional changes after the transaction is completed.
Q: Will editing a paid invoice affect my payment records?
A: No. Making changes to a paid or partially paid invoice won’t alter or remove the recorded payment. The payment status will stay the same unless you manually delete the payment entry.
Q: What if I need to change a locked field?
A: If a field is locked or greyed out and can’t be edited, it’s best to create a new invoice. Alternatively, you can duplicate the existing invoice, make your changes on the copy, and then save or send it.
Related guides
How to mark the invoice as paid and send a receipt using the mobile app
How to record a partial payment
Discover more tutorials for Bookipi Invoice on the mobile app
Creating and sending invoices is even easier with the Bookipi Invoice mobile app.
Discover more tips on maximizing your Bookipi Invoice experience with our mobile app guides.
Explore additional features in the Bookipi Web app version.


