Learn how to add an expense or income in Bookipi Invoice mobile app – cash flow feature
How to add an expense or income in cash flow
Learn how to add an expense or income in the cash flow feature
Please note that the cashflow feature is currently only available for users who are in the AU and US
In the following tutorial we will show you:
How to add an expense
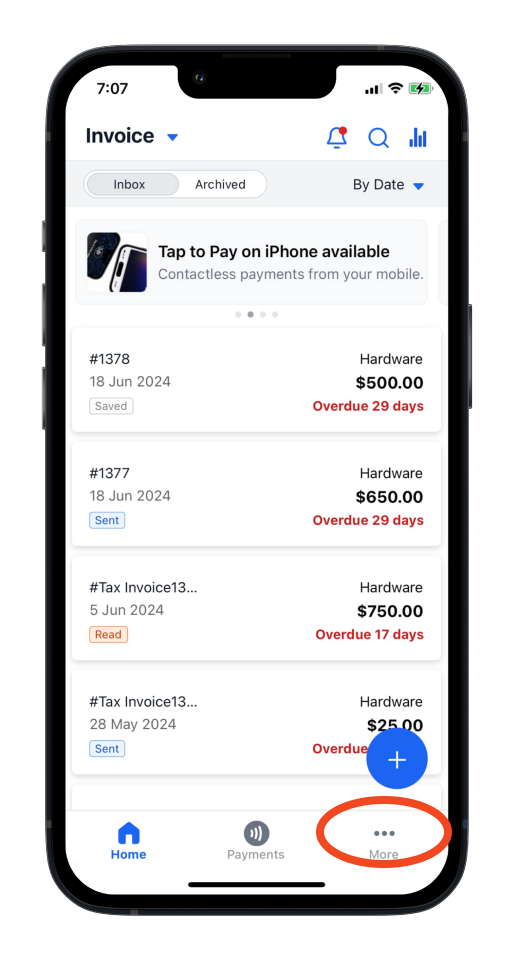
Step 1: Tap ‘More’.
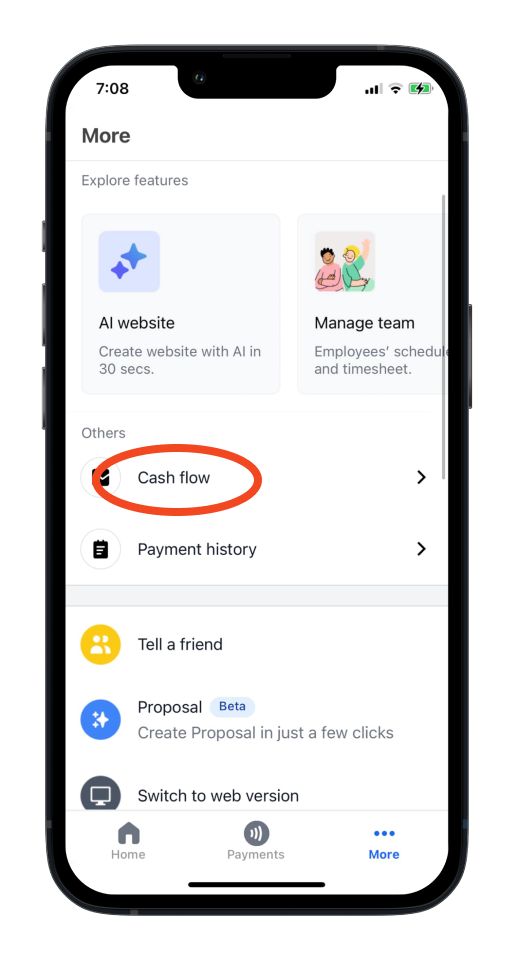
Step 2: Tap ‘Cashflow’.
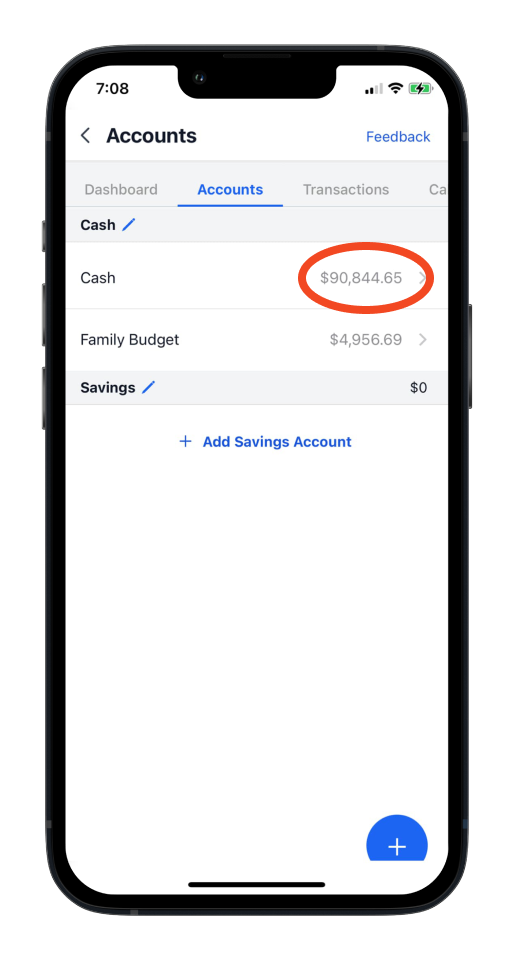
Step 3: Tap ‘Accounts’.
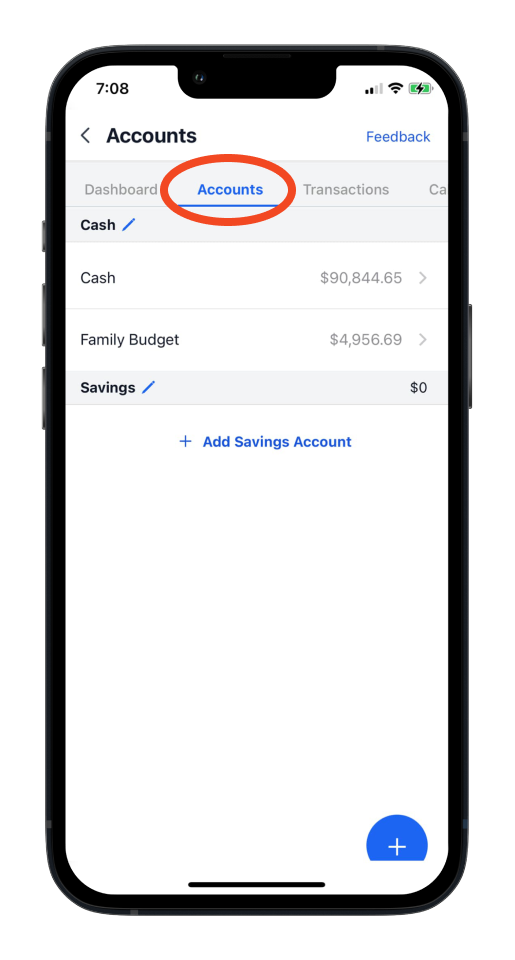
Step 4: Select your Cash Account.
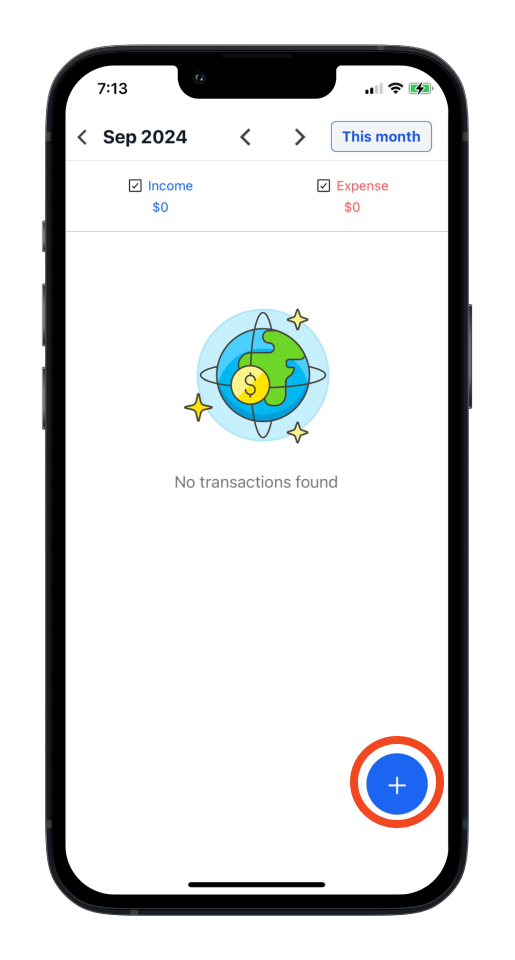
Step 5: Tap the + button .
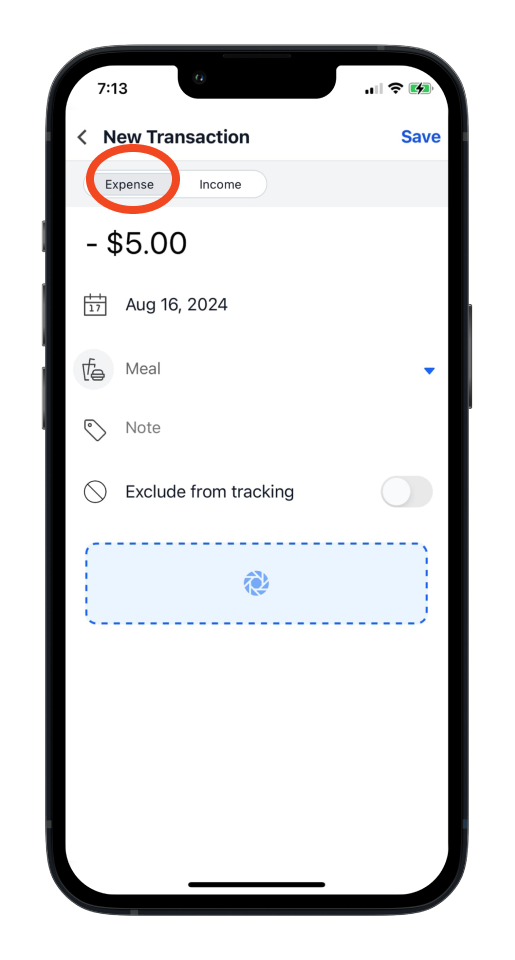
Step 6: Tap ‘Expense’ .
Input the expense amount, select the category, add a note, or even take a photo of the receipt by selecting the camera icon.
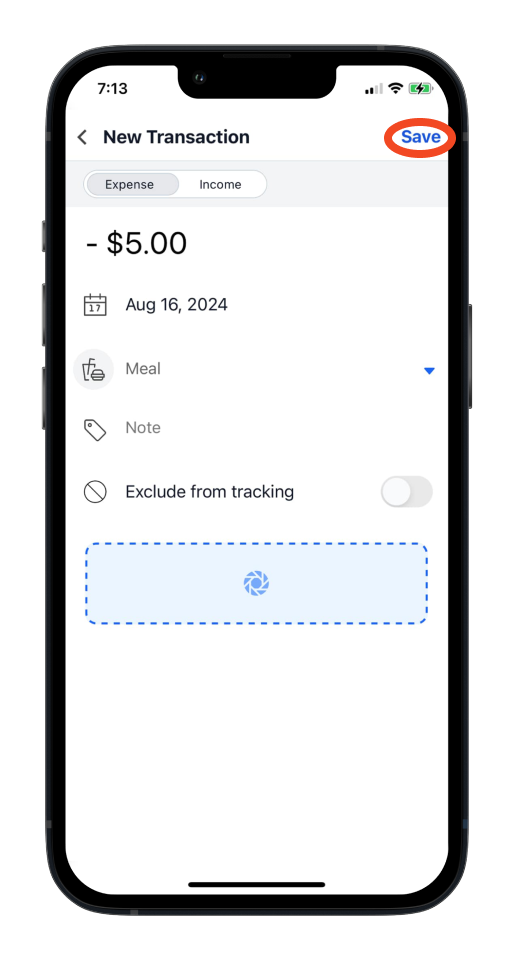
Step 5: Tap ‘Save’.
How to add income
Step 1: Tap the + button.
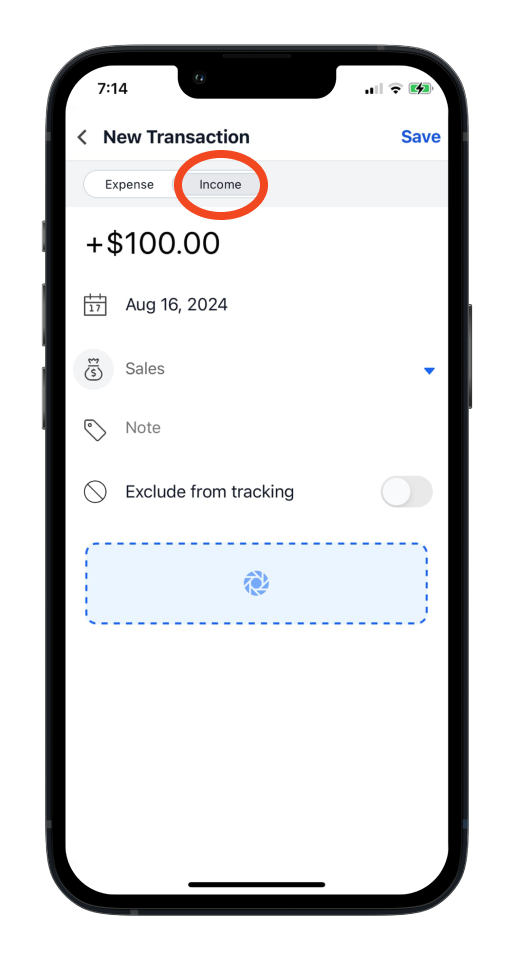
Step 2: Tap ‘Income’
Input the amount, the category, a note, or add a photo.
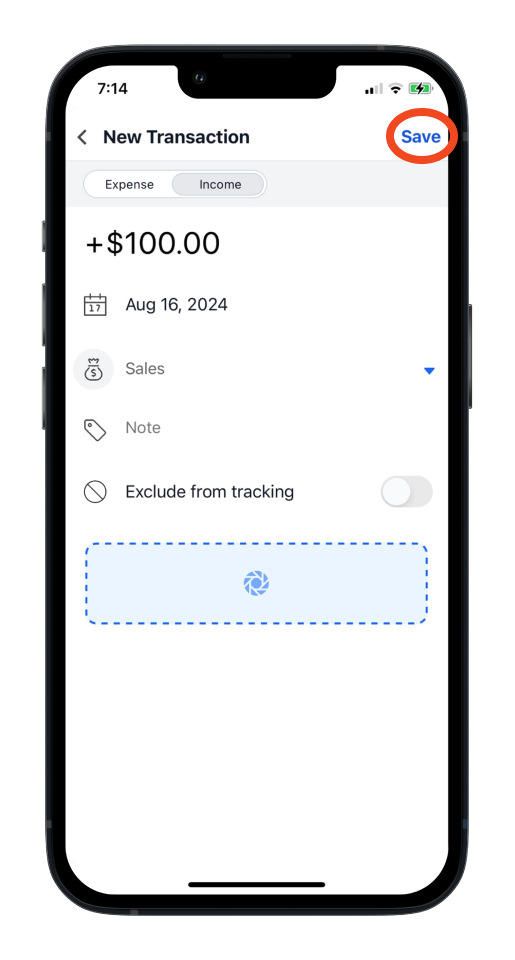
Step 4: Click ‘Save’.
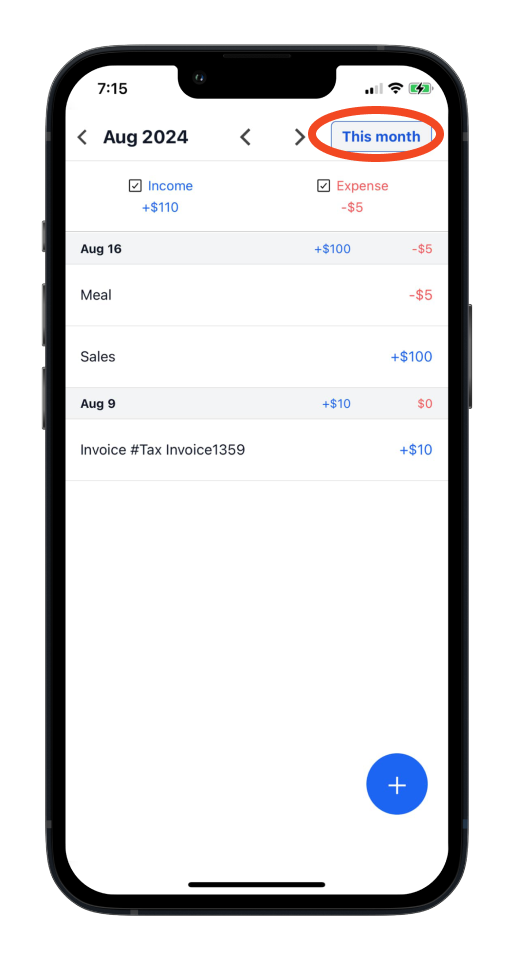
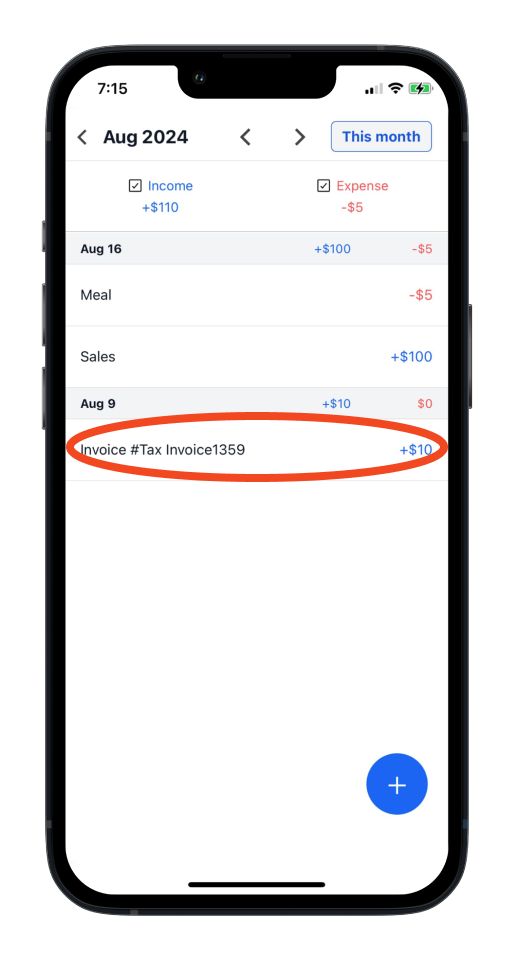
How to include invoice payments as an income stream
When an invoice is paid, the transaction will automatically be recorded in your cash wallet as an income by invoice number.
How to view transactions for different months
You can also view transactions for different months by selecting the top arrows.
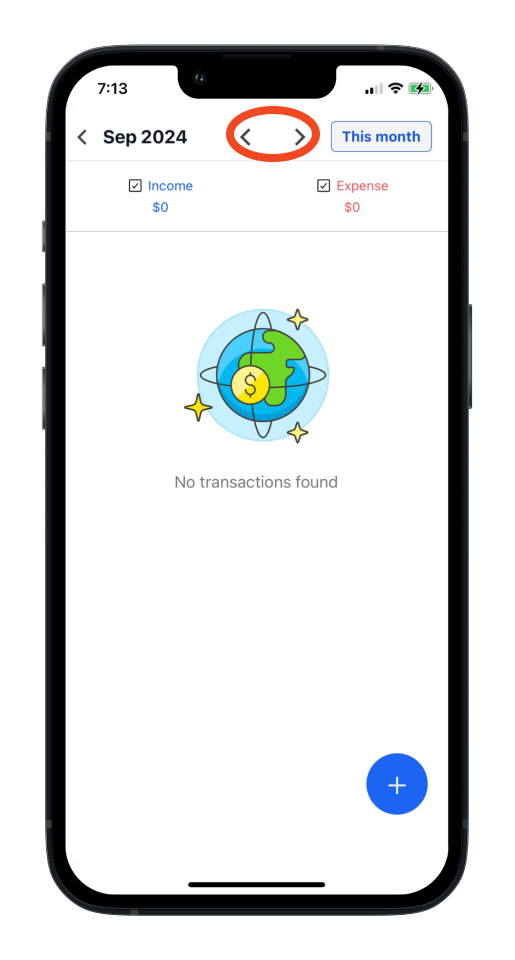
Select ‘This month’ to bring the transaction view back to the current month.