Learn how to sync your Expenses to your Gmail account on the Web app.
How to sync Expenses to your Gmail account on the Web app
Sync your Gmail account with the Expenses feature to easily review entries received in your Gmail inbox. Follow the steps below to connect Expenses to your Gmail account using the web app.
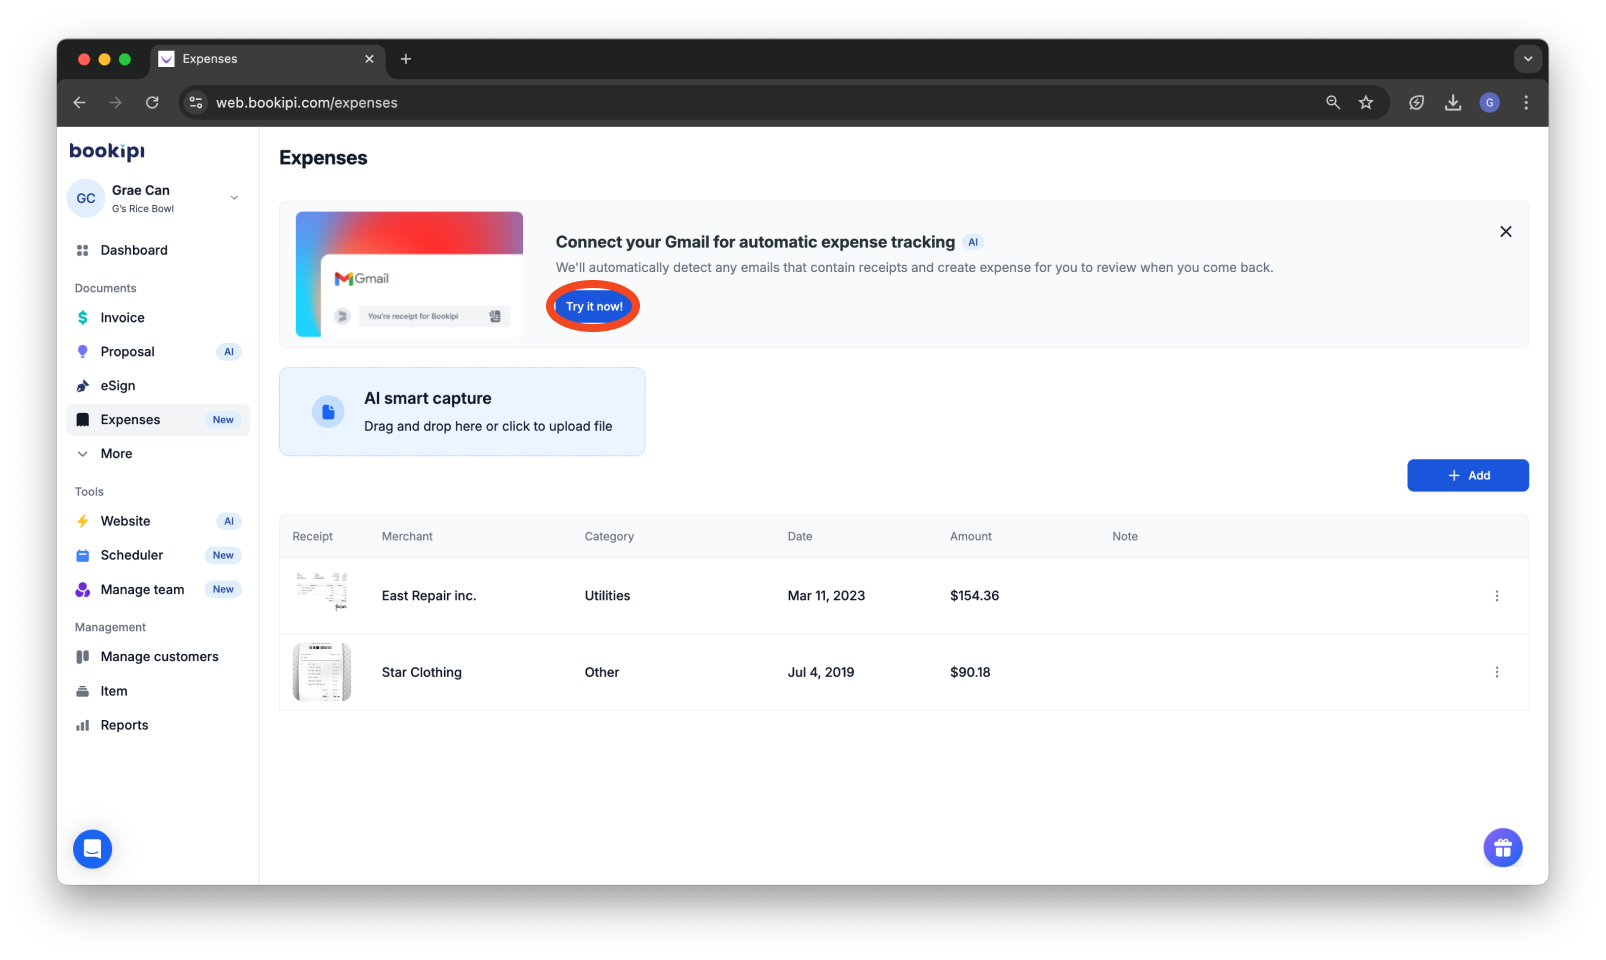
Step 1: Select the ‘Expenses’ Option
Navigate to the ‘Expenses’ section located in the sidebar.

Step 2: Start Sync Setup
Click on ‘Try it now!’ to begin the integration process.
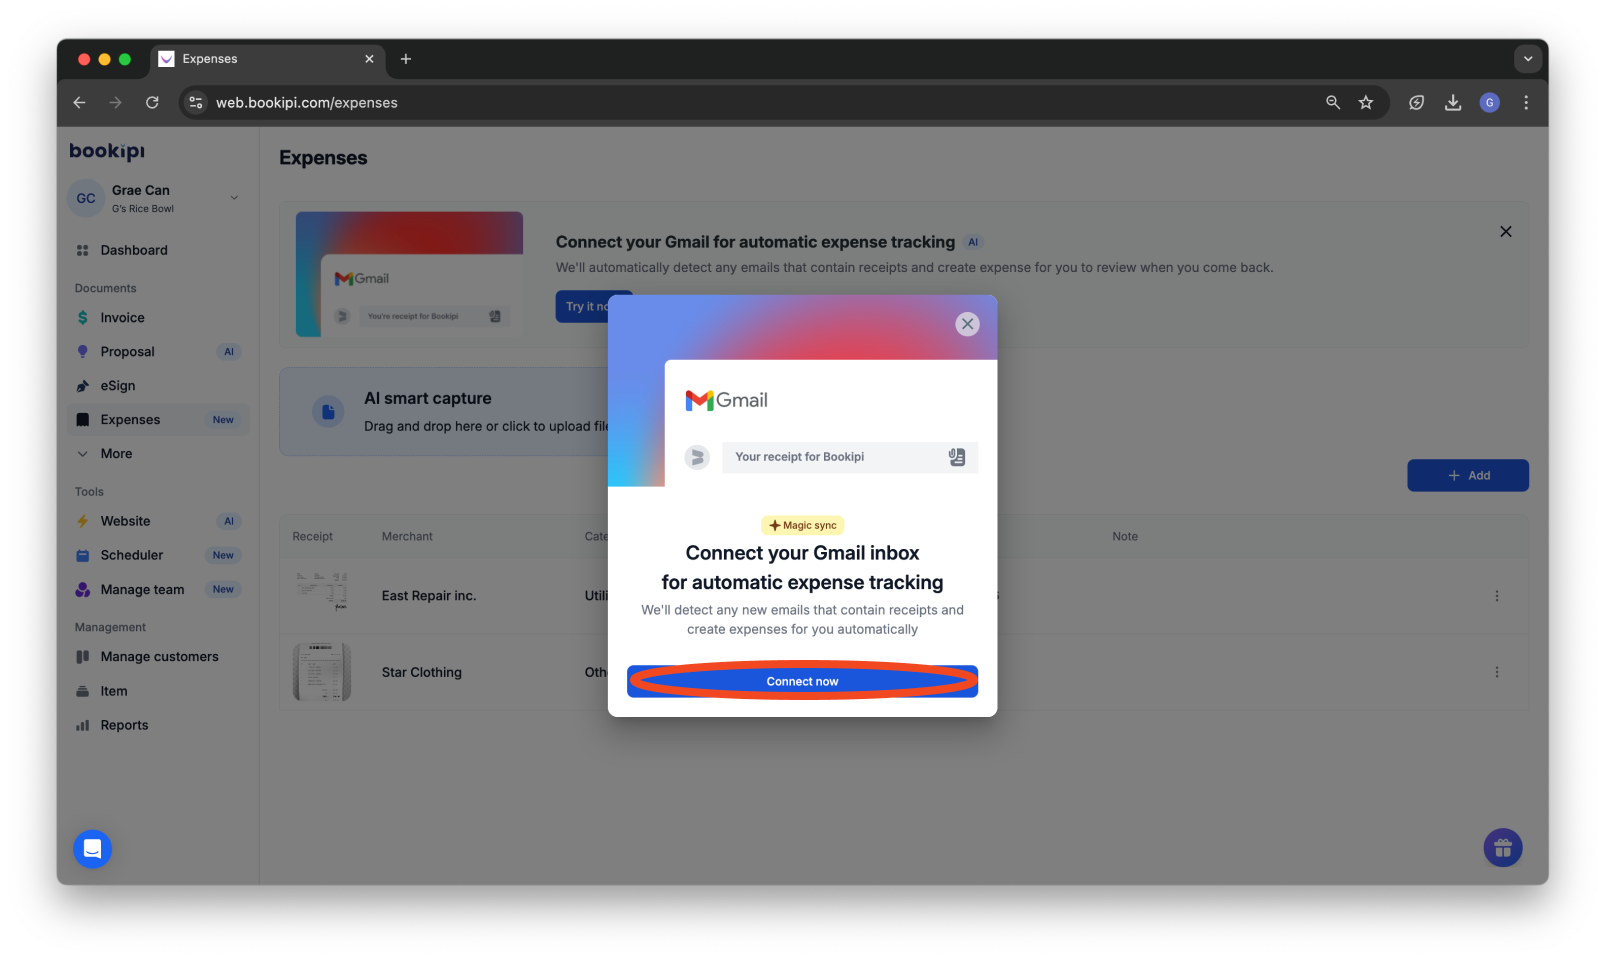
Step 3: Initiate Connection
Press the ‘Connect now’ button to proceed with syncing.
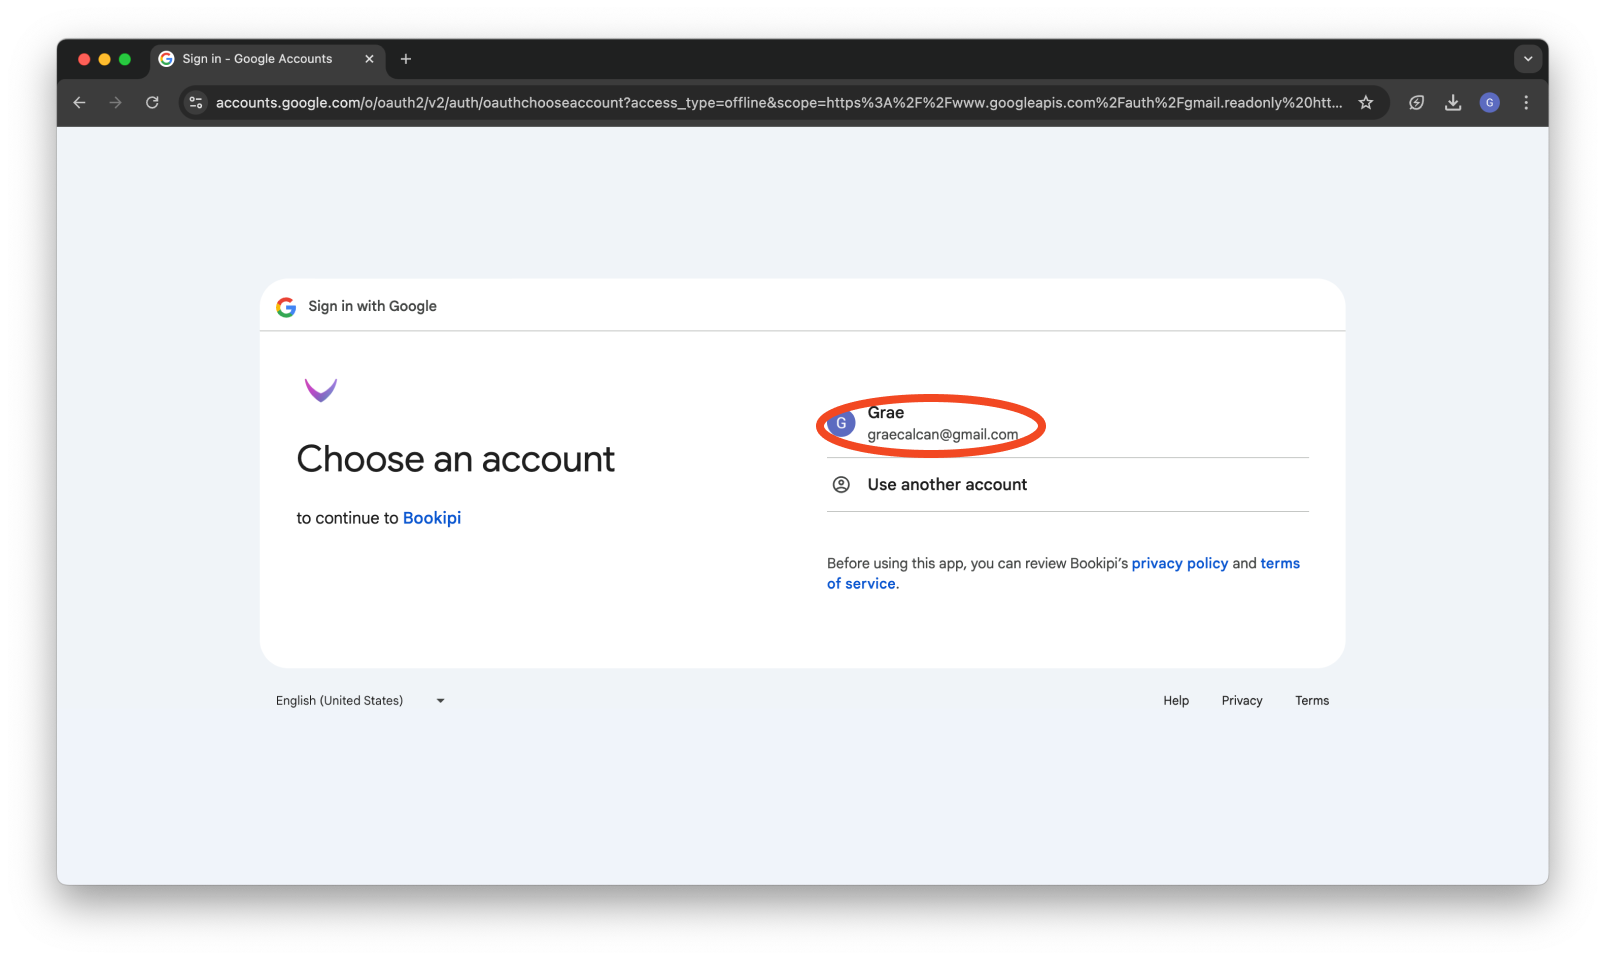
Step 4: Choose a Google Account
Select the Google account you want to sync with Bookipi.
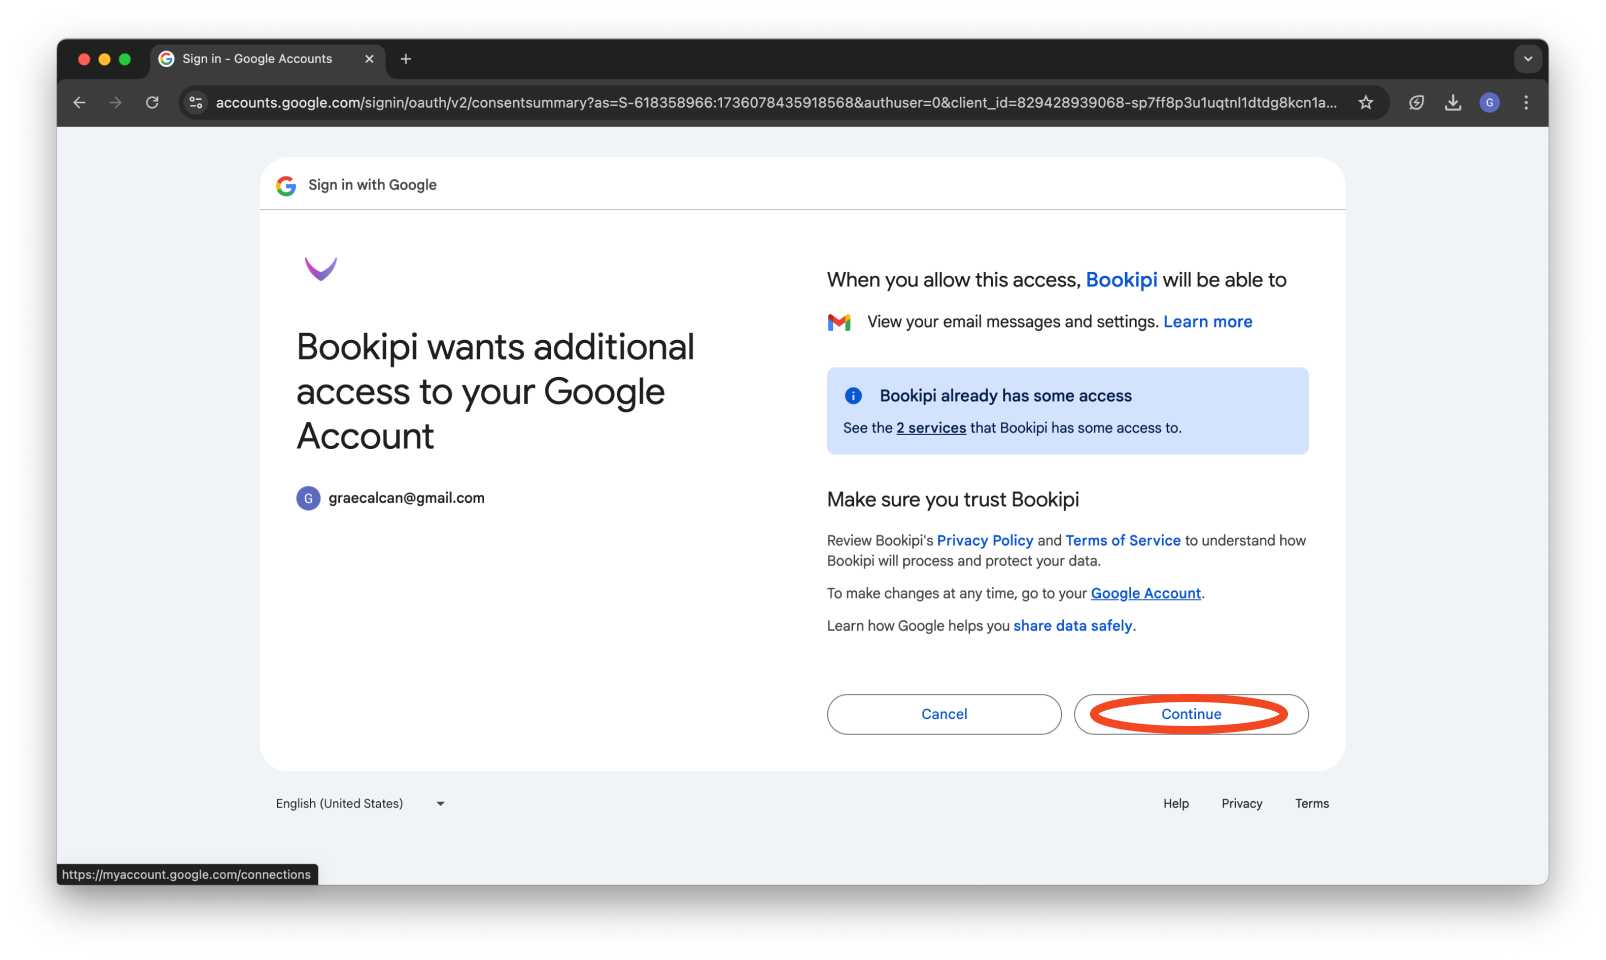
Step 5: Grant Access
Click ‘Continue’ to move to the next step.

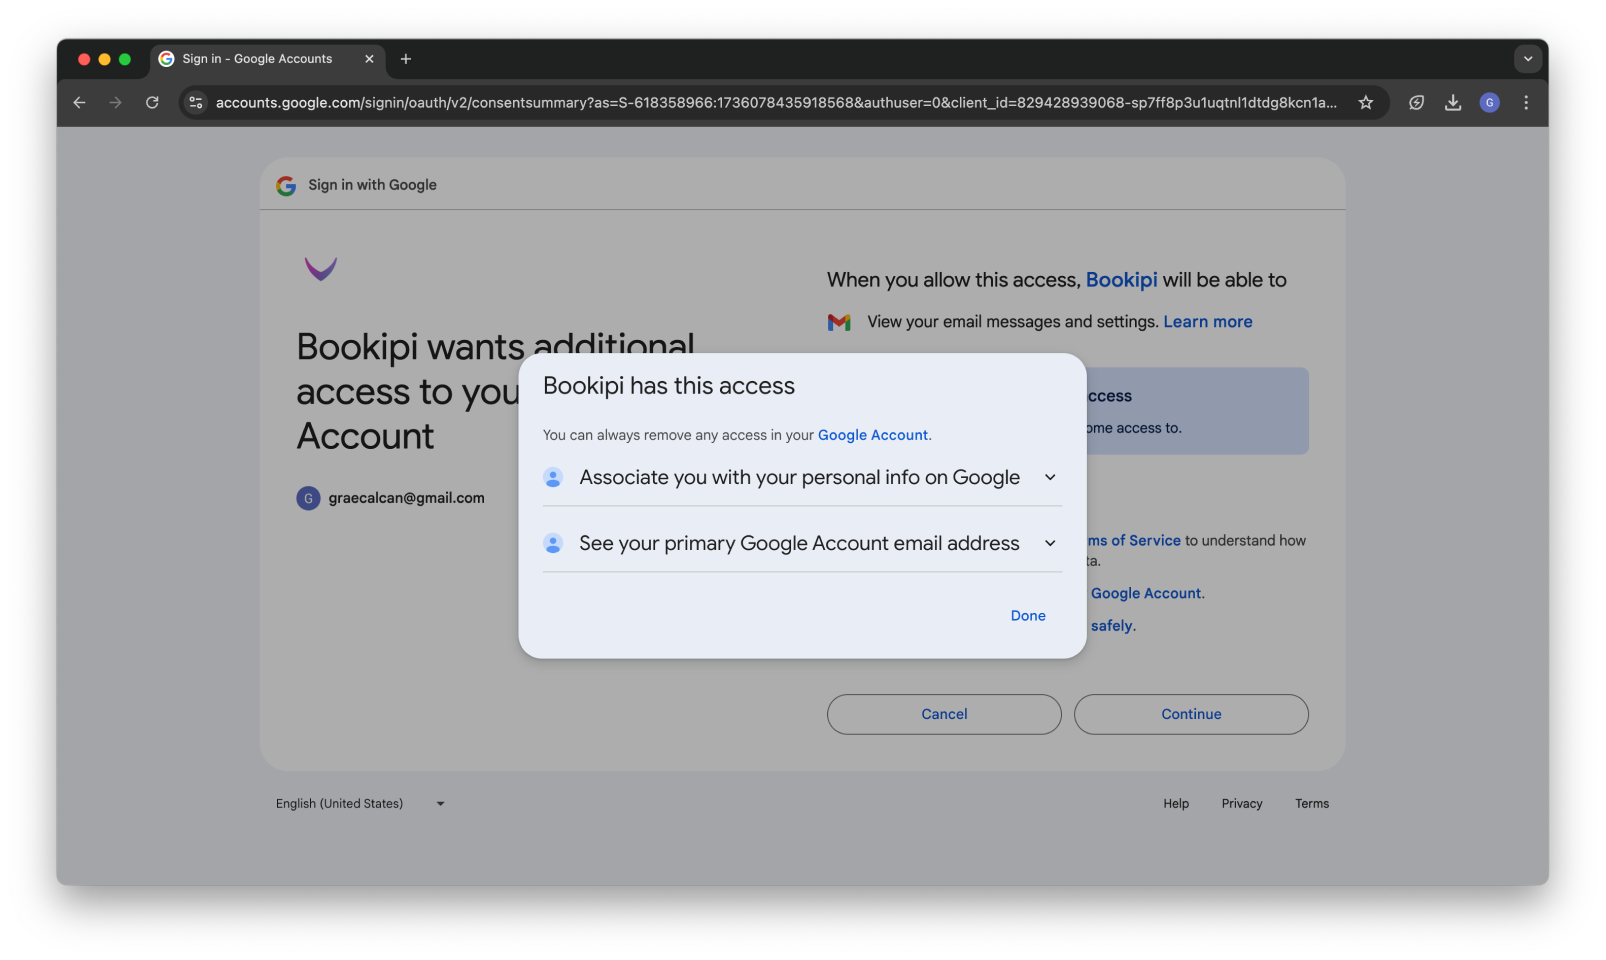
Step 6: Review Permissions
Carefully review the access permissions required for Bookipi services, then click ‘Continue’ to authorize.
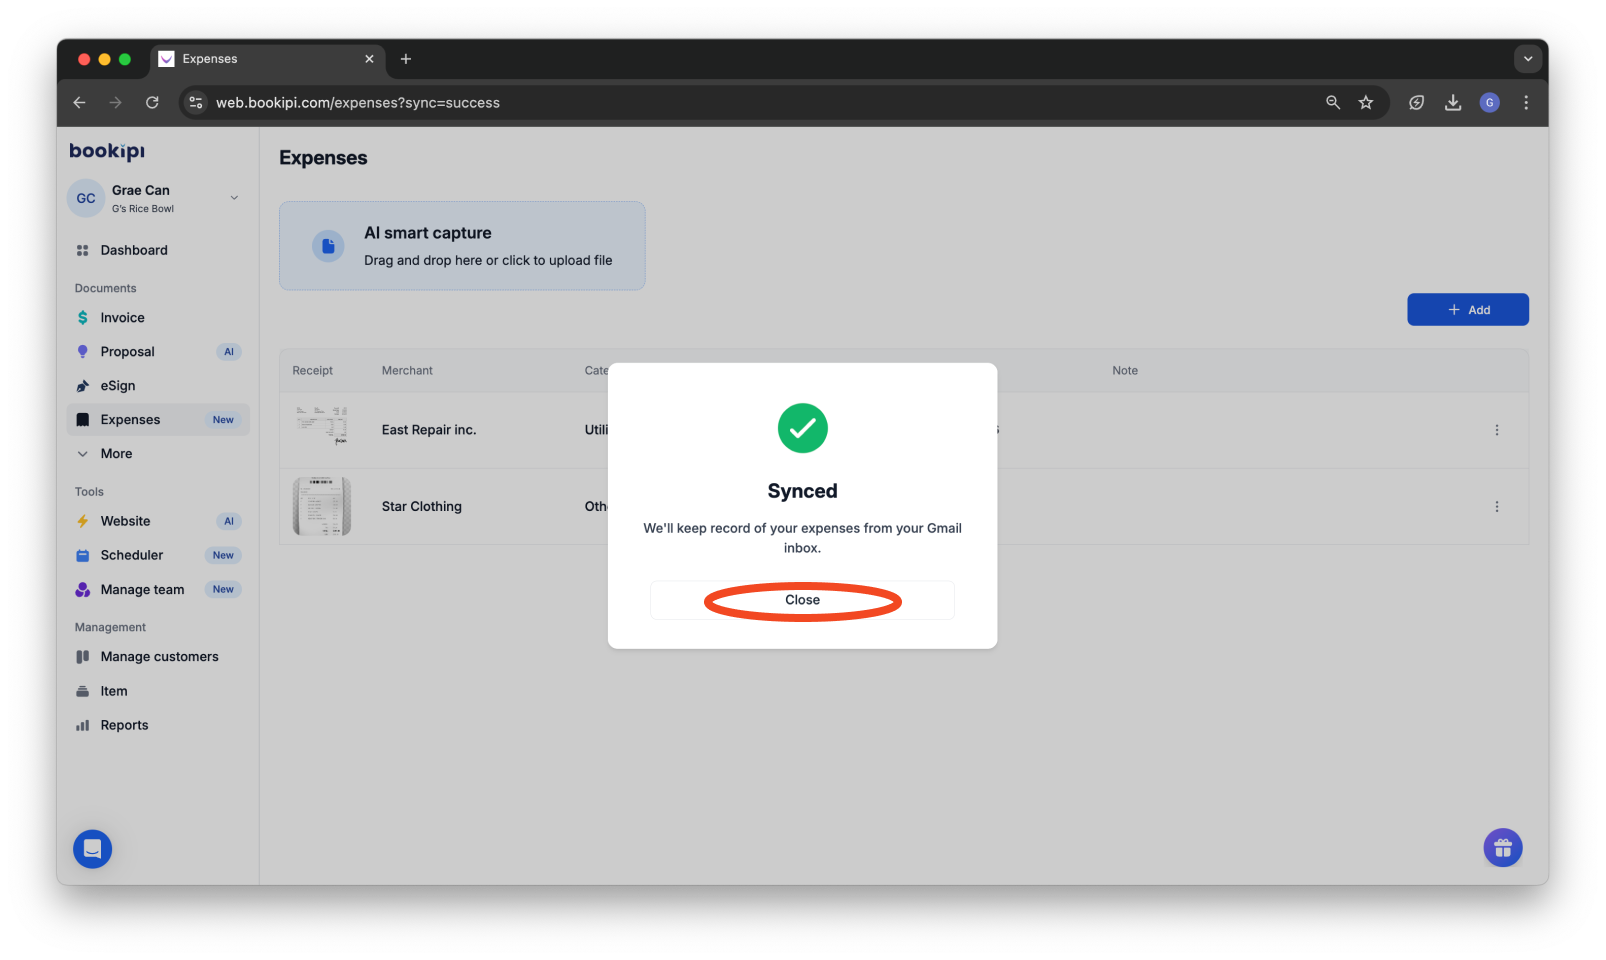
Step 7: Complete the Process
Click ‘Close’ to finalize the synchronization setup.
Reviewing an expense received through Gmail
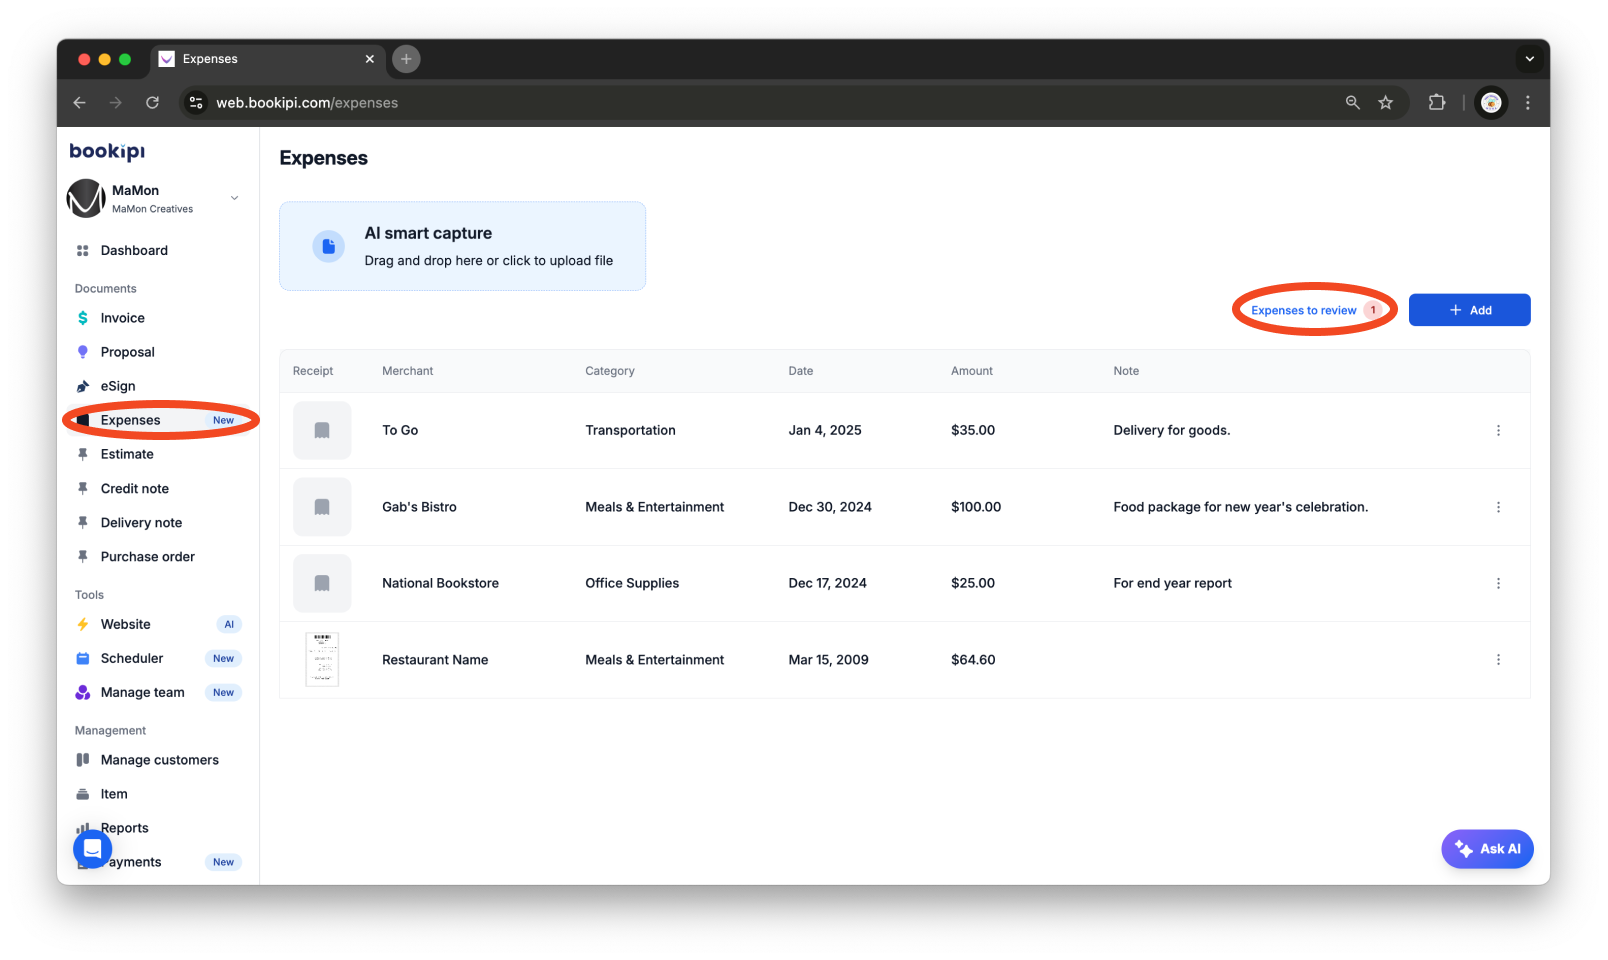
Step 1: Access the Review Expenses Section
Navigate to the ‘Expenses’ page, and click on ‘Expenses to review’ beside the add button.
Step 2: Open the Review Expenses Window
Clicking the ‘Expenses to review’ button will open the review expenses side window. Here, you can review all pending expenses before adding them to the expense list.
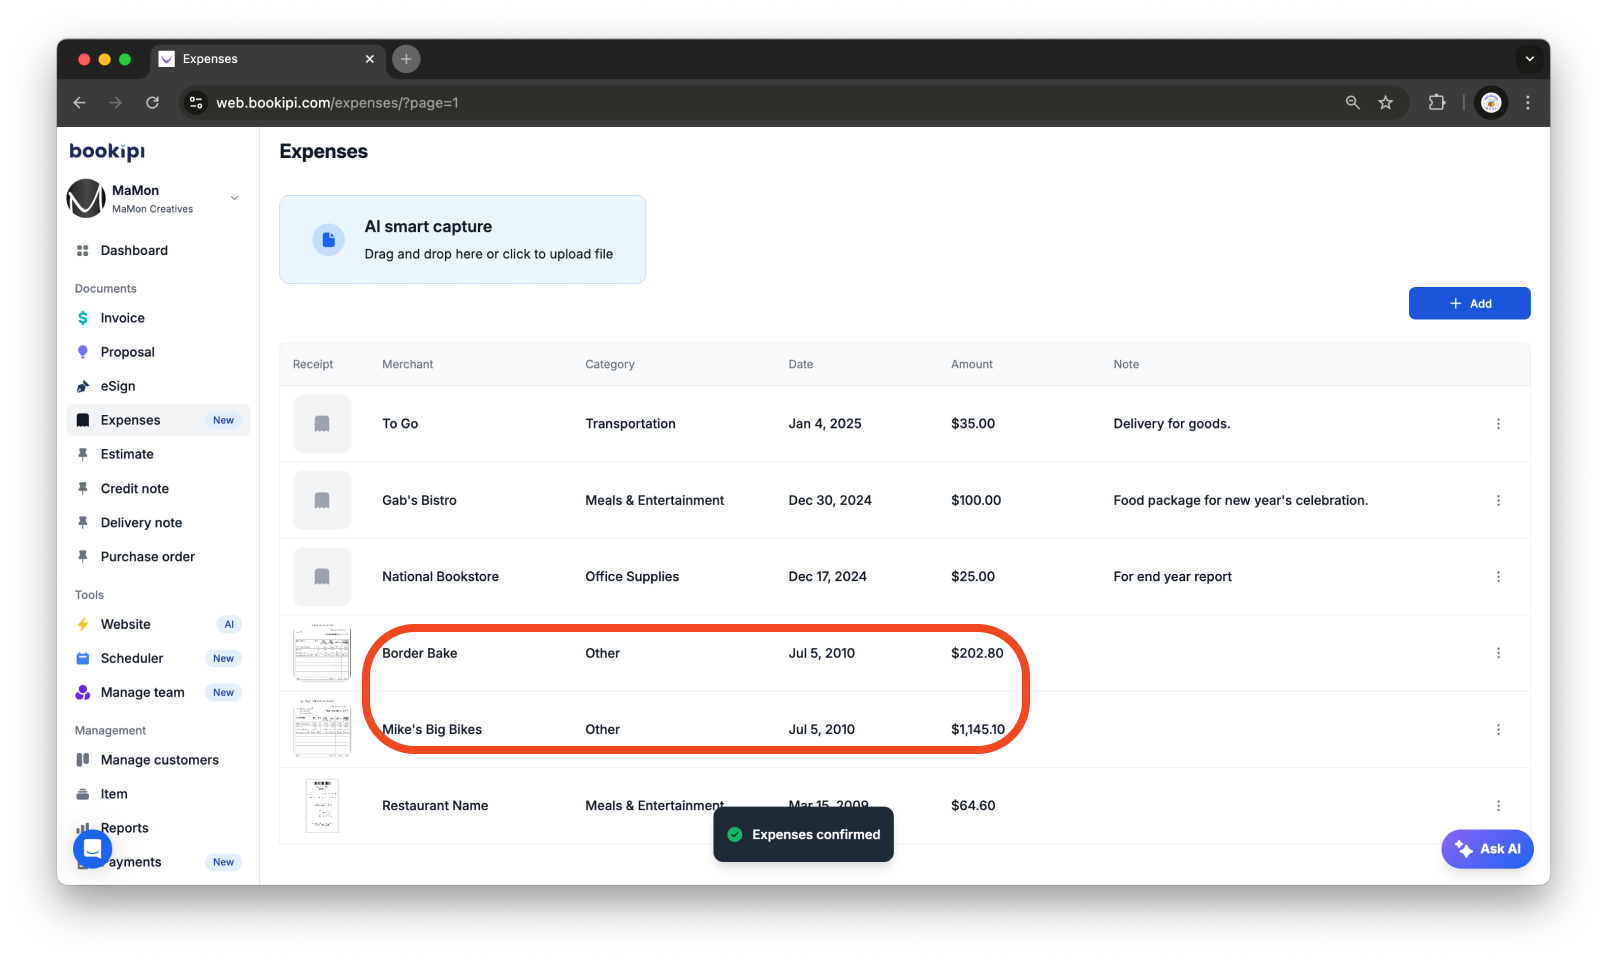
Option 1: Confirm All Expenses at Once
To add all expenses to your list at once, click the ‘Confirm all expense(s)’ button.
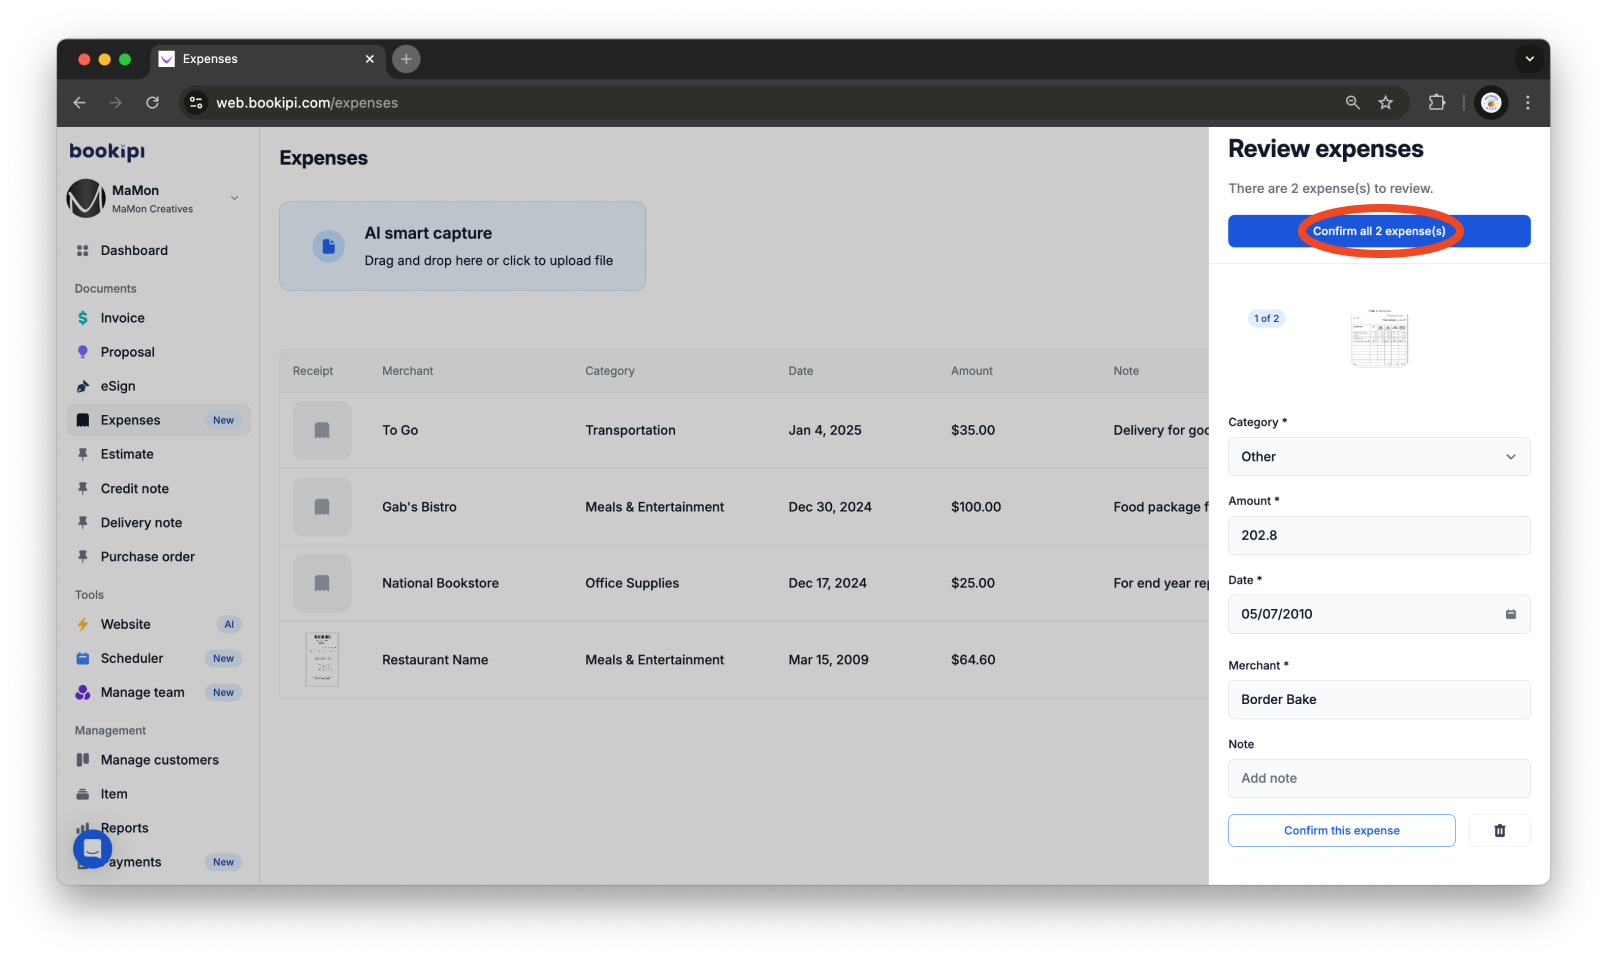
All expenses will immediately be added to your expense list.
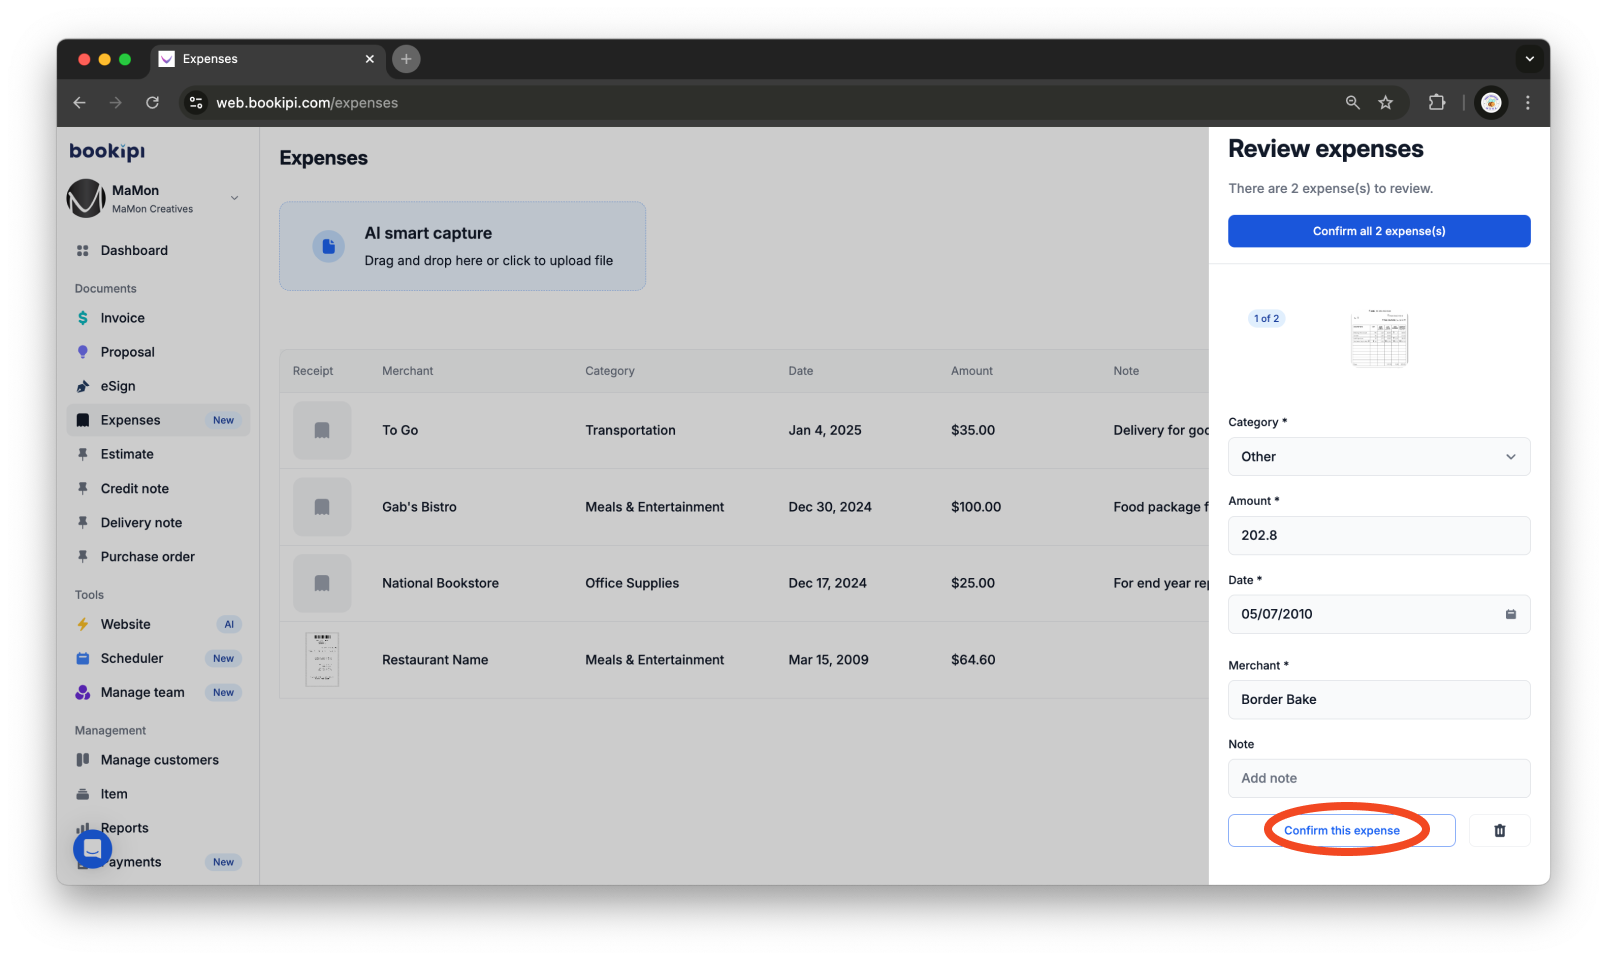
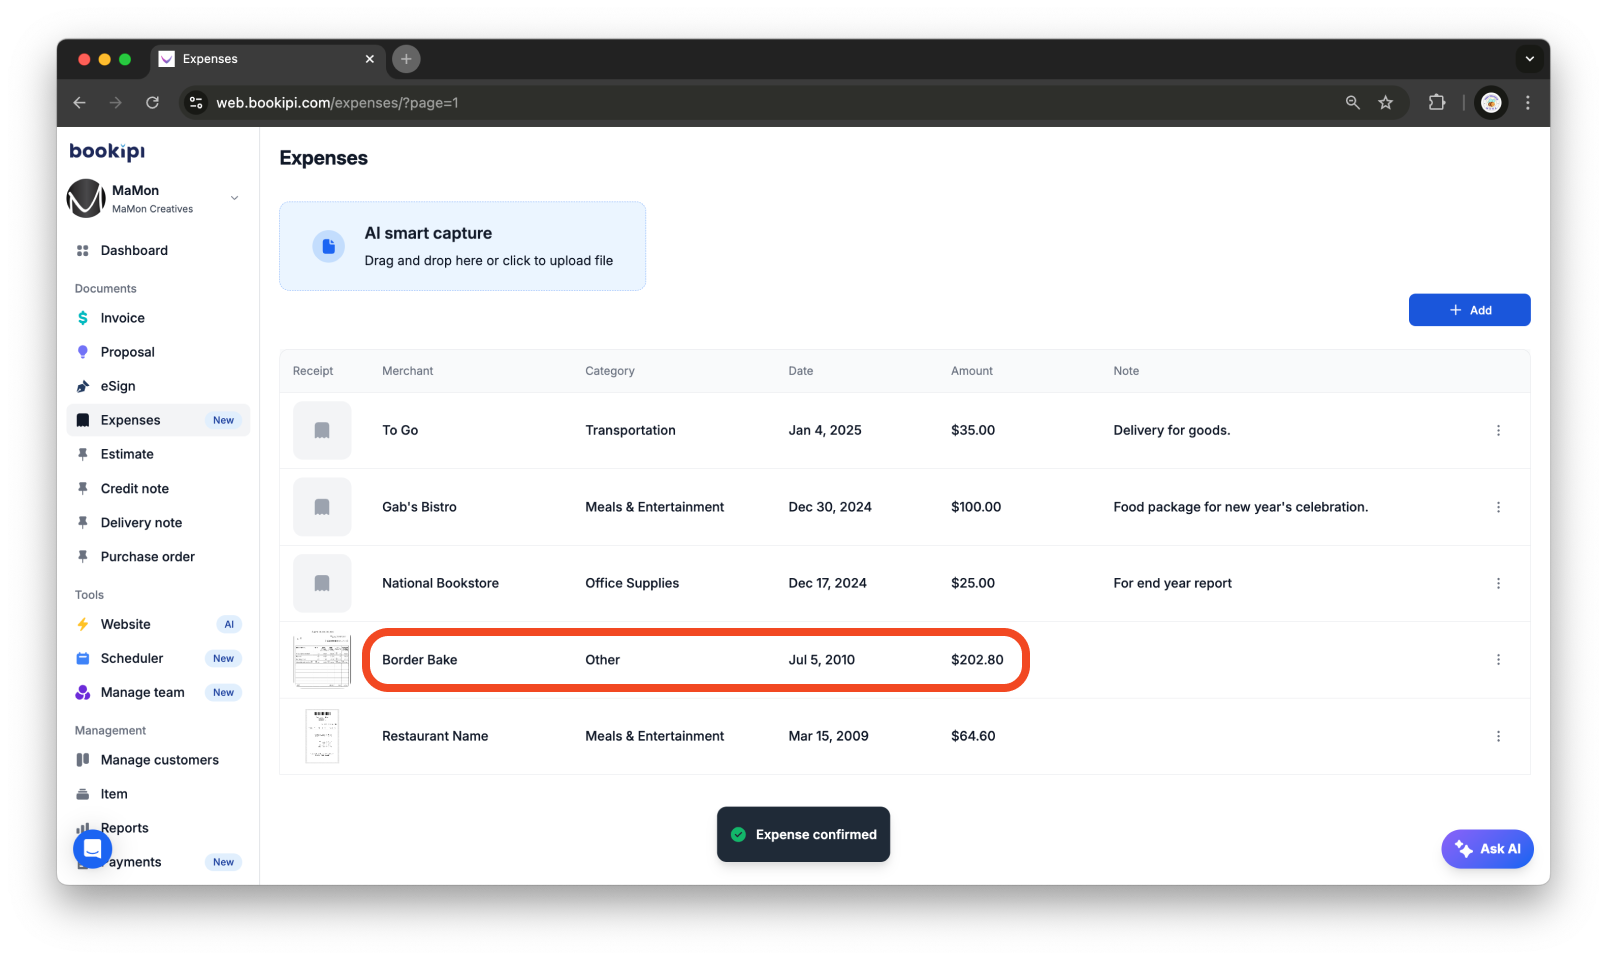
Option 2: Confirm Expenses Individually
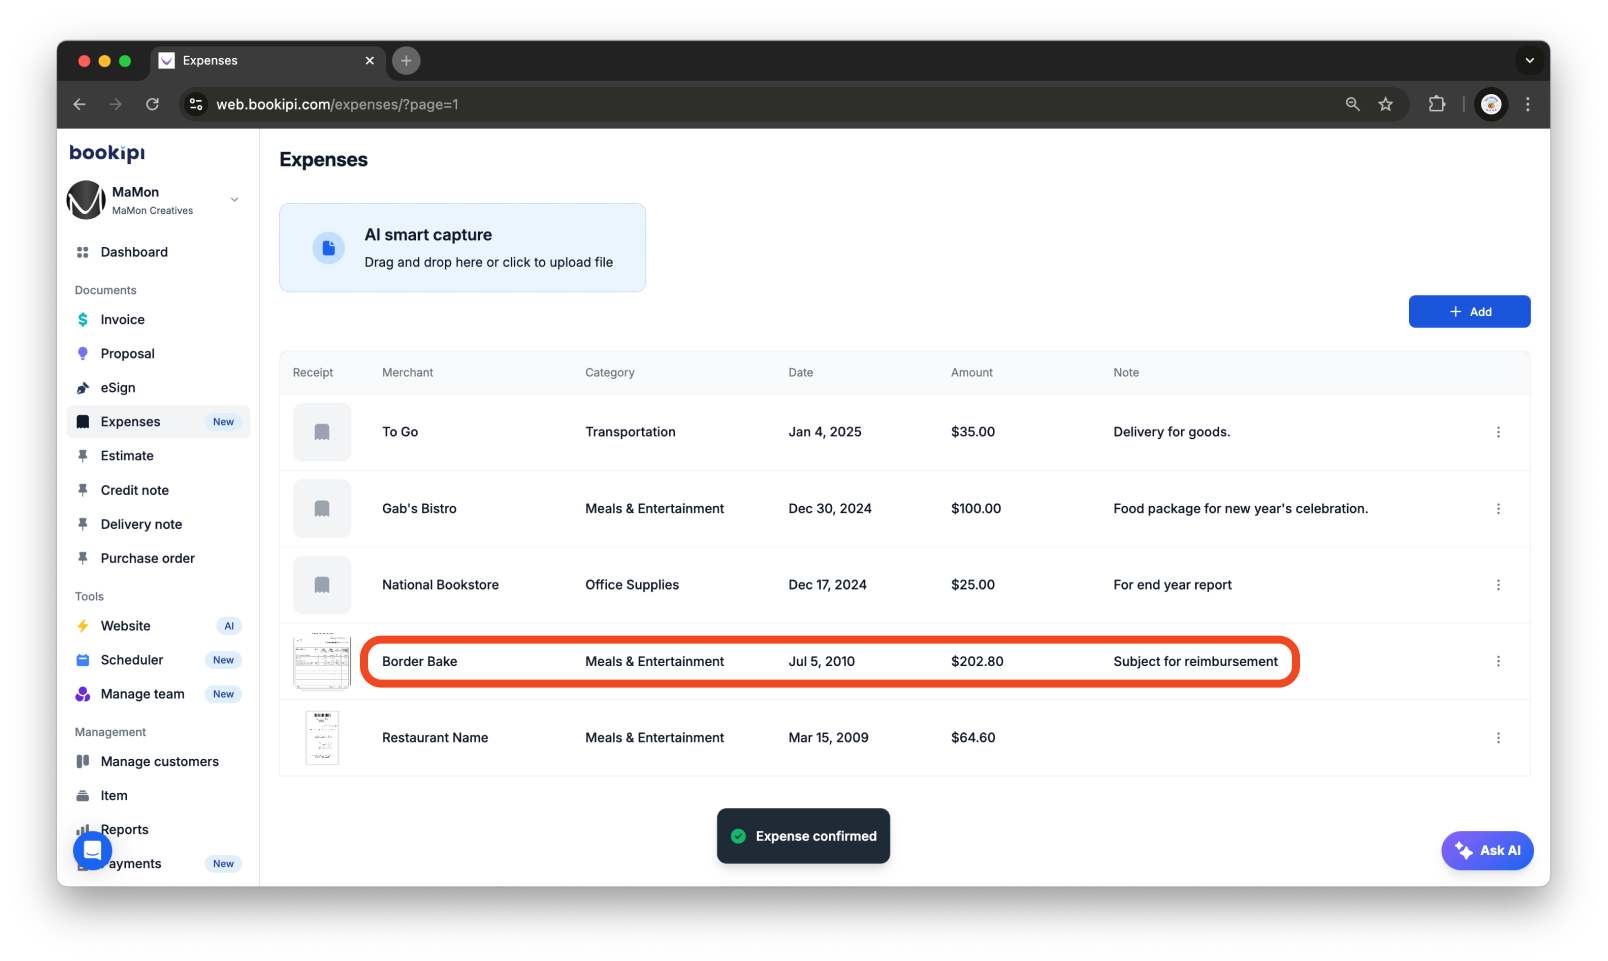
To review and confirm expenses individually, check on an expense to view its details. Click the ‘Confirm this expense’ button located at the bottom-right corner of the page to add it to the expense list.
Editing an expense before adding it to the lists
Step 1: Access the Review Expenses Section
Navigate to the ‘Expenses’ page, and click on ‘Expense to review’ beside the add button.
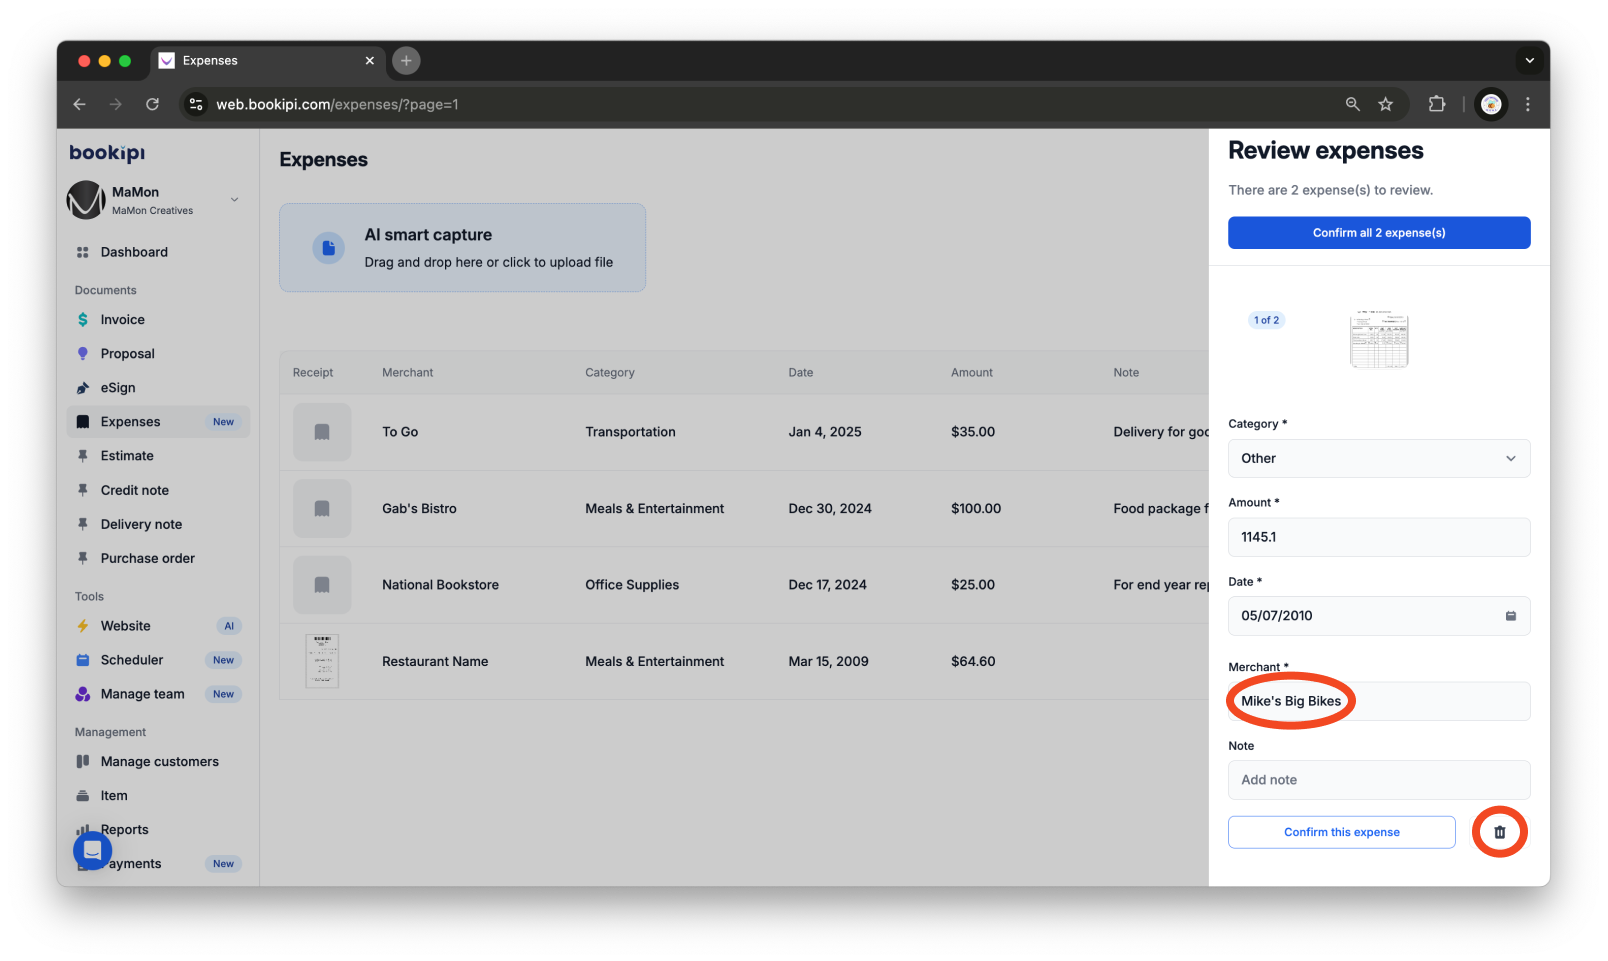
Step 2: Edit the Expense Details
Click on a field to edit entries like Category or add a Note if necessary.
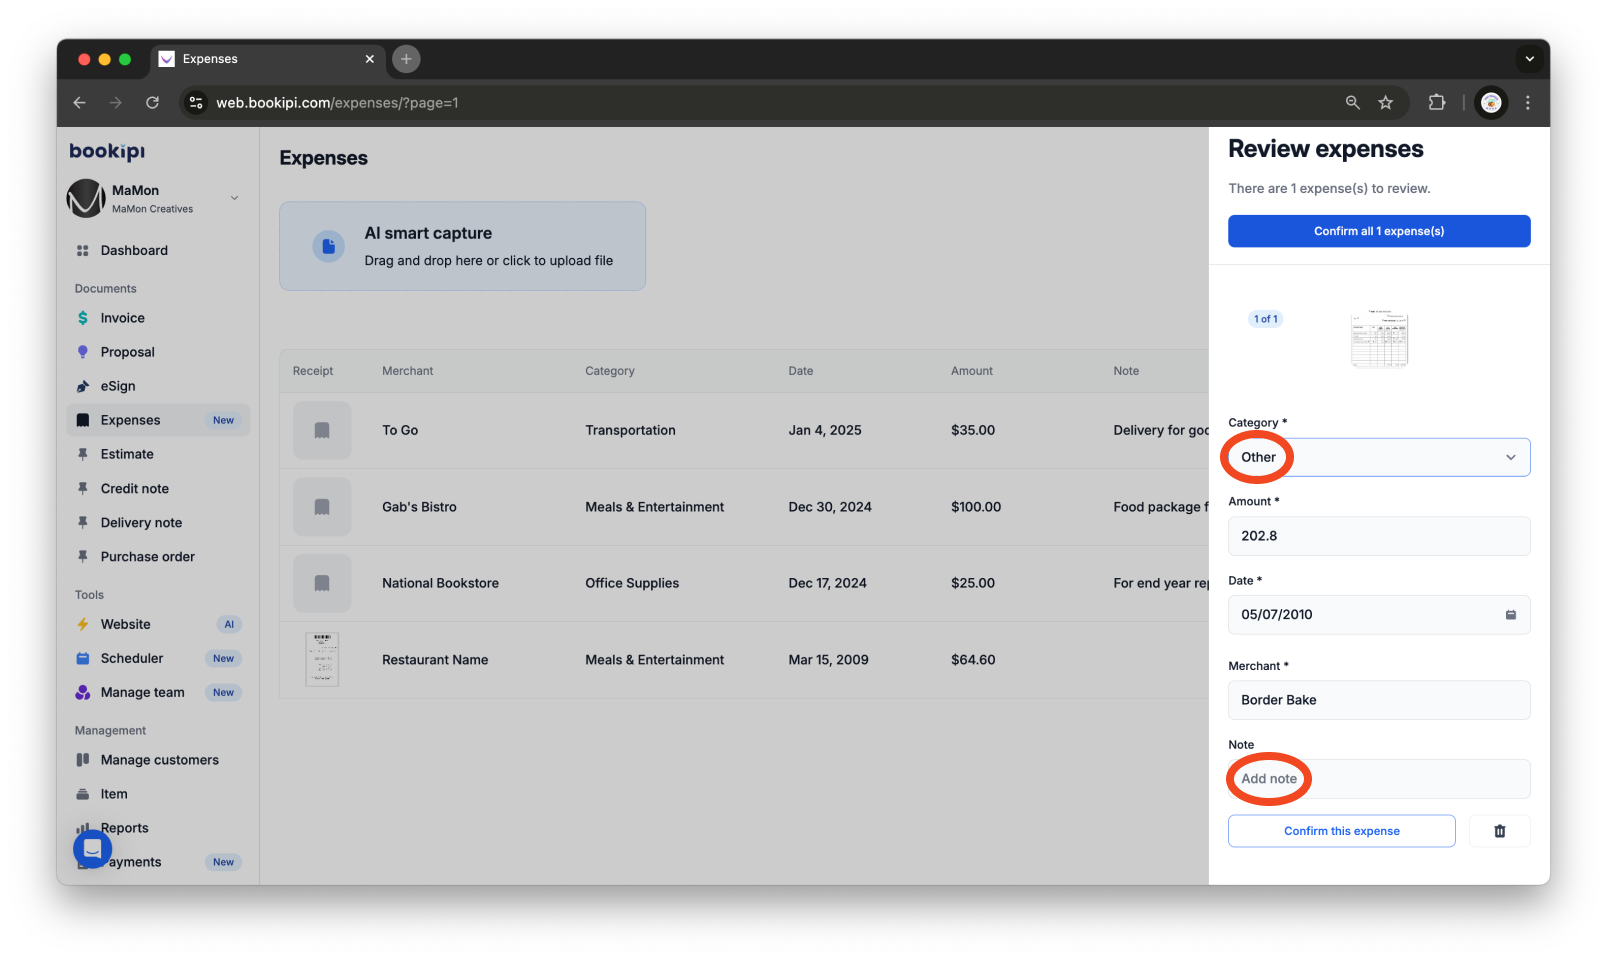
Step 3: Confirm the Edited Expense
Once your edits are complete, click the ‘Confirm this expense’ button at the bottom-right corner to add the expense to the list.

Deleting an expense to exclude from adding to the list
Step 1: Access the Review Expenses Section
Navigate to the ‘Expenses’ page, and click on ‘Expenses to review’ beside the add button.
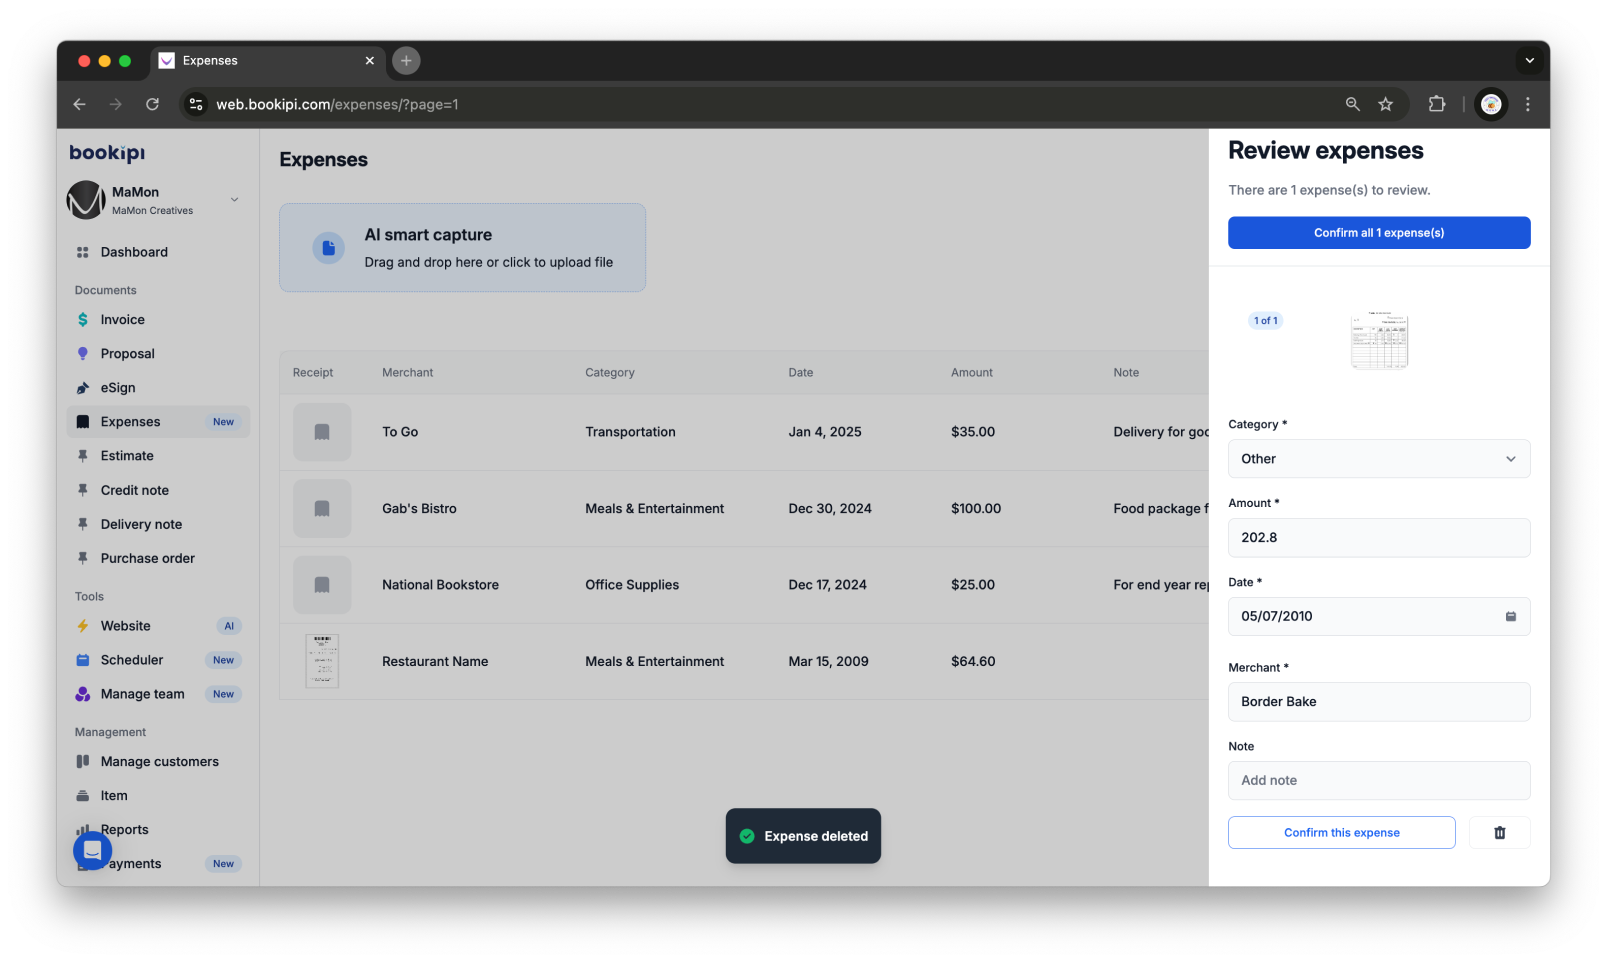
Step 2: Delete the Expense
Upon review, if you decide to exclude an expense, simply click the trash icon located in the lower right corner of the page to delete it.
A confirmation message will appear, indicating the expense has been successfully deleted. Once confirmed, the system will automatically display the next expense for review.
FAQ
Q: What file types are supported by the AI Smart Capture?
A: Images and PDFs.
Q: Can I sync with multiple Gmail accounts?
A: No, not at the moment. If you’d like to link a different account, go to the ‘Settings’ page > ‘Integrations’ tab, disconnect the current account, and then connect the new one.
Q: Can anyone from your company access my expense documents?
A: No, all documents – both images and PDFs – are encrypted and secure.
Q: I accidentally closed the Gmail sync option on the ‘Expenses’ page. How can I connect?
A: To connect, go to ‘Settings’, navigate to the ‘Integrations’ tab, and click on ‘Connect’ next to Gmail Sync (Expenses).
Discover more tutorials for Bookipi Invoice on Web v2
Discover more tips on how to get the most out of Bookipi Invoice on Web v2 with our Web v2 guides.
Download the Bookipi Invoice mobile app and check out our mobile app guides to make sending invoices anytime and anywhere even easier.


