Discover how to set up your calendar and manage your meetings and bookings with Bookipi Scheduler.
How to set up your calendar and add a meeting link to your event using Bookipi Scheduler
Set up your calendar with Bookipi Scheduler to easily manage your meetings, stay organized, and allow your customers to book appointments with you at their convenience.
In this article, you will learn:
How to set up your calendar
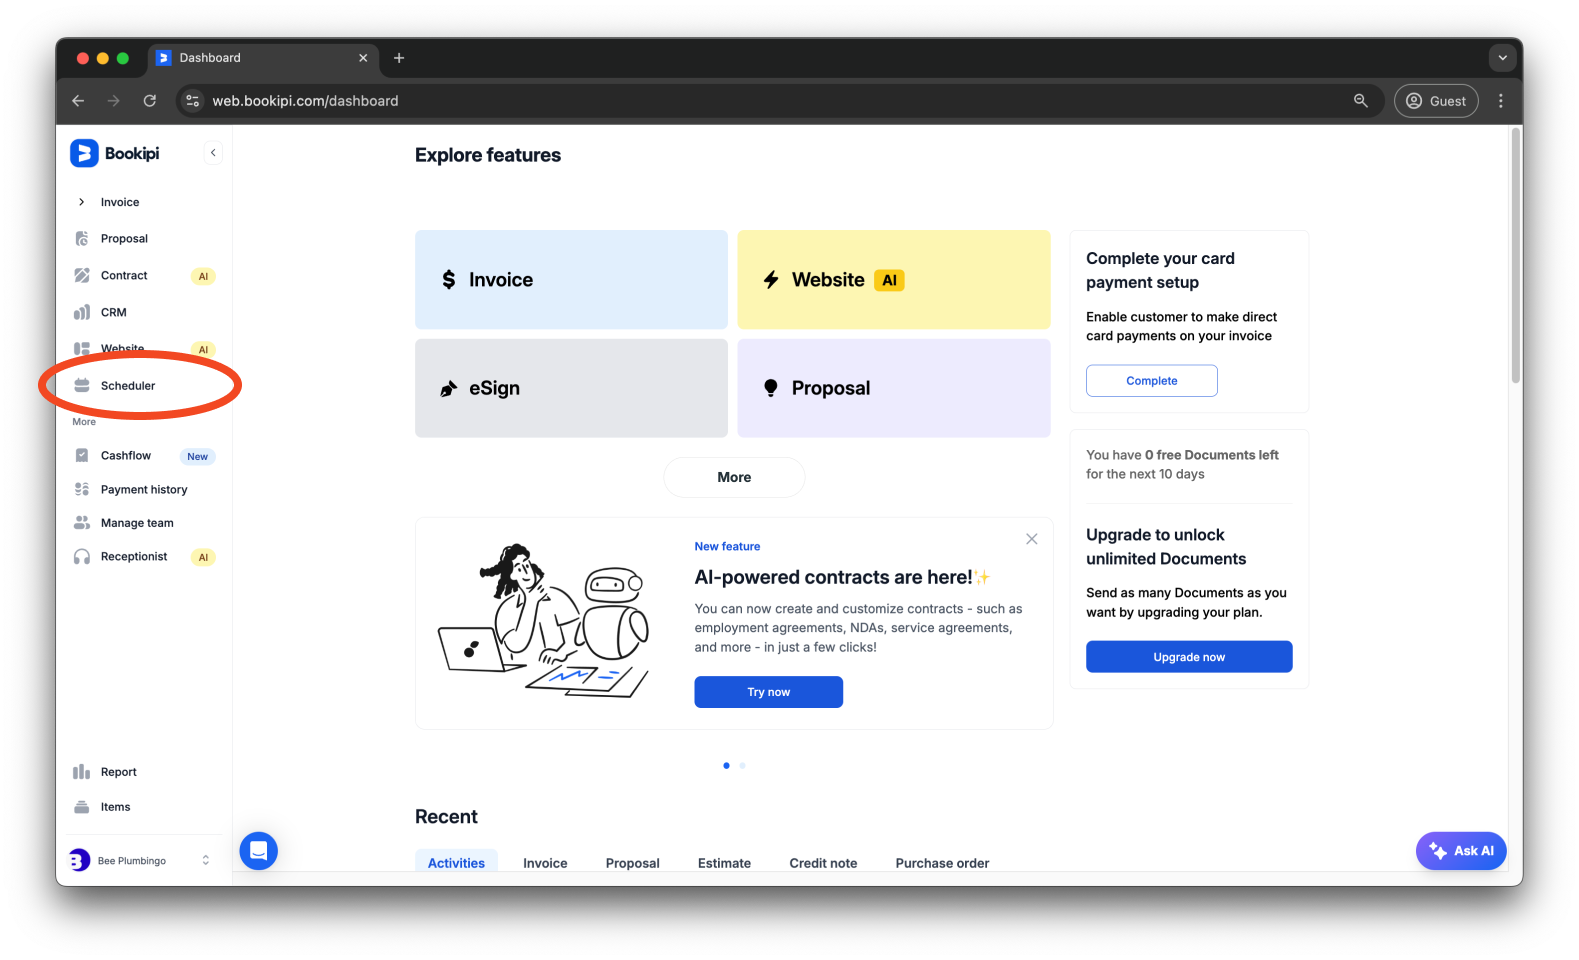
Step 1: Click ‘Scheduler’.
Click on the ‘Scheduler’ in the left panel of your dashboard.
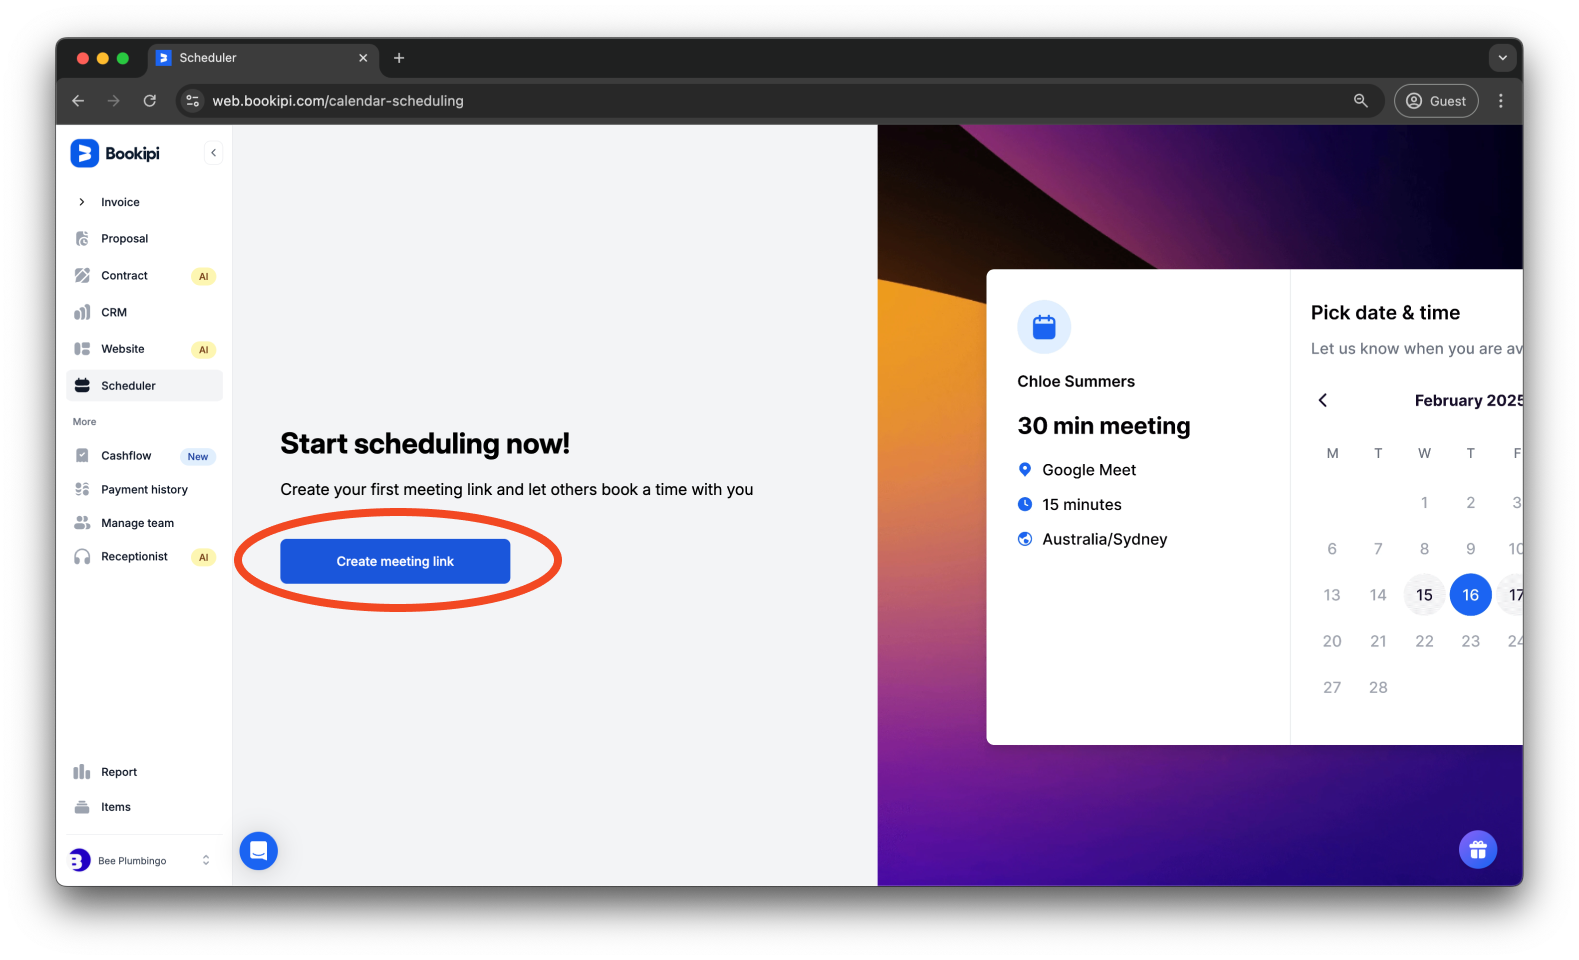
Step 2: Click ‘Create meeting link’.
Click the ‘Create meeting link’ button.
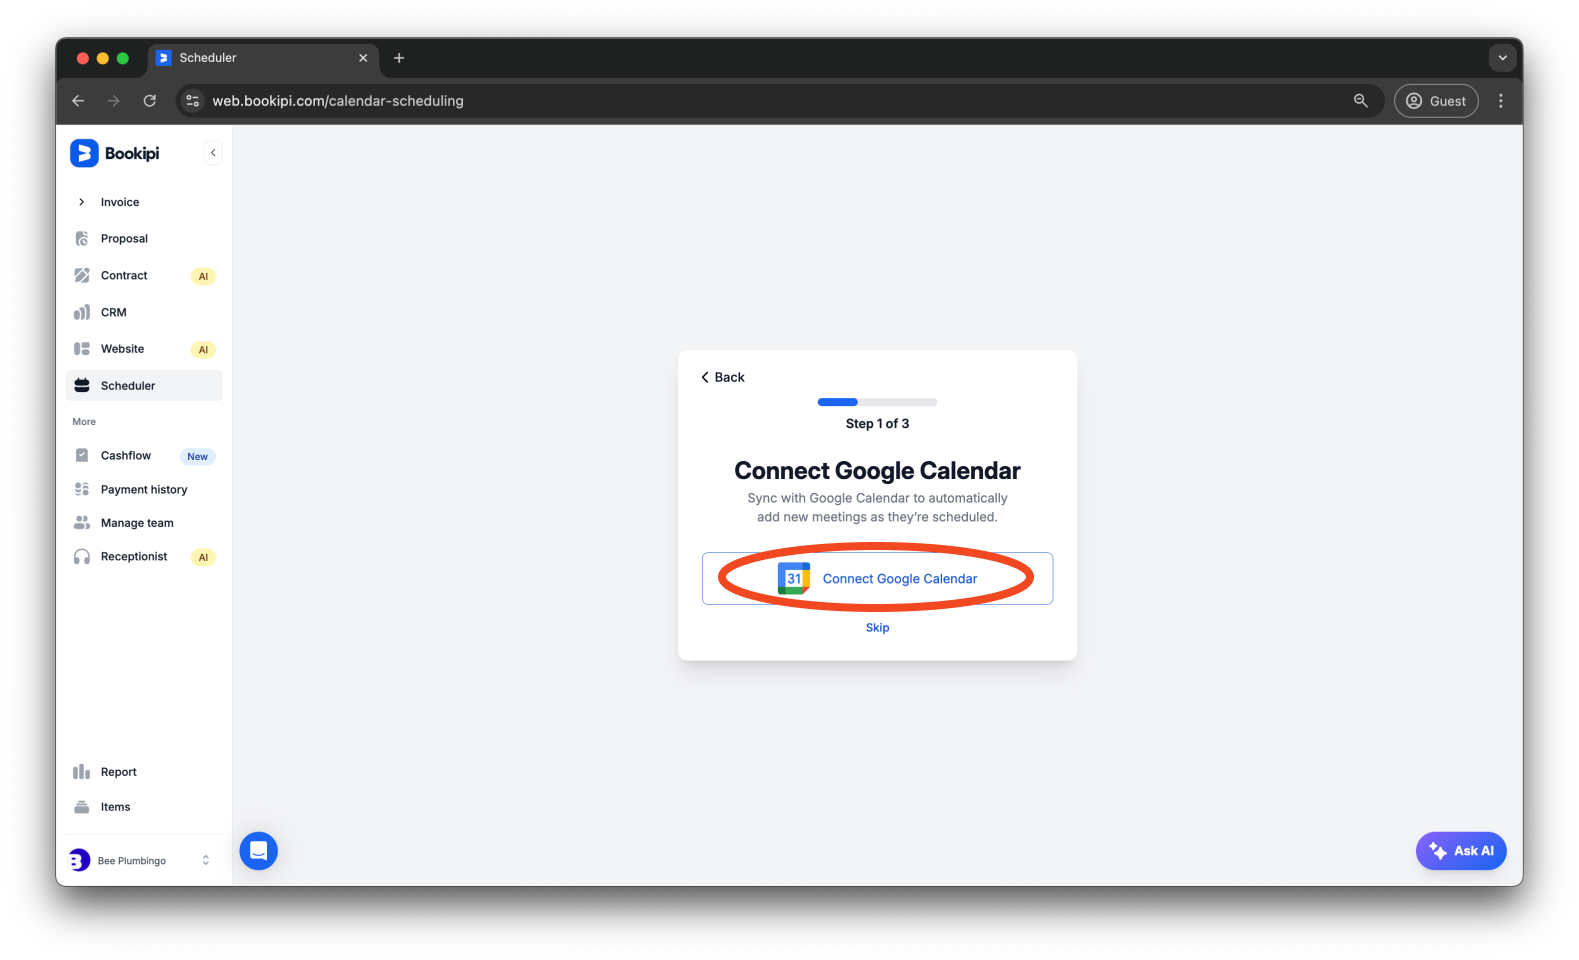
Step 3: Connect your Google Calendar or manually enter your schedule.
Click ‘Connect Google Calendar’ to automatically add new meetings as they’re scheduled.
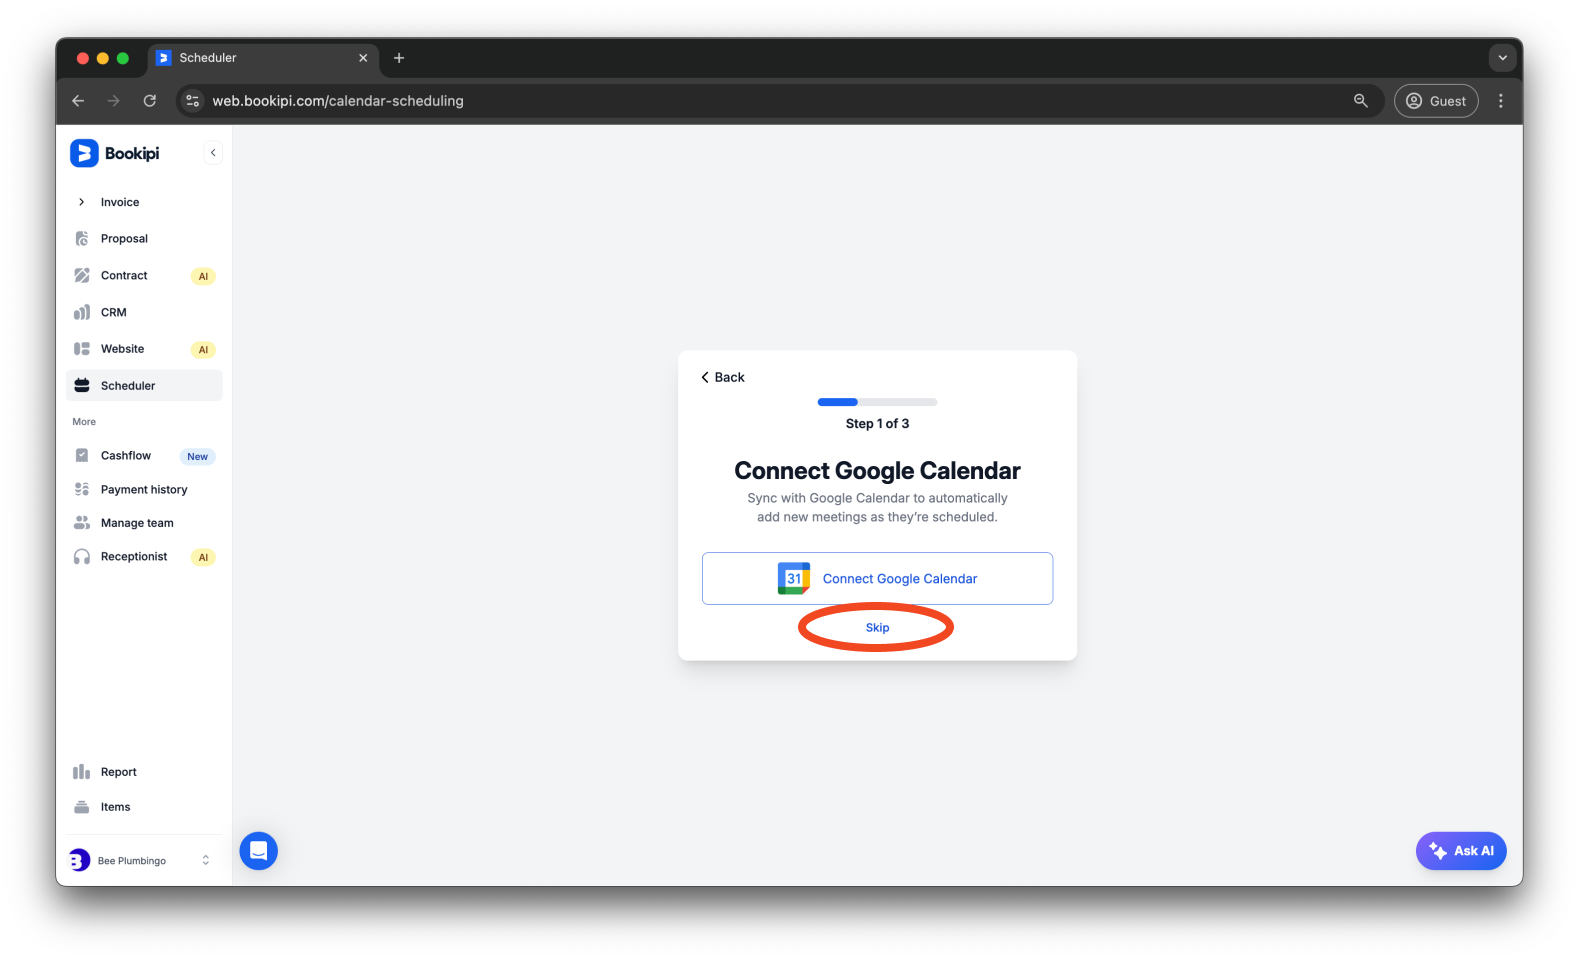
Click ‘Skip’ if you wish to enter your schedule manually.
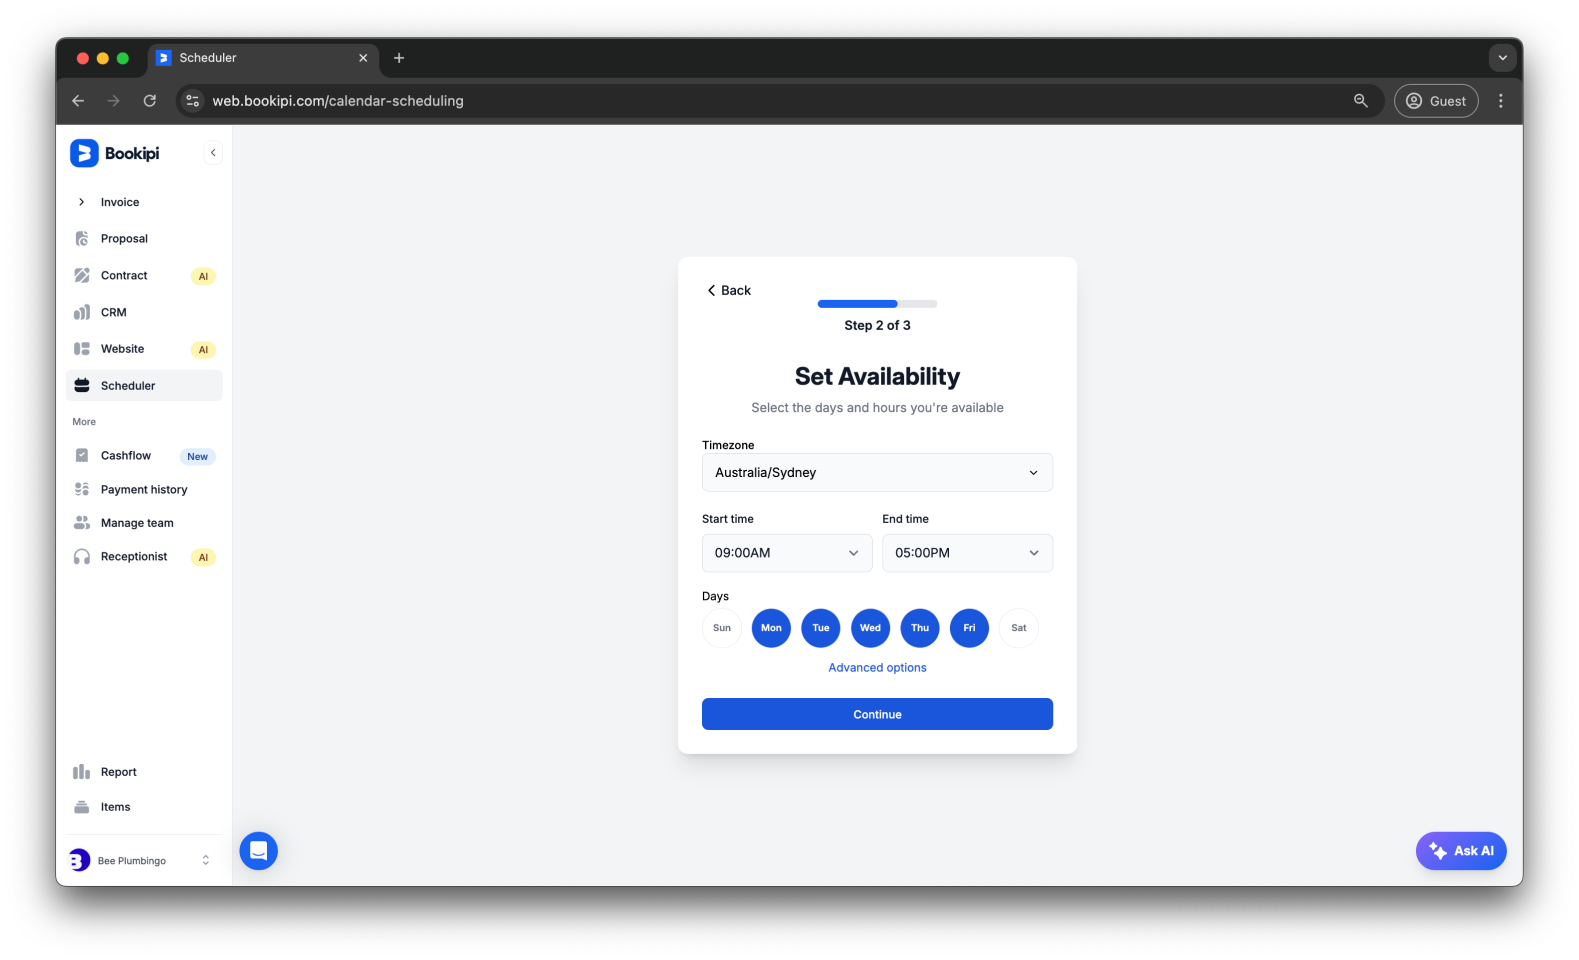
Step 4: Set your availability.
Define your available days and hours to set your availability.
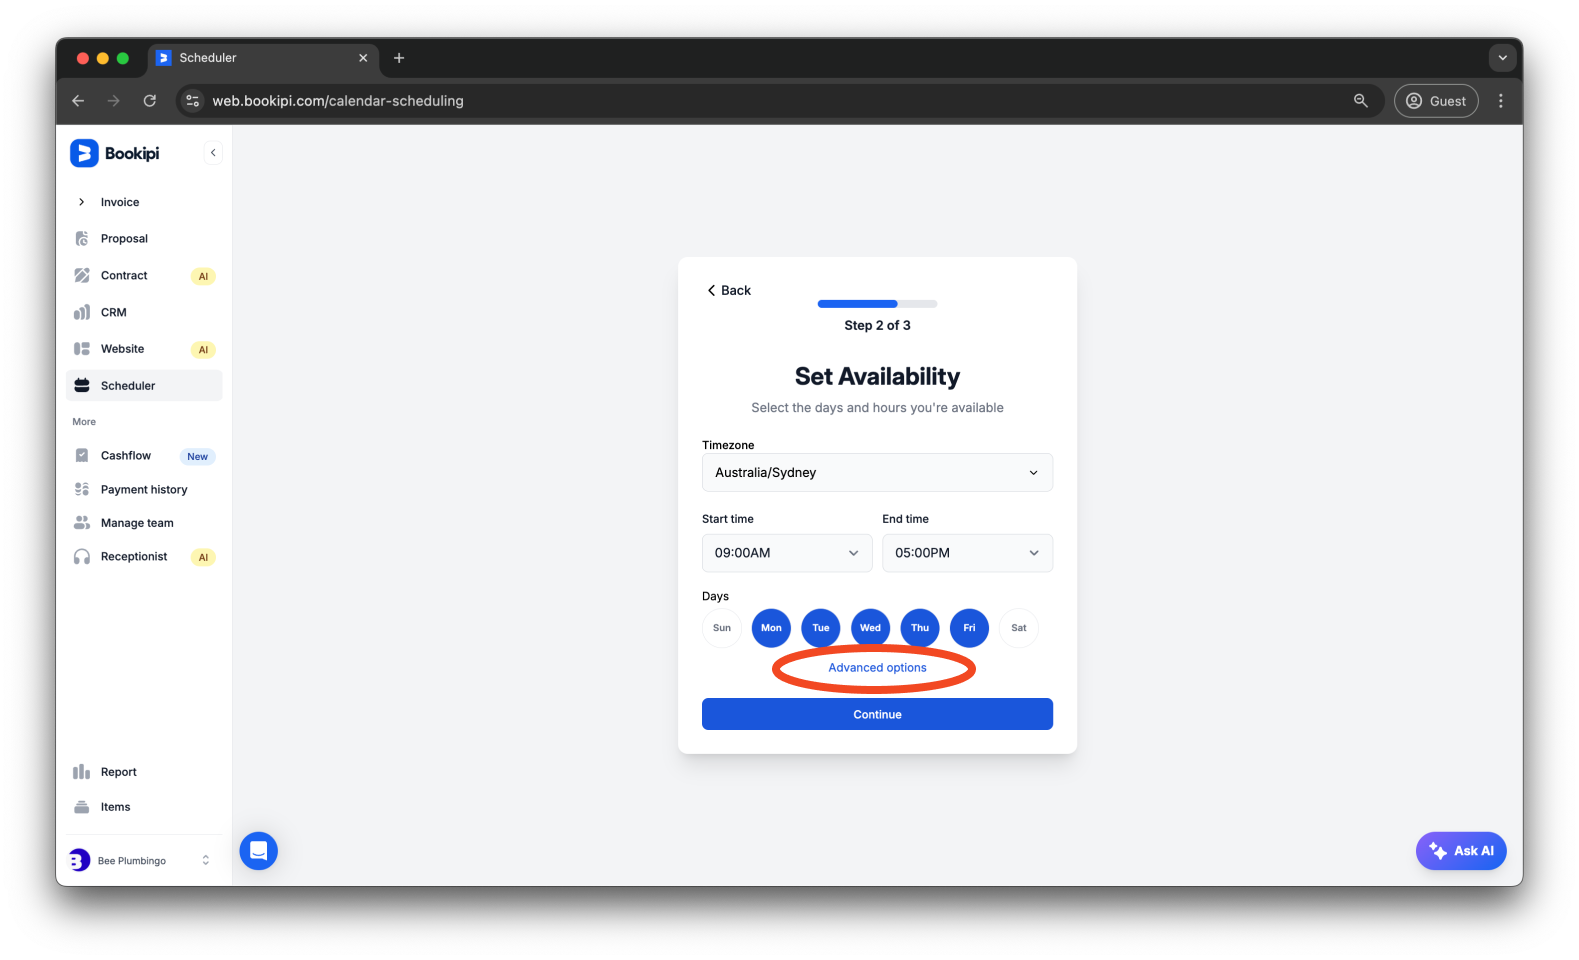
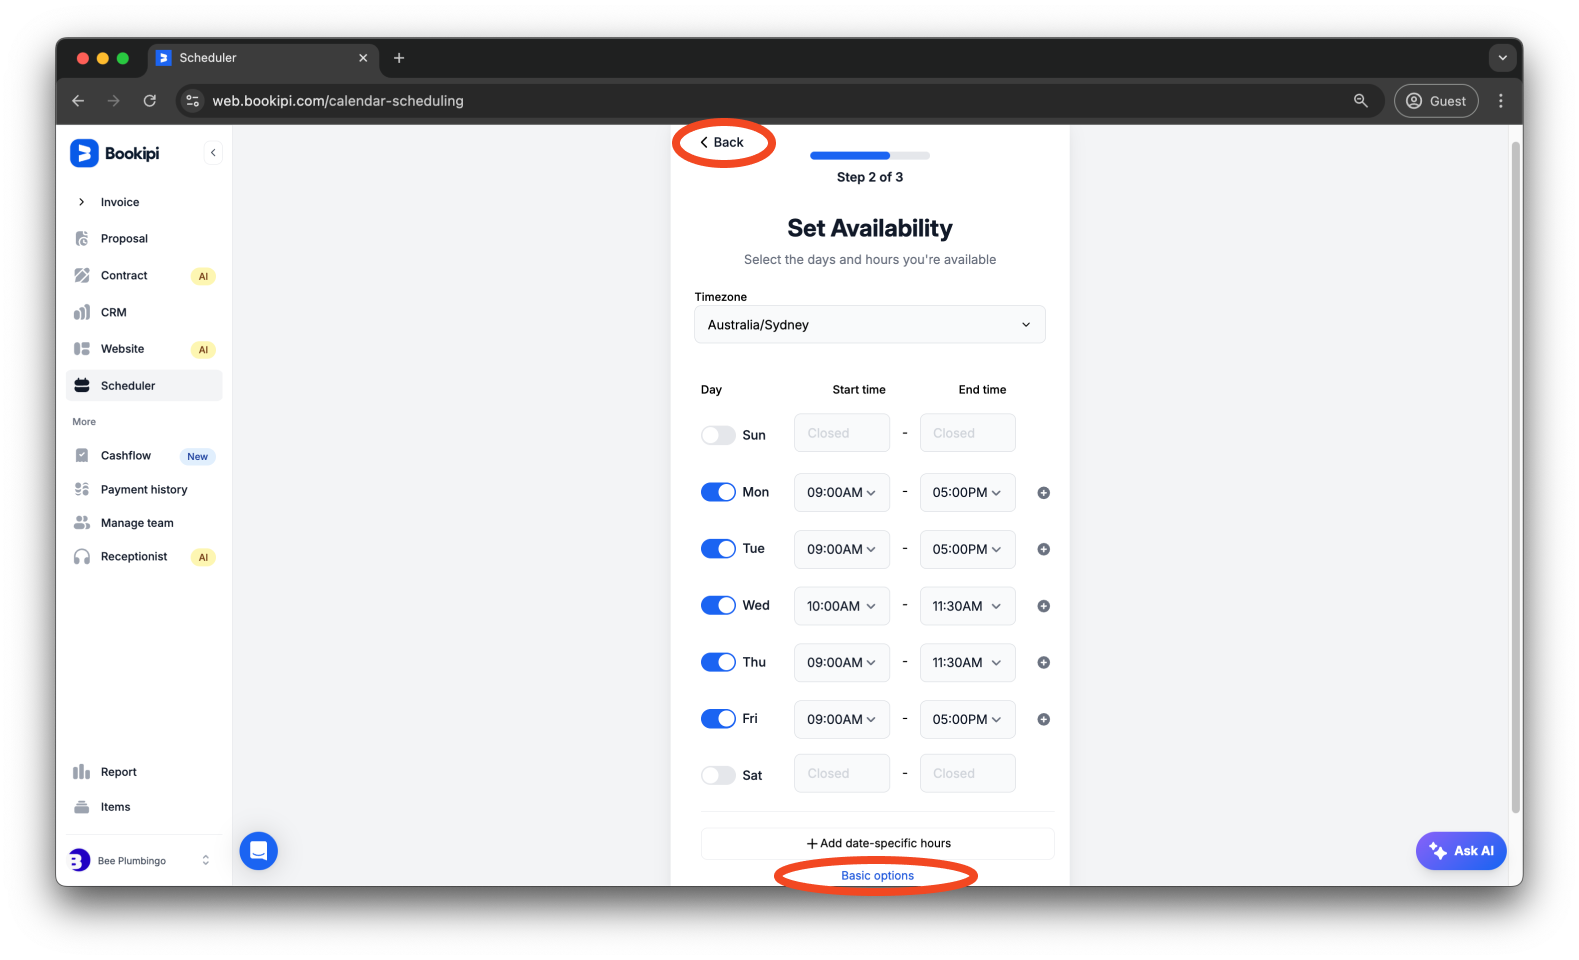
To customize hours for specific days, click on ‘Advanced options’.
Click ‘Back’ or ‘Basic options’ to go back to the basic options page.
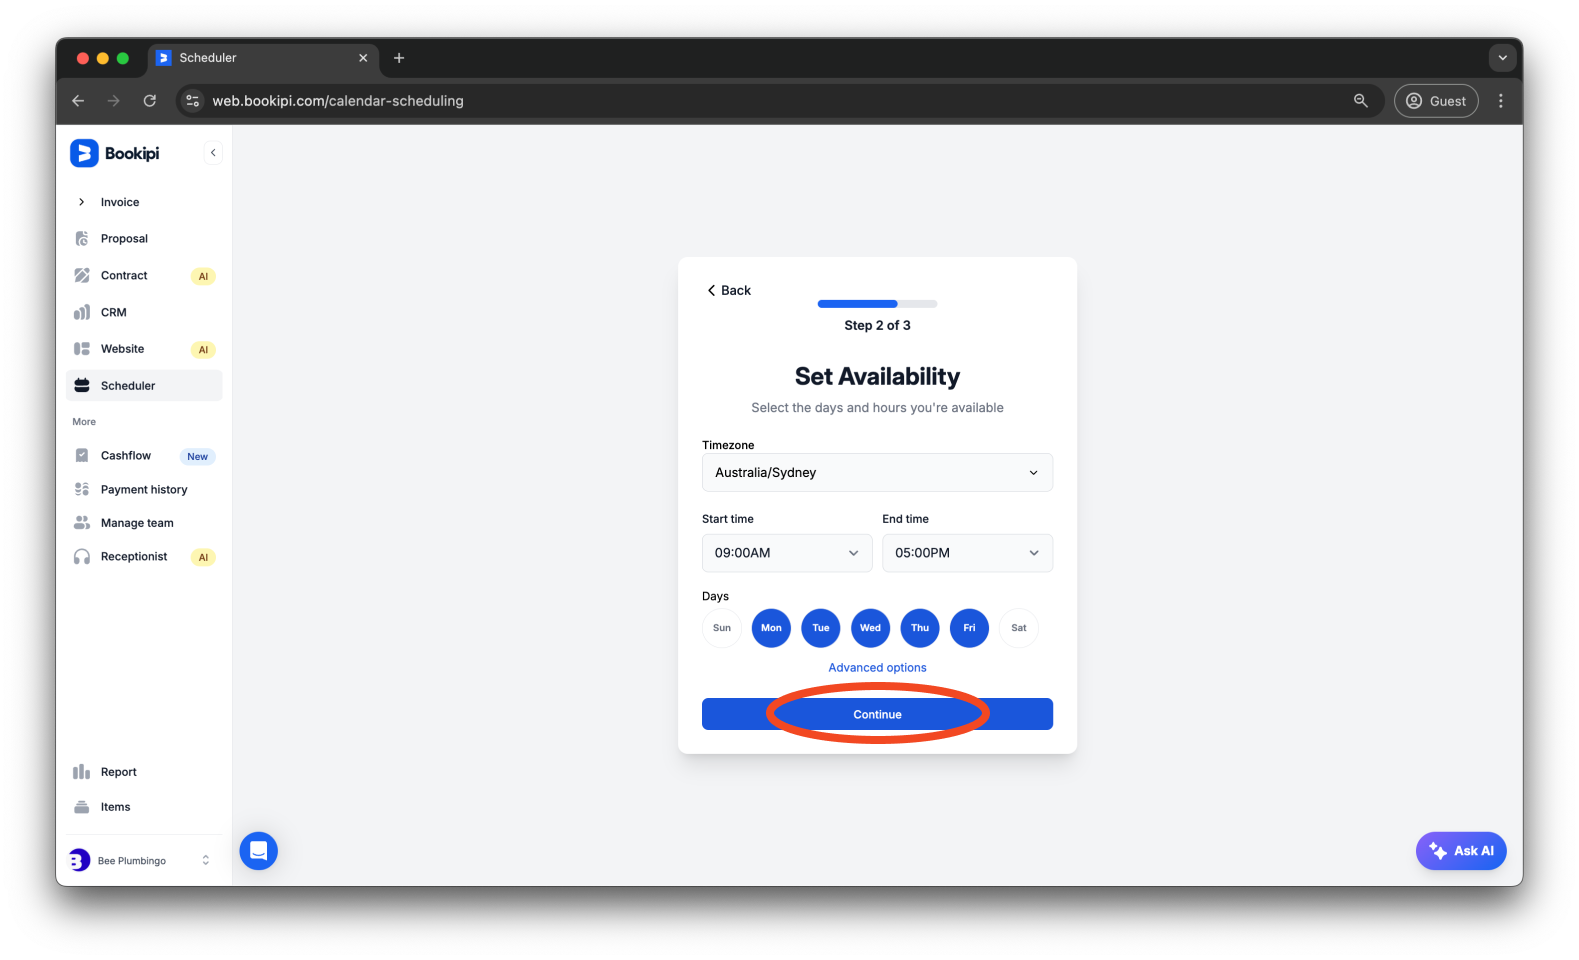
Step 5: Click ‘Continue’.
Click ‘Continue’ to proceed to the next step.
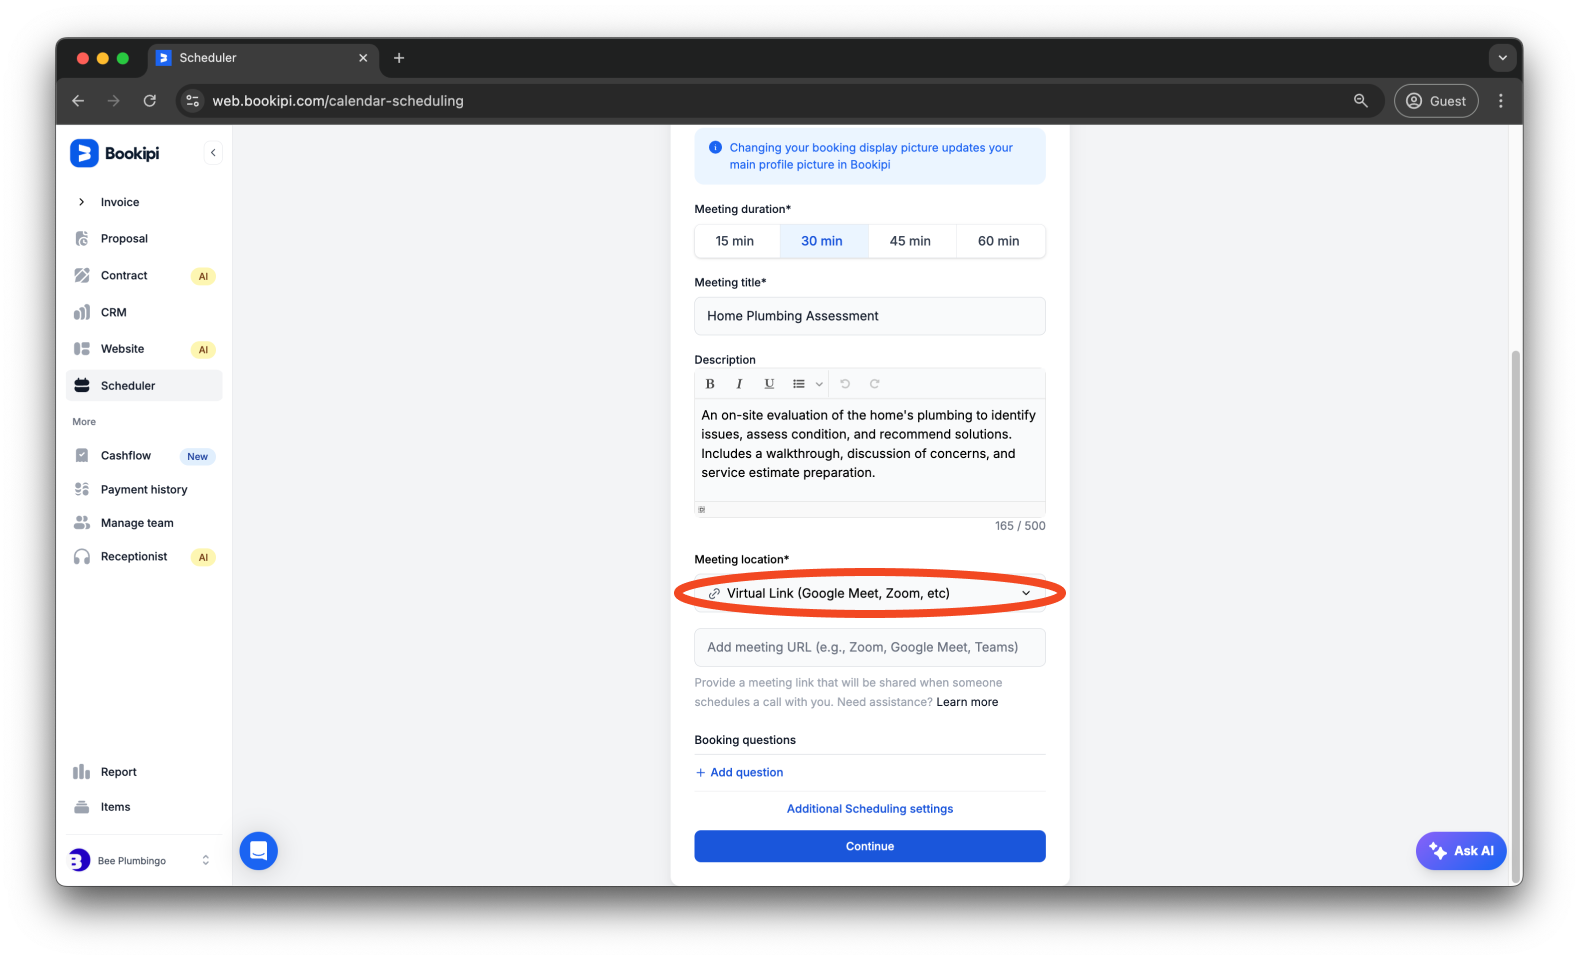
Step 6: Set up your meeting details.
Provide all relevant details about your meeting.

For the meeting location, you have three options:
-
‘Virtual link’ to add an online meeting link.
-
‘In person meeting’ to provide a physical location.
-
‘Ask invitees’ to let your clients or attendees decide their preferred meeting method or location.
To customize more options for your scheduling preferences, click ‘Additional Scheduling settings’.
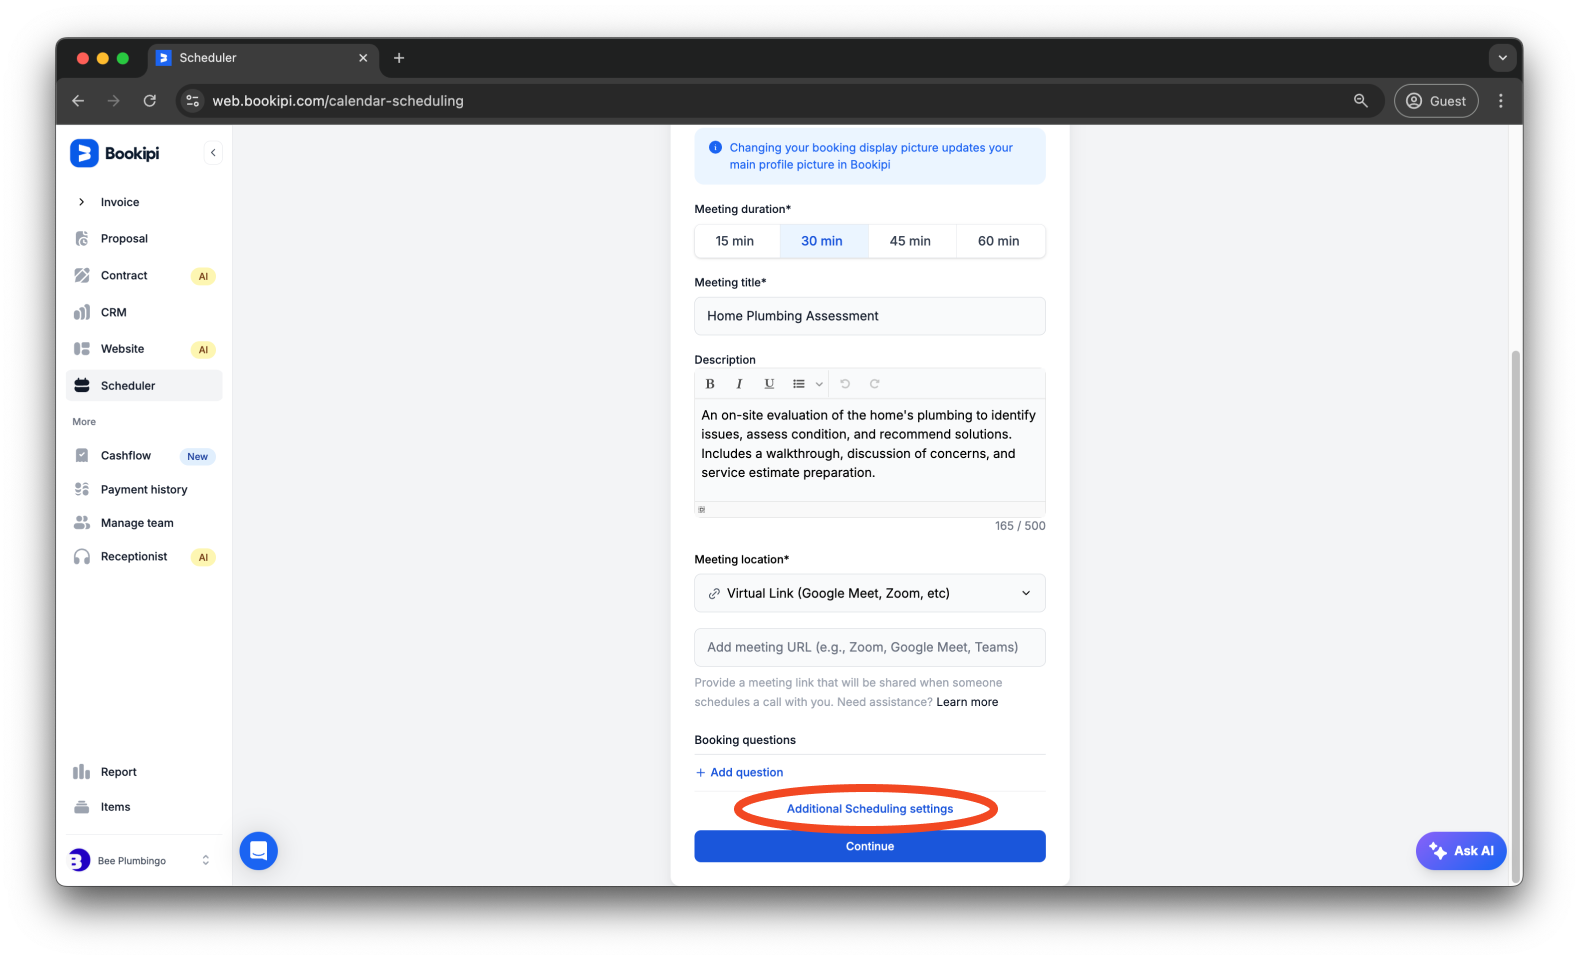
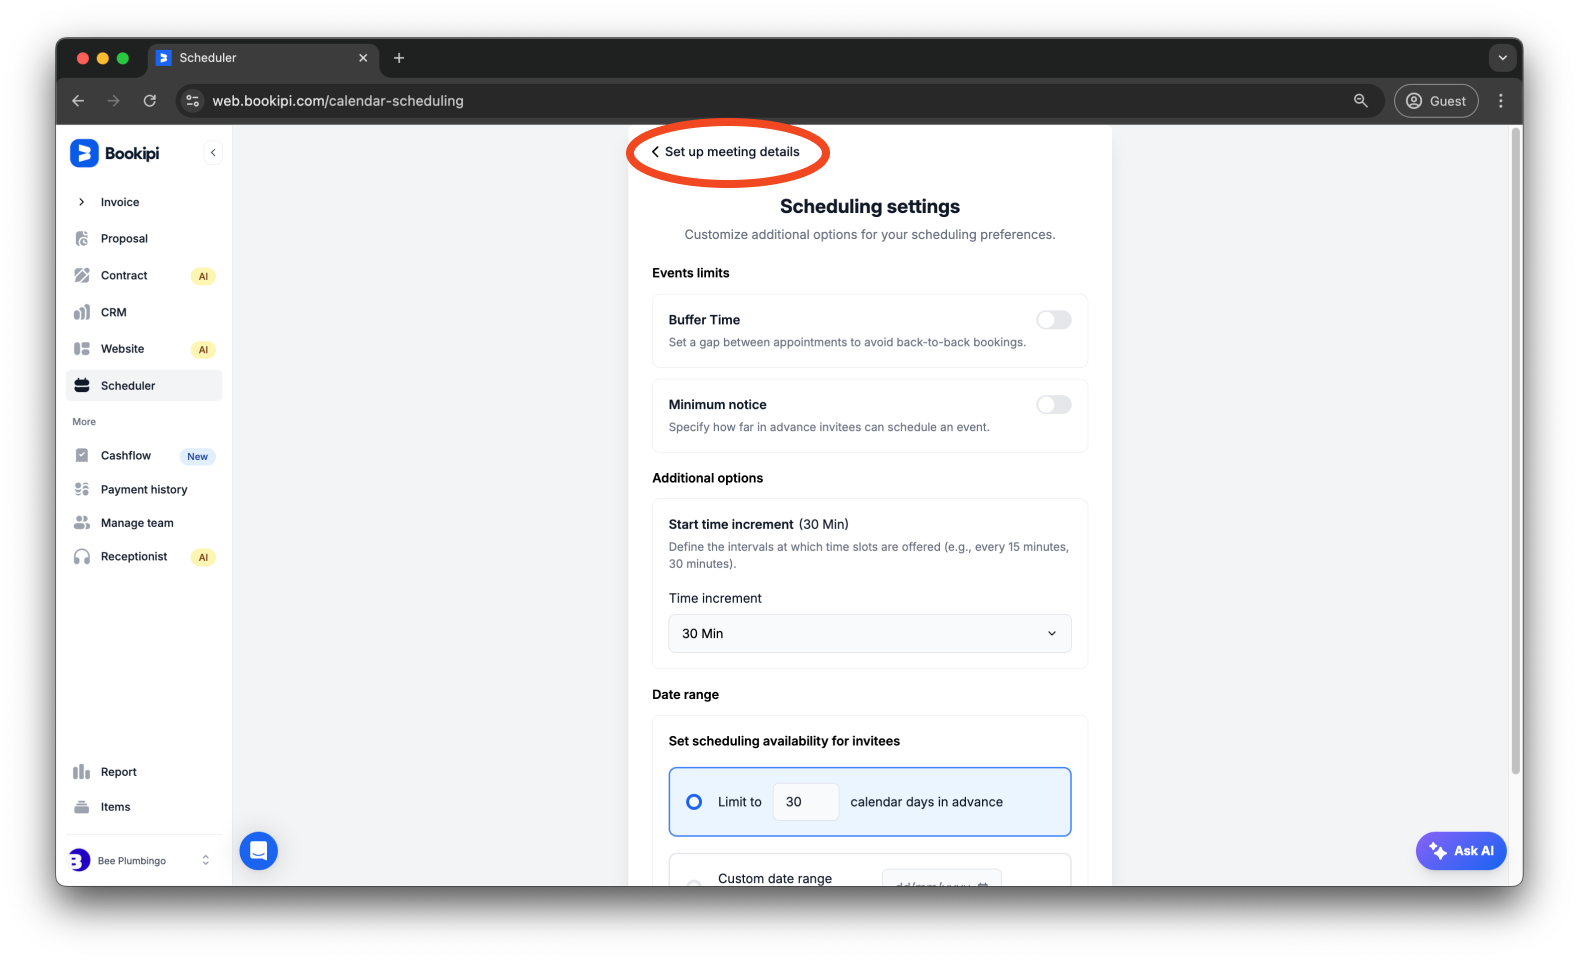
From this page, you can set buffer times between appointments, choose how far in advance invitees can book, define event time increments, and select the date range for displaying your availability.

Click ‘Set up meeting details’ to return to the meeting setup page.
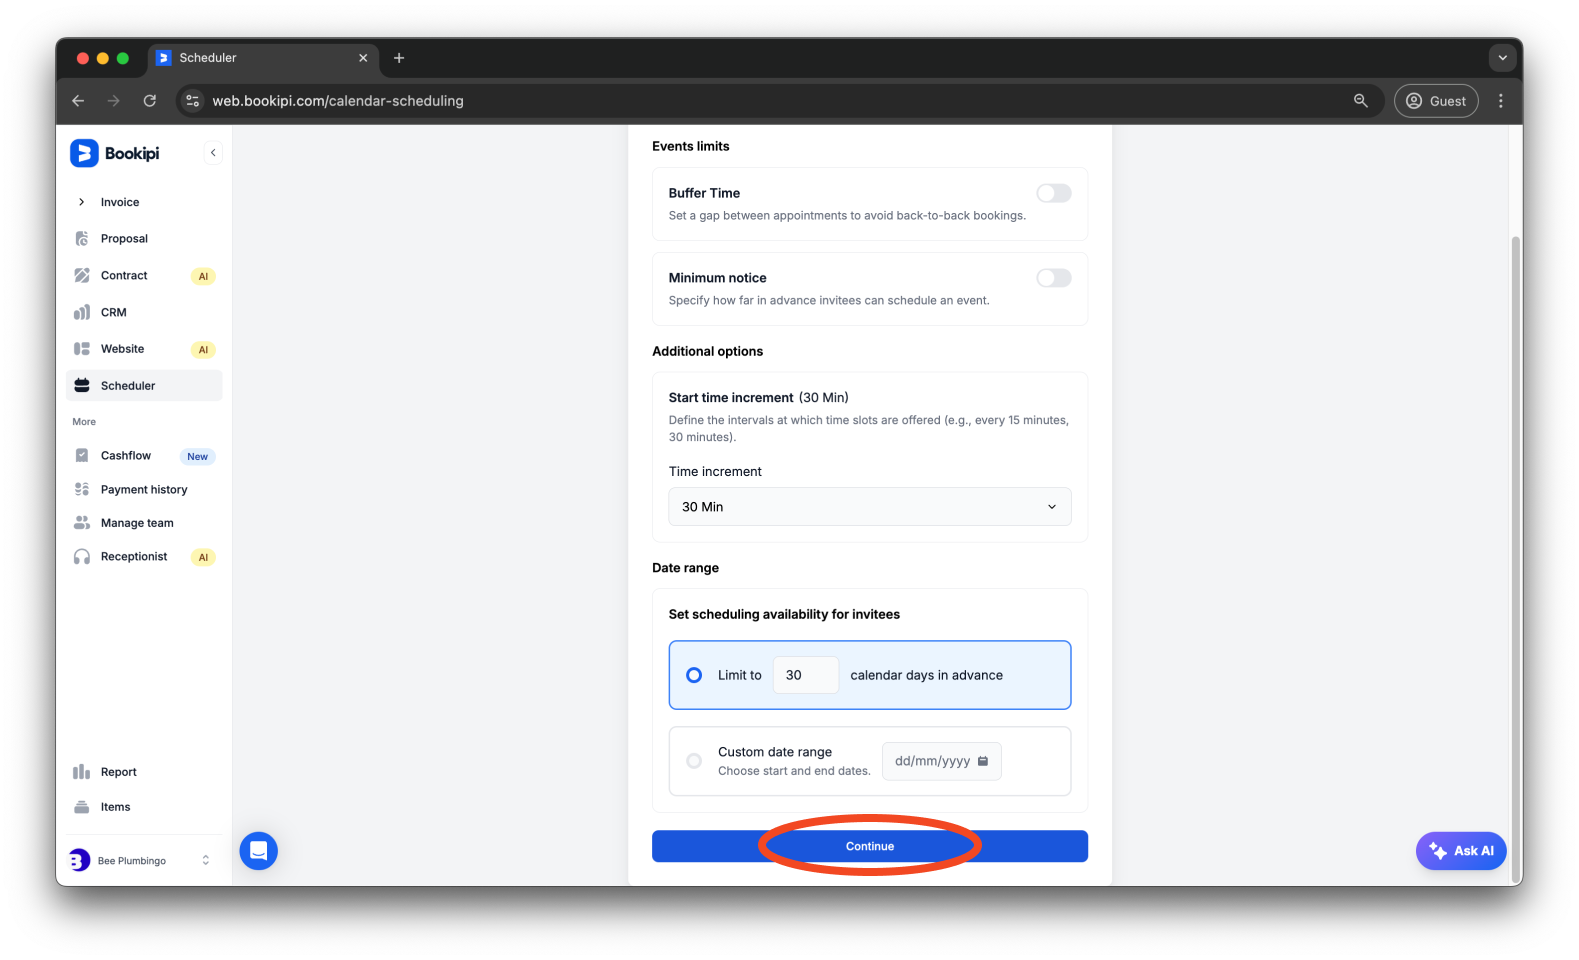
Step 7: Click ‘Continue’.
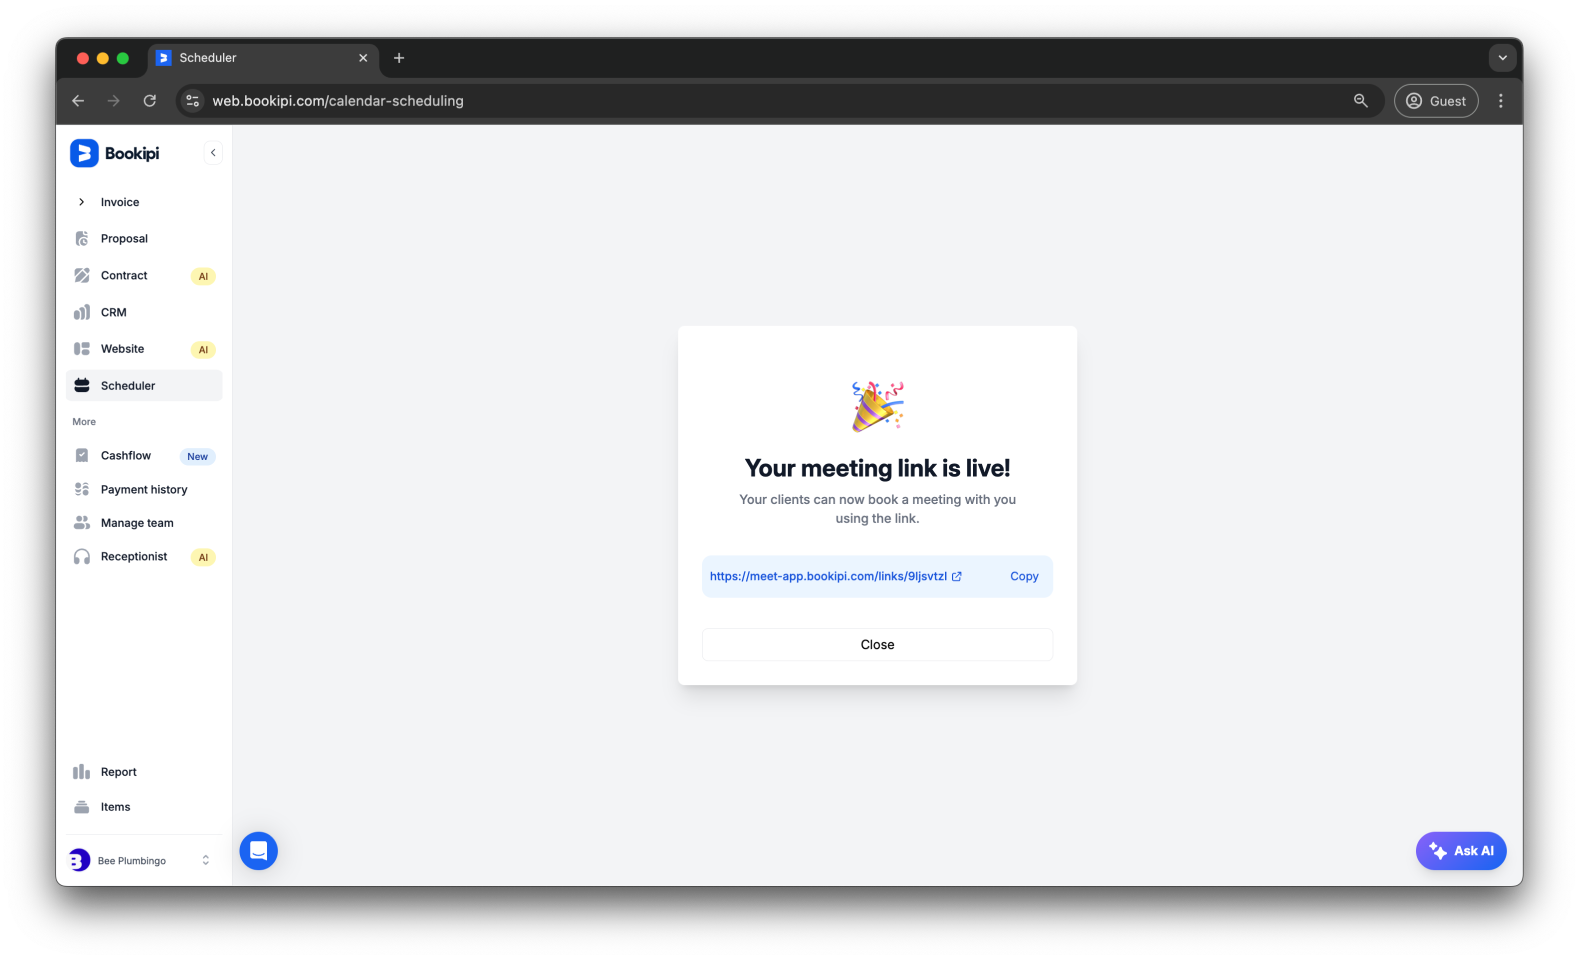
Click ‘Continue’ to publish your meeting.
Once published, a meeting link will be generated for you to share with your clients or attendees. You’ll also receive an email confirming that the link is now active.
After you send the link, both you and your clients or attendees will receive an email notification.
How to obtain a meeting link
When creating an event in Bookipi Scheduler, you can add a meeting link or phone number to ensure your attendees can easily join the call. Here’s a quick guide on what types of meeting links we support and how to obtain them.
Supported Platforms
Currently, we support the following types of links and phone numbers:
-
Google Meet link
-
Zoom link
-
Microsoft Teams link
-
Phone number
From Google Meet
Step 1: Open Google Calendar or go to Google Meet.
Step 2: Create a new event or meeting.
Step 3: A Google Meet link will be automatically generated for you.
Step 4: When setting up your meeting details, select ‘Virtual link’ as the meeting location, then copy and paste the link into the Meeting URL field.
From Zoom
Step 1: Sign in to your Zoom account and go to Meetings.
Step 2: Schedule a new meeting or start an instant meeting.
Step 3: Once the meeting is created, you’ll see a Join URL.
Step 4: When setting up your meeting details, select ‘Virtual link’ as the meeting location, then copy and paste the link into the Meeting URL field.
From Microsoft Teams
Step 1: Open Microsoft Teams and go to the Calendar tab.
Step 2: Schedule a new meeting or select an existing one.
Step 3: Once the meeting is scheduled, a Teams link will be generated in the meeting details.
Step 4: When setting up your meeting details, select ‘Virtual link’ as the meeting location, then copy and paste the link into the Meeting URL field.
By adding a Phone Number
You can also use a phone number as an option for your attendees to call. To do this:
Step 1: Select ‘Virtual link’ as the meeting location when setting up your meeting details, then enter the phone number in the Meeting URL field.
Step 2: Make sure to include the country code, if necessary, so international attendees can join. (Example: +1 (555) 123-4567)
Tips:
-
Ensure your meeting link or phone number is accurate before sending the invite.
-
Double-check the meeting platform settings to allow external participants if necessary.
-
Your attendees will be able to click on the link or dial the number directly from the event invitation.
Common FAQs about how to set up your calendar and add a meeting link to your event using Bookipi Scheduler
Q: Can I edit the meeting link after publishing?
A: Yes, you can still update your meeting link details after publishing. Just make sure to resend the updated link to your attendees so they have the latest information.
Q: Can clients book a meeting directly from my calendar?
A: Yes, you can share your calendar with clients, allowing them to select an available time slot and automatically generate a meeting link.
Q: If I have multiple companies under my account, will my meeting links sync across all of them?
A: Yes, even if you manage multiple companies, the Bookipi Scheduler does not rely on the company you are signed into. It manages your entire schedule, so there’s no need to switch companies, preventing confusion and ensuring smooth business operations for you.
Discover more tutorials for Bookipi Invoice Web App
Discover more tips on how to get the most out of the Bookipi Invoice web app with our Bookipi Invoice guides.
Want to send invoices easily? Download the Bookipi Invoice mobile app and check out our Bookipi Invoice mobile app guides.


