Learn how to add, edit and delete a customer on Bookipi Invoice mobile app. In this tutorial, learn how to:
How to add customers to Bookipi Invoice in mobile app
Learn how to add customers to your Bookipi Invoice account by manually entering their details and/or importing your contact list from your mobile device.
Follow our 6 simple steps below:
How to add a customer
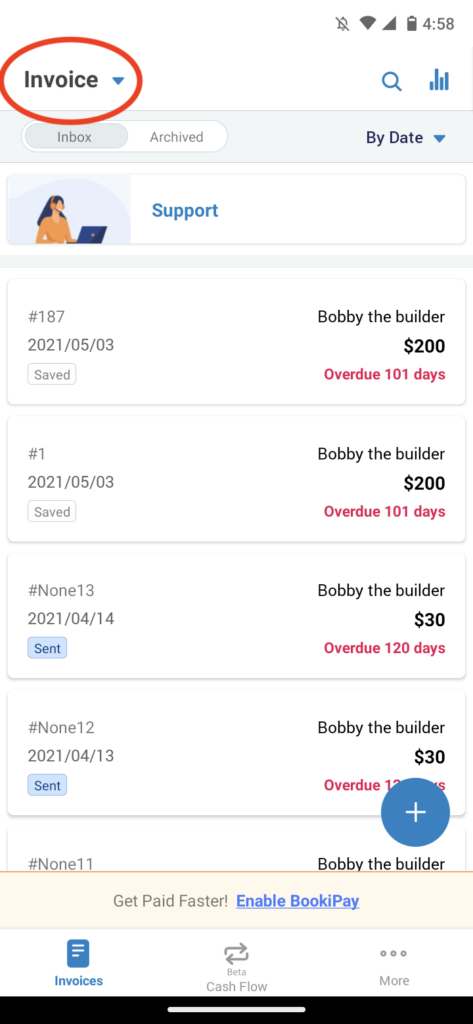
Step 1: Select ‘Invoice’
Tap on the ‘Invoice’ section
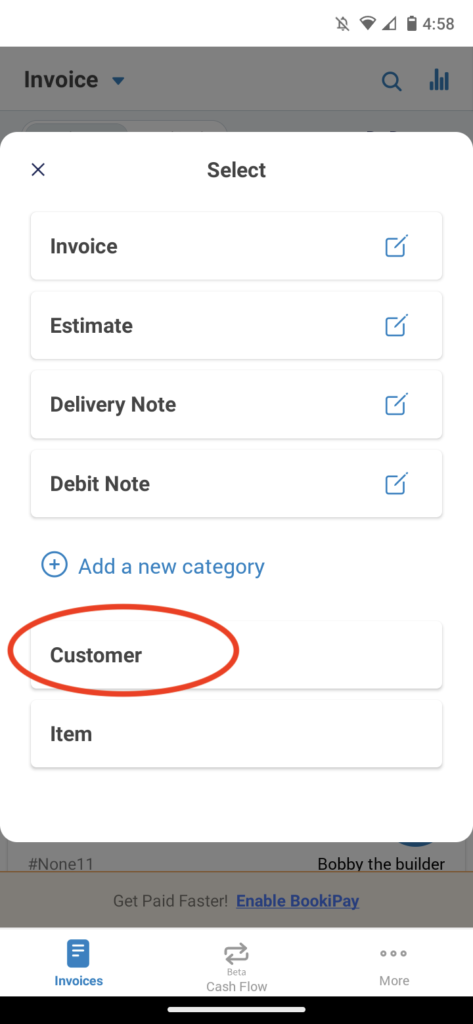
Step 2: Select ‘Customer’
Tap on ‘Customer’
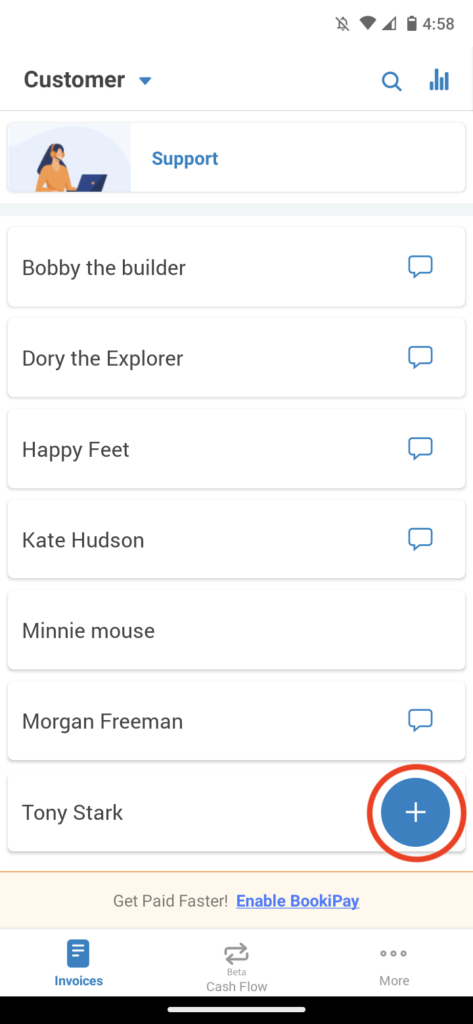
Step 3: Click the plus (+) button.
Add a new entry for a customer
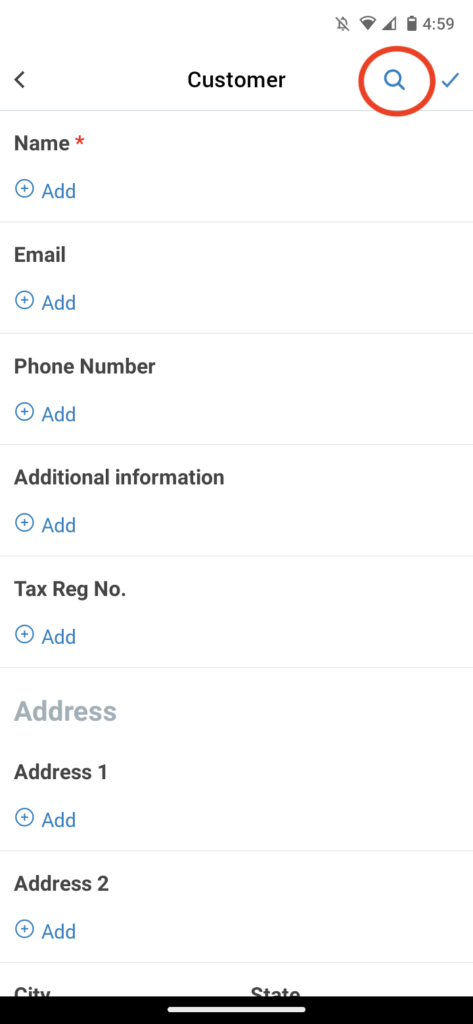
Step 4: Enter your customers’ details manually.
Alternatively, press the Search icon to prefill the details from your contact list on your mobile device.
Step 5: Select the contact you would like to create as a customer.
Choose a contact

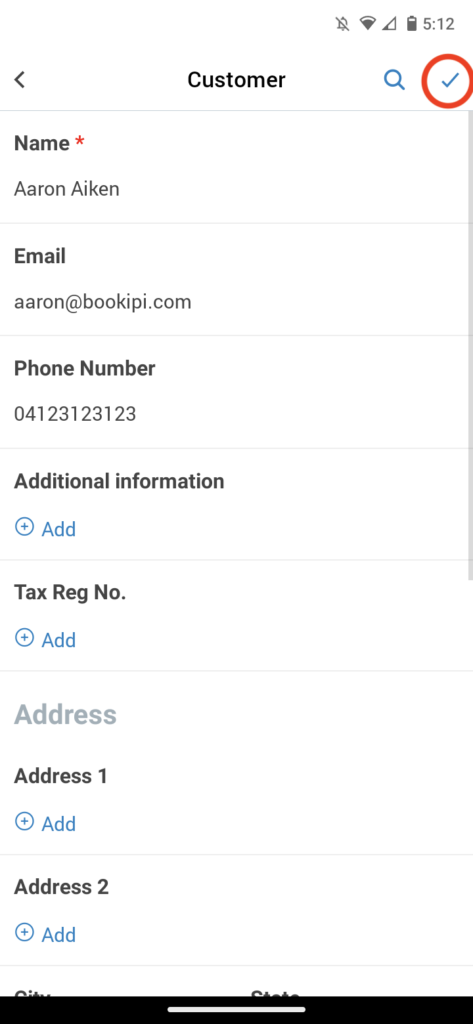
Step 6: Review customer details
Check that all customer details are correct, add any additional information, and select the Tick icon to save.
How to edit a customer
Learn how to edit customers in your ‘Customer’ list with 5 simple steps below:
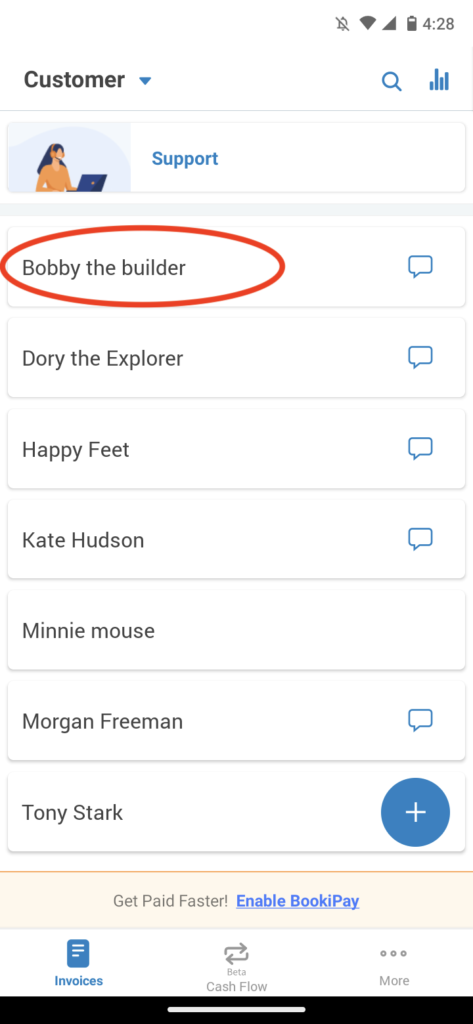
Step 1: Select a customer
Select the customer you would like to edit from the ‘Customer‘ list.
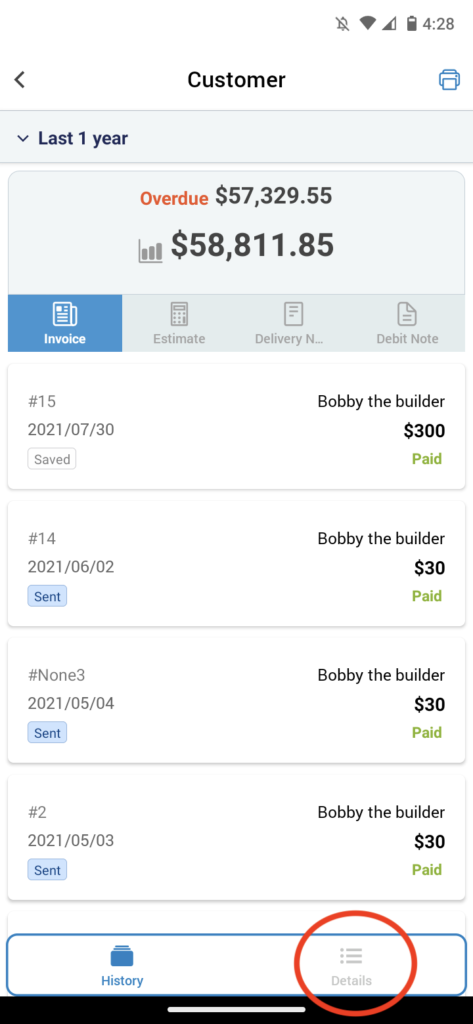
Step 2: Select ‘Details’
Step 3: Select the field you would like to edit.
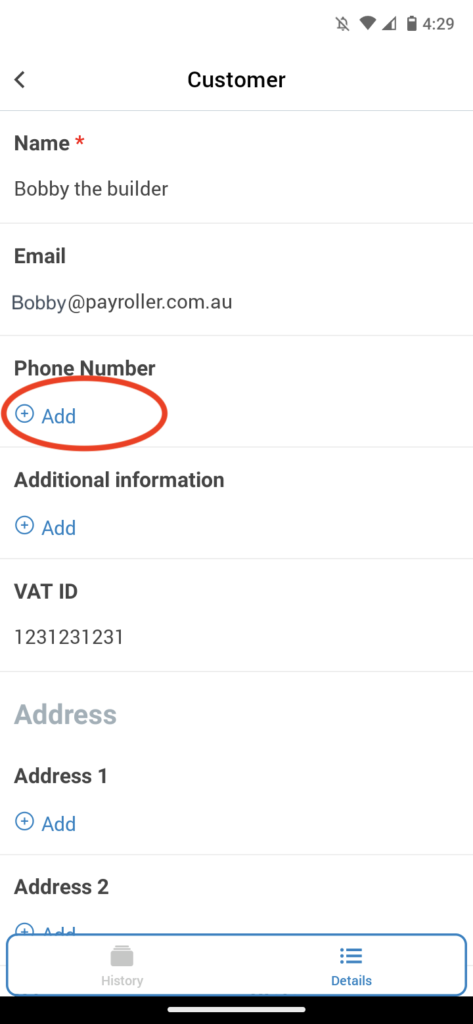
Step 4: Edit the field.
Then, click ‘Save’
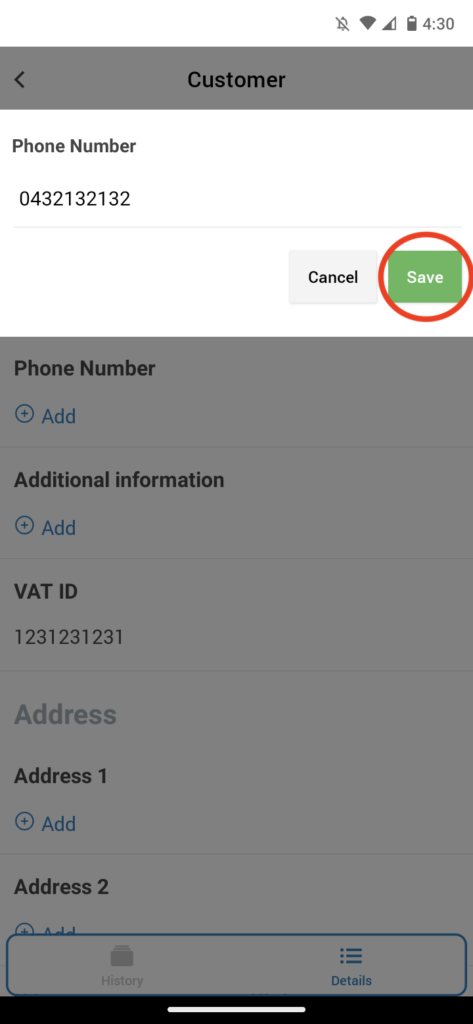
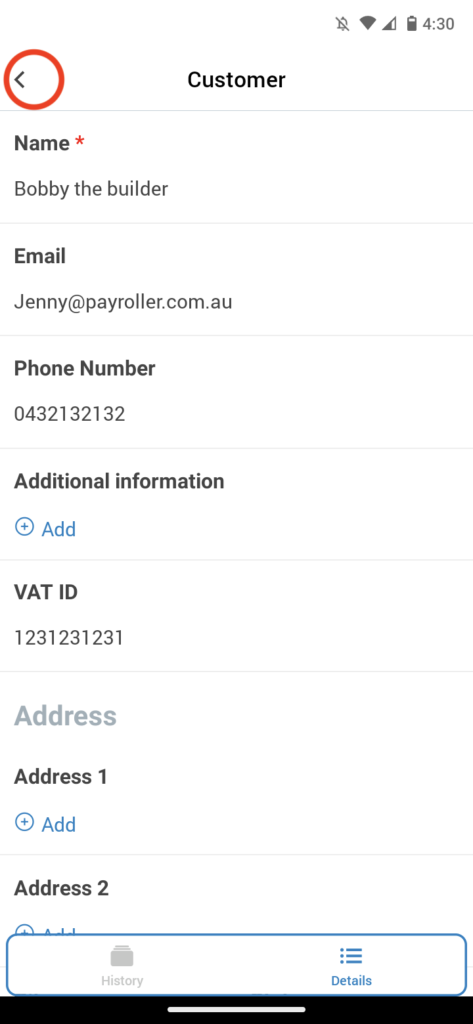
Step 5: Save changes
Once you’re happy with the details, click the Back arrow to save changes.
How to delete a customer
Learn how to delete customers in your Bookipi Invoice Customers list using the 4 simple steps below:
Step 1: Select a customer
Select the customer you would like to edit from the ‘Customer‘ list.
Step 2: Select ‘Details’
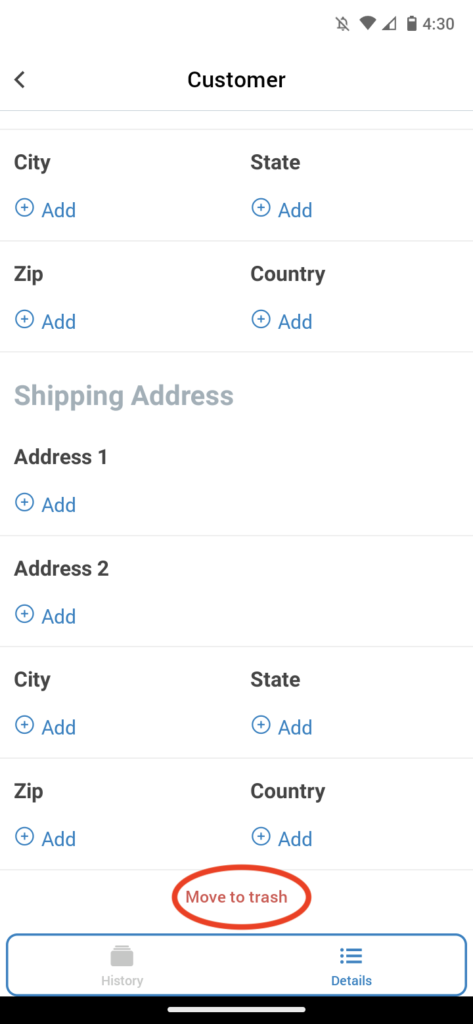
Scroll down to the bottom of the selected customer’s page and select ‘Details‘
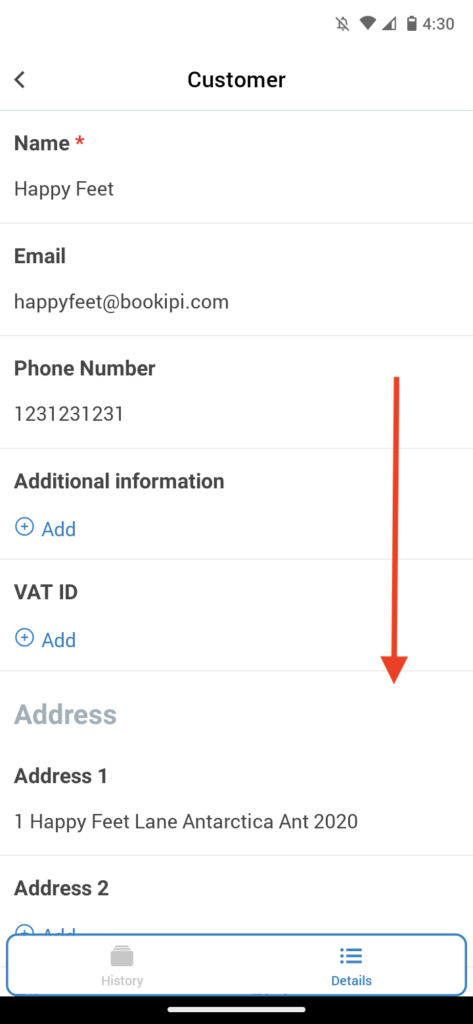
Step 3: Select ‘Move to trash’.
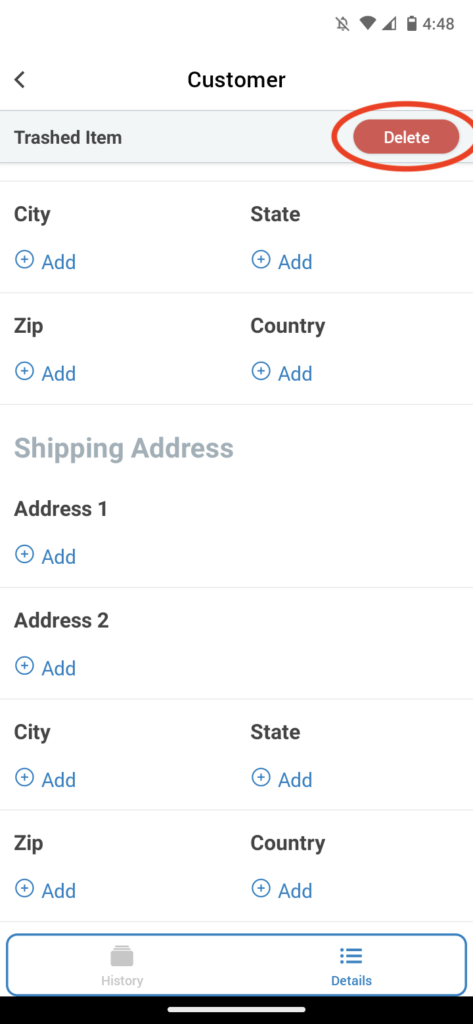
Step 4: Select ‘Delete’
Remove the customer from your contact list.
Note: Select the Back button instead of ‘Delete’ if you aren’t ready to delete the customer from your contact list in Bookipi Invoice mobile app. Selecting ‘Back’ will simply store the customer in the Trash section of your Settings. You can then restore customer details as required.
