Learn how to add a deposit to an invoice using the mobile app version.
How to add a deposit on the invoice using the mobile app
You can customize the invoice to indicate a deposit amount by using the discount feature and renaming it to deposit using the mobile app. Here are the easy steps to do this:
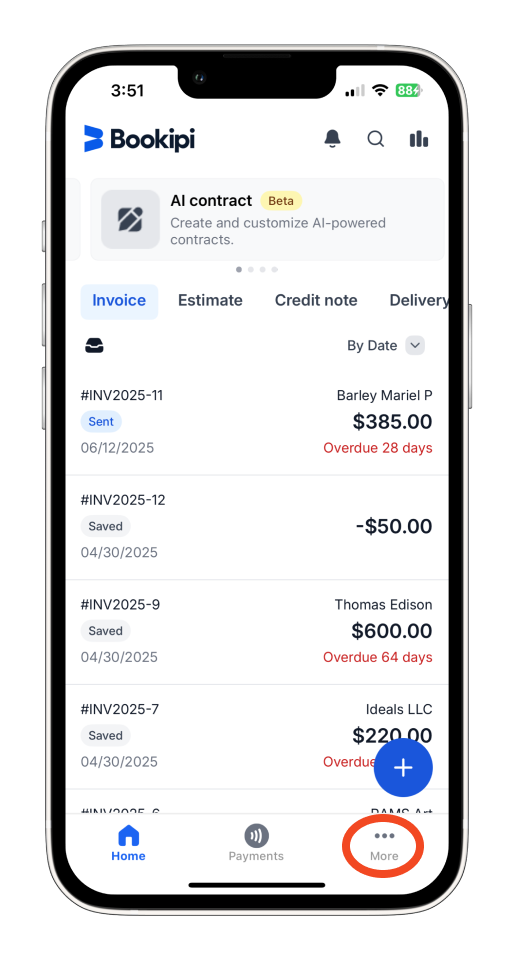
Step 1: Tap ‘More’ or the three-dot button.
Tap ‘More’ at the lower right corner of the screen to access the menu.
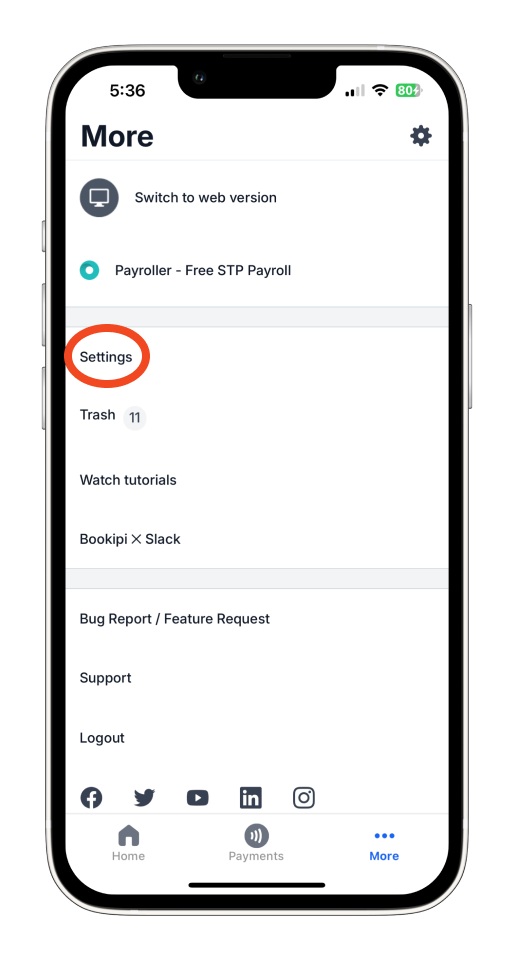
Step 2: Access Settings.
From the menu options, tap ‘Settings’.
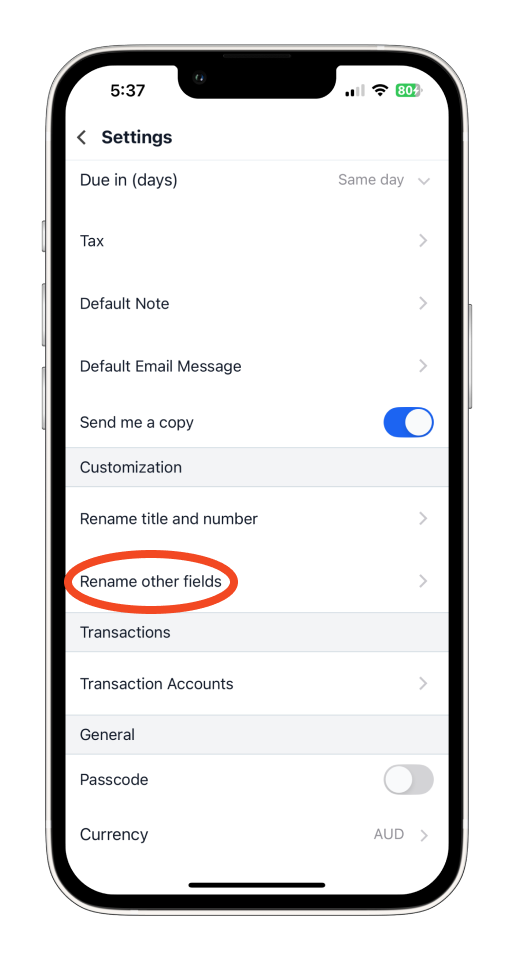
Step 3: Rename the Discount Field.
Under the Customization section, tap ‘Rename other fields’.
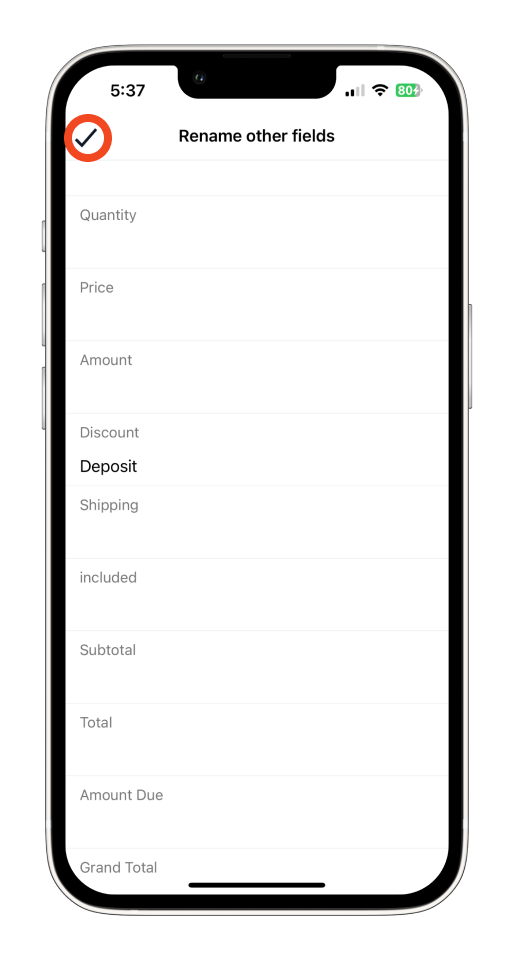
Find the ‘Discount’ field and rename it to ‘Deposit’.

Tap the checkmark icon (✓) in the upper right corner to save your changes.
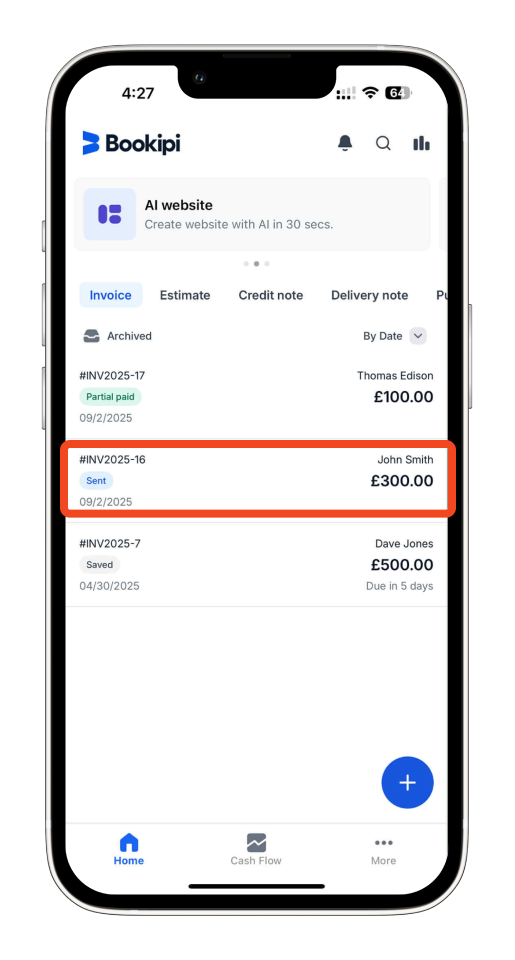
Step 4: Select an Invoice.
Select the invoice where you want to apply the deposit.
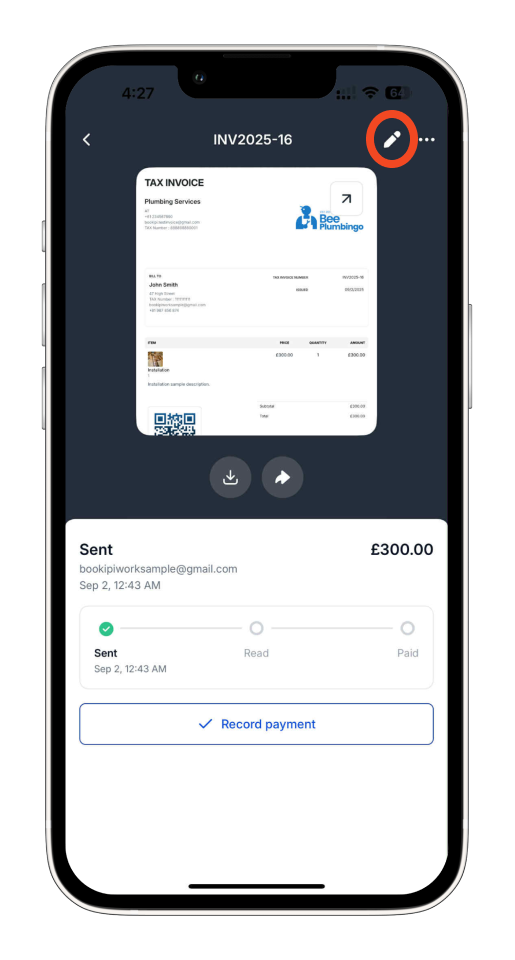
Step 5: Tap the ‘Pencil’ icon.
Choose the ‘Pencil’ icon to edit the invoice.
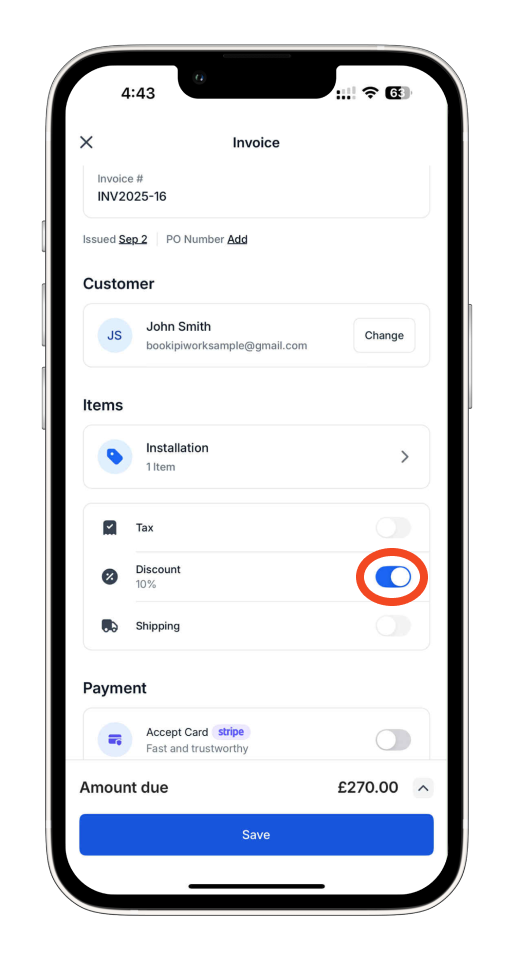
Step 6: Enable the ‘Discount’ feature.
Enable the ‘Discount’ feature to set up a deposit.
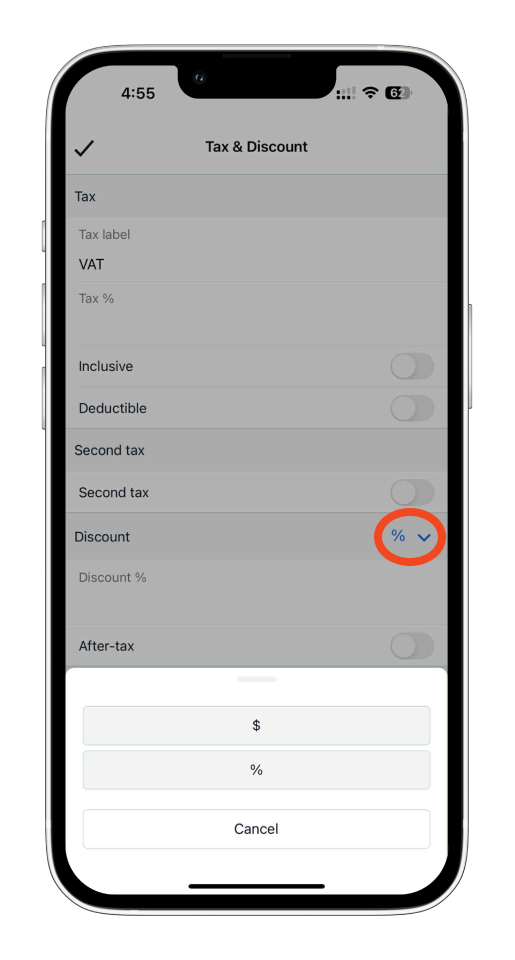
Step 7: Set the Deposit Amount.
In the Deposit field, select either $ for a fixed amount or % for a percentage.
Step 8: Add the deposit amount and save.
Enter the deposit amount and tap the checkmark icon (✓) at the upper left to save it.

Step 9: Save the Invoice.
Tap ‘Save’ at the upper right to finalise the changes made to the invoice.

You have now successfully added a deposit to your invoice, and it will be deducted from the subtotal of the invoice. This ensures that the deposit amount is applied before calculating the remaining balance due.
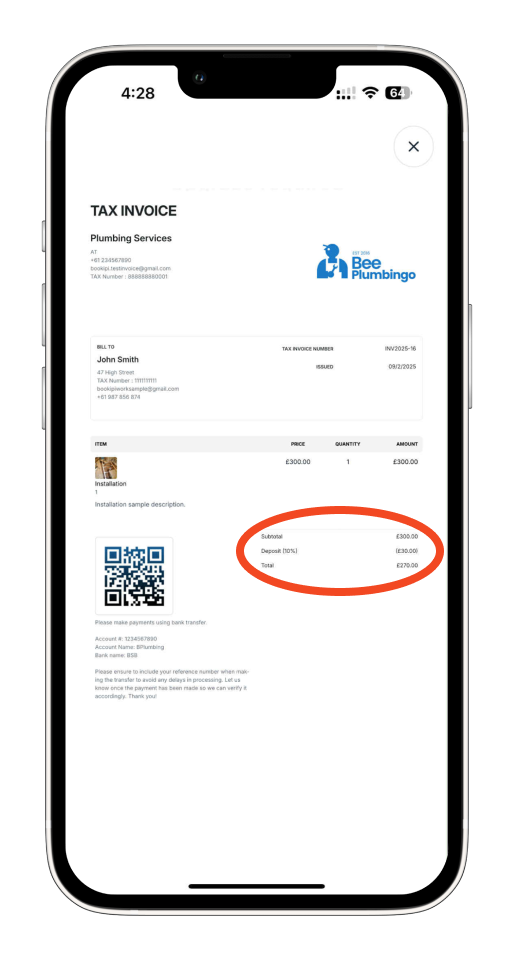
Note: While the current invoice page will display this as a ‘Discount’, the PDF version of the invoice will show it as a ‘Deposit’. This ensures that the term ‘Deposit’ is reflected in your official invoice PDF while maintaining the functionality of the Discount field on the invoice page itself.
Common FAQs on how to add a deposit on the invoice using the mobile app
Q: Can I use both a deposit and a discount on the same invoice?
A. No. Since you’re repurposing the discount field to act as a deposit, only one can be used at a time. If you need to show both, you may consider noting one manually in the invoice notes section.
Q: Is the deposit automatically deducted from the total amount due?
A. Yes. The deposit (renamed from discount) will be deducted from the subtotal, showing the adjusted balance due.
Q: Will I need to rename the field every time I create an invoice?
A. No. Once you’ve renamed the discount field to “Deposit” in the app settings, it will stay that way until you manually change it back.
Q: Does this method work on the web version as well?
A. No. This method is specific to the Bookipi mobile app. The process for applying deposits may differ on the web version.
Discover more tutorials for Bookipi Invoice on mobile app
Creating and sending invoices is even easier with the Bookipi Invoice mobile app.
Explore more tips and learn how to maximise your experience with Bookipi Invoice through our mobile app guides.


