As a freelancer, one of the most important parts of managing your business is invoicing your services. Invoices are the business documents that get sellers paid and help the buyer make the payment.
Whether you’re a seasoned pro or just starting out, knowing how to invoice properly ensures that you get paid on time and maintain a professional image. Freelancers make up 34% of the US workforce, but did you know that 40% of them already use a dedicated invoicing tool? If you want to get ahead, professional invoicing is the way to go.
In this guide, we’ll walk you through the steps of creating and sending an invoice for freelance work, covering both manual and automated methods.
Here, we’ll explore two simple methods for creating an invoice: using a template and leveraging an invoicing software app. Both methods have their merits, so let’s break them down.
Learn more: What is an invoice?
How to create a freelance invoice with a template
Using a template provides a structured format for your invoices. Here’s how to create one:
Step 1: Choose a template
Start by selecting an invoice template that suits your style and needs. You can find plenty of free freelance invoice template options online, or opt for a paid template for more customisation.
Step 2: Fill in your information
Input your contact details at the top of the invoice, including your name or business name, address, phone number, and email address.
Step 3: Create an invoice number and issuance date
Assign a distinct identifier to the invoice and specify the date it was issued.
Step 4: Add a description of your services
Clearly outline the services or products provided to the client, including the number of hours worked and your rate.
Step 5: Calculate the total amount due
State the complete cost of your services, including any applicable taxes or discounts.
Step 6: Include payment details
Provide clear instructions on how the client can make payment, including accepted methods and any payment terms or deadlines.
Step 7: Review and send
Double-check the invoice for accuracy. Once that’s done, save it as a PDF and send it to your client via email so that you both have a record of it.
Check out this article for a more comprehensive guide on how to create an invoice.
How to create a freelance invoice with an app
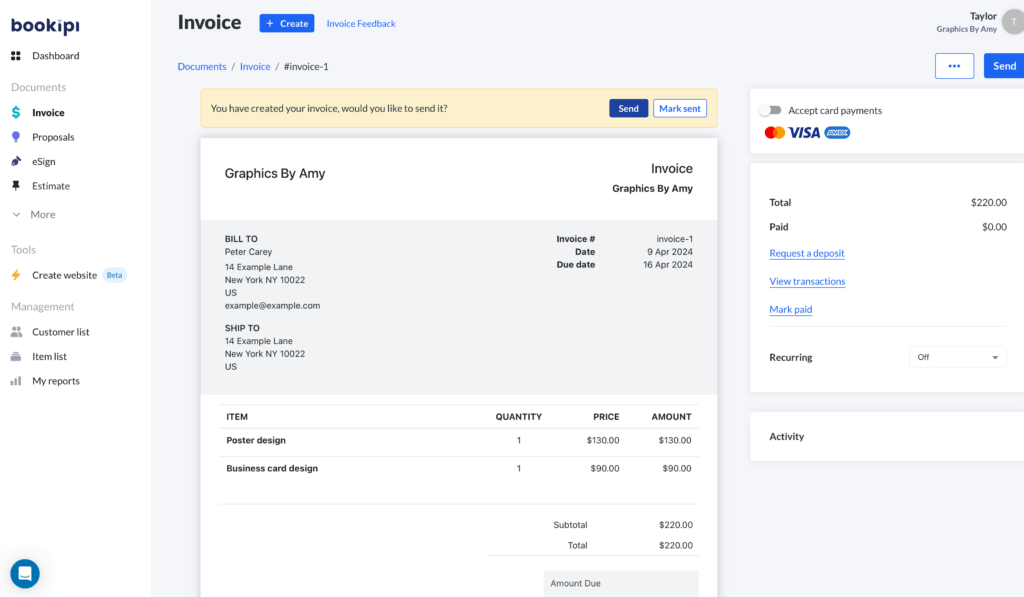
Using an invoicing app like Bookipi is a quick and convenient option for invoicing your customers.
Step 1: Choose Bookipi’s invoicing app
Download Bookipi’s user-friendly invoicing app from the App Store or Google Play Store. Even better, use our Web app directly from your browser. Bookipi is synced across your mobile and web app, use it however you want!
Step 2: Enter client and service details
Input your client’s information and a description of the services or products you provided. The app will automatically generate an invoice number and date for you.

Step 3: Set payment terms
Specify your payment terms, including due date and accepted methods. Bookipi’s app allows you to customize these settings according to your preferences.

Step 4: Review and send
Double-check all the details to ensure accuracy, then hit send. Bookipi’s app makes it easy to email invoices directly to your clients, saving you time and hassle.

Step 5: Calculate the total amount due
State the complete cost of your services, including any applicable taxes or discounts.
Step 6: Include payment details
Provide clear instructions on how the client can make payment, including accepted methods and any payment terms or deadlines.
Step 7: Review and send
Double-check the invoice for accuracy. Once that’s done, save it as a PDF and send it to your client via email so that you both have a record of it.
Check out this article for a more comprehensive guide on how to create an invoice.
What should an invoice for freelance work include?
When creating your invoice for freelance work, it’s important to include all the necessary details to facilitate smooth transactions and maintain professionalism. Here’s a breakdown of what to include:
- Your contact information: Provide your name or business name, address, phone number, and email address for easy communication.
- Invoice number and date: A unique identifier for the invoice and the date it was issued.
- Services or products provided: A clear description of the services or products delivered to the client, including hours worked and your rate.
- Total amount due: The total cost of your services, including any taxes or discounts.
- Payment details: Clear instructions on how the client can make payment, including accepted payment methods and payment terms, including a due date.
How do I send an invoice for freelance work?
Once you’ve created your invoice, it’s time to send it off to your client. You have several options for delivery, including email or through a secure online platform.
- Email: Send the invoice as an attachment via email for quick and convenient delivery. Many freelancers prefer this method for its simplicity and ease of tracking.
- Online platforms: Alternatively, you can use secure online platforms like Bookipi’s app to send invoices electronically. This option offers added security and
How do I send an invoice for international clients?
When sending invoices to international clients, it’s essential to consider factors like exchange rates, tariffs, and additional costs. Be transparent about any additional fees upfront to avoid misunderstandings or disputes down the line.
Invoicing best practices for freelancers
To simplify your invoicing process and maintain professionalism, consider the following best practices:
Use an app or software
Leverage an invoicing app or software like Bookipi to automate your invoices, saving you time and effort. A dedicated invoicing solution will automate invoice creation, payment tracking, and reminders.
Organize your invoices
Find an organizing system that works best for you so that you can ensure timely payments and easily reference your invoices in the future. Assign unique and sequential invoice numbers to keep records organized and easily track payments across multiple clients.
Communicate clearly
Maintain open communication with your clients regarding payment terms, deadlines, and any changes to the invoice. Provide clear descriptions of services to minimize client confusion and ensure faster approval.
Set up an instant payment option
Instant payment options allow freelancers to quickly access their earnings, especially when working with clients across different time zones or countries. According to studies, 37% of freelancers use instant payments to relieve themselves of financial buderns.
Streamline your invoicing process as a freelancer!
Invoicing for freelance work doesn’t have to be a headache. With the right tools and strategies in place, you can create professional invoices efficiently and effectively. Consider leveraging Bookipi’s invoicing app to simplify the process and focus on what you do best – delivering exceptional services to your clients.
Ready to take your invoicing game to the next level? Download Bookipi’s app today and start sending polished invoices with ease!
Create, send and track invoices for your freelance work with Bookipi, try it now!