Follow the steps below to add customers to your Bookipi CRM, whether manually, through a CSV upload, or by importing from Google Contacts.
How to add a customer to the customer detail screen
Learn how to add a customer to the customer detail screen with our clear, step-by-step instructions.
Step 1: Log in to the Bookipi Web App
Go to https://bookipi.com/, and click ‘Log in’.
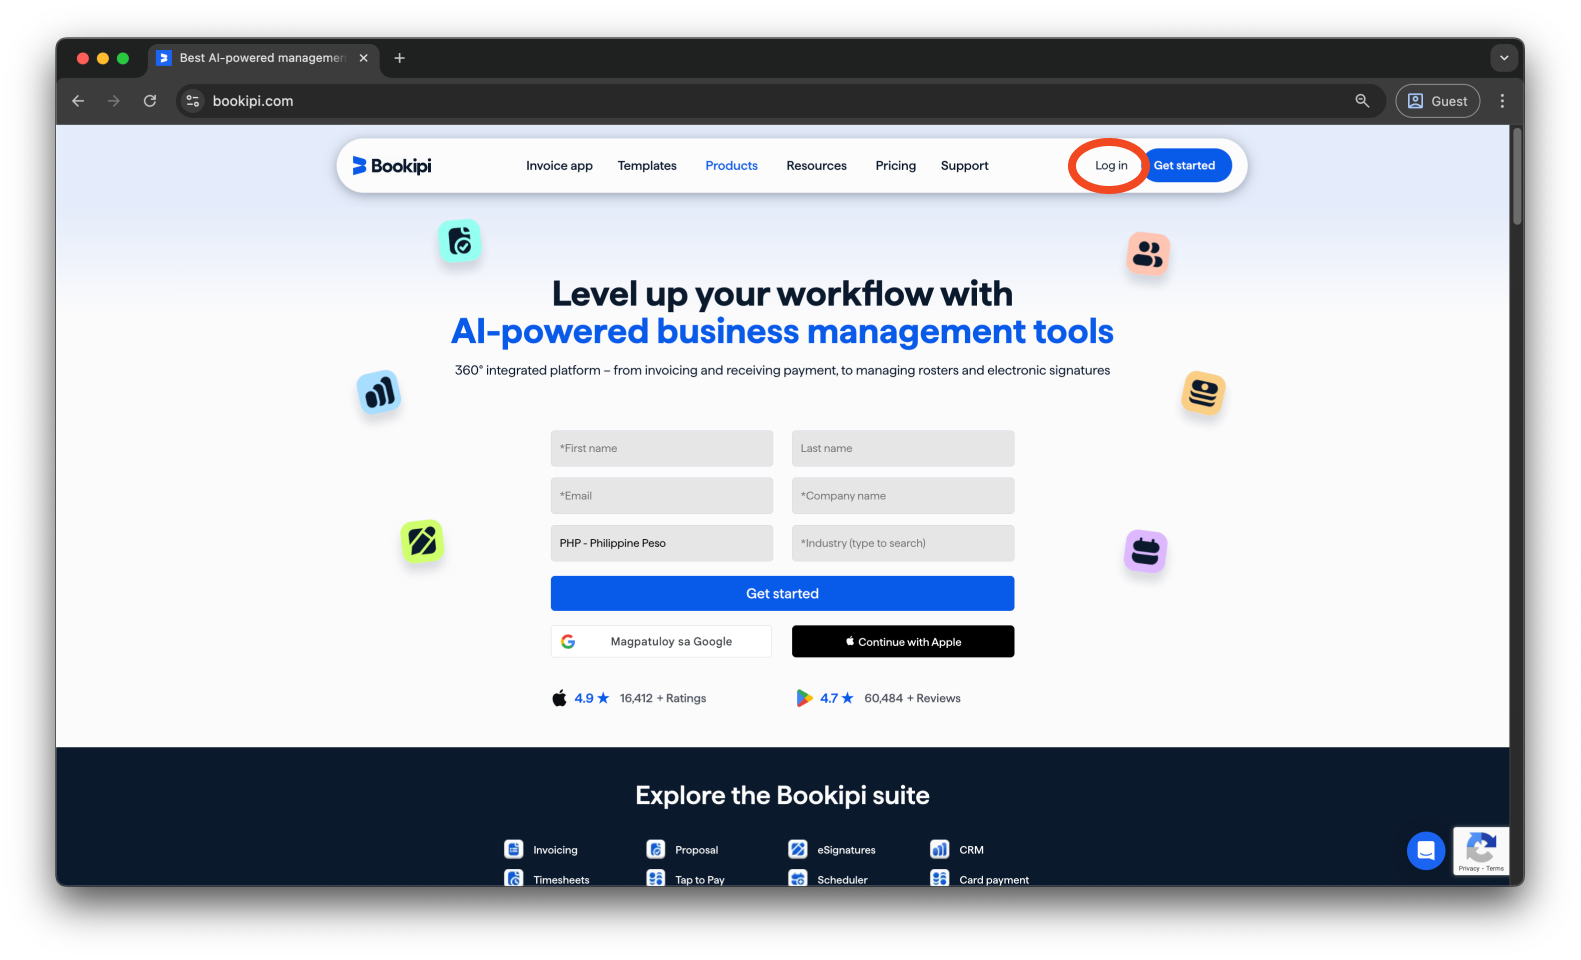
Enter your login credentials, then select ‘Sign in’ to access your account.

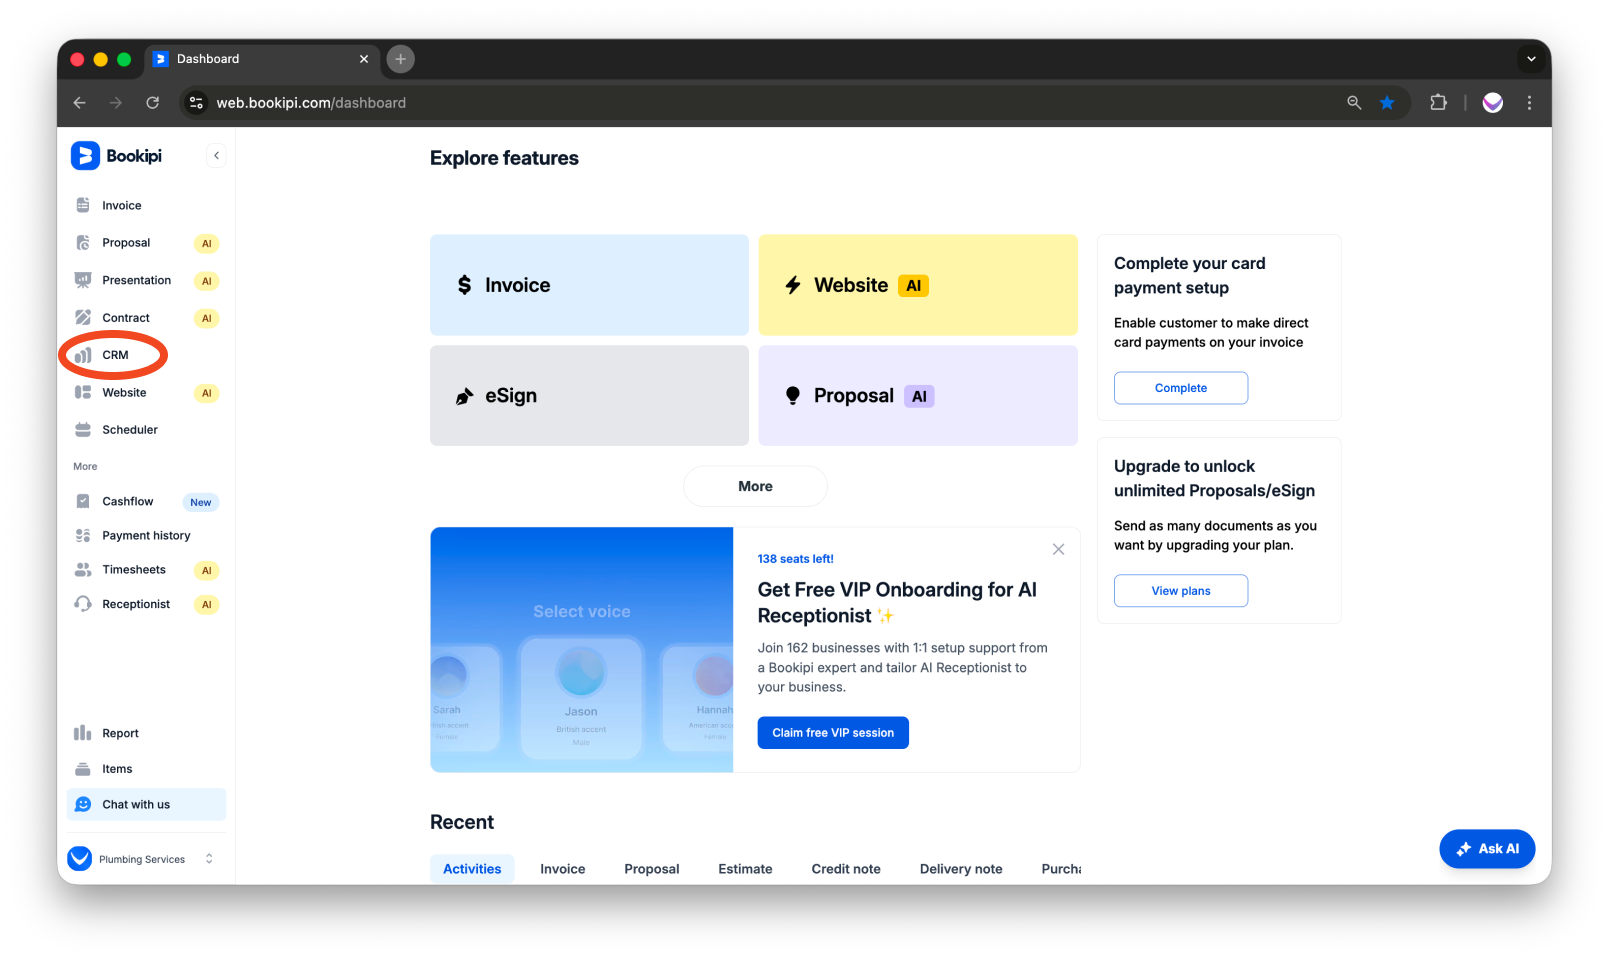
Step 2: Open the ‘CRM’ module
On the left side panel, click ‘CRM’. You will be taken to the Customer dashboard.
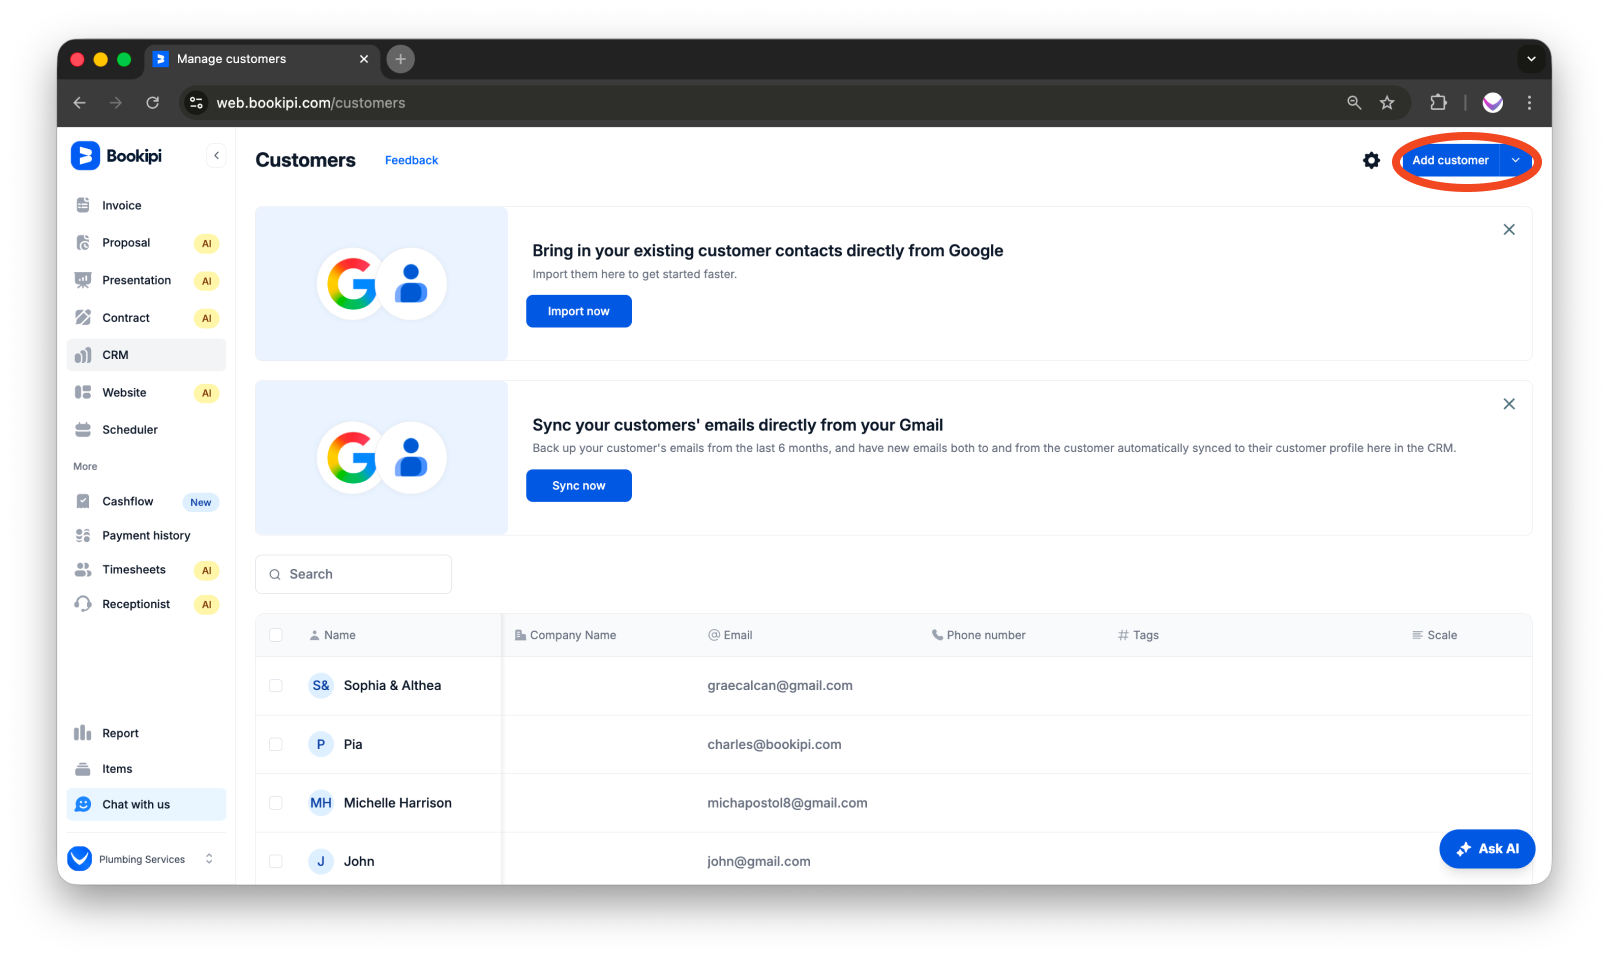
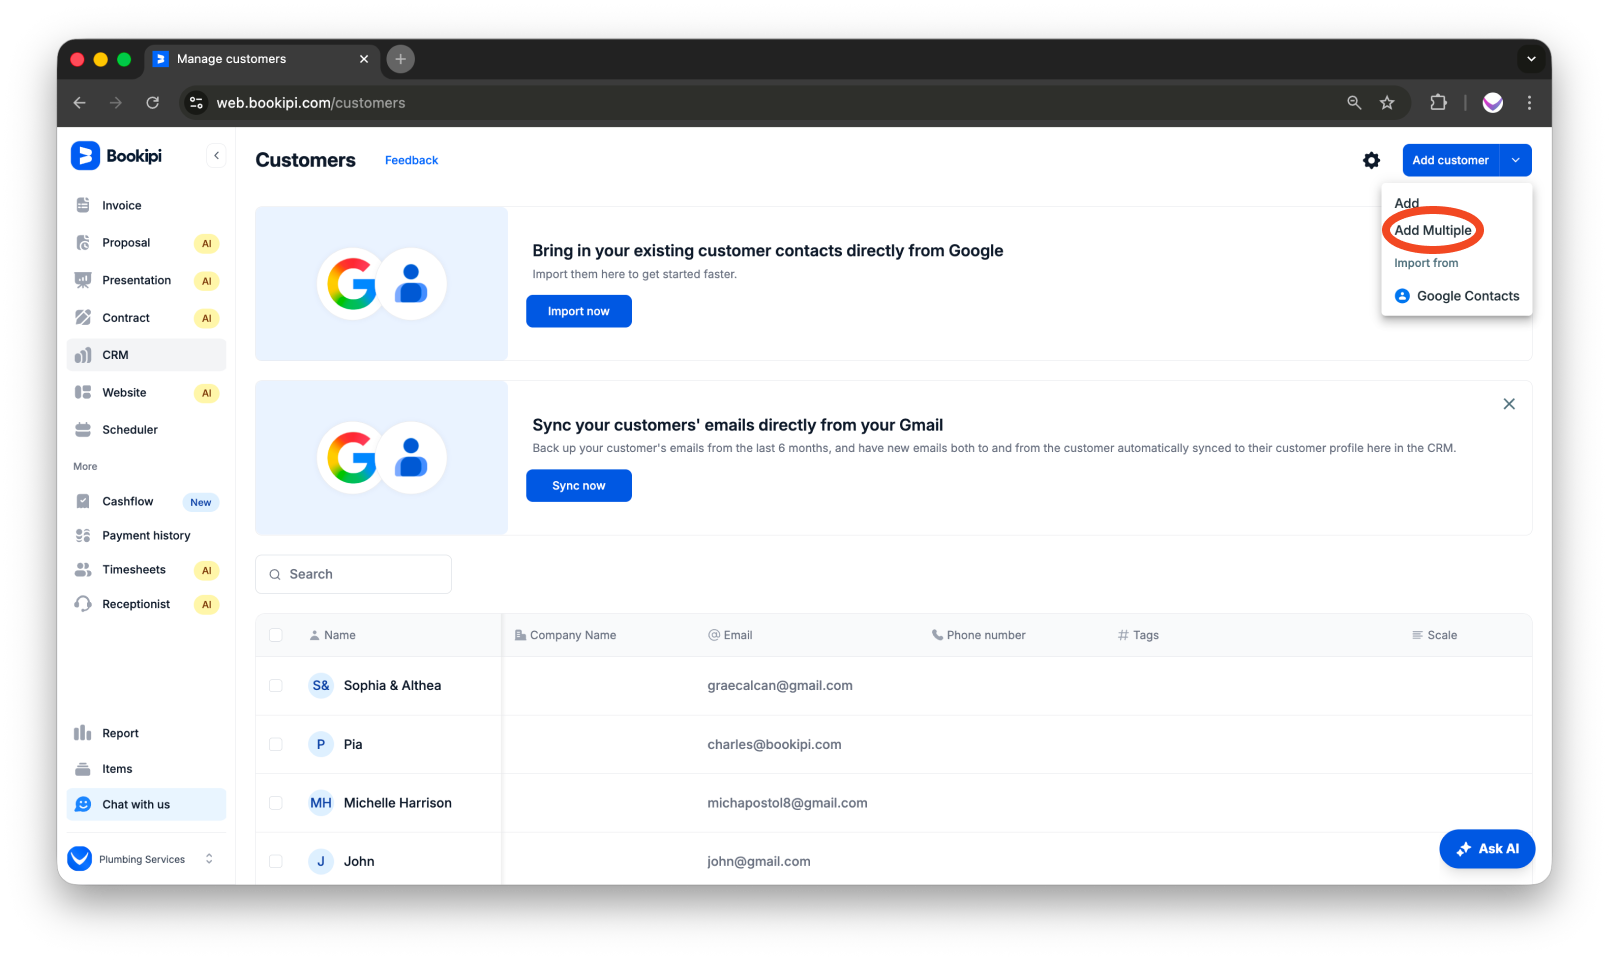
Step 3: Click ‘Add customer’.
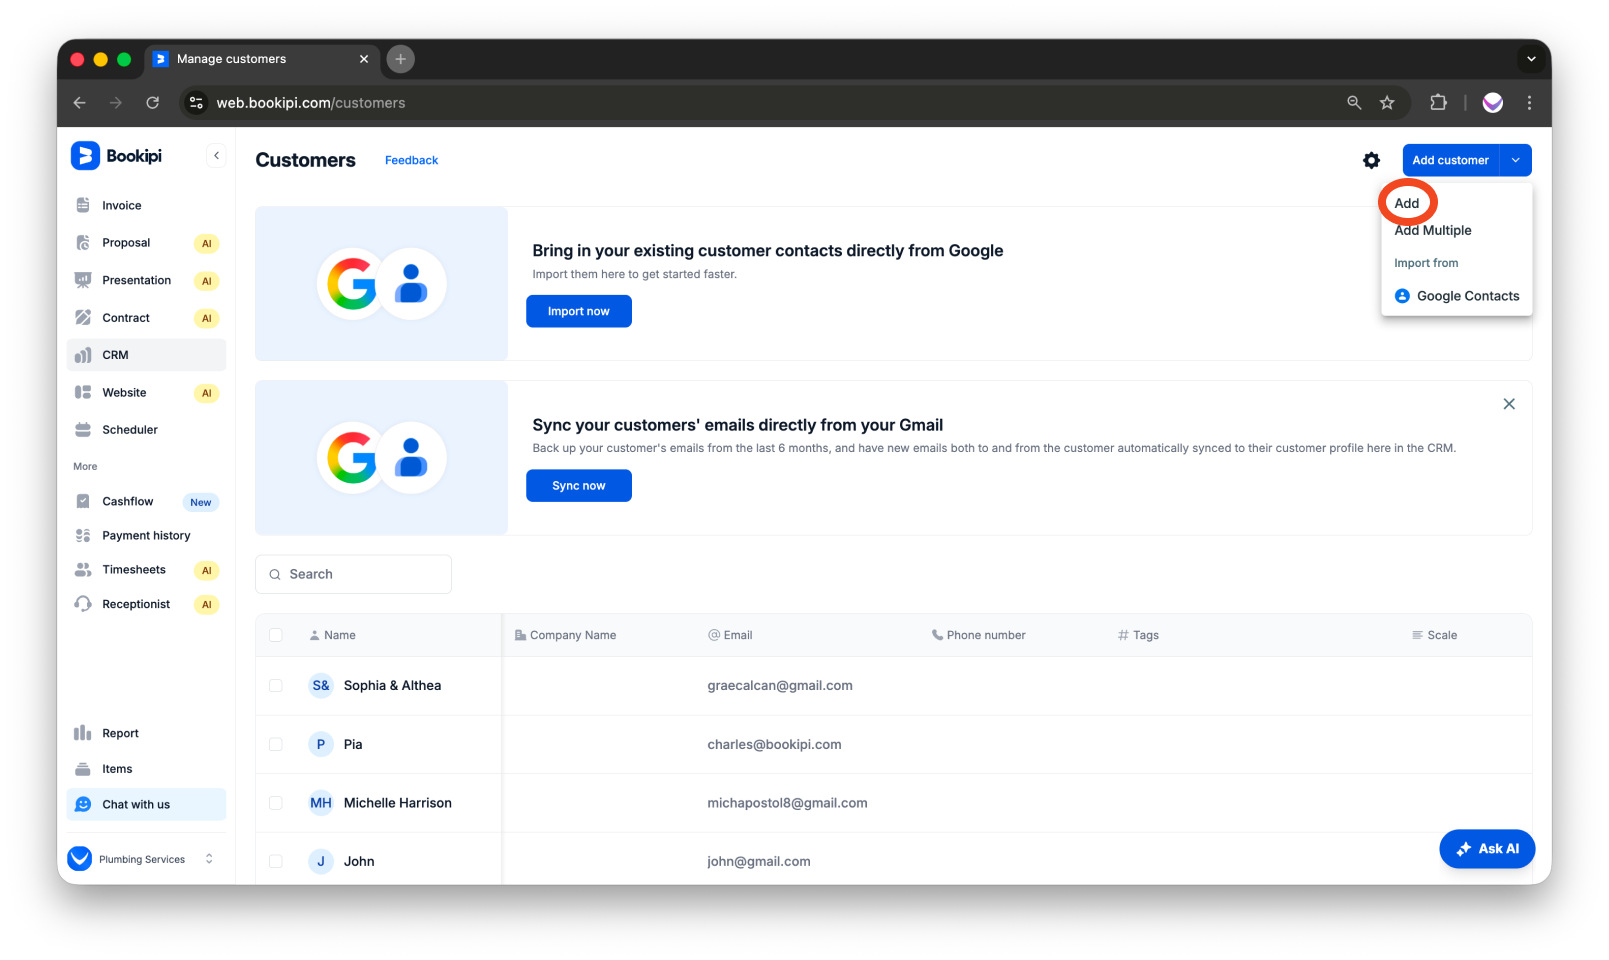
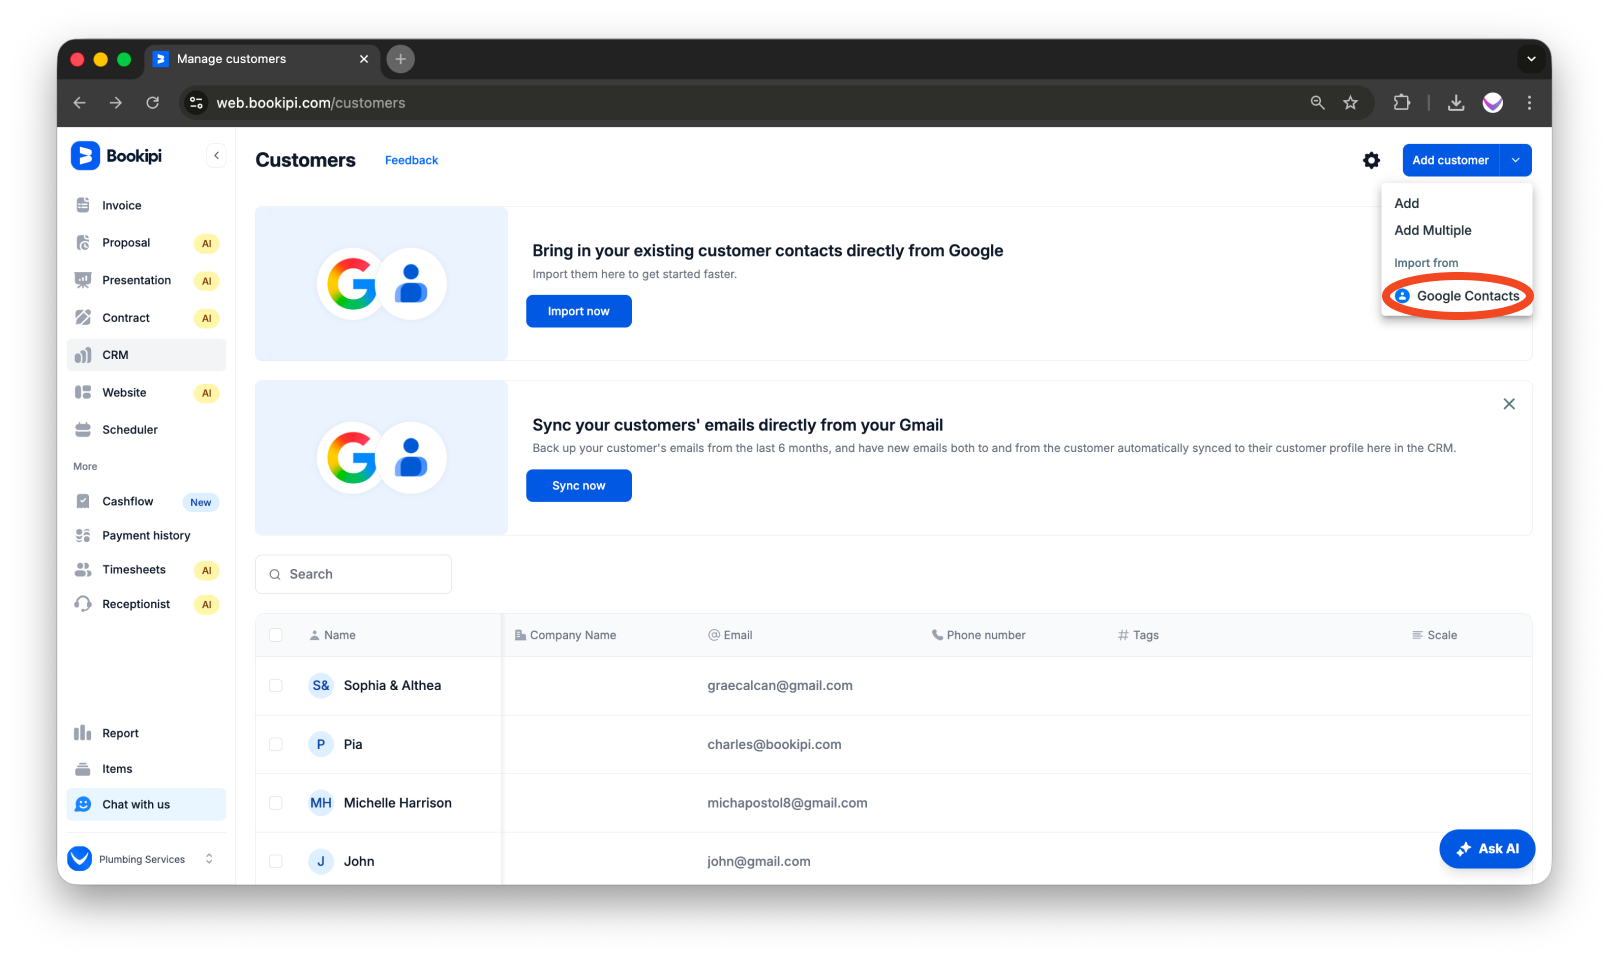
On the Customer dashboard, click the ‘Add Customer’ dropdown button. You will see three ways to add customers to your list.
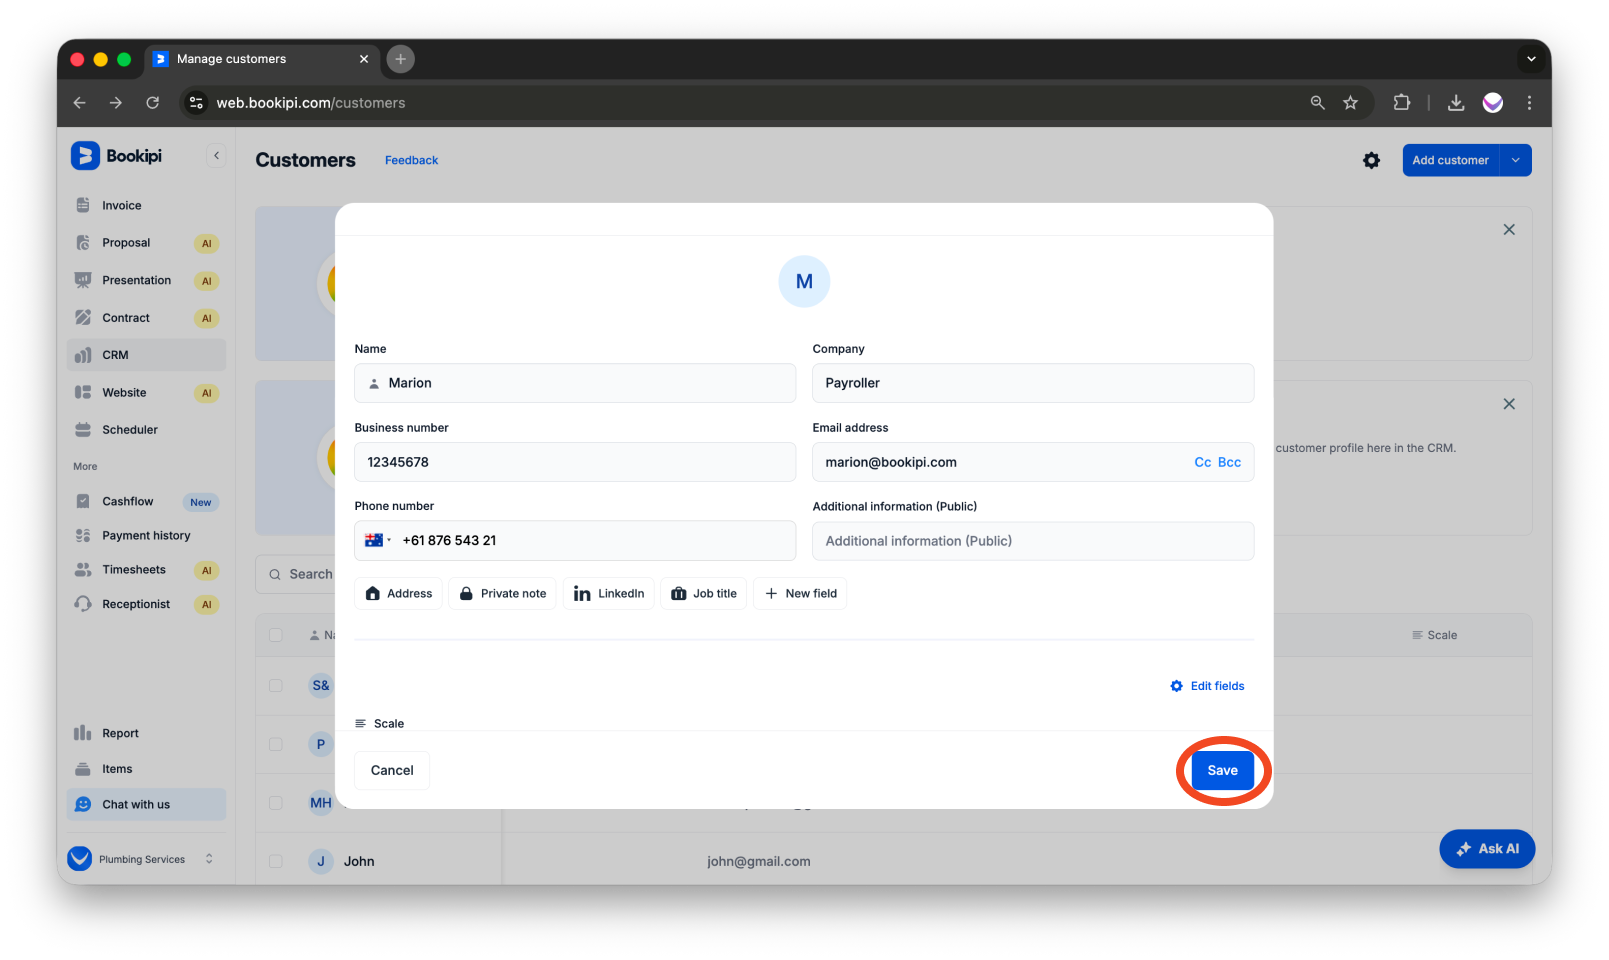
Option 1: Add a Customer Manually
Click ‘Add’ to input customer details manually.
By default, you can enter the customer’s name, company, business number, email address, phone number, and any additional information.
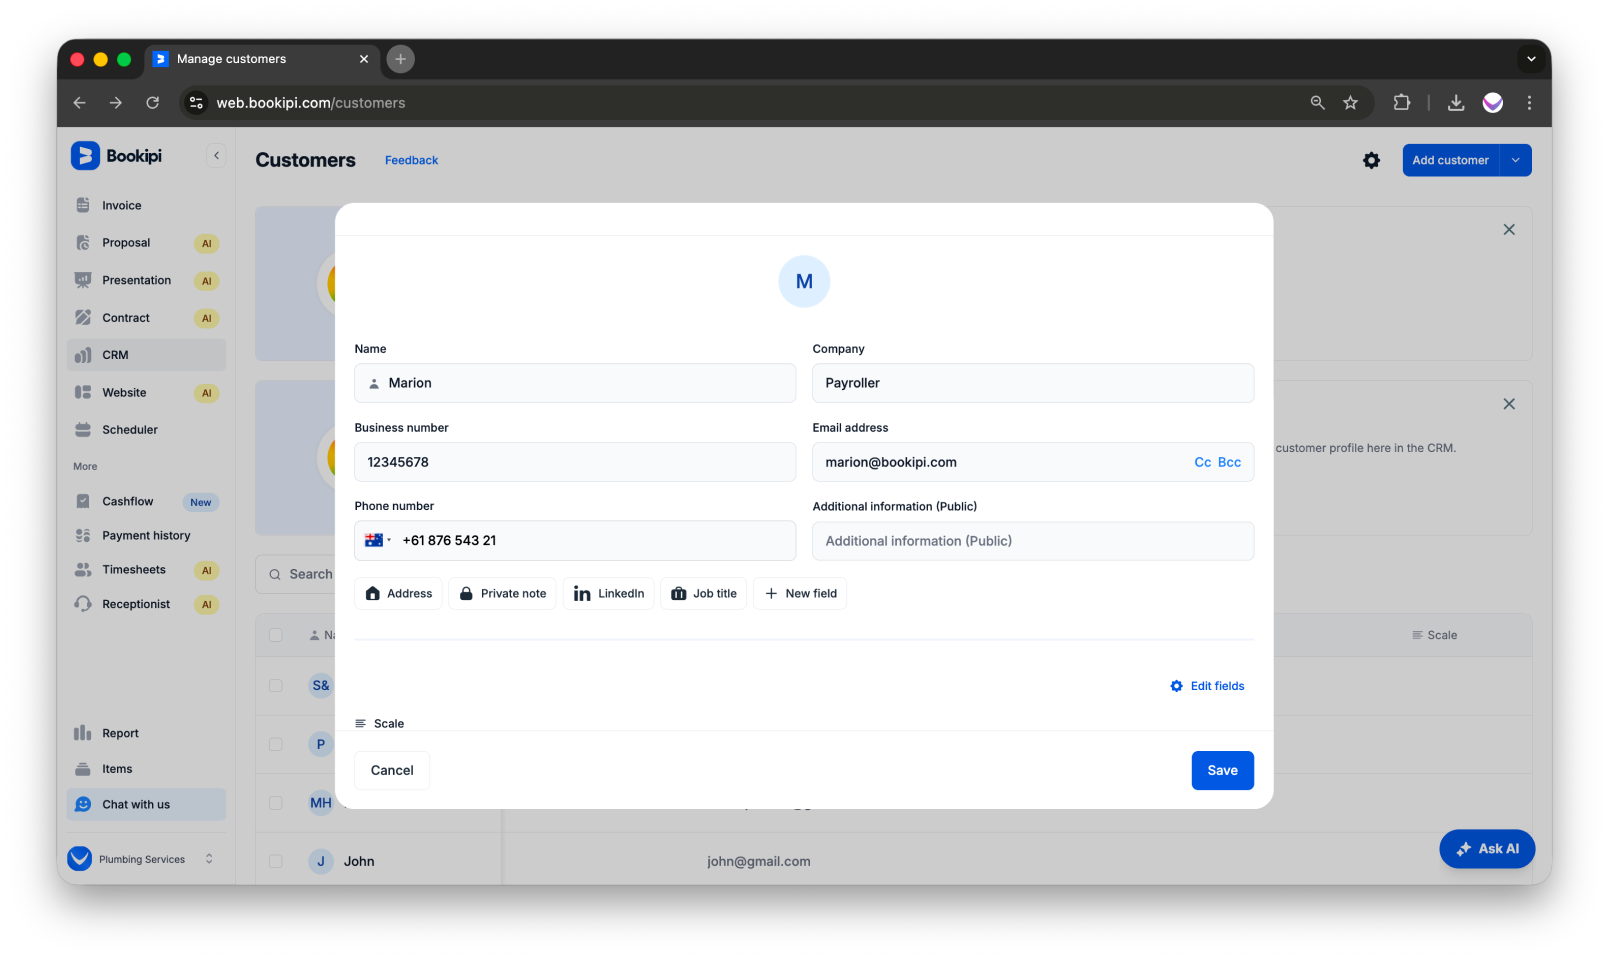
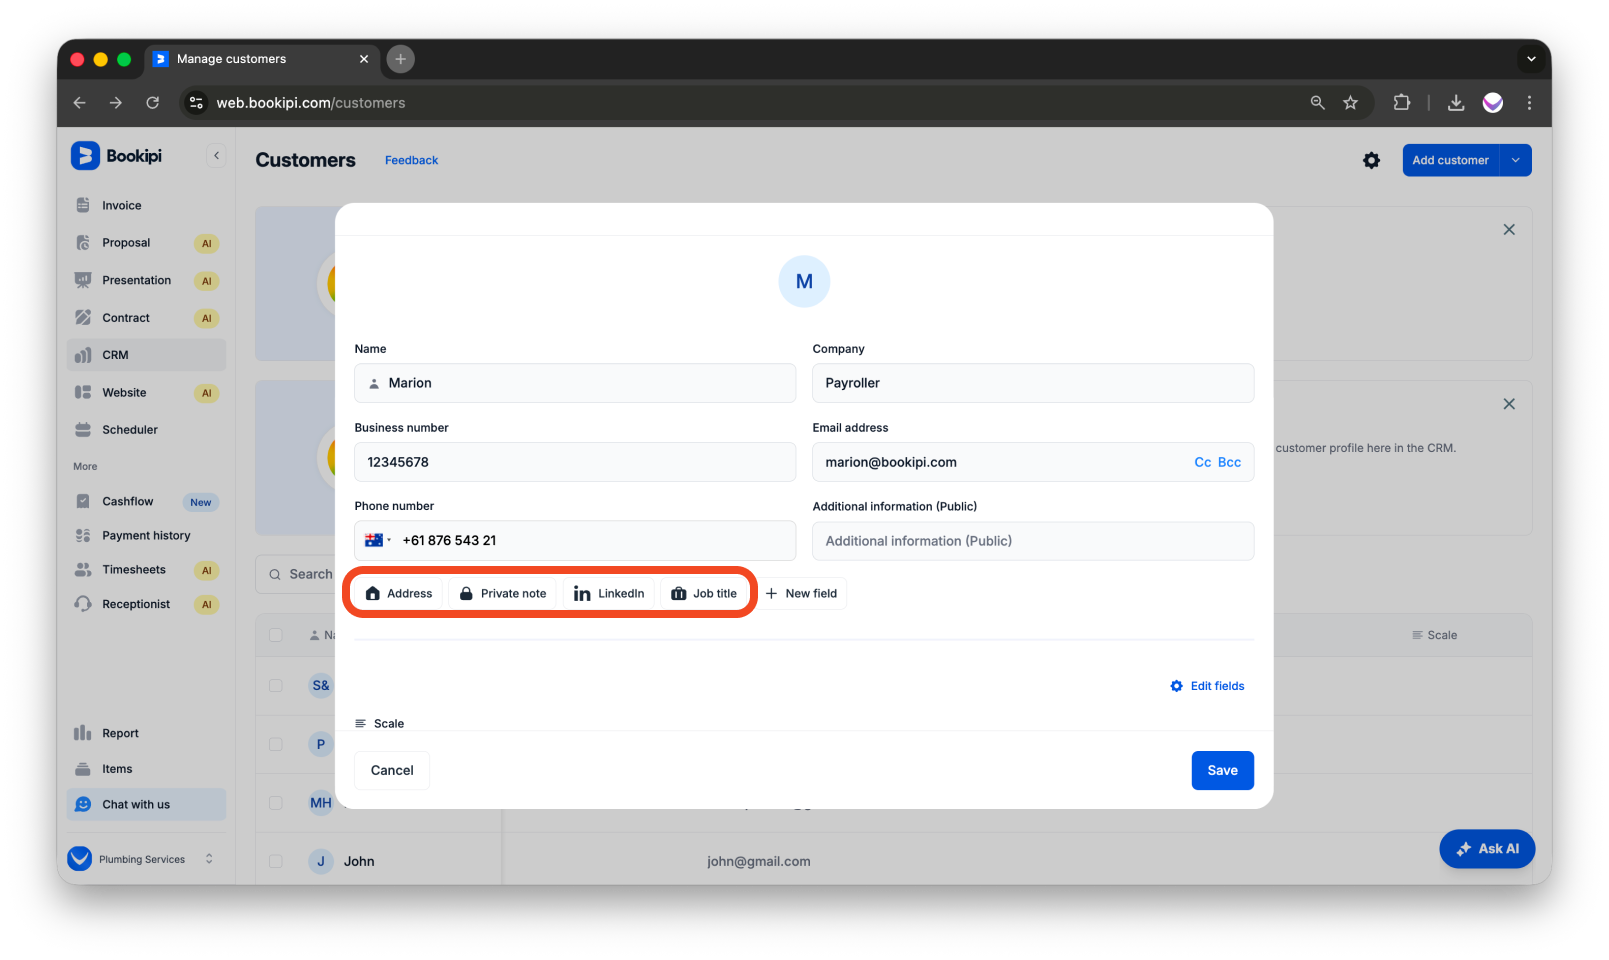
You can also expand the additional fields to add details such as the customer’s Address, Job title, LinkedIn profile (if available), or a Private note as needed.
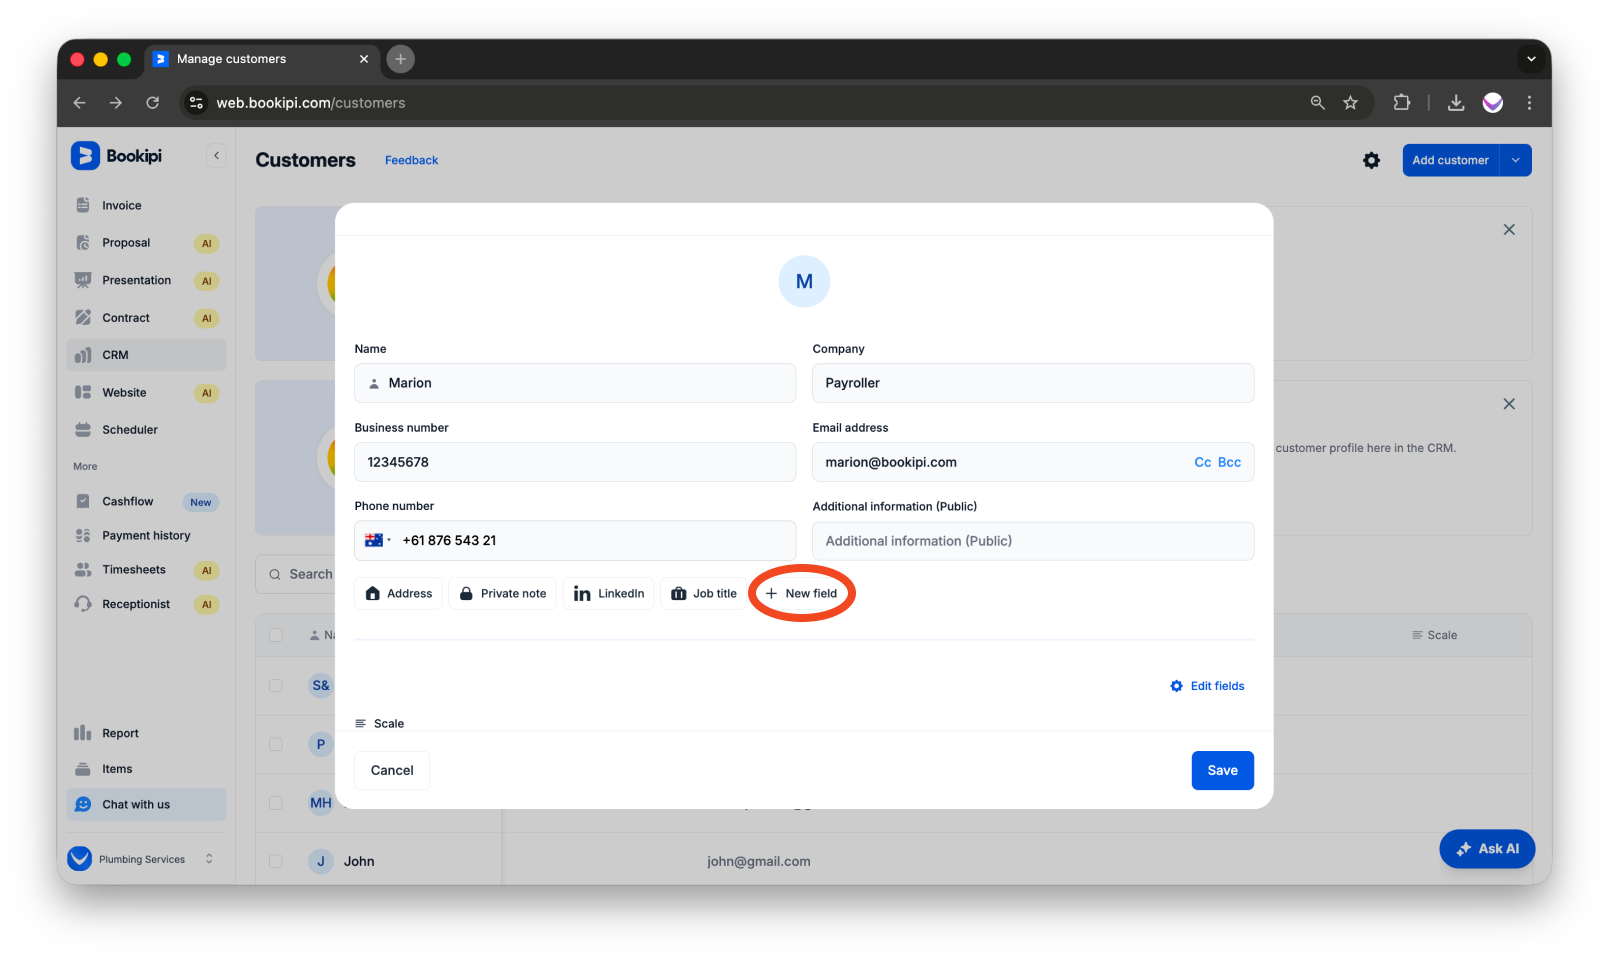
You can also add a custom field by clicking + New field.
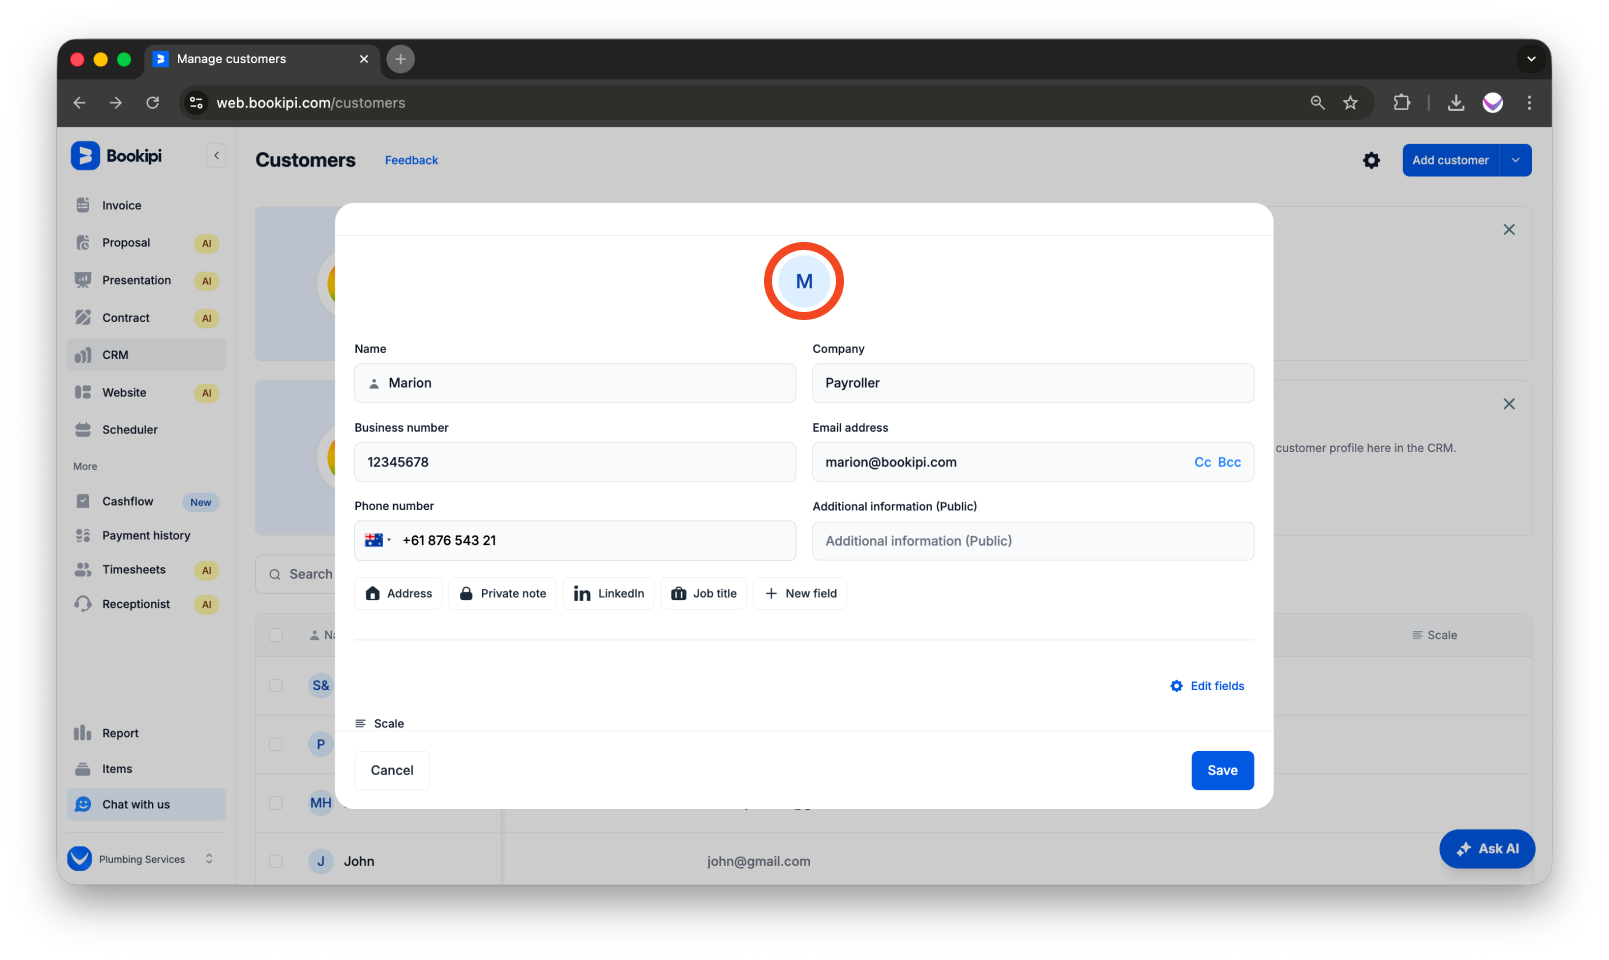
To add a customer photo, click the avatar icon and select an image to upload.
When finished, you can click ‘Save’.
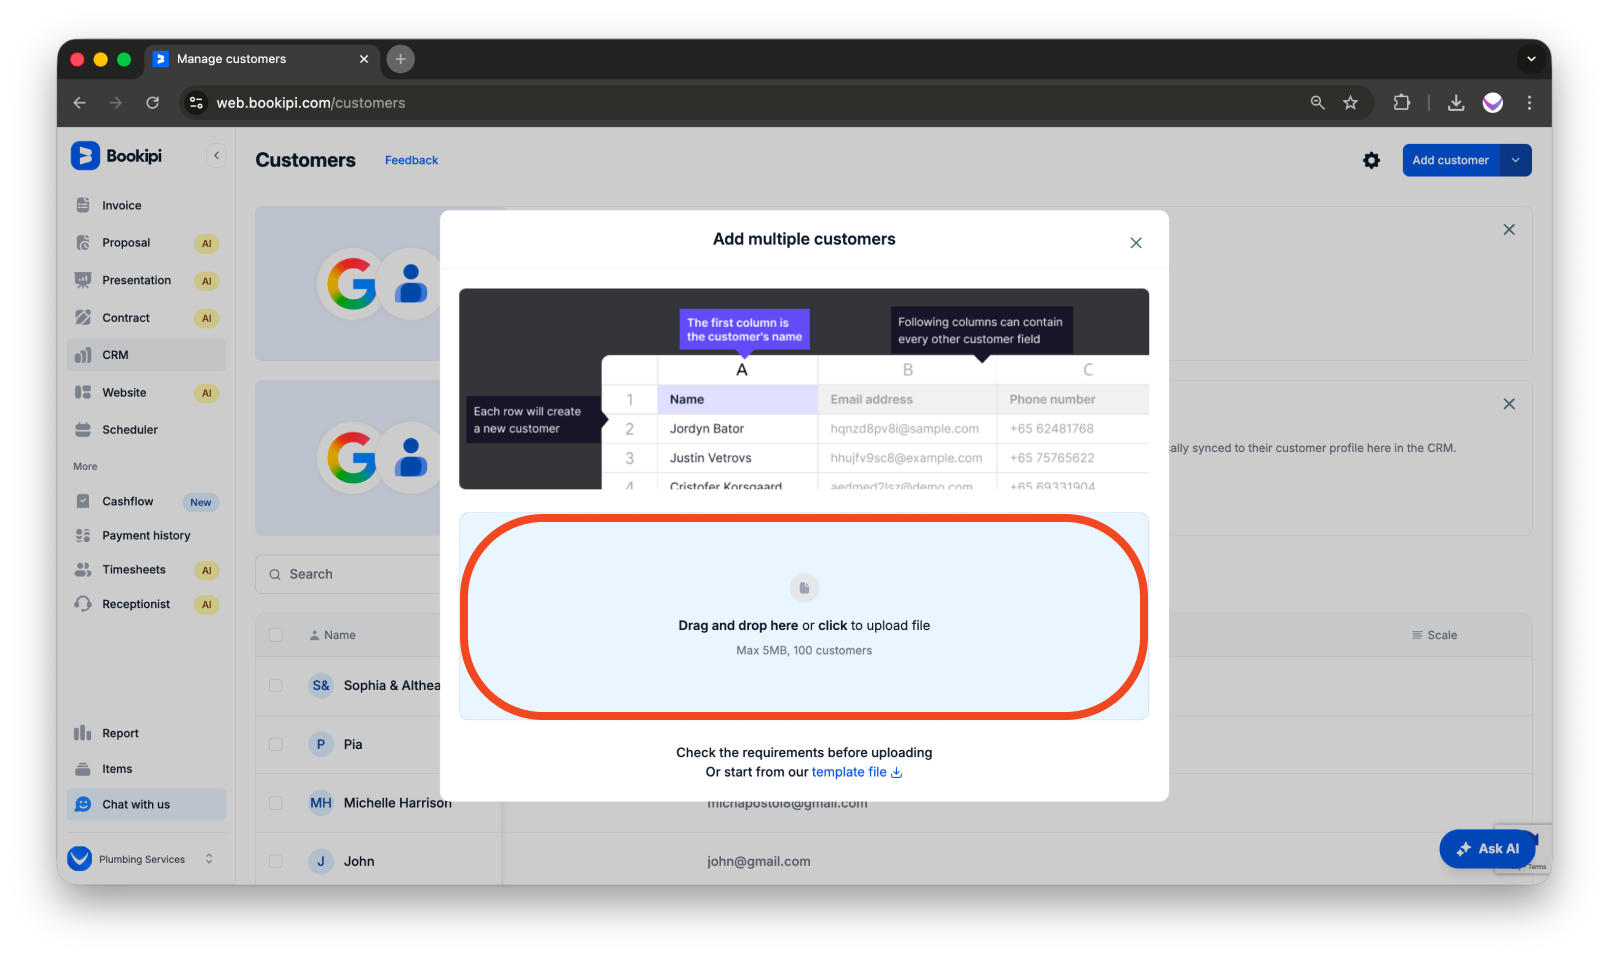
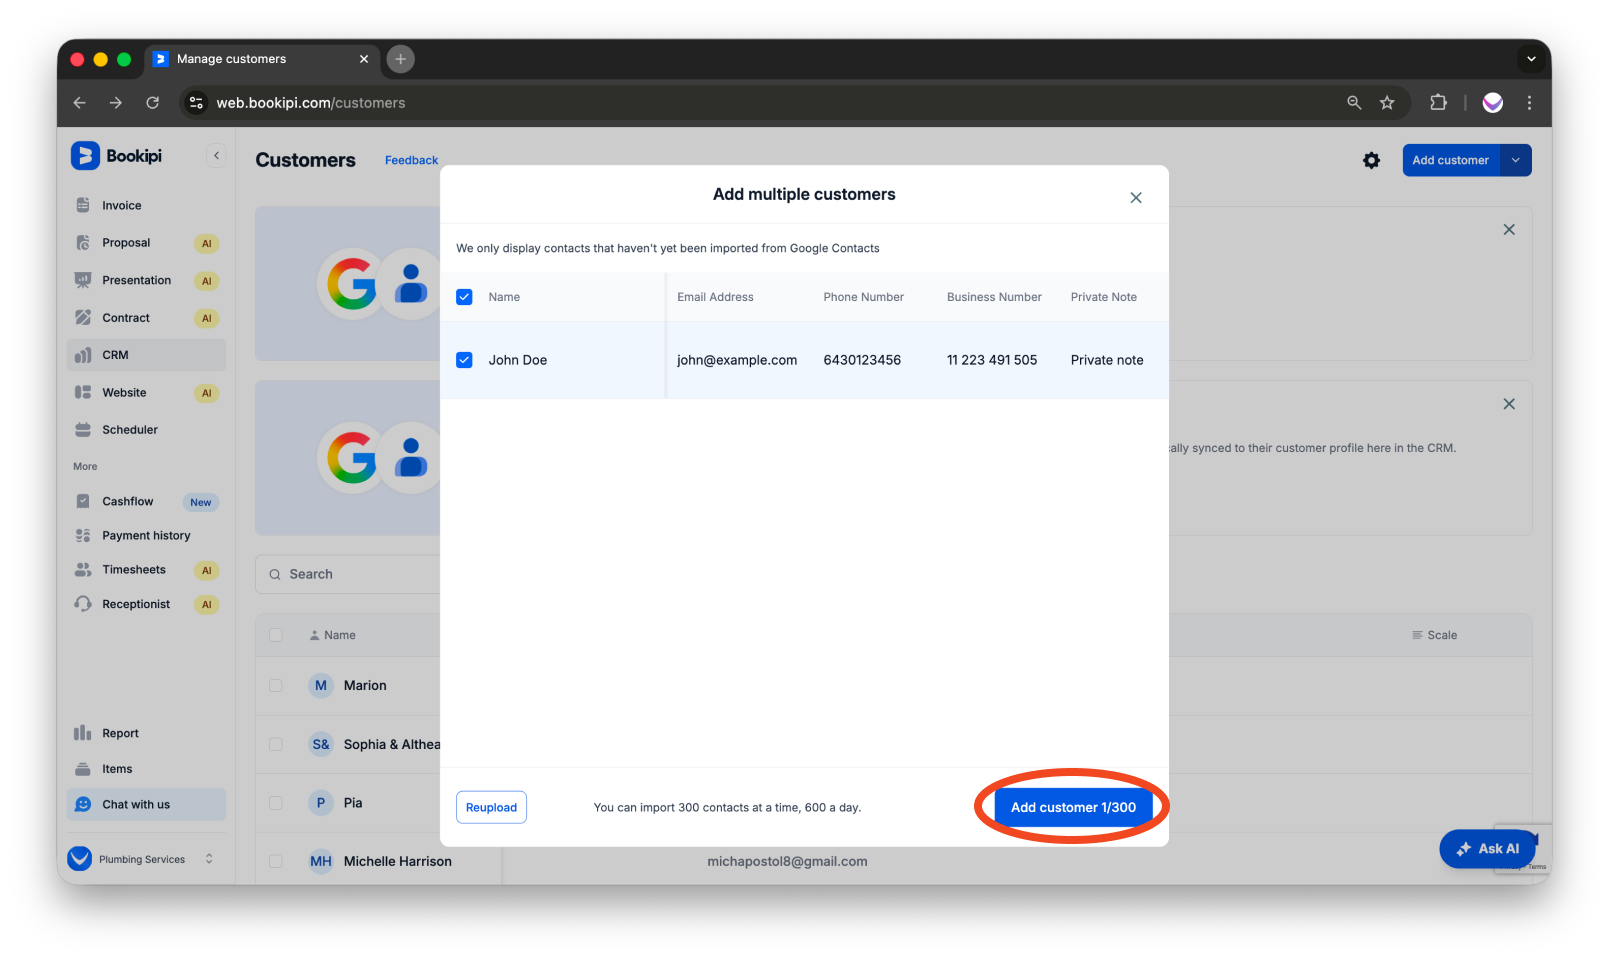
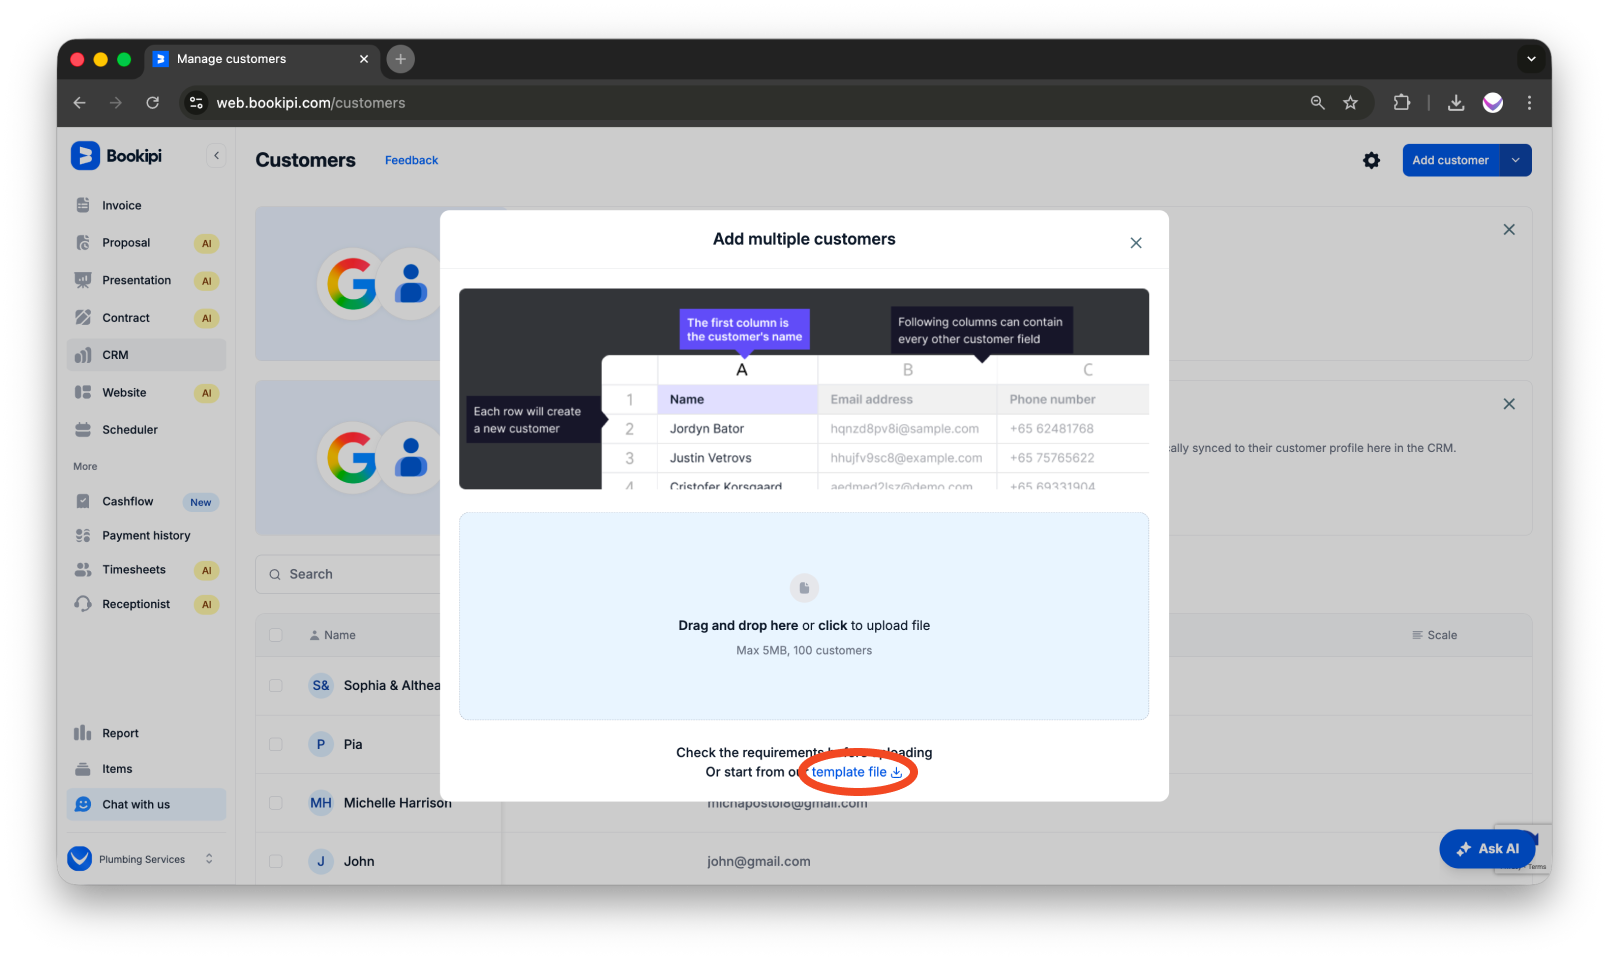
Option 2: Add Multiple Customers (CSV Upload)
Click ‘Add Multiple’.
Upload a CSV file containing customer information, or drag and drop it into the upload area, ensuring the file size does not exceed 5 MB.
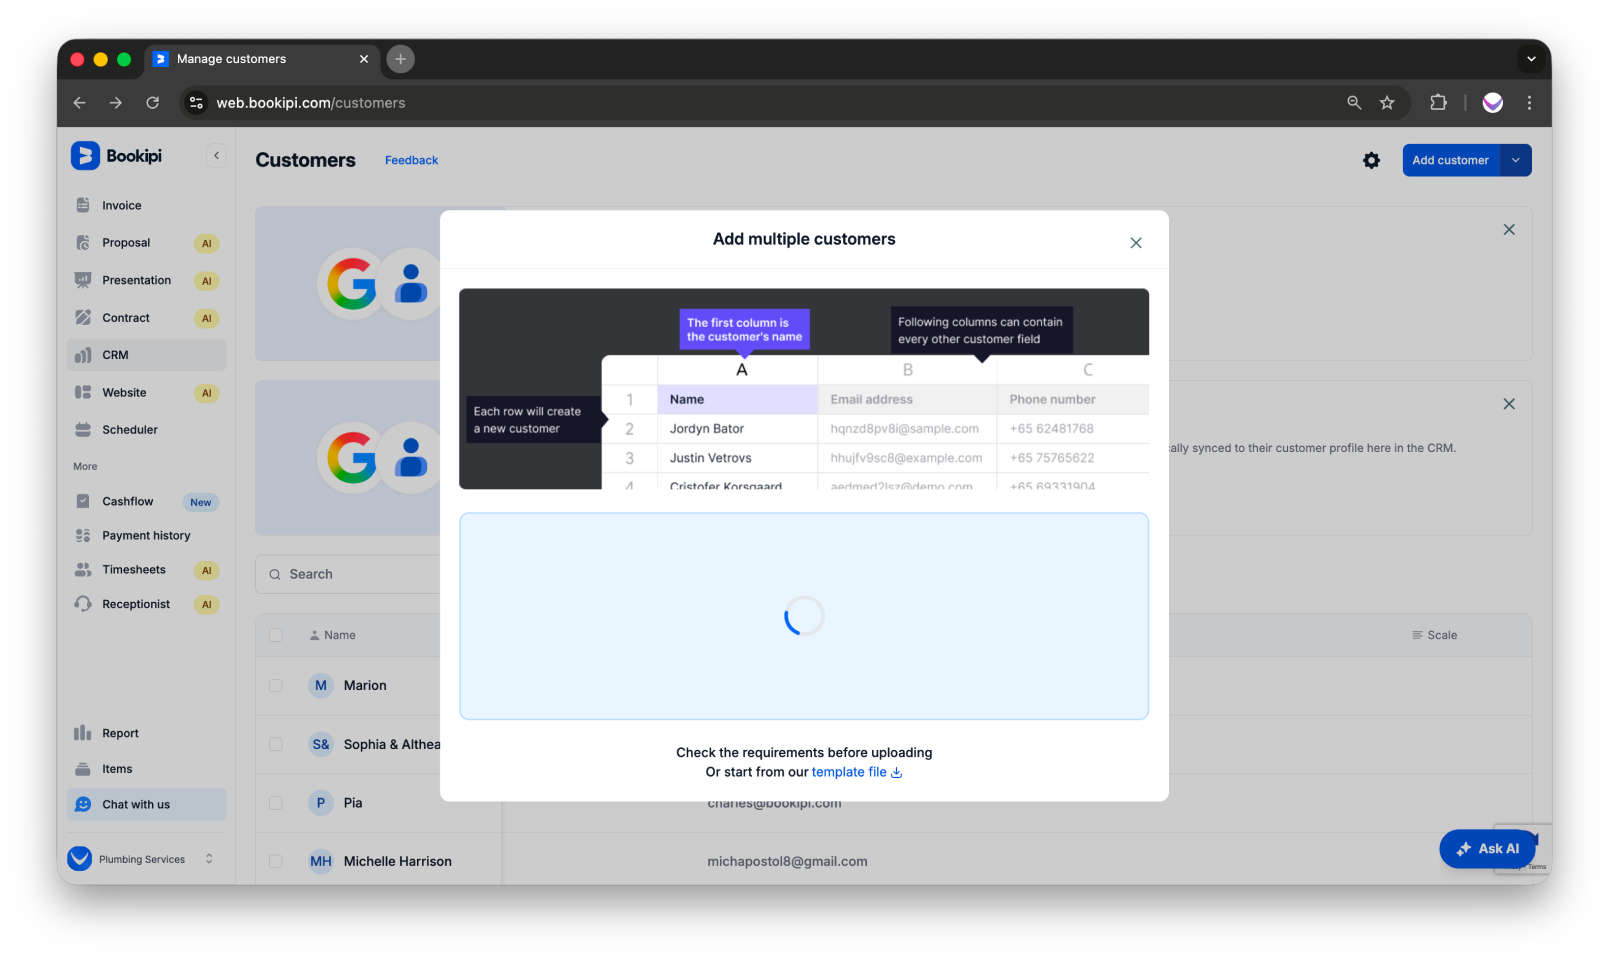
Click ‘Add customer’ to upload to add all customers at once.
Note: Before uploading a CSV file, review the requirements to ensure compatibility. You can also download a template file as a formatting reference.
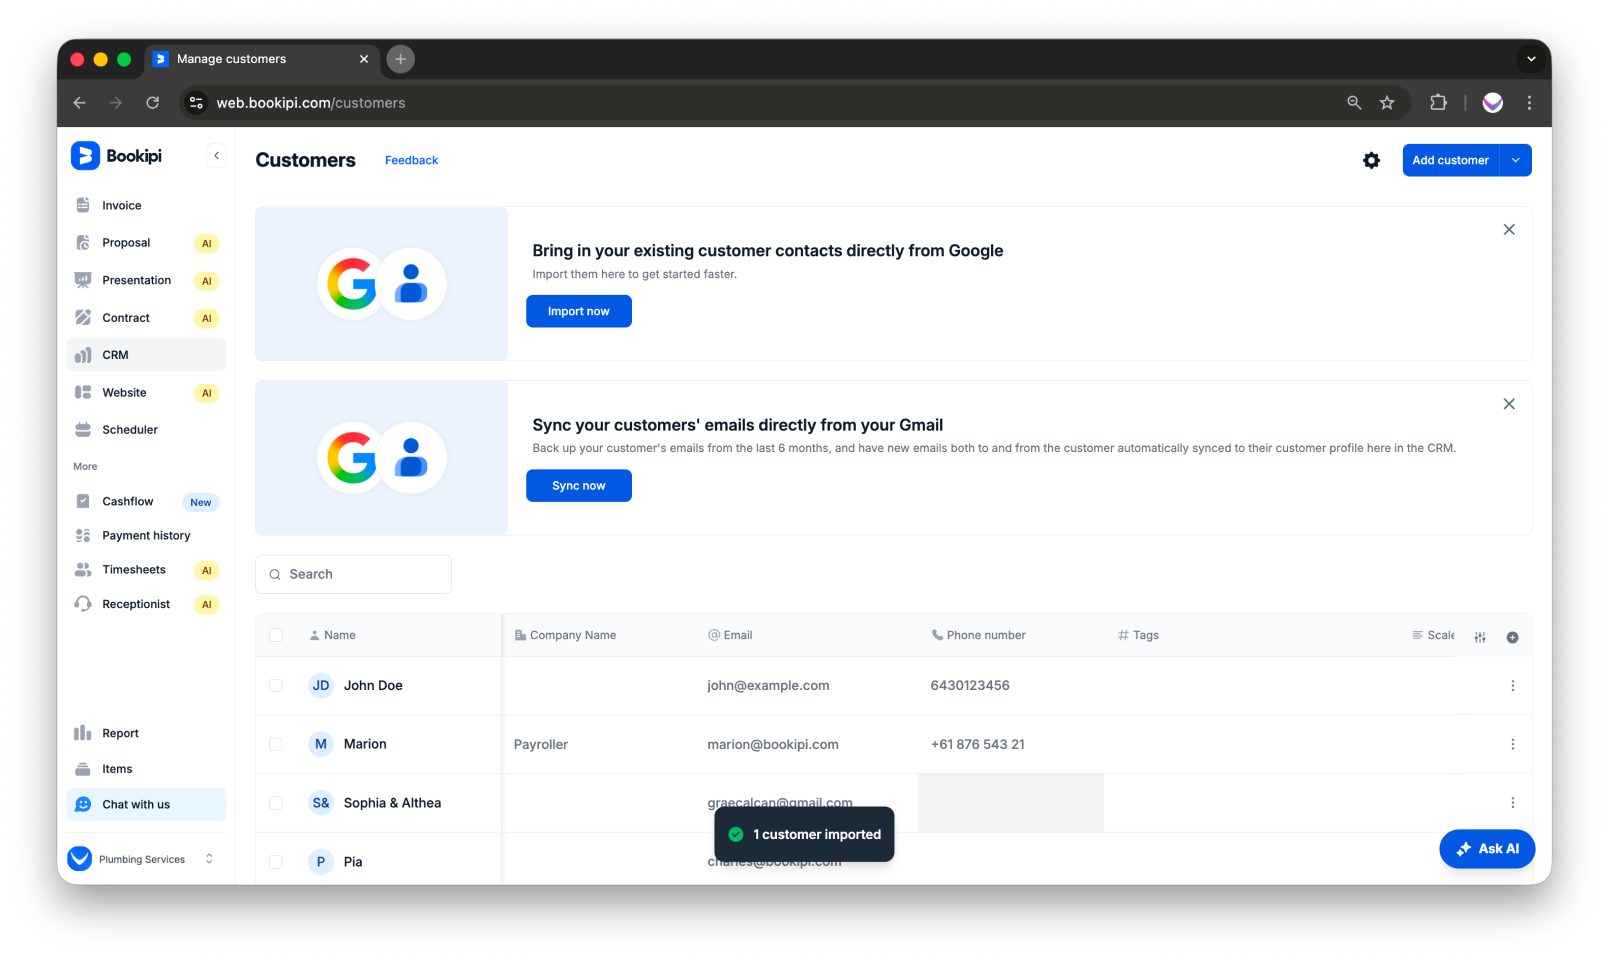
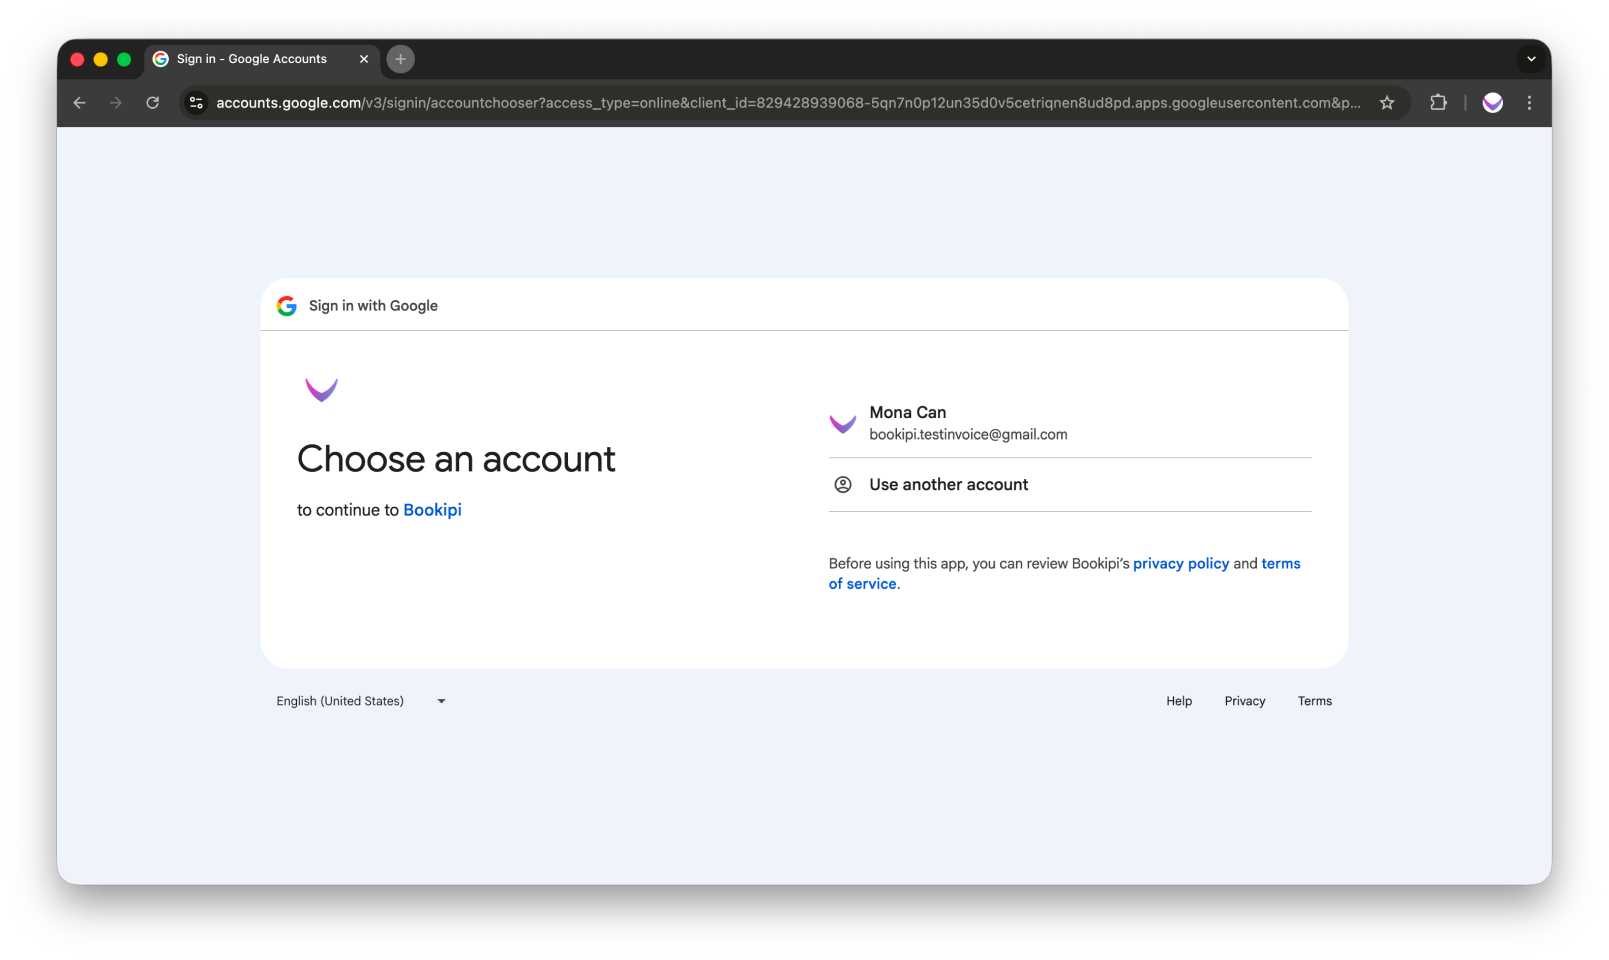
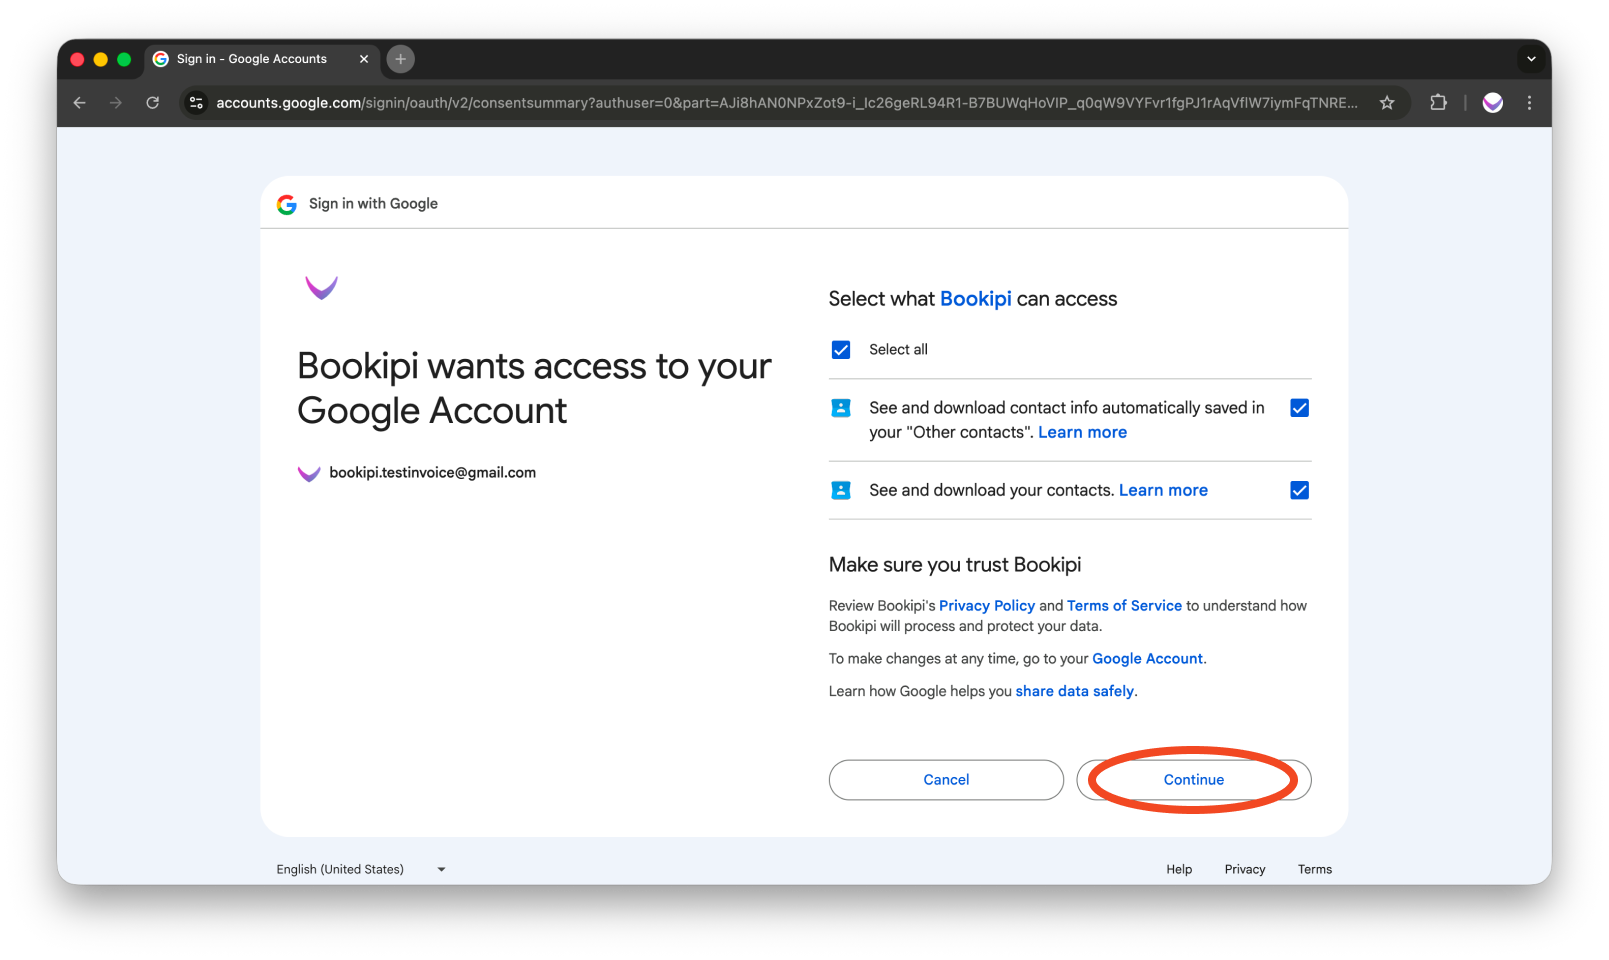
Option 3: Import from Google Contacts
Select ‘Google Contacts’ from the options.
Follow the prompts to connect your Google account.
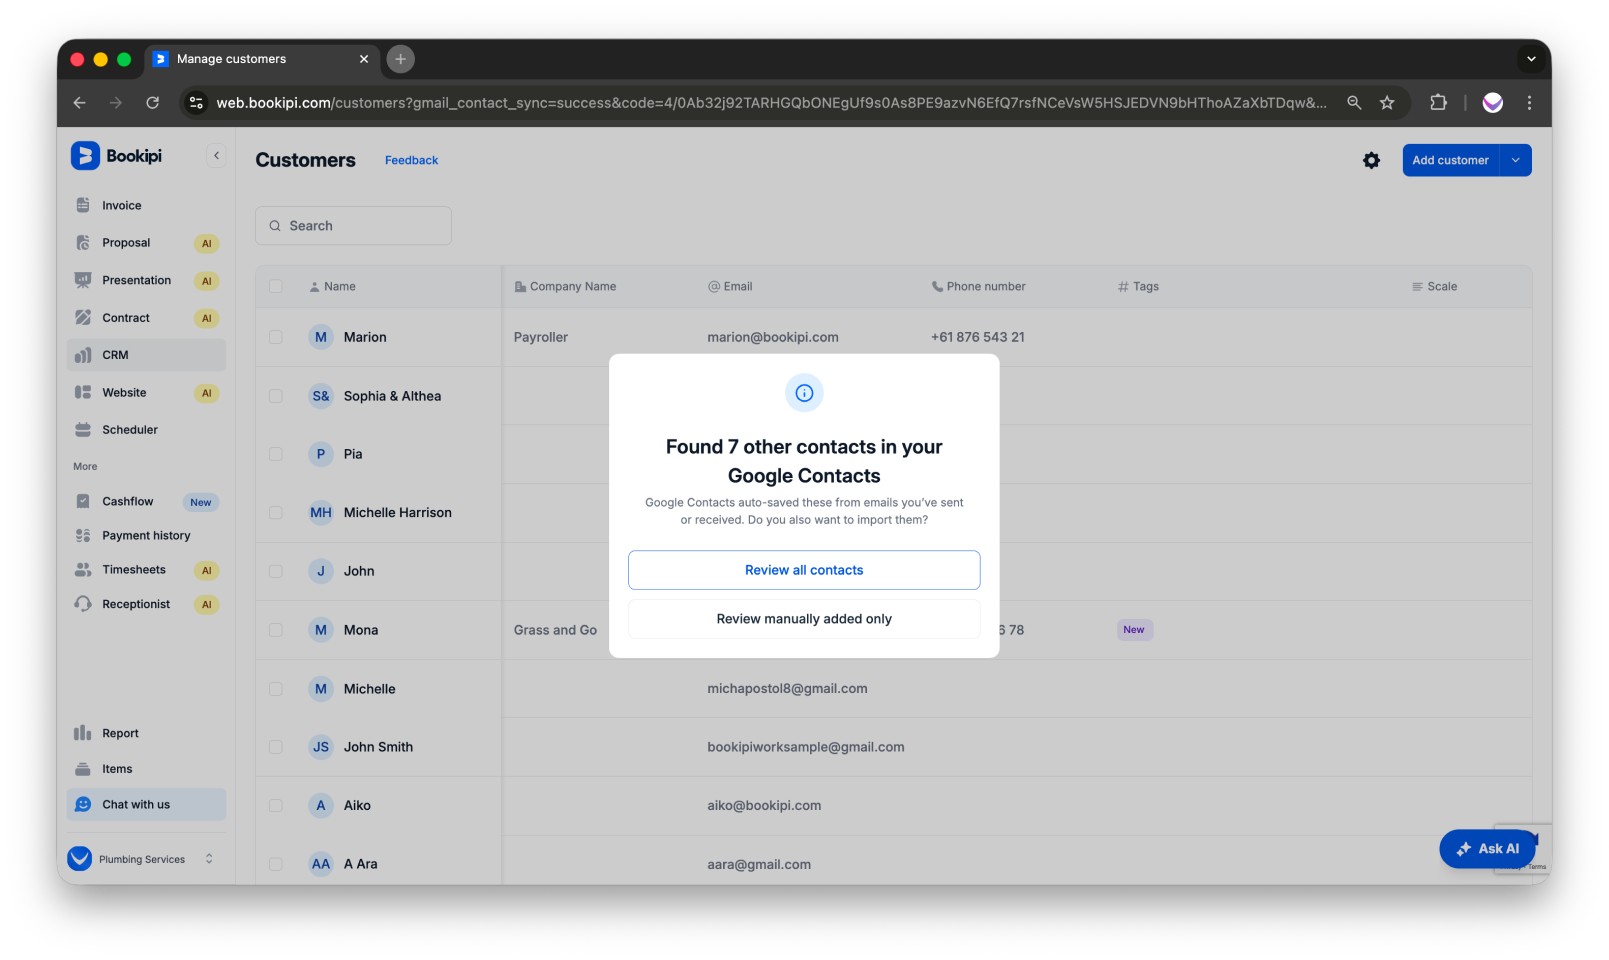
Select the contacts you want to import. You can choose to ‘Review all contacts’ or ‘Review manually added only’. After completing your review and selections, select the ‘Add customers’ button at the bottom right to import all chosen contacts.
You’re all set! You have successfully added customers to your CRM. These saved customer details will automatically appear when creating invoices, proposals, presentations, and other documents, making your workflow faster and easier.
Common FAQs about adding a customer to the customer detail screen
Q: What is CRM?
A: CRM stands for Customer Relationship Management. It’s a system or tool used to manage and improve interactions with your customers. It helps you store customer information, track sales, and provide better service, all in one place, making it easier for you to build stronger relationships with your customers.
Q: Can I add multiple customers or import my customer list?
A: Click the drop-down arrow next to the ‘Add customer’ button and select ‘Add Multiple’. From there, upload your customer list, ensuring you use the provided template so all required fields are included. The file must be under 5 MB.
Q: How can I save a customer’s information when there is no save button while adding or editing their record?
A: If the ‘Save’ button is not visible while saving customer information, it may be due to your screen being zoomed in. Ensure your screen is set to 100% zoom to make the button visible. You can adjust this in your browser’s settings.
Q: I clicked Save after entering all the information for my customer, but it is not reflecting on the customer dashboard.
A: If the saved customer profile is not appearing on your customer dashboard, please check the following:
-
Ensure you have a stable internet connection, as Bookipi is an internet-based system and requires connectivity to function properly.
-
Refresh the page, or perform a hard refresh of your browser to update the dashboard.
Discover more tutorials for Bookipi Invoice on Web v2
Discover more tips on how to get the most out of Bookipi Invoice on Web v2 with our Web v2 guides.
Make sending invoices anytime and anywhere even easier by downloading the Bookipi Invoice mobile app and checking out our mobile app guides.


