Learn how to create an account on the Bookipi Invoice Mobile App
How to create an account
Create and send invoices easily wherever you are on Bookipi Invoice mobile app. Follow these quick steps to create an account.
Step 1: Download the Bookipi Invoice mobile app from the App Store for iOS and iPhones or the Google Play Store for Android devices.
Step 2: Open the App
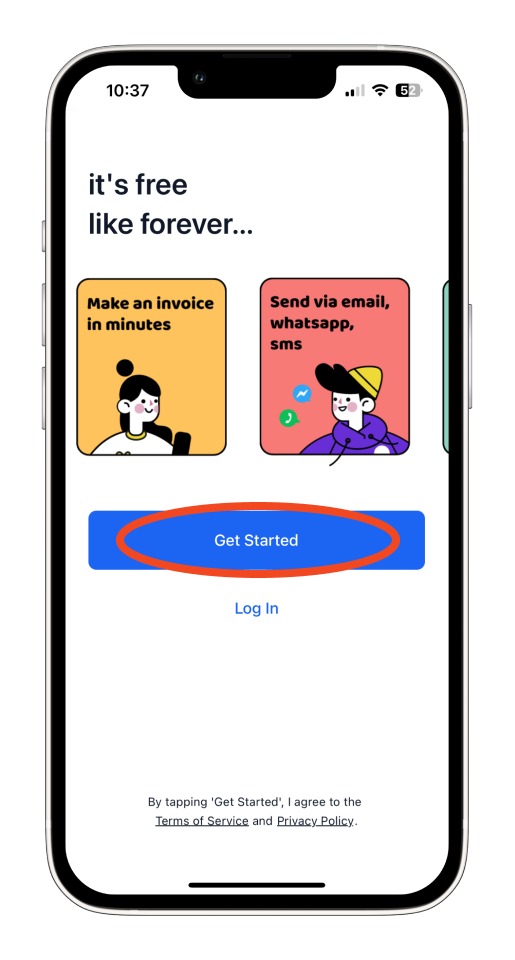
Launch the Bookipi Invoice mobile app and tap ‘Get Started’.
Step 3: Sign Up
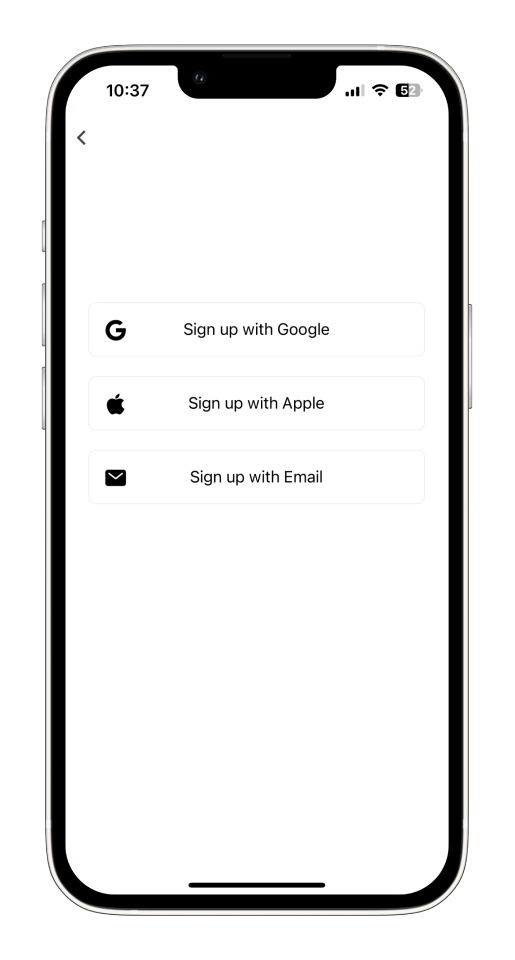
Register using Google, Apple, or an Email address.
Step 4: Complete Email Registration
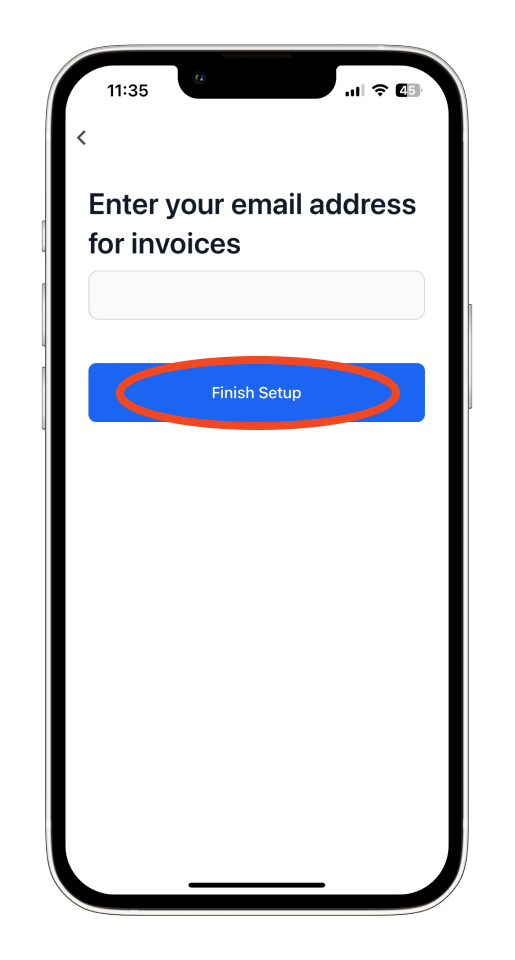
If signing up via email, enter your email address and tap ‘Finish Setup’.
Step 5: Set Up Your Company Details
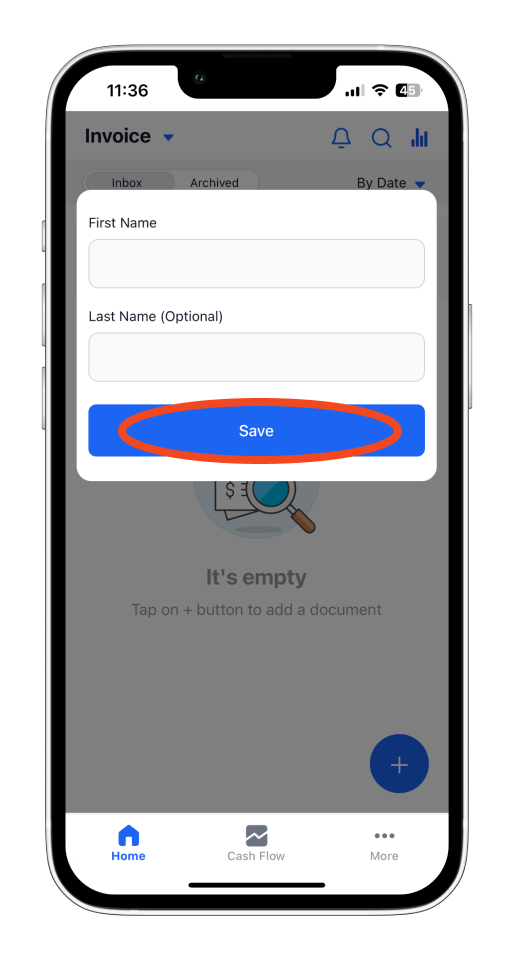
Enter your First Name and Last Name, then tap ‘Save’.
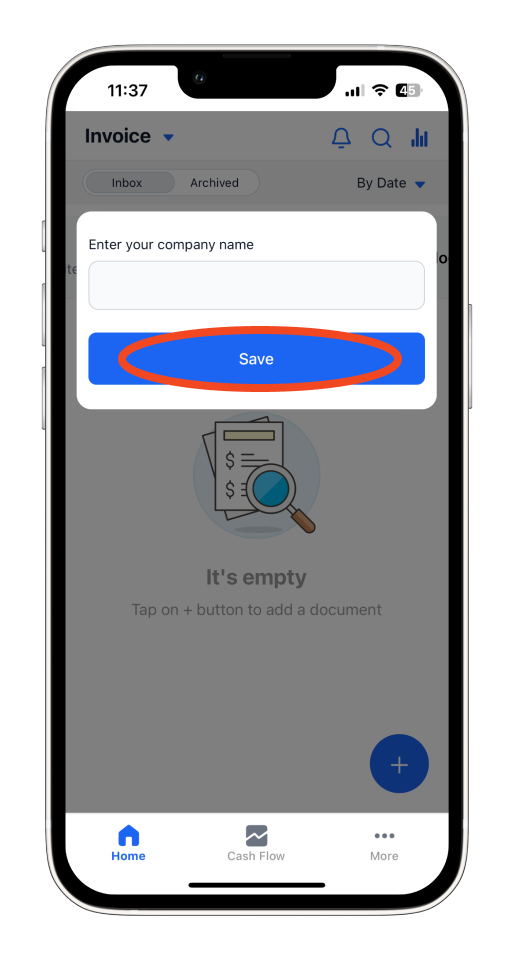
Enter your Company Name and tap ‘Save’.
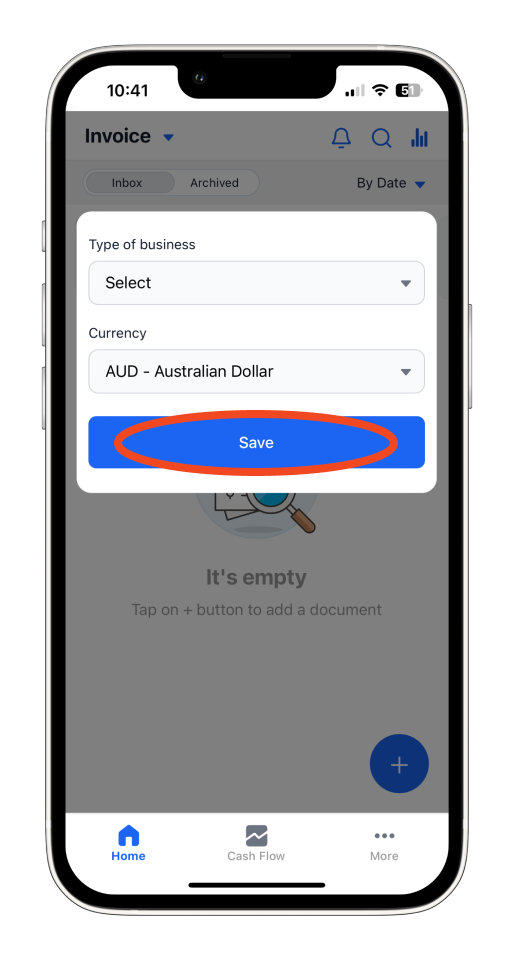
Choose Business Preferences. Select your Type of business and preferred Currency, then tap ‘Save’.
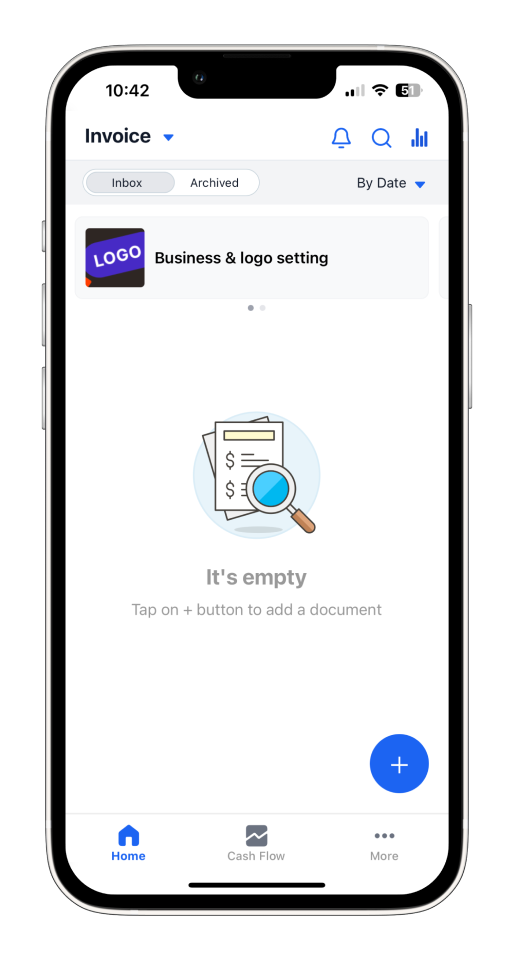
Your account setup is now complete!
Before you can create and send your first invoice, it’s important to verify your account. Verification ensures the security of your account and enables
access to all features.
Discover more tutorials for Bookipi Invoice on mobile app
Creating and sending invoices is even easier with the Bookipi Invoice mobile app.
Explore more tips on how to make the most of Bookipi Invoice with our mobile app guides.


