
With Bookipi Invoice, you can make an invoice quickly and easily. The following steps will guide you through the process.
Invoice examples
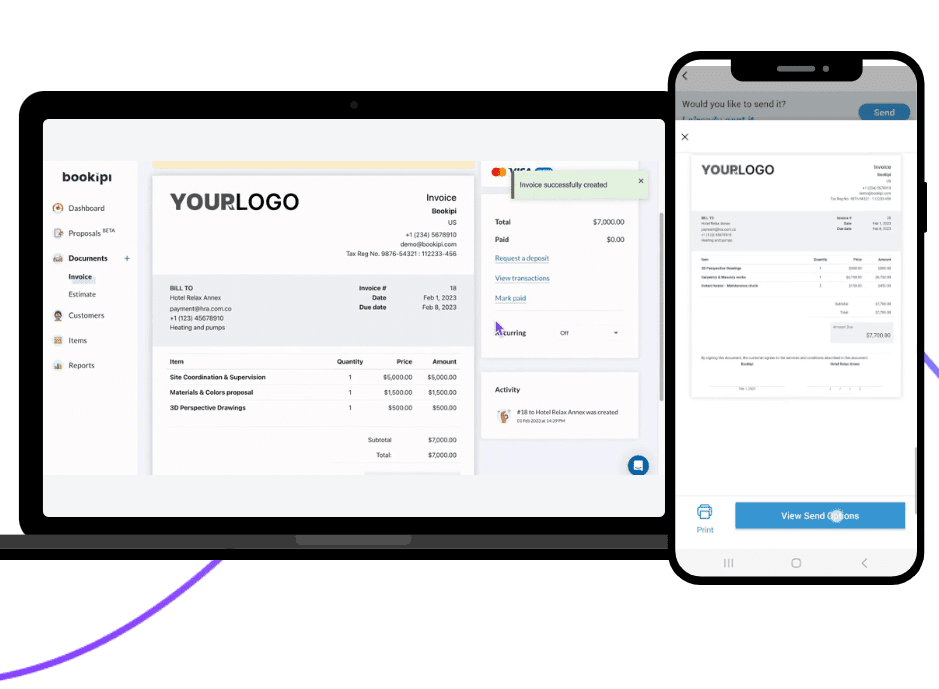
See an example of an invoice made using Bookipi below.
How to make an invoice on Bookipi
Step 1: Sign up for a Bookipi account
Sign up for a free Bookipi invoice maker account . Once you have an account, log in to the Bookipi dashboard.
Step 2: Making a new invoice
Click on the “Invoices” tab on the Bookipi dashboard. Then click “Create Invoice.” Enter the details of the invoice, including the customer name, invoice number, date, and payment terms. Create and send invoices in Bookipi mobile app and web with our simple user guides.
Step 3: Customize your invoice
Customize the look and feel of your invoice by adding your company logo, business’ contact detail and branding.
Step 4: Add line items on invoices
Enter the products or services you provided in the “Line Items” section. Include the quantity, rate, and total amount of your products or services. Read our step-by-step guides for adding invoice items in web and mobile app.
Step 5: Preview and send the invoice
Preview your invoice to make sure everything is correct before sending. Then click “Send”. You can choose from email, SMS, Whatsapp and more methods for sending invoices to your customers. Learn how to send invoices on web and mobile app.
Step 6: Follow up on invoices and payments by clients
Track the status of your invoices in the Bookipi dashboard and use Bookipi’s automated payment reminders to ensure on time payments by clients. Follow up with your customer if the invoice remains unpaid after the due date. Get the most efficient billing and invoicing system for small businesses with Bookipi Invoice. You’re more likely to get paid on time by using Bookipi’s features like automated reminders and online payment options on both in mobile app and web.

