How to set up your business on Bookipi web app
Learn how to set up your business on Bookipi invoice Web v2 with our simple steps.
Steps to set up your business in Bookipi web app
Step 1: Log in to Bookipi web app
Sign up or log in to Bookipi.
Step 2: Click on your Business icon
Select ‘Settings‘ from the drop-down in the top right. 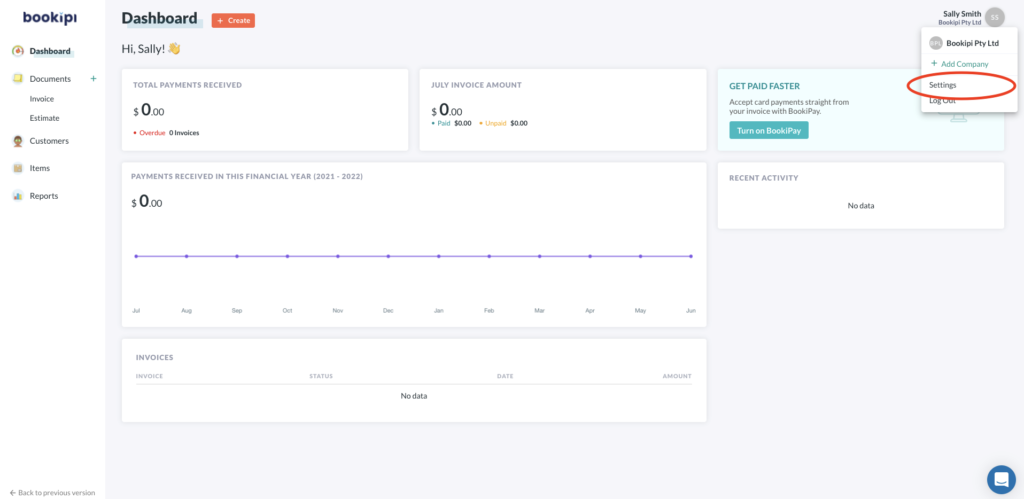
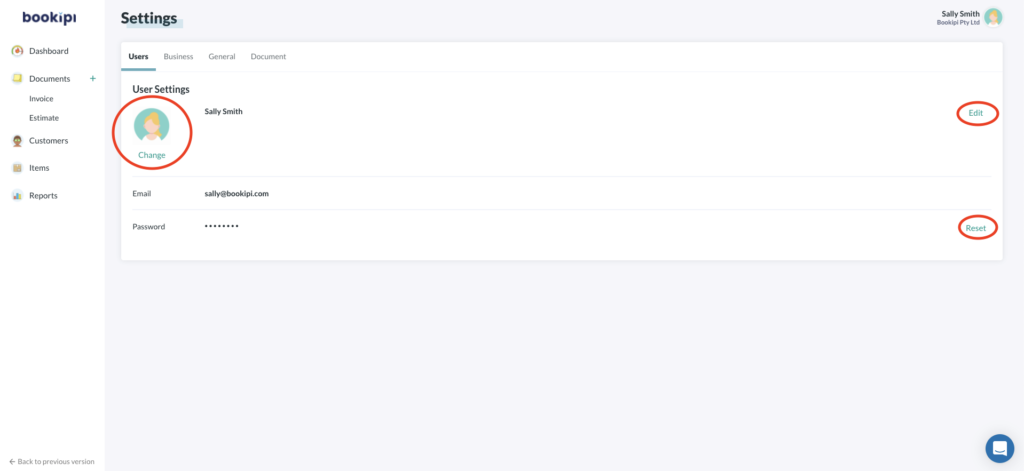
Step 3: Edit your business' details
In the ‘Users‘ settings, you can edit your name, update a profile picture or reset your password.
Step 4: Add in your business information
Edit your business information in ‘Business’ settings. You can edit your business name, email address that appears on invoices, phone number, additional information, and country.
You can also add a business logo, a business number, and a business address.

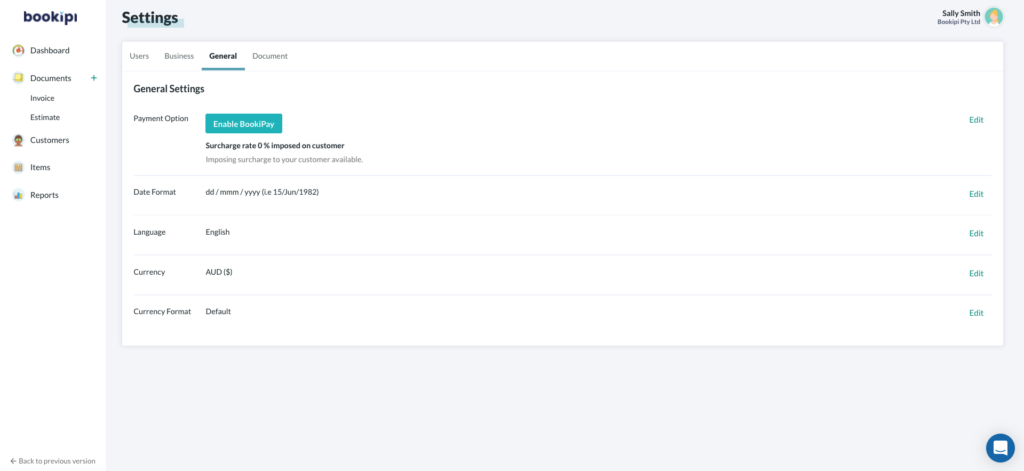
Step 5: Set up your General settings.
You can also enable card payments on invoices. You can also edit your date format, language, currency and how your currency will be displayed.
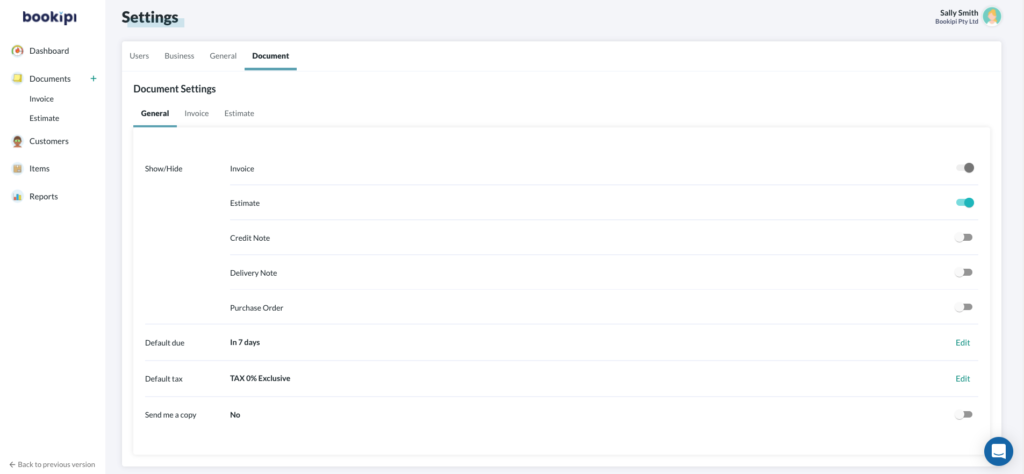
Step 6: Set up your Document settings.
Customize which documents will be visible, the default due date, default tax, and whether to send yourself a copy of the document when you send it to your customers.
You can also edit the document numbers, add in default notes and default messages for certain document types.
